



 My Orders




WW-PC197CS Samsung Washer - Overview

Enter a part description. DIY Heroes keep it simple, eg. "belt" or "pump".
Search filter:
Clear Filter
Your search term must have 3 or more characters.

$16.45
In Stock
Hex Head Bolt
Part #DC60-40137A
This part is used for the shaft on the rear of the tub and is sold individually. The head bolt is part of the spider arm assembly, and they are generally changed at the same time. If you are replacing the entire spider arm assembly, make sure you order as many hex bolts as you will need. The spider arm assembly contains 6 of these hex bol...Read morets. The hex bolt or spider arm assembly may need to be replaced if you notice that your inner tub is going out of balance. The hex bolt measures 1.5 by 0.5 inches.
Read less

$14.25
On Order
Outer Seal Clamp
Part #DC97-04973B
This is an outer seal clamp for the washer door boot of your Samsung washing machine. This clamp tightly seals the boot of the drum within the door of the washer to prevent leaks. This clamp is made of metal and features a spring in the middle, but over time can be worn down or break, and result in water leaking out of the washing machine...Read more and into your home. Replacing this clamp will require a screwdriver, pliers, and safety gloves. This clamp is an OEM part that comes individually, without any other parts or accessories.
Read less

$6.40
In Stock
Tapping Screw
Part #6002-000213

$56.14
In Stock
Fixer Tub Assembly
Part #DC97-14489R
Shipping bolts are installed through the back of the washing machine, and hold the wash tub and basket in place while your washer is being transported. The tub suspension holds the tub correctly in place during the wash, rinse, and spin cycles. If this suspension is damaged during shipping, the tub can shake and move, tilt to one side, or...Read more spin incorrectly. This could lead to the suspension or motor failing. When moving your washer, it is suggested that you insert the shipping bolts back into place before moving the machine. This part is also called a washer transit bolt. Remember that this part is sold separately, and to check your model to see how many you require.
Read less

$47.88
On Order
Oil Seal
Part #DC62-00156A

$23.63
In Stock

$126.95
On Order

$48.95
In Stock
Water Temperature Thermistor
Part #DC90-10128N
The thermistor monitors and helps regulator the water temperature in the washer.

$6.40
In Stock
Tapping Screw
Part #6002-000520
This manufacturer-approved screw is for refrigerators, including Kenmore refrigerator model. Avoid cross-threading refrigerator screw during installation.

$82.95
In Stock
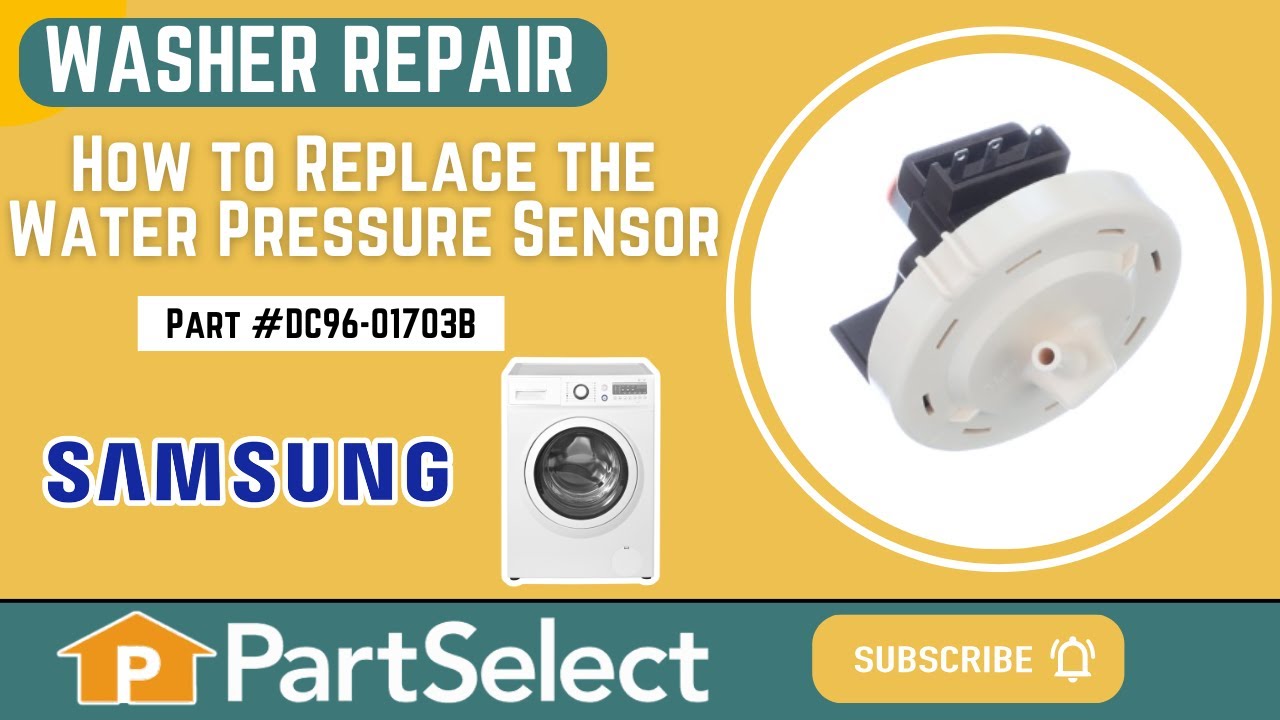
Washer Water-Level Pressure Switch
Part #DC96-01703B
The pressure switch senses and controls the water level in the washer.

$36.95
In Stock
Washer Tub Gasket Seal
Part #DC69-00804A
This is a seal for various models of Samsung washing machines. This part acts as a seal for the rear and front outer part of your washing machine tub and is used to prevent any matter of leaks. If your washing machine is leaking or you notice water outside of the tub after a cycle is finished, this seal could be worn out or damaged and ne...Read moreed immediate replacement. This seal will be located between the two halves of the inner tub and replacing it will require you to disassemble your washing machine, and only requires a few parts like a screwdriver, wrench, and pliers. This OEM seal does not come with any other parts and is sold individually.
Read less

$8.75
In Stock
Common Symptoms of the WW-PC197CS
How this model fails, and the parts that fix it.


Watch our pros, then fix it yourself.
See how others fixed this model. Time, tools, difficulty, and steps that lead to victory!
View More