


 My Orders




WW-HC135UH Samsung Washer - Overview

Enter a part description. DIY Heroes keep it simple, eg. "belt" or "pump".
Search filter:
Clear Filter
Your search term must have 3 or more characters.

$16.45
In Stock
Hex Head Bolt
Part #DC60-40137A
This part is used for the shaft on the rear of the tub and is sold individually. The head bolt is part of the spider arm assembly, and they are generally changed at the same time. If you are replacing the entire spider arm assembly, make sure you order as many hex bolts as you will need. The spider arm assembly contains 6 of these hex bol...Read morets. The hex bolt or spider arm assembly may need to be replaced if you notice that your inner tub is going out of balance. The hex bolt measures 1.5 by 0.5 inches.
Read less

$6.40
In Stock
Tapping Screw
Part #6002-000213

$23.63
In Stock

$126.95
On Order

$48.95
In Stock
Water Temperature Thermistor
Part #DC90-10128N
The thermistor monitors and helps regulator the water temperature in the washer.

$6.40
In Stock
Tapping Screw
Part #6002-000520
This manufacturer-approved screw is for refrigerators, including Kenmore refrigerator model. Avoid cross-threading refrigerator screw during installation.

$82.95
In Stock
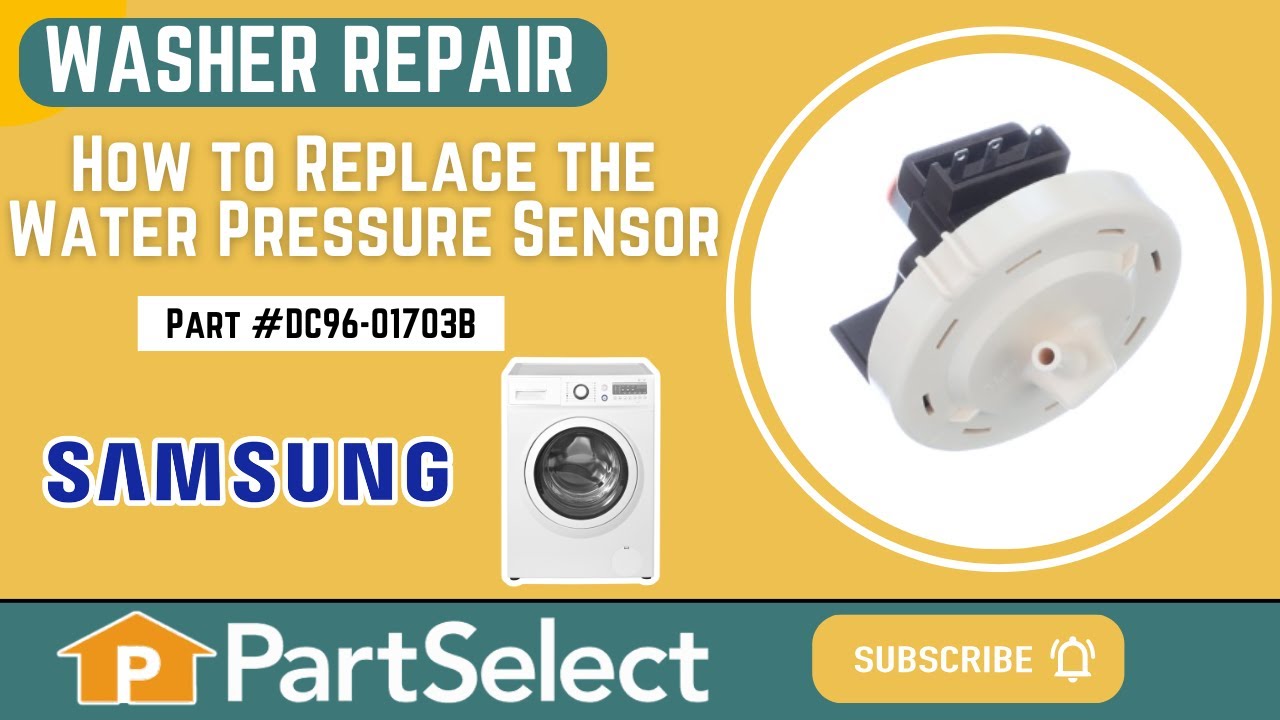
Washer Water-Level Pressure Switch
Part #DC96-01703B
The pressure switch senses and controls the water level in the washer.

$59.95
In Stock
Tub Bearing
Part #6601-000148

$6.40
In Stock
Drain Cap
Part #DC61-10673A
This drain cap is a genuine replacement part made for Samsung washers. It is a small plastic cap, approximately 1.5 inches long, that fits onto the end of the washing machine drain hose. The cap is responsible for sealing the end of the hose. It prevents water from leaking out onto the floor and it also prevents insects, dust, and debris ...Read morefrom entering and blocking the drain hose. If you notice water leaking from your washer when it is not in use, or mold growth at the end of the hose, the cap is likely faulty and will need to be replaced. You can access the drain cap by opening the access panel at the bottom of the washer.
Read less

$15.35
In Stock
Door Lever
Part #DC66-00326A
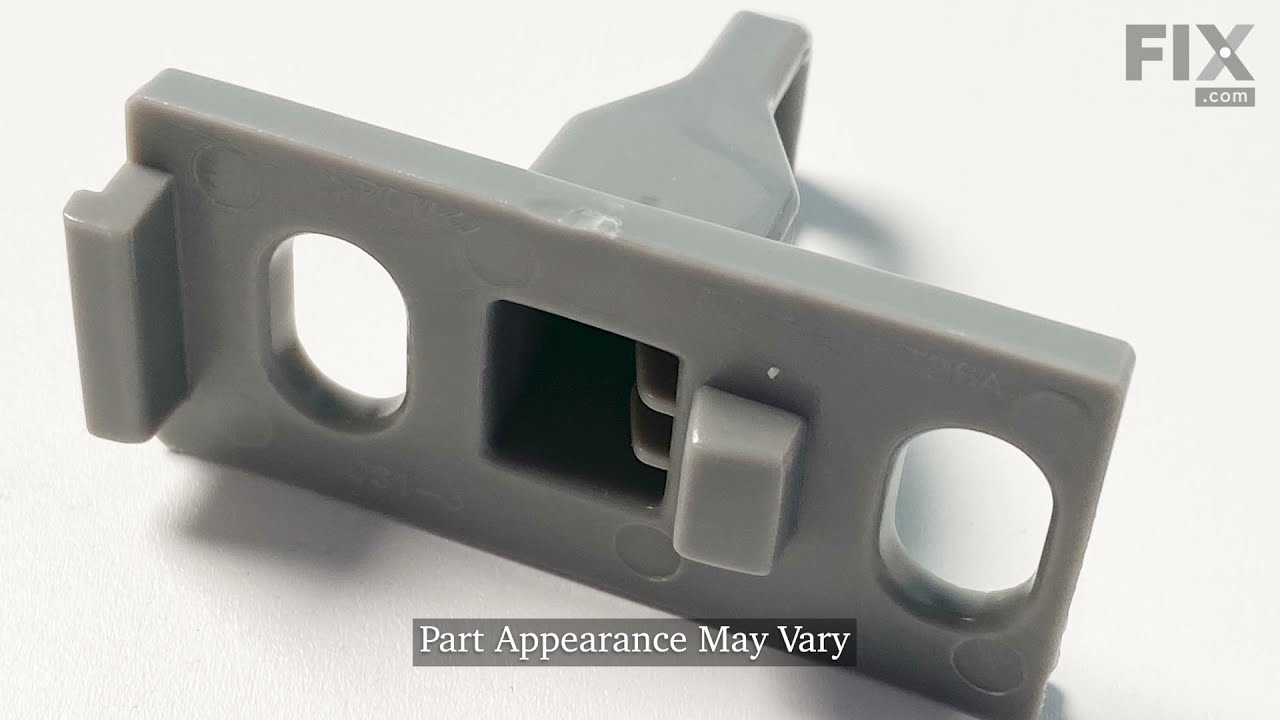
This is a door lever strike for Samsung washing machines. This part is used to latch and hold the washer door to the washer door frame when it is closed. If the door strike for your washer is currently broken, damaged, or not properly catching, this must be replaced for your door to close securely. This door strike is a genuine OEM part m...Read moreade of plastic and is sold individually, meaning it will need to be installed with the 2 screws securing the current door strike.
Read less

$16.62
Special Order
Filter Pump
Part #DC63-00909A

$5.95
In Stock
Screw
Part #6001-001773
Watch our pros, then fix it yourself.
See how others fixed this model. Time, tools, difficulty, and steps that lead to victory!
View More