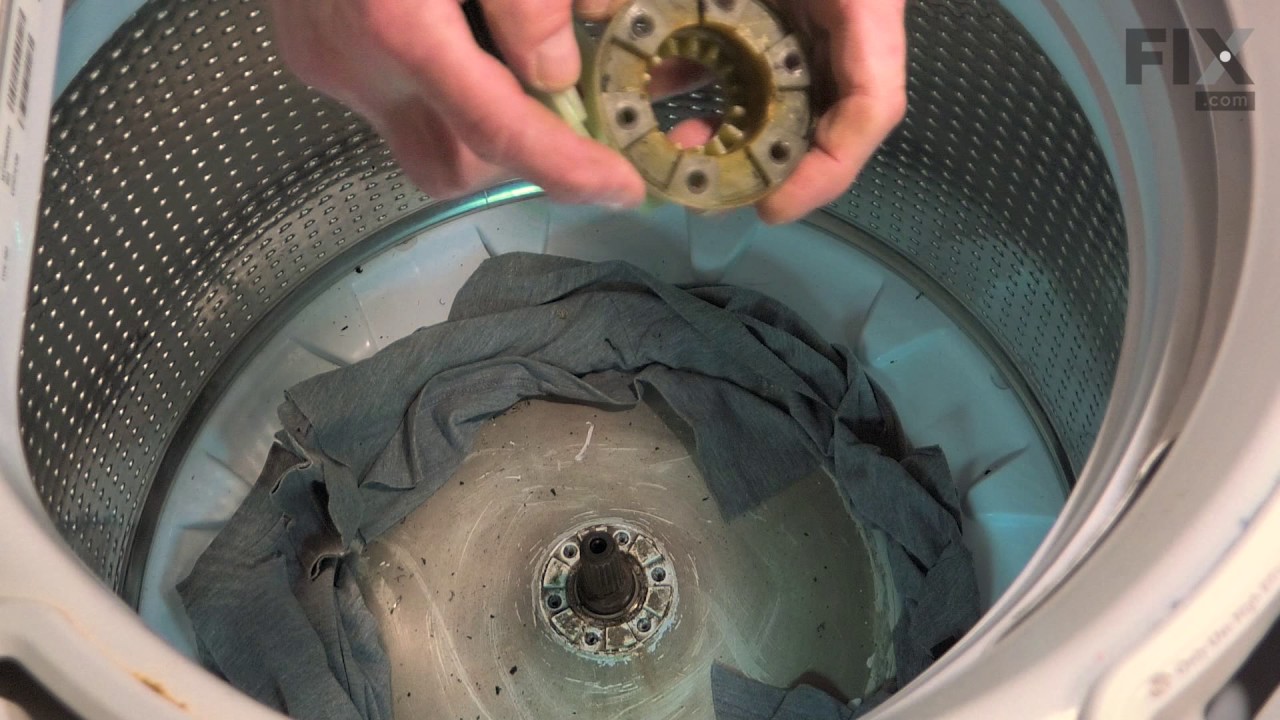
This kit includes one driver hub and two driven basket hubs. The basket hub is located under the agitator. If your washer is not agitating or spinning properly, the hubs will need to be replaced.
This appliance hose clamp holds a hose firmly against its connection to help prevent leaks and keep it from slipping loose during operation. It applies pressure around the hose where it joins a pump port or other fitting. A bent, broken, corroded, or weakened clamp may allow water to drip from the connection or the hose to detach. Replaci...Read moreng a damaged clamp helps restore a secure connection. Disconnect power and shut off the water supply before servicing, then check for leaks after reassembly. This is an OEM part sourced directly from the manufacturer.
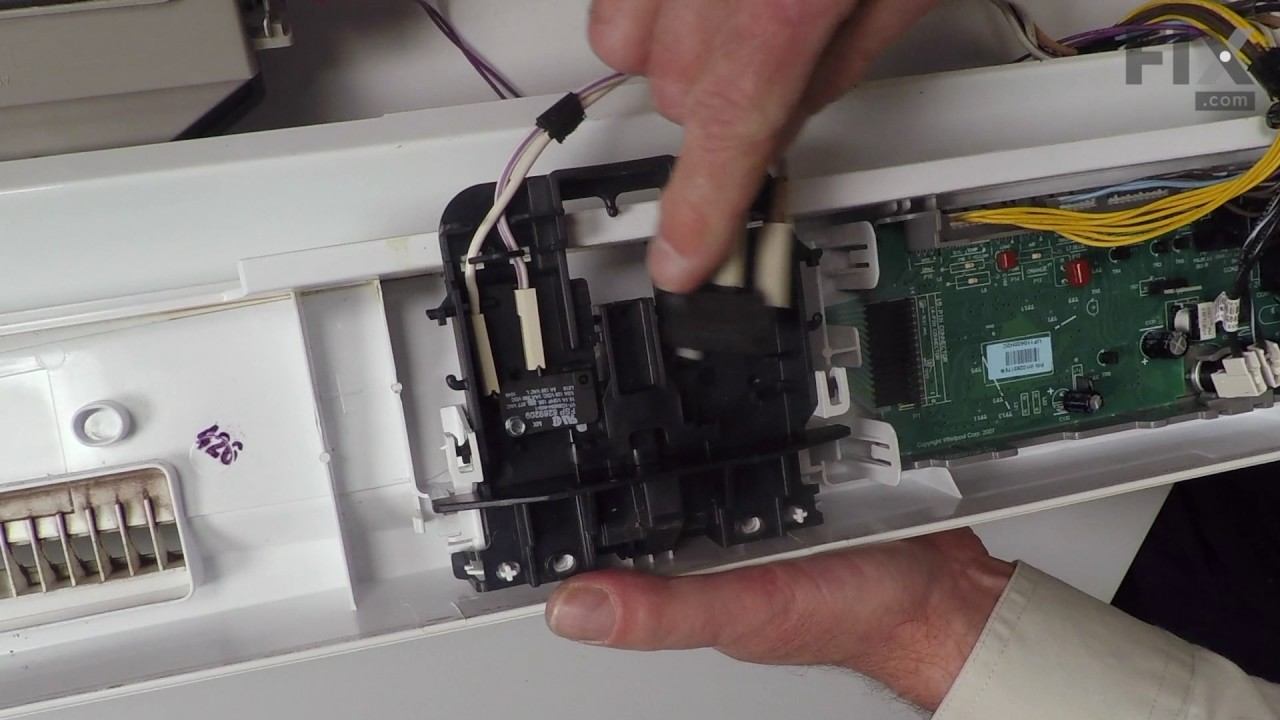
This washer lid lock assembly is designed to ensure safe and efficient operation of top-loading washing machines by securely locking the lid during wash and spin cycles. It prevents the machine from running when the lid is open, reducing the risk of injury and ensuring proper cycle completion. The assembly includes a latch switch that det...Read moreects lid position and communicates with the washer’s control system, helping to resolve issues such as failure to start, agitation problems, or difficulty opening or closing the lid. Compatible with a wide range of models, this component is engineered for reliable performance and long-term durability. Installation may require basic tools and should be performed with the appliance unplugged.
This touch-up paint can be used on a wide variety of household appliances. It is most often used on washers, dryer, refrigerators, dishwashers, ranges, freezers, trash compactors, or microwaves. It is an 18 ml, or.6 fluid ounces, bottle of touch-up paint. It also features a brush for easy application. This quick-drying, long-lasting paint...Read more is perfect for fixing any nicks, scratches, or chips on the exterior of your appliance. This paint is white in color, and provides a durable finish.
The hose clamp is used to hold the water hose in place which will prevent the hose from leaking water. Sometimes the clamp may lose its ability to latch on, causing a leaking washer. For the installation, you will need a flat head screw driver to replace the clamp and a drill to access the screws to remove the front of the washer. Be care...Read moreful if you do not have specific clamp pliers as the clamp could fly off. Once the front of the washer has been removed, take a quick look for water damage or any obvious signs of where the leak is coming from. If it is not obvious, run water to test.
This is a replacement lid hinge for your washer. It is approximately 2.5 inches in length and 1.5 inches in width. The lid hinge is what the lid for your washer pivots on. If the lid hinge is damaged, the washer lid may not open or close properly. The lid hinge is screwed into the washer lid. You will need a Phillips-head screwdriver to d...Read moreetach it. There will be a lid hinge on either side of the lid, so be sure to determine if you need to replace both hinges, or only one.
This is an impact absorber, also known as a sound dampening pad, for washing machines. This sound dampening pad attaches to the top of your washing machine drum to reduce the severity and harshness of vibrations and movement during the washing and spinning cycle, to produce a quieter laundry experience. If your washer is shaking excessive...Read morely during operation, this pad may be worn out or simply missing, and in need of replacement. To replace this pad, you will need a screwdriver or wrench to access the inner portion of your washing machine and remove the old one and install the new one. This OEM pad measures 5-inches by 3-inches and is sold individually.
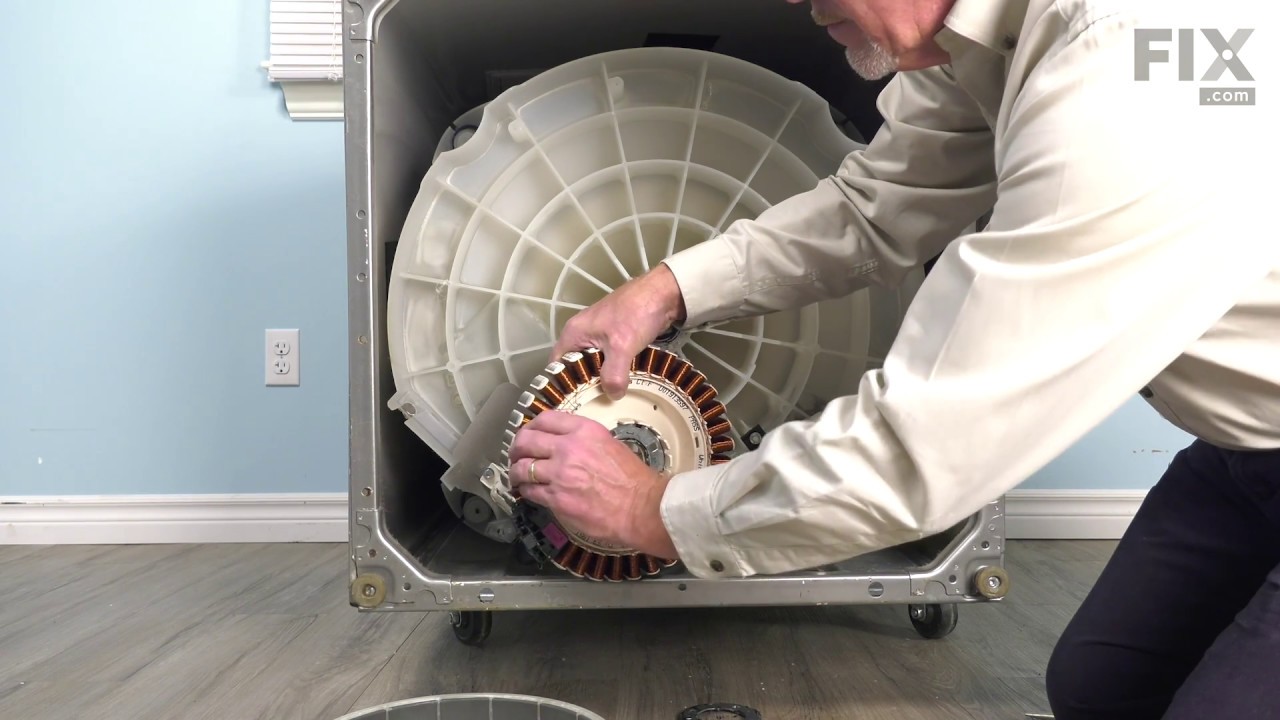
This rotary position sensor is a genuine OEM part for your washing machine. It helps to ensure the load of clothing stays balanced during the wash cycle. Customers have rated this repair as easy. To complete this repair, you will need an Allen wrench, 3/8 inch socket, and a screwdriver. The repair will involved turning off the power and water supply, and tilting the washer on its front to access the sensor.
Appliance spray paint is a great way to cover up any chips and scratches that have appeared on your appliances. Instead of replacing the part entirely, this is an easy fix. This is also a great way to give a fresh new look to any handles or areas that have discoloring due to wear. Make sure to clean the area before you begin and wear a pr...Read moreotective mask for safety. Give the can a good shake and spray a few inches away from the surface. Apply the paint until the area is fully covered as desired. Wait until the paint has dried before using the appliance.
Ask our experts a question about this model and we'll get back to you as soon as possible!
We may have answered a similar question already! Search questions and answers left by others using simple keywords like "fit", "broken", "easy", or "quality" to find questions that match.
Search filter:
Clear Filter
Your search term must have 3 or more characters.
Sort by:
Prev
1
Next
Sorry, we couldn't find any existing answers that matched.Try using some different or simpler keywords, or submit your new question by using the "Ask a Question" button above!
Michael - For model number WTW8500BR0
December 26, 2019
Will not complete last spin and drain cycle sd code comes up
Hi Michael, thank you for your question. The SD or SUD error means: Suds Lock (Too Much Detergent Detected) - Make sure drain hose is not plugged or kinked and disconnect power and unplug unit. Check wire harness connections to pressure switch, drain pump, and Central Control Unit (CCU). Make sure the drain pump is free from debris or foreign objects and then reconnect power and plug unit in. Check drain pump and pressure switch and verify CCU operation by running a diagnostic test or any cycle. Note: This error may signify a bad pump, an extra heavy load, excessive detergent, or excessive suds. If too much detergent was used, run the unit through a Rinse/Spin cycle, and then run a Normal cycle without adding detergent. Good luck with your repair.
2 peoplefound this instruction helpful.
Was this helpful?
Thank you for voting!
Susie - For model number WTW8500BR0
December 26, 2023
Wen u say won't start....it won't start, lites won't come on...did all of sudden over nite like got unplugged....ckd that & breaker...nothing.
Hi Susie, thank you for reaching out. Based on the description, you may have an issue with the power cord. We would suggest checking the power to fix the issue. If that is not the case, then you may have a faulty control board, part number PS11756345, and need to be replaced. Good luck with your repair!
See how others fixed this model. Time, tools, difficulty, and steps that lead to victory!View More
Search repair tips from other customers using simple keywords like "replace", "fit", "remove", "inspect". DIY doesn't mean you have to do it alone!
Search filter:
Clear Filter
Your search term must have 3 or more characters.
The washer was making a horrible noise during the spin cycle
54 of 68 peoplefound this instruction helpful.
Kevin from CLARK, MO
Really Easy
30 - 60 mins
Pliers, Screw drivers, Socket set
Removed a cap in the center of the tub basket which has a bolt that needs removed I believe it's a 9/16 after I removed the bolt I then removed the center of the bottom of the basket assembly which then allowed me to get to the basket hub that needed replaced it was a little dirty and I couldn't get it out so I sprayed a little penitratin
... Read moreg oil on it let it sit a little then I was able to remove the hub and install the new one then I put it all back together and the washer is working great
Read less
Was this helpful?
Thank you for voting!
Error reading 5D - wouldn't spin
23 of 26 peoplefound this instruction helpful.
Theresa from WALFORD, IA
Easy
Less than 15 mins
Pliers, Screw drivers
3rd time replacing this part. The plastic grooves against the metal get wore down. Only 20$ to repair ! Take off the 3/8 bolt - center pops out. Remove screws pop out old piece and tighten new piece each side evenly.
Was this helpful?
Thank you for voting!
water would not discharge from tub.
20 of 24 peoplefound this instruction helpful.
Raymond from SEBASTIAN, FL
Really Easy
15 - 30 mins
Pliers, Socket set
replaced the drain pump which took about 10 minutes. removed 3 screws, unplug elec. wire, remove 2 water hoses, put back together in reverse.


 My Orders