



 My Orders




WTW8000D Whirlpool Washer - Overview
Models starting with WTW8000D
Click on the best match to narrow your results.
Enter a part description. DIY Heroes keep it simple, eg. "belt" or "pump".
Search filter:
Clear Filter
Your search term must have 3 or more characters.

$65.73
In Stock
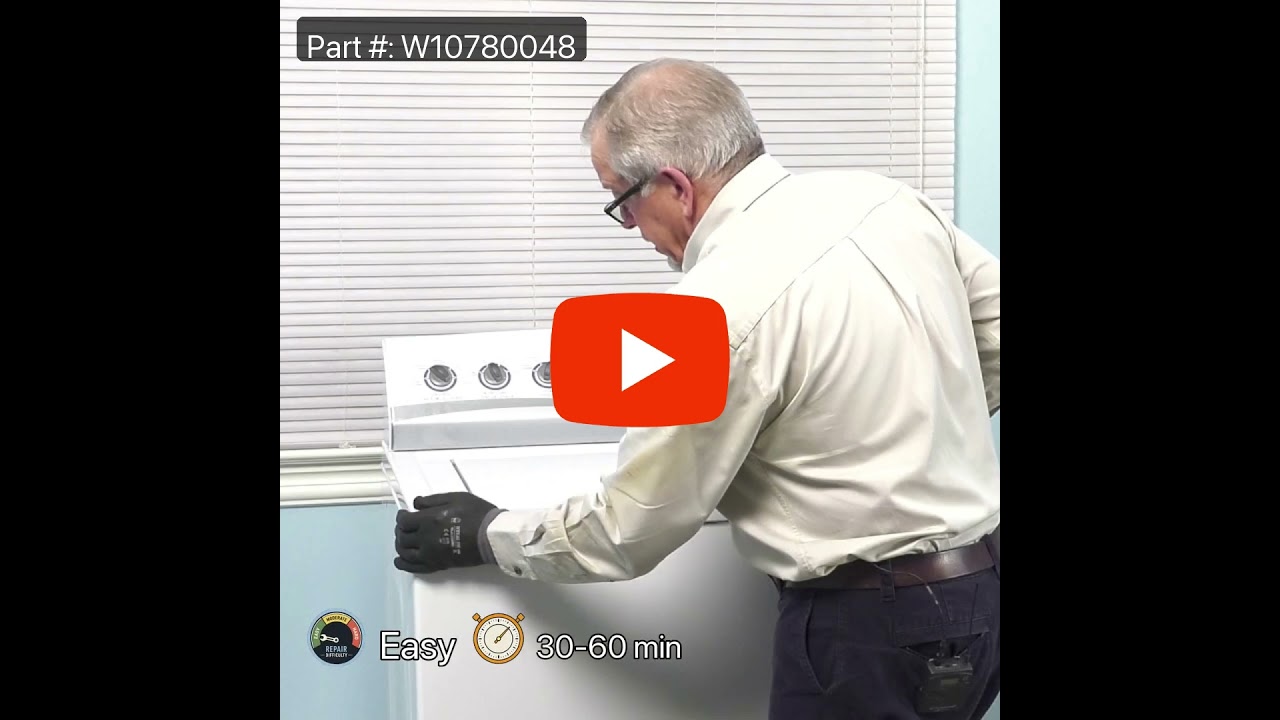
Washing Machine Suspension Rod Kit
Part #W10780048
This suspension rod kit is a genuine OEM kit specially designed for washing machines. Each kit includes a set of 4 rods, 4 suspension balls and 4 bushings. The suspension rods are responsible for supporting the washer tub and allowing it to move freely during the wash and spin cycles while minimizing vibrations and noise. The suspension r...Read moreods, balls and bushings may fail over time due to cracks, breaks, or excessive wear. If the suspension rod kit is faulty, you will likely notice excessive vibration or shaking during the spin cycle, loud banging noises, or the washer not balancing properly.
Read less

No Longer Available
Touch-Up Paint - White
Part #72017
This touch-up paint can be used on a wide variety of household appliances. It is most often used on washers, dryer, refrigerators, dishwashers, ranges, freezers, trash compactors, or microwaves. It is an 18 ml, or.6 fluid ounces, bottle of touch-up paint. It also features a brush for easy application. This quick-drying, long-lasting paint...Read more is perfect for fixing any nicks, scratches, or chips on the exterior of your appliance. This paint is white in color, and provides a durable finish.
Read less

$80.82
In Stock
Lid Lock Assembly
Part #W10810403
This lid lock assembly is supplied by the original manufacturer for use in various models of top-load washing machines. The assembly includes the lid lock mechanism and the wiring harness. You can find it positioned on the underside of the washer lid. The lid lock assembly is designed to prevent the washer lid from opening during use. Thi...Read mores is a safety mechanism that ensures that users do not accidentally come in contact with moving parts or are not injured by spilled water or detergent. If the lid lock assembly is faulty, the washer may be unable to start the cycle or it may stop in the middle of a cycle.
Read less

$9.62
In Stock
Hose Clamp
Part #WP285655
The hose clamp is used to hold the water hose in place which will prevent the hose from leaking water. Sometimes the clamp may lose its ability to latch on, causing a leaking washer. For the installation, you will need a flat head screw driver to replace the clamp and a drill to access the screws to remove the front of the washer. Be care...Read moreful if you do not have specific clamp pliers as the clamp could fly off. Once the front of the washer has been removed, take a quick look for water damage or any obvious signs of where the leak is coming from. If it is not obvious, run water to test.
Read less

$97.35
In Stock
Water Inlet Valve
Part #W11220230
This is a water inlet valve made for washing machines. This part is used to control the flow of water into the fill hose of the washing machine, to allow the washer to fill up with water. If your washing machine is not filling up with water properly, or if you are noticing leaks underneath your washing machine, the inlet valve has likely ...Read morefailed and you will likely need to replace it. This OEM inlet valve features two different inlets for hot and cold water but does not come with any other parts or accessories for installation. To replace this water inlet valve, you will need tools such as a screwdriver or wrench to gain access to it and remove it.
Read less

$7.47
In Stock

$9.62
In Stock
Impact Absorber
Part #WP8564458
This is an impact absorber, also known as a sound dampening pad, for washing machines. This sound dampening pad attaches to the top of your washing machine drum to reduce the severity and harshness of vibrations and movement during the washing and spinning cycle, to produce a quieter laundry experience. If your washer is shaking excessive...Read morely during operation, this pad may be worn out or simply missing, and in need of replacement. To replace this pad, you will need a screwdriver or wrench to access the inner portion of your washing machine and remove the old one and install the new one. This OEM pad measures 5-inches by 3-inches and is sold individually.
Read less

$26.82
In Stock
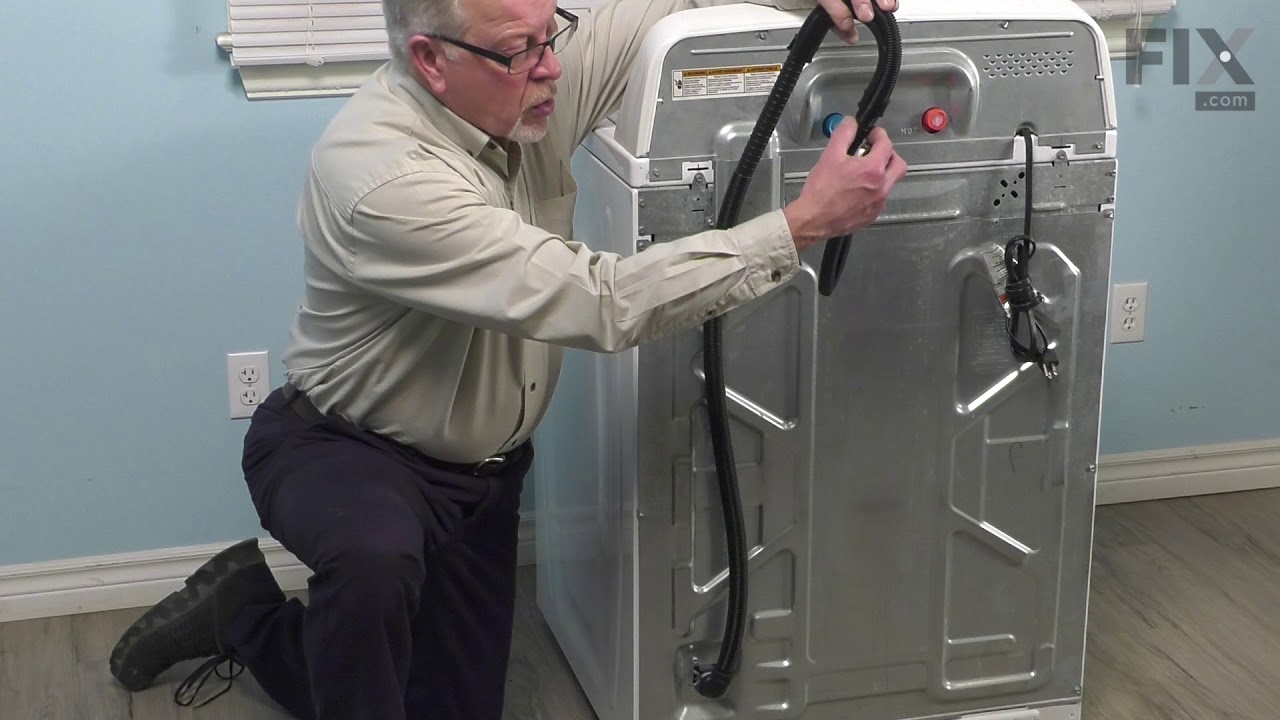
Washer Drain Hose
Part #W11244231
The drain hose carries used water from the washer to your house drain.

$82.94
In Stock
Washer Washplate
Part #W10752283
This washer washplate is a genuine OEM replacement component designed for top-load washing machines. Positioned at the bottom of the spin basket, it rotates back and forth to circulate laundry through the wash water, promoting even distribution and thorough cleaning. A faulty washplate may result in poor cleaning performance, ineffective ...Read moreagitation, or unusual noises during operation. Compatible with various models from Whirlpool, Kenmore, and other affiliated brands, this part ensures reliable functionality and efficient wash cycles. Replacement is recommended if the washplate shows signs of wear, damage, or failure to engage properly.
Read less

$48.45
In Stock
SLIDER
Part #W10734521
This clutch slider kit is genuine OEM replacement kit that fits in various models of washing machine. It is a part of the transmission system in your washer which is responsible for controlling the movement of the agitator during the wash and spin cycles. The assembly includes the clutch band, slider, and lock ring. The kit helps to regul...Read moreate the speed and direction of the agitator or drum. It allows the machine to start and stop spinning smoothly, as well as change speeds as needed during the wash and spin cycles. If the clutch slider kit has worn or damaged components, it can lead to problems like difficulty starting or stopping the machine, excessive noise during operation, or failure to spin properly.
Read less

$103.58
In Stock
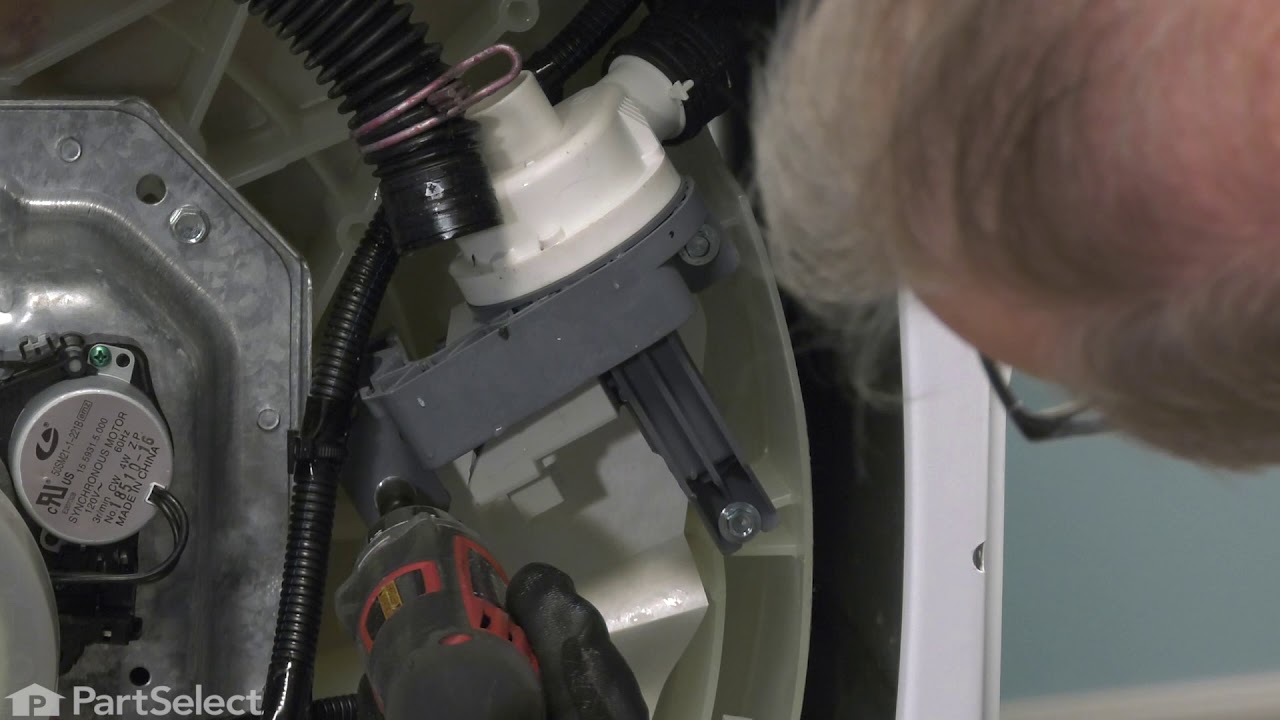
Water-Pump
Part #W10876600
This drain pump is specially designed to fit in top load washing machines. It is responsible for removing water from the washer tub during the drain cycle and directing it to the household plumbing system through the drain hose. If you notice longer draining times, grinding or rattling sounds, or standing water in the tub at the end of a ...Read morecycle, the drain pump is likely faulty. This may be due to several reasons such as normal aging, wiring problems or physical damage. It is also common for the drain pump to become clogged with small items such as coins or buttons.
Read less

$21.45
In Stock
Common Symptoms of models starting with WTW8000D
How this model fails, and the parts that fix it.
Shaking and Moving
Fixed by
these parts
these parts


Show All
Leaking
Fixed by
these parts
these parts


Show All
Will not agitate
Fixed by
these parts
these parts


Show All
Spinning Issues
Fixed by
these parts
these parts

Show All
Will not drain
Fixed by
these parts
these parts


Show All
Lid or door won’t close
Fixed by
these parts
these parts


Show All
Locking Issues
Fixed by
these parts
these parts
Show All
Will Not Start
Fixed by
these parts
these parts

Show All
Water Filling Issues
Fixed by
these parts
these parts
Show All
Noisy and Marks Left on Clothes
Fixed by
these parts
these parts
Show All
Draining Issues
Fixed by
these parts
these parts
Show All
No hot or cold water
Fixed by
these parts
these parts
Show All
Cycle Not Advancing
Fixed by
these parts
these parts
Show All
Does not dispense fabric softener or detergent
Fixed by
these parts
these parts

Show All
Spins slowly
Fixed by
these parts
these parts
Show All
Watch our pros, then fix it yourself.
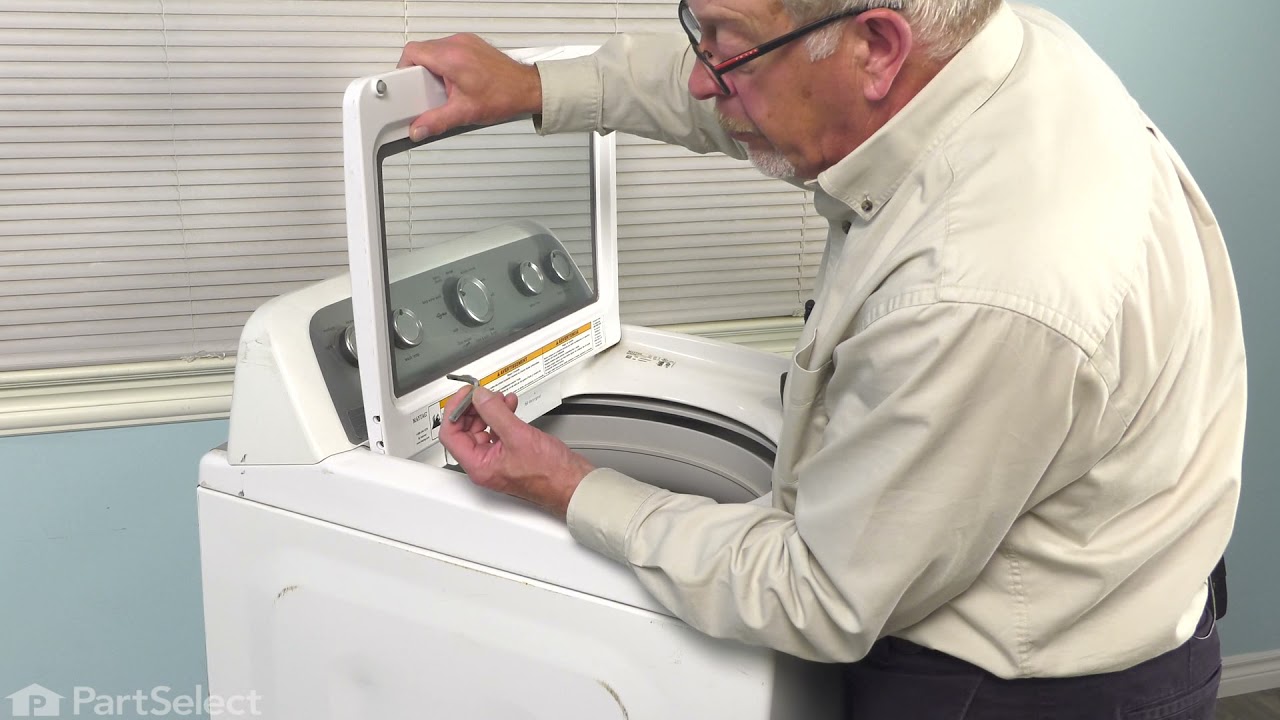

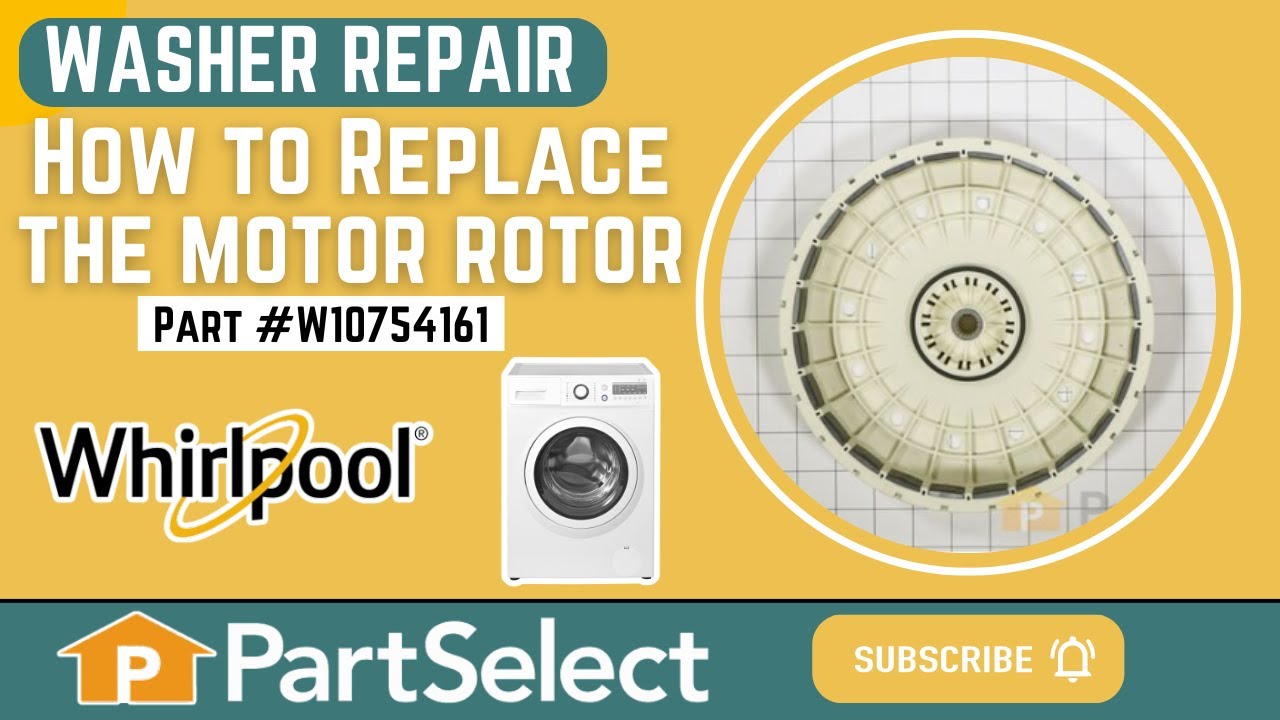
See how others fixed this model. Time, tools, difficulty, and steps that lead to victory!
View More