


 My Orders




WTW7800XL3 Whirlpool Washer - Overview
Diagrams for WTW7800XL3
See every part. Know exactly what you need.


Enter a part description. DIY Heroes keep it simple, eg. "belt" or "pump".
Search filter:
Clear Filter
Your search term must have 3 or more characters.

$99.48
In Stock
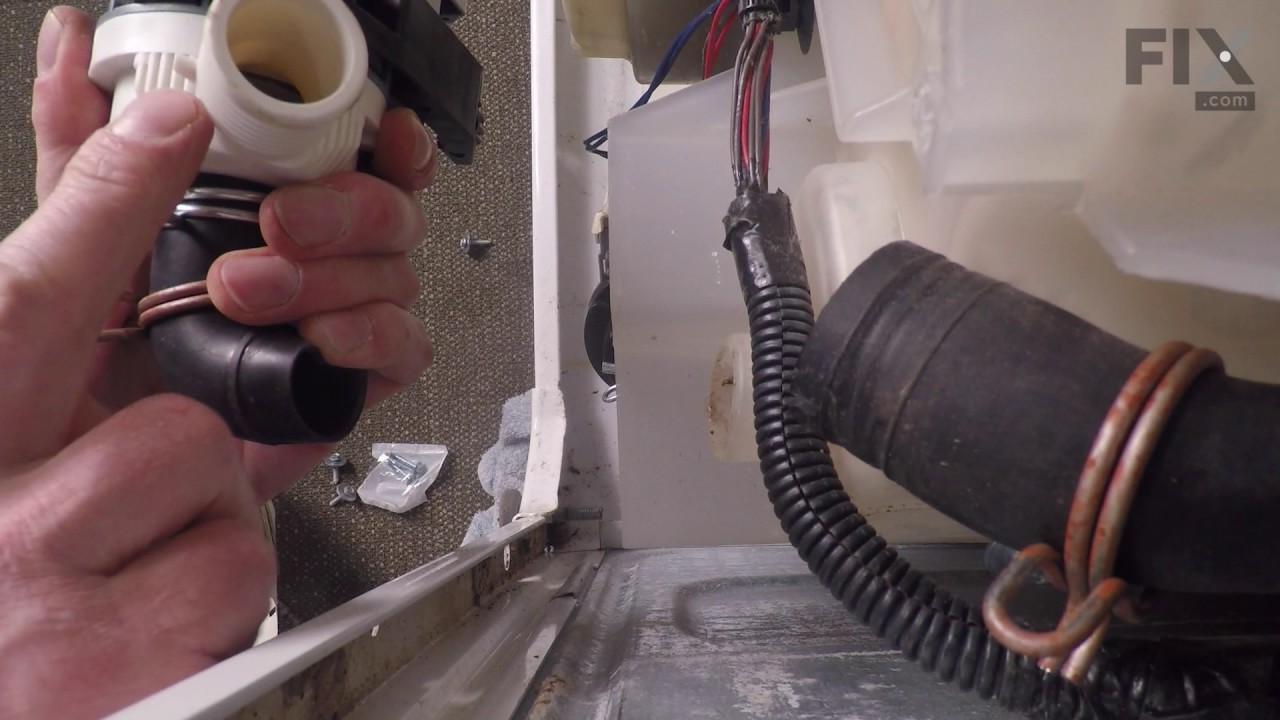
Drain Pump
Part #W10536347
This washer drain pump assembly is a genuine OEM replacement designed to expel water from the washing machine during the drain and spin cycles. Engineered for compatibility with a wide range of models under the Whirlpool brand umbrella—including Whirlpool, Maytag, Kenmore, KitchenAid, and Jenn-Air—this pump ensures efficient water removal...Read more and supports proper cycle completion. A malfunctioning pump may result in standing water, slow drainage, or cycle interruptions. Constructed for durability and long-term performance, this part should be installed with the appliance unplugged, and model compatibility must be verified prior to purchase.
Read less

$35.80
In Stock
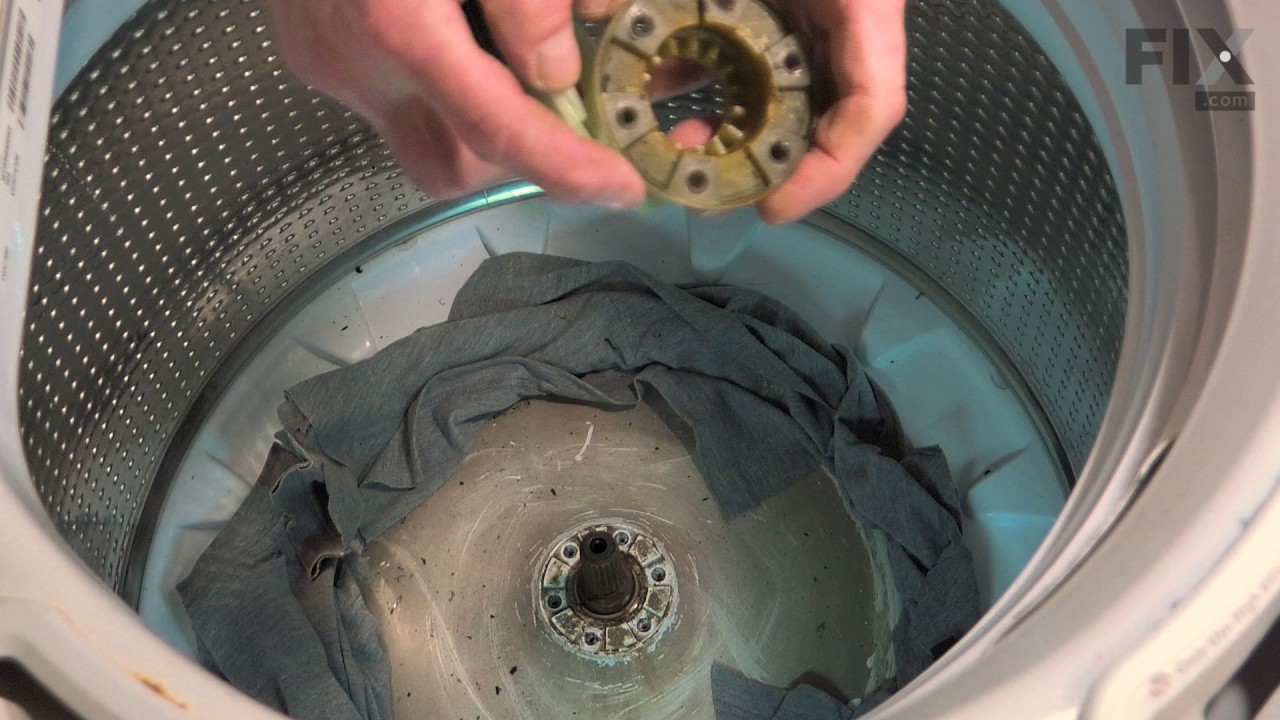
Basket Hub Kit
Part #W10820039
This kit includes one driver hub and two driven basket hubs. The basket hub is located under the agitator. If your washer is not agitating or spinning properly, the hubs will need to be replaced.

$7.47
In Stock
Washer Hose Clamp
Part #WP596669
This hose clamp is used in a wide variety of household appliances. Most often it is found in washers, dishwashers, refrigerators, freezers, dehumidifiers, garbage disposals, or air conditioners. This clamp is used to securely attach a hose to another part of your appliance, which helps prevent leaks from those connections. Depending on th...Read moree appliance, it can attach hoses to drain pumps, water inlet valves, pressure switches, and injector nozzles. We recommend you refer to model-specific diagrams for appropriate uses and exact placement. This hose clamp is made of metal, and is sold individually. To access and replace this part you will need a nut driver, pliers, and screwdrivers. Before you begin any repair work, make sure you have unplugged your appliance, and shut off the water supply if applicable.
Read less

$81.00
In Stock
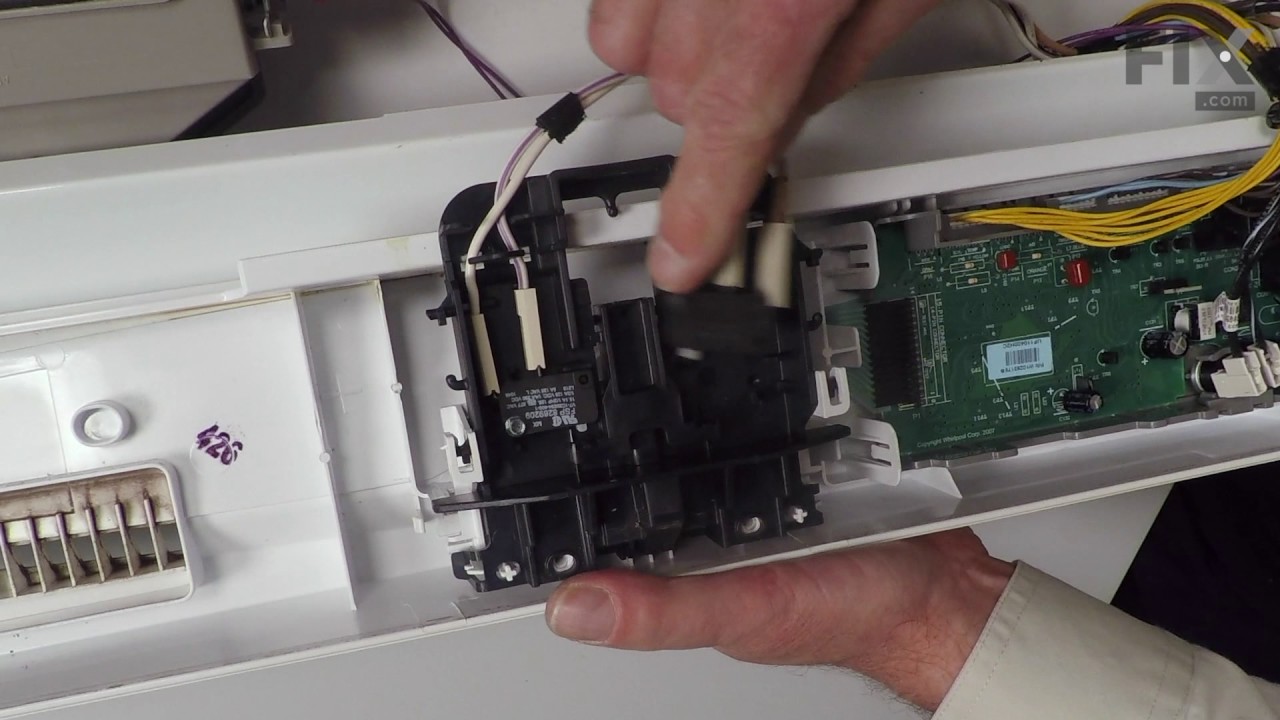
Washer Lid Lock Assembly
Part #WPW10619844
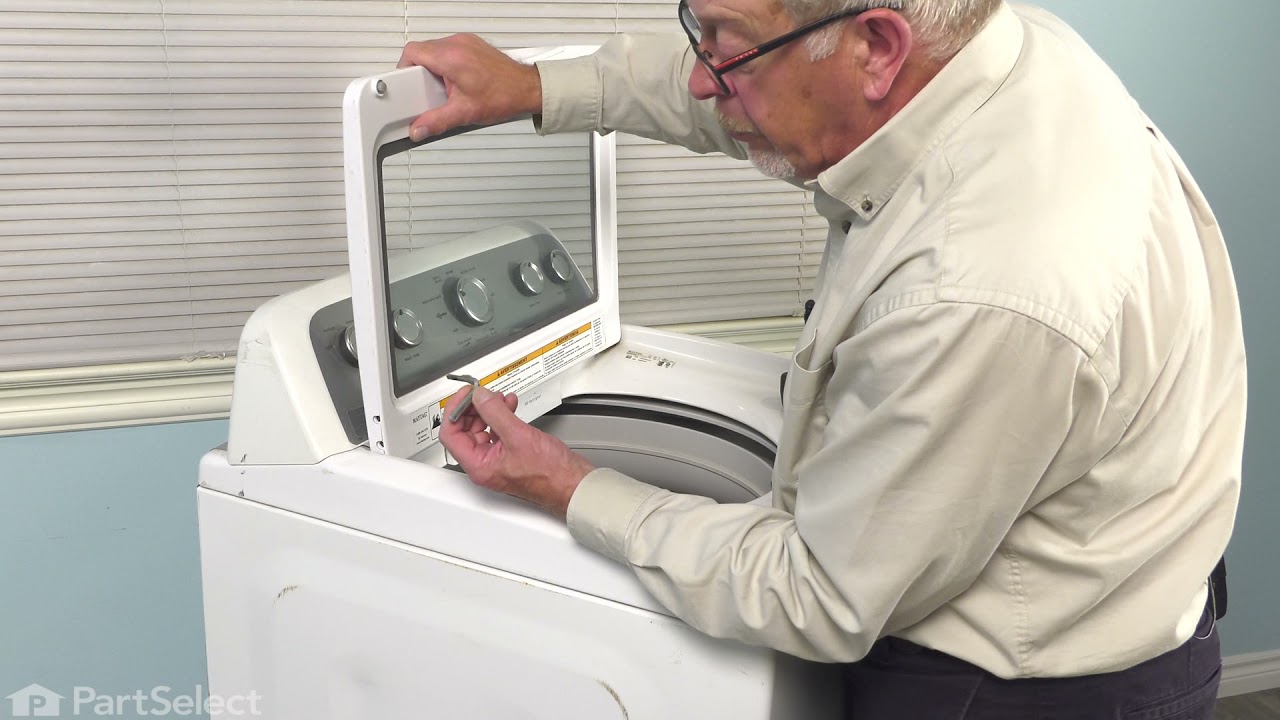
This washer lid lock assembly is designed to ensure safe and efficient operation of top-loading washing machines by securely locking the lid during wash and spin cycles. It prevents the machine from running when the lid is open, reducing the risk of injury and ensuring proper cycle completion. The assembly includes a latch switch that det...Read moreects lid position and communicates with the washer’s control system, helping to resolve issues such as failure to start, agitation problems, or difficulty opening or closing the lid. Compatible with a wide range of models, this component is engineered for reliable performance and long-term durability. Installation may require basic tools and should be performed with the appliance unplugged.
Read less

No Longer Available
Touch-Up Paint - White
Part #72017
This touch-up paint can be used on a wide variety of household appliances. It is most often used on washers, dryer, refrigerators, dishwashers, ranges, freezers, trash compactors, or microwaves. It is an 18 ml, or.6 fluid ounces, bottle of touch-up paint. It also features a brush for easy application. This quick-drying, long-lasting paint...Read more is perfect for fixing any nicks, scratches, or chips on the exterior of your appliance. This paint is white in color, and provides a durable finish.
Read less

$7.47
In Stock
Screw
Part #WP488729
Metallic screw that is less than an inch long. Does not include the plastic washer.

$9.62
In Stock
Hose Clamp
Part #WP285655
The hose clamp is used to hold the water hose in place which will prevent the hose from leaking water. Sometimes the clamp may lose its ability to latch on, causing a leaking washer. For the installation, you will need a flat head screw driver to replace the clamp and a drill to access the screws to remove the front of the washer. Be care...Read moreful if you do not have specific clamp pliers as the clamp could fly off. Once the front of the washer has been removed, take a quick look for water damage or any obvious signs of where the leak is coming from. If it is not obvious, run water to test.
Read less

$20.36
Special Order
Affresh Washing Machine Cleaner - 3 pack
Part #W10135699
Affresh Washing Machine Cleaner includes three slow-dissolving tablets that help remove odor-causing residue from inside the washer. Suitable for all washer brands, including high-efficiency (HE) machines, the formula is also septic-safe. Place one tablet directly in the empty wash basket and run the Clean Washer cycle, or use a normal cycle with hot water. Use monthly or every 30 wash cycles for best results.

$7.47
In Stock

$38.96
In Stock
Washer Sensor
Part #WPW10178988
This rotary position sensor is a genuine OEM part for your washing machine. It helps to ensure the load of clothing stays balanced during the wash cycle. Customers have rated this repair as easy. To complete this repair, you will need an Allen wrench, 3/8 inch socket, and a screwdriver. The repair will involved turning off the power and water supply, and tilting the washer on its front to access the sensor.

$21.45
In Stock

$19.30
In Stock
Manuals & Care Guides for WTW7800XL3
Click to downloadInstall
Installation Instructions
(3.56MB)
Install
Installation Instructions
(2.69MB)
Install
Installation Instructions
(2.72MB)
Manual
Owner's Manuals
(10.22MB)
Common Symptoms of the WTW7800XL3
How this model fails, and the parts that fix it.
Leaking
Fixed by
these parts
these parts


Show All
Will not drain
Fixed by
these parts
these parts

Show All
Lid or door won’t close
Fixed by
these parts
these parts


Show All
Will Not Start
Fixed by
these parts
these parts

Show All
Will not agitate
Fixed by
these parts
these parts
Show All
Spinning Issues
Fixed by
these parts
these parts

Show All
Locking Issues
Fixed by
these parts
these parts
Show All
Spins slowly
Fixed by
these parts
these parts
Show All
Shaking and Moving
Fixed by
these parts
these parts
Show All
Draining Issues
Fixed by
these parts
these parts
Show All
Water Filling Issues
Fixed by
these parts
these parts

Show All
Noisy and Marks Left on Clothes
Fixed by
these parts
these parts
Show All
Leaks water
Fixed by
these parts
these parts
Show All
Watch our pros, then fix it yourself.


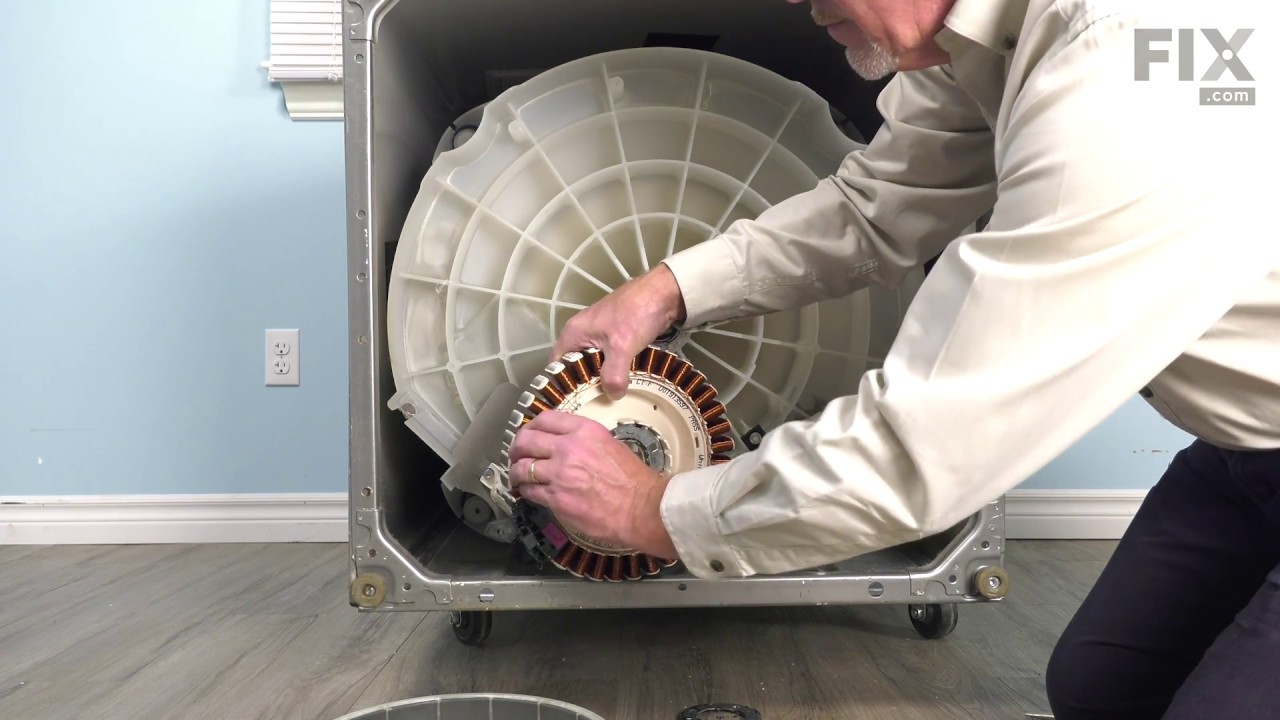

See how others fixed this model. Time, tools, difficulty, and steps that lead to victory!
View More