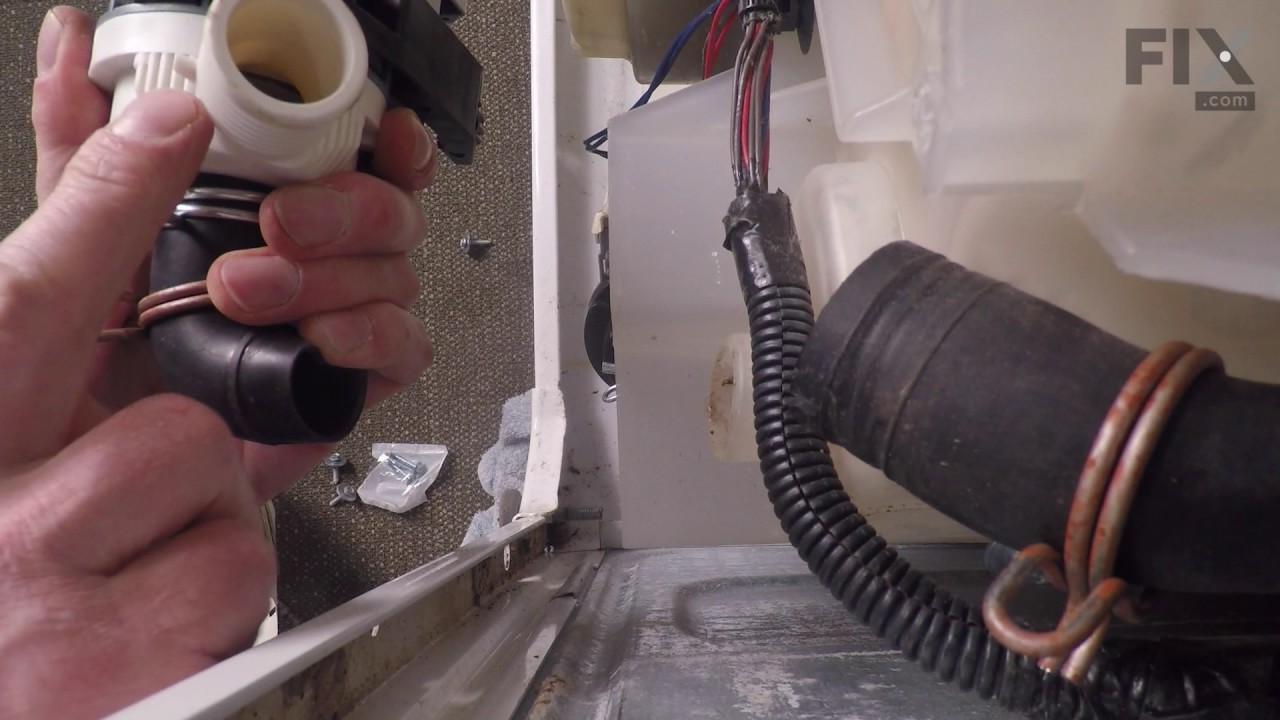
This washer drain pump assembly is a genuine OEM replacement designed to expel water from the washing machine during the drain and spin cycles. Engineered for compatibility with a wide range of models under the Whirlpool brand umbrella—including Whirlpool, Maytag, Kenmore, KitchenAid, and Jenn-Air—this pump ensures efficient water removal...Read more and supports proper cycle completion. A malfunctioning pump may result in standing water, slow drainage, or cycle interruptions. Constructed for durability and long-term performance, this part should be installed with the appliance unplugged, and model compatibility must be verified prior to purchase.
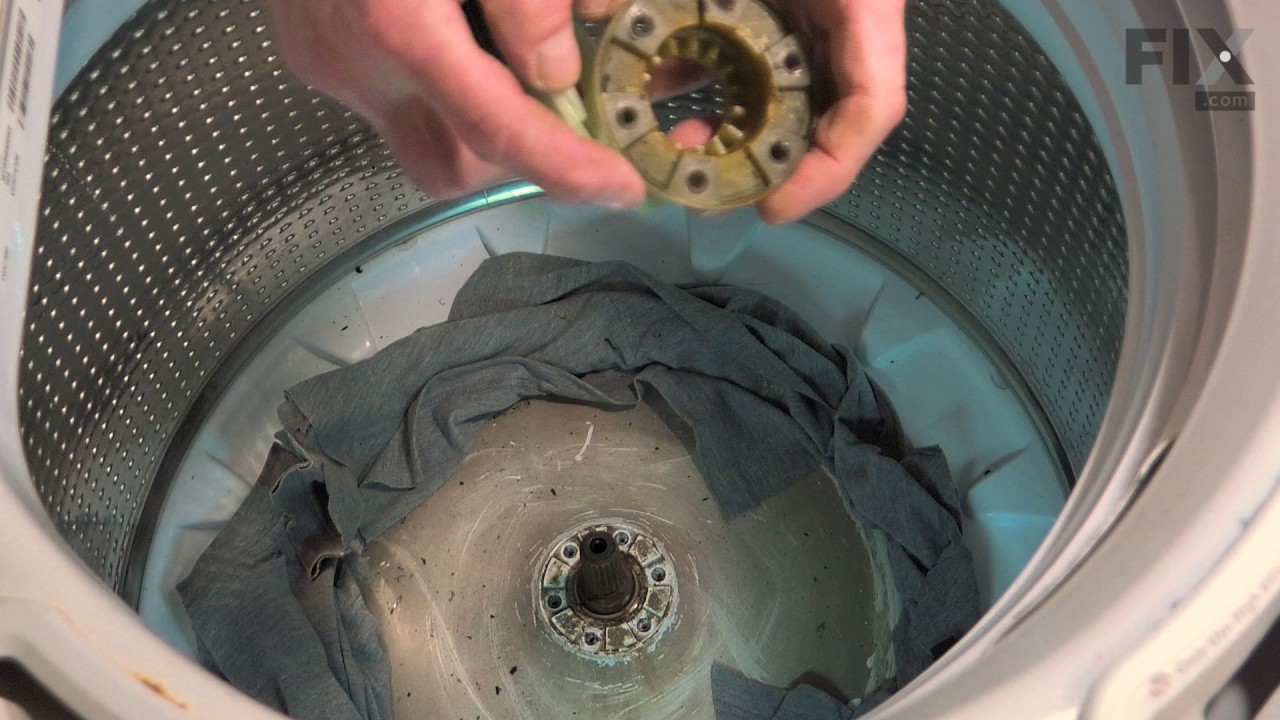
This kit includes one driver hub and two driven basket hubs. The basket hub is located under the agitator. If your washer is not agitating or spinning properly, the hubs will need to be replaced.
This hose clamp is used in a wide variety of household appliances. Most often it is found in washers, dishwashers, refrigerators, freezers, dehumidifiers, garbage disposals, or air conditioners. This clamp is used to securely attach a hose to another part of your appliance, which helps prevent leaks from those connections. Depending on th...Read moree appliance, it can attach hoses to drain pumps, water inlet valves, pressure switches, and injector nozzles. We recommend you refer to model-specific diagrams for appropriate uses and exact placement. This hose clamp is made of metal, and is sold individually. To access and replace this part you will need a nut driver, pliers, and screwdrivers. Before you begin any repair work, make sure you have unplugged your appliance, and shut off the water supply if applicable.
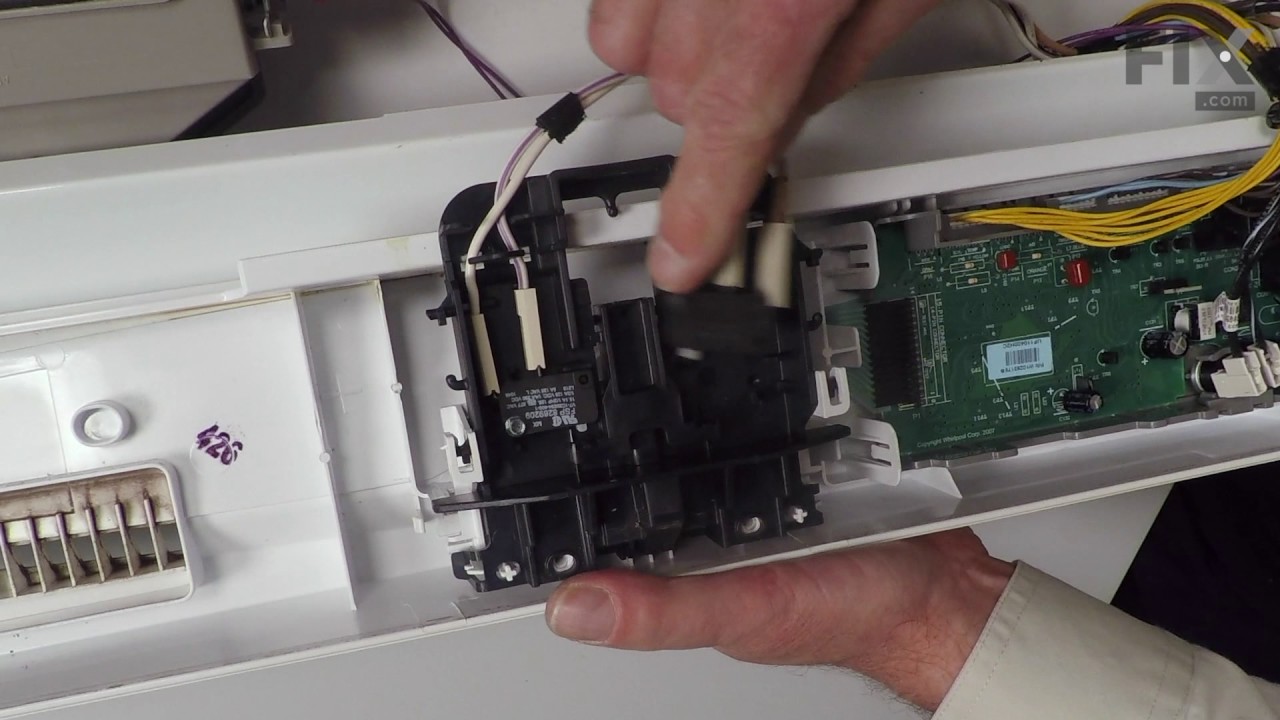
This washer lid lock assembly is designed to ensure safe and efficient operation of top-loading washing machines by securely locking the lid during wash and spin cycles. It prevents the machine from running when the lid is open, reducing the risk of injury and ensuring proper cycle completion. The assembly includes a latch switch that det...Read moreects lid position and communicates with the washer’s control system, helping to resolve issues such as failure to start, agitation problems, or difficulty opening or closing the lid. Compatible with a wide range of models, this component is engineered for reliable performance and long-term durability. Installation may require basic tools and should be performed with the appliance unplugged.
This touch-up paint can be used on a wide variety of household appliances. It is most often used on washers, dryer, refrigerators, dishwashers, ranges, freezers, trash compactors, or microwaves. It is an 18 ml, or.6 fluid ounces, bottle of touch-up paint. It also features a brush for easy application. This quick-drying, long-lasting paint...Read more is perfect for fixing any nicks, scratches, or chips on the exterior of your appliance. This paint is white in color, and provides a durable finish.
The hose clamp is used to hold the water hose in place which will prevent the hose from leaking water. Sometimes the clamp may lose its ability to latch on, causing a leaking washer. For the installation, you will need a flat head screw driver to replace the clamp and a drill to access the screws to remove the front of the washer. Be care...Read moreful if you do not have specific clamp pliers as the clamp could fly off. Once the front of the washer has been removed, take a quick look for water damage or any obvious signs of where the leak is coming from. If it is not obvious, run water to test.
Affresh Washing Machine Cleaner includes three slow-dissolving tablets that help remove odor-causing residue from inside the washer. Suitable for all washer brands, including high-efficiency (HE) machines, the formula is also septic-safe. Place one tablet directly in the empty wash basket and run the Clean Washer cycle, or use a normal cycle with hot water. Use monthly or every 30 wash cycles for best results.
This rotary position sensor is a genuine OEM part for your washing machine. It helps to ensure the load of clothing stays balanced during the wash cycle. Customers have rated this repair as easy. To complete this repair, you will need an Allen wrench, 3/8 inch socket, and a screwdriver. The repair will involved turning off the power and water supply, and tilting the washer on its front to access the sensor.
Ask our experts a question about this model and we'll get back to you as soon as possible!
We may have answered a similar question already! Search questions and answers left by others using simple keywords like "fit", "broken", "easy", or "quality" to find questions that match.
Search filter:
Clear Filter
Your search term must have 3 or more characters.
Sort by:
Prev
1
Next
Sorry, we couldn't find any existing answers that matched.Try using some different or simpler keywords, or submit your new question by using the "Ask a Question" button above!
Lori - For model number WTW6500WW1
January 15, 2020
Error code SD is on my washing machine with 12 minutes in cycle left. It will not finish washing. What is the possible problem?
Hi Lori,
Thank you for your question. According to the Whirlpool website, the SD error code indicates excessive detergent suds occurred during the cycle. This could be caused by using too much detergent or not using High Efficiency (HE) detergent. The washer will not be able to spin out water with the excess suds. When "Sud" or "Sd" is displayed, the washer automatically extends the rinse time to remove the excess suds. During this time, the washer pauses the tumbling and adds water for additional rinsing. This pause allows the bubbles in the suds to break. This pause and rinsing are necessary and may occur several times to eliminate the suds. This could significantly lengthen the time for your washer to complete the cycle. If the problem continues, and the correct amount and correct type of detergent is being used, we suggest running a "Clean Washer" cycle to remove residual detergent that might have built up in the washer. Follow the instructions in your Use and Care Guide for cleaning. Here is a link to your owner's manual for more information, https://partselectcom.azureedge.net/assets/manuals/6CE737459D5BEDA3A1492CEDDA862A1B4B82AD50.pdf. We hope this helps. Thank you and have a great day.
4 peoplefound this instruction helpful.
Was this helpful?
Thank you for voting!
Ben - For model number WTW6500WW1
October 14, 2022
Stops at Rinse cycle: oL (over load)
Must finish by power off / start with drain and spin ok.
Does it on small loads.
Hello Ben, thank you for asking. We have researched your model and found that the most common part related to this issue is the sensor, part number PS11749664. It ensures a load of clothing stays balanced during the wash cycle. Customer service is available 7 days a week if you require assistance placing an order. Thanks again for reaching out!
How to fix when the tub banging around during final spin cycle causing a UL code eventhough, the washer is level?
Hi Mike, thank you for contacting us. According to our research, the uL error code indicates that the load is out of balance. We would recommend checking the suspension rod kit, part number PS2355518. It supports the wash tub and keeps it stable during unbalanced loads. You may need to replace it to fix the issue. We hope this sorts out your problem!
The hoses were replaced because they were leaking with hoses from Home Depot. The code "HC" appeared at the end of my wash. I pushed cold water for wash and rinse but warm or hot water was used.
Hi Ginger, thank you for bringing this question to our attention. The HC error code indicates the hot and cold inlet hoses have been installed incorrectly. First, shut off the appliance, then reverse the inlet hoses to get rid of this issue. We hope this information is useful!
Was this helpful?
Thank you for voting!
Michael - For model number WTW6500WW1
August 8, 2022
Bearings
Hello Michael, Thank you for contacting us. We have researched the model you have provided and have found the part you are looking for is PartSelect Number PS3503261. If you need help placing an order, customer service is open 7 days a week. Please feel free to give us a call. We look forward to hearing from you!
See how others fixed this model. Time, tools, difficulty, and steps that lead to victory!View More
Search repair tips from other customers using simple keywords like "replace", "fit", "remove", "inspect". DIY doesn't mean you have to do it alone!
Search filter:
Clear Filter
Your search term must have 3 or more characters.
Loose change entered drain pump, cracked housing leaked all water out
205 of 243 peoplefound this instruction helpful.
ROBERT from BARRINGTON, IL
Easy
30 - 60 mins
Nutdriver, Socket set
Disconnect power, hot/cold supply and drain hose. Tip washer onto front side, expect some additional water to leak out. Remove the cracked drain pump, 3 screws, hose clamps, and electrical plug.
Tip washer back up, use the putty knife to pop the top cover up (clips are about 6.5in in from sides). Unclip the white plastic cover
... Read moreover the outer and inner tubs. Pop the center cap from inside the inner tub, exposing the bolt holding the inner tub down. Remove bolt, pull inner tub up and out.
At bottom of outer tub remove 2 screws from drain access cover, should find some change under there (or in the pump).
Re-assemble using new pump.
Note: Before new pump arrived I was able to use some silicone sealant, epoxy, and black tape to temporarily fix the cracked pump housing after pulling it out.
Read less
Was this helpful?
Thank you for voting!
Water pump for draining
68 of 84 peoplefound this instruction helpful.
Kerry from Alleyton, tX, TX
Easy
30 - 60 mins
Nutdriver, Pliers, Socket set
The actual install of the pump was extremely easy. I removed the back cover, (After unhooking water, drain and electricity. I laid the machine on its front ( USE CAUTION WHEN DOING THIS, THERE ARE SHARP EDGES on the FRAME) After bandaging my cut fingers, I used a nut-driver/screwdriver to remove the screws, pliers to remove the Spring cla
... Read moremps, unhooked the wiring( its a single plug in) and reverse the procedure for installing.
I saw where a person had put the screws in the filter below the tub. I had to find the clips on the front of the machine, (about 7 in in from the sides) I removed the nut cover on the agitator, used a socket to remove the agitator, tub, and a nut driver to remove the filter. I found 3 areas where coins could get through the drain filter, and I used self tapping screws to make an obstruction that water could get through but not the coins. I reinstalled tub. Before re installing the agitator, I got some fiber glass window screening and cut a piece to go over the drain slots in the bottom of the tub but under the agitator, then reinstalled the agitator.
I noticed that the new pump had more re enforcing at the areas where the 1st pump broke. I doubt that it will break, but I am not taking any chances. I put the screen in to prevent the coins from getting to the drain filer 1st and the back up was the screws in the drain filter.
Read less
Was this helpful?
Thank you for voting!
The washer was making a horrible noise during the spin cycle
54 of 68 peoplefound this instruction helpful.
Kevin from CLARK, MO
Really Easy
30 - 60 mins
Pliers, Screw drivers, Socket set
Removed a cap in the center of the tub basket which has a bolt that needs removed I believe it's a 9/16 after I removed the bolt I then removed the center of the bottom of the basket assembly which then allowed me to get to the basket hub that needed replaced it was a little dirty and I couldn't get it out so I sprayed a little penitratin
... Read moreg oil on it let it sit a little then I was able to remove the hub and install the new one then I put it all back together and the washer is working great




 My Orders