


 My Orders




WTR1071TP (AOWEECI) LG Washer - Overview


Enter a part description. DIY Heroes keep it simple, eg. "belt" or "pump".
Search filter:
Clear Filter
Your search term must have 3 or more characters.

$58.42
In Stock
Washing Machine Drain Pump
Part #4681EA2001T
The drain pump and motor assembly may also be known as the washer drain pump and is a part for your washer. The drain pump helps expel water from the washing machine. The drain pump is activated after the spin cycle speed is maintained for a specific period of time. To make this installation you will need a Phillips screwdriver, a small f...Read morelat-blade screwdriver, a pair of needle-nose pliers, and a pair of slip-joint pliers. Note that the pump casing is not included. This medium-difficulty repair may vary, but can generally be started by disconnecting power, then removing the top of the washer by taking out the four back screws and two small brackets. Then, remove the front panel by taking out the two screws and eight tabs that should be taken from the top. Moving down the front of the washer, remove the door, latch, tub gasket, and drain cover. Disconnect the drain hoses and clip from under the drain assembly, and install new assembly from there. Reassemble parts in direct reverse order -- taking photos during disassembly and keeping parts clearly organized can help here. Despite the number of steps, you will only need a standard Phillips screwdriver to complete this repair.
Read less

$49.50
Special Order

$36.85
On Order
LEG ASSEMBLY
Part #4263FA3933C

$29.47
Special Order
DAMPER
Part #5040FA4226B

$46.34
In Stock
Water Inlet Hose
Part #5215FD3715L

$46.34
In Stock

$15.00
In Stock
Ring,Snap
Part #3W50012U

No Longer Available
SPINDLE,ADJUSTABLE L
Part #4262FA3551F
$21.45
Special Order
PRESSURE S/W TUBE
Part #5210FA3427A
No Longer Available
SWITCH,S.PRESSURE
Part #6600FA1704B

$15.00
On Order
HANDLE
Part #3650FA3488R

$15.00
Special Order
STOPPER ASSEMBLY,LEG
Part #4621EA4001A
Common Symptoms of the WTR1071TP
How this model fails, and the parts that fix it.
Will not drain
Fixed by
these parts
these parts

Show All
Draining Issues
Fixed by
these parts
these parts
Show All
Leaking
Fixed by
these parts
these parts
Show All
Engine runs but does not pump water
Fixed by
these parts
these parts
Show All
Noisy
Fixed by
these parts
these parts
Show All
Will Not Start
Fixed by
these parts
these parts
Show All
Not draining
Fixed by
these parts
these parts
Show All
Watch our pros, then fix it yourself.
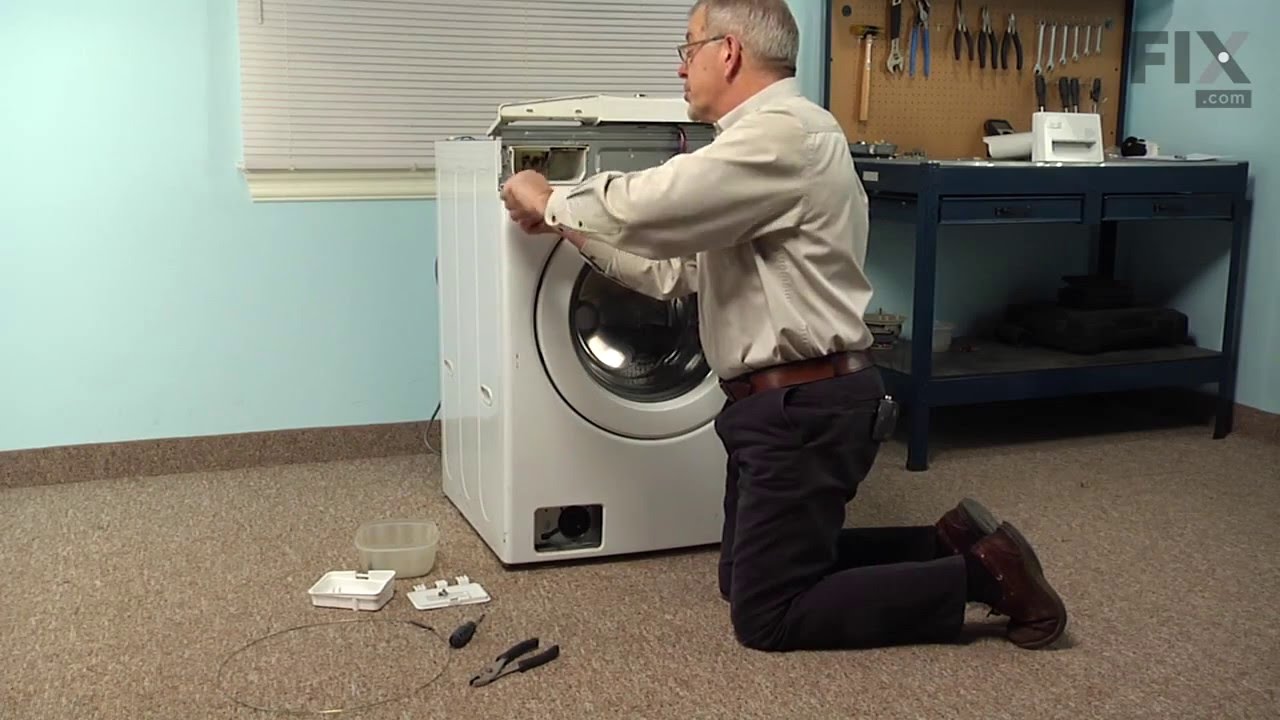
See how others fixed this model. Time, tools, difficulty, and steps that lead to victory!
View More