EasyApplianceParts is now PartSelect! We've merged our sites to provide a better shopping experience for you.   Full Details
✖

Find Parts

Parts Departments

Top Model Types

Top Brands

Repair Help

Expert Repair Videos

Keep typing for more specific results...

WSXH208V1WW General Electric Washer - Overview

Diagrams for WSXH208V1WW

See every part. Know exactly what you need.

Enter a part description. DIY Heroes keep it simple, eg. "belt" or "pump".

Search filter:
Clear Filter
Your search term must have 3 or more characters.
Shock Absorber Assembly – Part Number: WH17X10001
No Longer Available
Shock Absorber Assembly
★★★★★
★★★★★
(2)
Part #WH17X10001
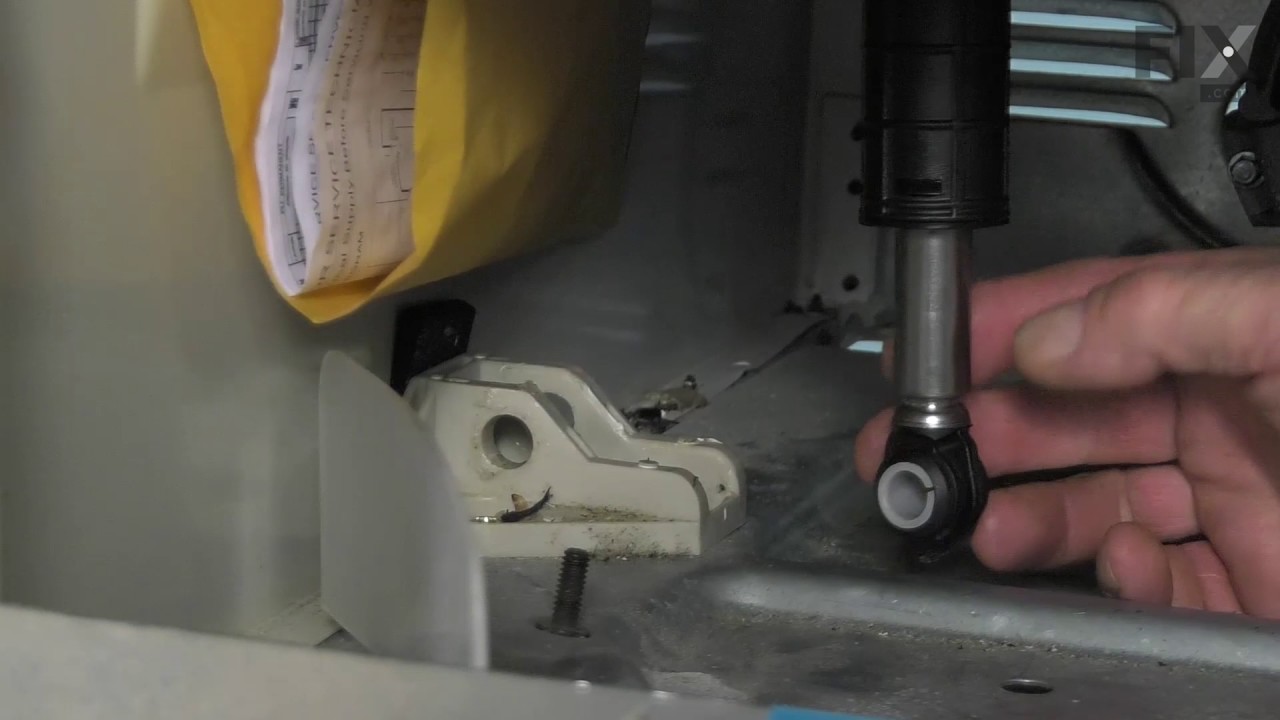
This assembly comes with two shocks, four nuts, one leveling leg pin and instructions. These shock absorbers keep the washer from vigorous shaking during it's cycles.
Drain Pump – Part Number: WH23X10016
No Longer Available
Drain Pump
★★★★★
★★★★★
(2)
Part #WH23X10016
This pump helps expel water from the washing machine and is activated after the spin speed is maintained for a specific period of time.
Tub Spring with Sleeves – Part Number: WH01X10022
No Longer Available
Timer Knob – Part Number: WH01X10064
No Longer Available
Timer Knob
Part #WH01X10064
Door Catch - Black – Part Number: WH10X10002
No Longer Available
Door Catch - Black
★★★★★
★★★★★
(1)
Part #WH10X10002
Also known as Door Strike. Used for front load washers.
SCREW-LOCK 10-16X 50 – Part Number: WH02X10009
No Longer Available
SCREW-LOCK 10-16X 50
Part #WH02X10009
Coin Trap – Part Number: WH41X10010
No Longer Available
Coin Trap
Part #WH41X10010
Inlet Hose - 2 pack – Part Number: WH41X10207
$24.67
In Stock
Inlet Hose - 2 pack
Part #WH41X10207
Includes 2 hoses that are 4 feet long, and 4 seals.
Drive Belt – Part Number: WH08X10003
No Longer Available
Drive Belt
Part #WH08X10003
This drive belt contains 6 ribs.
VANE – Part Number: WH16X10008
No Longer Available
VANE
Part #WH16X10008
KIT-BELLOWS & Mounting SPRING – Part Number: WH45X10062
No Longer Available
Rotary Knob – Part Number: WH01X10062
No Longer Available

Questions And Answers for WSXH208V1WW

Be the first to ask our experts a question about this model!

Common Symptoms of the WSXH208V1WW

How this model fails, and the parts that fix it.

Watch our pros, then fix it yourself.

See how others fixed this model. Time, tools, difficulty, and steps that lead to victory! View More

Search repair tips from other customers using simple keywords like "replace", "fit", "remove", "inspect". DIY doesn't mean you have to do it alone!

Search filter:
Clear Filter
Your search term must have 3 or more characters.
Broken Spring & broken level-shock.
17 of 20 people found this instruction helpful.
  • STEWART from STOKESDALE, NC
  • Easy
  • 1- 2 hours
  • Pliers, Screw drivers
Disconected power & hoses. Removed 4 screws from two tabs at rear of top. Slid top fwd & up to remove. Removed two screws from lower front panel and removed panel. Removed back cover screws and back cover. Placed sling arround tub & lifted with 2"X4" on strap placing additional wood under sling supported by edges of machine. Removed one s cred and loosened mother that held spring hook in place. removed broken end and remainder of spring. hooked spring in hole in tub and raised spring upper hook on to support , re installed retainer. Went to lower side and removed plastic push bolts, by slipping a 1/2 " deep socker over front end and pulling from back with plirers.allign the holes in the new shock with the mount holes and nock them in place. remove sling from arround tub and re assemble all removed parts.
Was this helpful?
Thank you for voting!
The water pump becomes very noisy
13 of 16 people found this instruction helpful.
  • Roger from Hudson, WI
  • Easy
  • 15 - 30 mins
  • Pliers, Screw drivers
This is the second time in the same 7 year old appliance. Remove the front bottom cover by removing 2 screws. Then remove the 2 screws holding the pump down. Then unclip the electrical wire from the pump and remove both hoses from the pump by squeezing the spring clamps with a pliers. Have a pan to collect the water that will drain fr om the lines. Take the new pump and install it in reverse order from above.
Was this helpful?
Thank you for voting!
Small plastic pieces broke and knob wouldn't work
15 of 23 people found this instruction helpful.
  • TOM from JACKSONVILLE, FL
  • Really Easy
  • Less than 15 mins
Had to go to an Internet forum to find out how to remove broken knob (while pushing, turn counterclockwise), but repair was a snap after that.
Was this helpful?
Thank you for voting!