


 My Orders




WSM27THEWWW General Electric Washer - Overview
Diagrams for WSM27THEWWW
See every part. Know exactly what you need.


Enter a part description. DIY Heroes keep it simple, eg. "belt" or "pump".
Search filter:
Clear Filter
Your search term must have 3 or more characters.

$32.37
In Stock
Lower Front Felt Seal with Adhesive
Part #5303937183
The lower front felt seal with adhesive, also known as a drum felt seal, is used in dyers and allows the drum to easily glide on the front panel. For this repair project, you will need the following tools: #2 Phillips screw driver, #2 square head screw driver, putty knife, and wire bush. If your dryer will not tumble, or makes a squeaking...Read more noise when running, replacing this part could solve the problem. Remember to unplug your appliance from the power source for safety before you begin this installation project. Refer to the manual provided by the manufacturer for further installation instructions.
Read less

$70.95
In Stock
Timer Knob - Dryer
Part #WE01X10160
Used with washer/dryer combo machines. This knob takes a D-shaped shaft.

$73.68
In Stock
Drum Glide
Part #WE03X10007
Sold individually. There are some dryers that require 2 per dryer. They attach to the outer-most sides of the bearing.

No Longer Available
SNUBBER RING
Part #WH1X2312

No Longer Available

$15.35
In Stock
Washer Package of 12
Part #WH2X42D

No Longer Available

$73.04
Special Order
Thermal Limiter
Part #WE04X10094
This part is found in the same location as the Terminal Block at the back of the Dryer. It acts as a safety device which prevents your appliance from overheating.

No Longer Available

No Longer Available
DOOR CATCH
Part #WE01X10023

$34.74
Special Order
THRUST WASHR
Part #WH2X1009

$54.54
On Order
POWER CORD (120V GAS)
Part #WE26M345
Common Symptoms of the WSM27THEWWW
How this model fails, and the parts that fix it.
Noisy
Fixed by
these parts
these parts


Show All
Marks left on clothes
Fixed by
these parts
these parts
Show All
Leaking
Fixed by
these parts
these parts


Show All
Watch our pros, then fix it yourself.
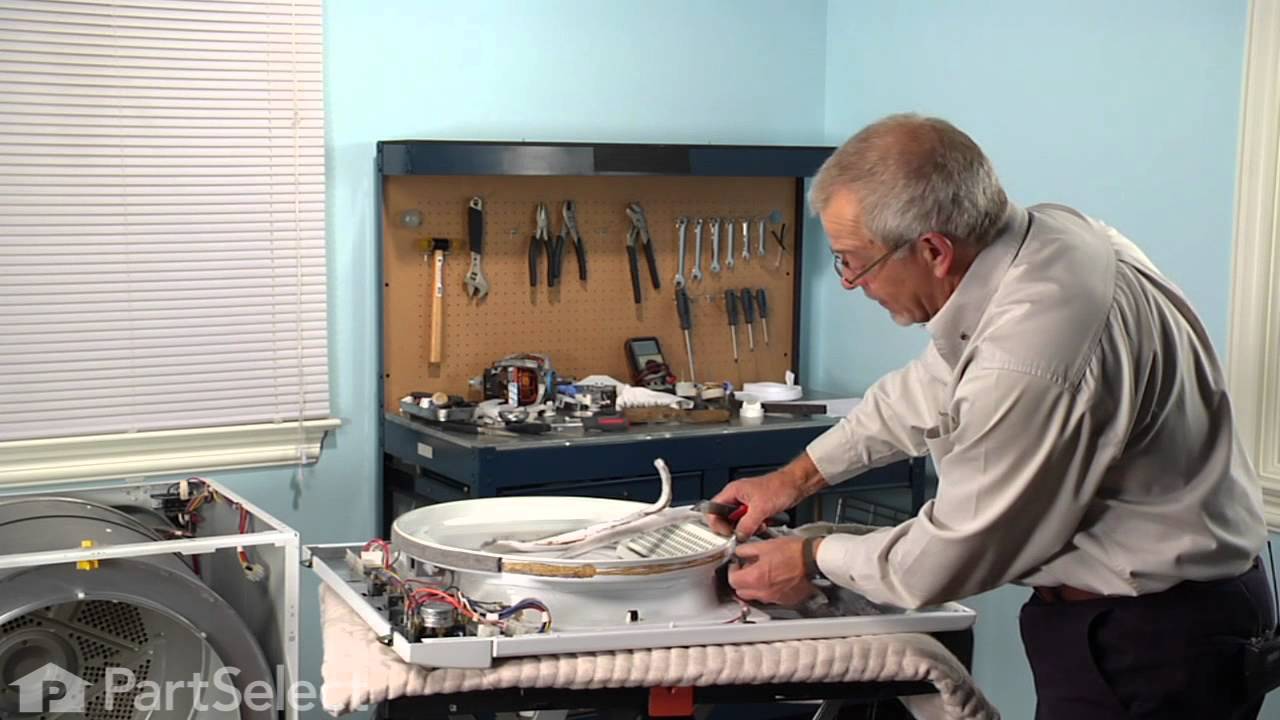
See how others fixed this model. Time, tools, difficulty, and steps that lead to victory!
View More