


 My Orders




WSM27TDAWWW General Electric Washer - Overview
Diagrams for WSM27TDAWWW
See every part. Know exactly what you need.


Enter a part description. DIY Heroes keep it simple, eg. "belt" or "pump".
Search filter:
Clear Filter
Your search term must have 3 or more characters.

$53.20
In Stock
Drive Belt
Part #WE03X29897
This Drive Belt is 89.5" long and comes in black, featuring four ribs on the inside for a better grip. This is a long belt that wraps all the way around the dryer drum, around a tension pulley, and then around the drive motor pulley, allowing all the parts to work together, spinning the drum as the motor rotates. If the drum will not turn...Read more when the dryer is turned on the belt is likely broken. It is common for belts to stretch or become brittle over time, which is what leads to the breakage. If broken, it should be replaced; the drum simply cannot spin without this belt. Refer to your model number and user manual to check if this part is right for you. Ensure you use work gloves to protect your hands from sharp internal parts during this repair. Please note: When comparing the length of your old belt to the length of the belt as stated here, remember that a small amount of stretching and contortion may occur with belts over time for a range of different reasons. Unless your belt is drastically different in length, this belt is what you are looking for despite any small inaccuracies. You will need to remove power to your appliance, remove the main panel, and access the motor drive to slip your new belt back into place.
Read less

$58.25
In Stock

$32.38
In Stock
Front Upper Felt Seal with Adhesive
Part #5303937182
The upper felt seal for your dryer is attached to the top edge of the drum support area, and is held there by a high temperature adhesive. It creates a seal where the dryer door opens and closes, so that heat remains in the dryer while it tumbles. If your old upper felt seal is coming apart, you notice that hot air is leaking out the drye...Read morer door, or your clothes are taking too long to dry, you may need to replace the seal. When you order this part, it comes with the upper felt seal, as well as the required high-temperature adhesive.
Read less

$35.13
In Stock
Door Strike
Part #5303207102
The door strike is attached to the door of your dryer and holds the door closed. If your dryer door is not closing, this might be due to the door strike needing to be replaced. This is a simple repair that should only take a few minutes to complete. The package contains one strike. Open the dryer door, and use a flat head screw driver to ...Read moresnap the old strike out if it has not fallen out already. Simply push the gasket out of the way, squeeze together the strike and place inside of the opening. Wiggle to ensure it is set in place properly.
Read less

$104.29
In Stock

No Longer Available
DRYER LINT FILTER
Part #WE16X29397
This is the replacement lint filter for your dryer. The lint filter traps unwanted lint and debris so your dryer can effectively dry your clothes.

$70.95
In Stock
Timer Knob - Dryer
Part #WE01X10160
Used with washer/dryer combo machines. This knob takes a D-shaped shaft.

No Longer Available
Tension Idler Pulley
Part #131862900
The idler pulley on your washing machine allows the drive belt to operate smoothly. If your washer is not spinning or agitating, makes too much noise, or you notice a burning smell when it is operating, you might need to replace the tension idler pulley. The tension idler pulley works in conjunction with the drive belt, so you might need ...Read moreto replace the belt as well as the pulley. Once the old pulley has been removed from the washer, you will need to transfer the spring and bushing from the old pulley to the new one before re-attaching it to the washer.
Read less

No Longer Available
Washer Lid Lock with External Safety Switch
Part #134101800
Mounting bracket on this part replaces old style ( You may need to drill off old bracket before mounting new lock).

$52.64
In Stock
IDLER ARM Assembly
Part #5304507499
This idler pulley assembly is a manufacturer-approved replacement part for your washer/dryer. The assembly includes the idler pulley and arm. The idler pulley provides tension for the belt to rotate the drum. You may notice your idler pulley making a sqeaking or squealing noise, signalling that it needs to be replaced.

$211.05
In Stock
Dryer Timer
Part #131062300
This dryer timer is used to control the unit's cycles by regulating the length of time that power is directed to each setting.

$79.15
In Stock
Water Valve - 115V
Part #134211400
This water inlet valve attaches the water lines to the back of your appliance. The attaching solenoids on the valve open and close according to the desired temperature, or amount of water needed.
Common Symptoms of the WSM27TDAWWW
How this model fails, and the parts that fix it.
Noisy
Fixed by
these parts
these parts


Show All
Drum Not Spinning
Fixed by
these parts
these parts
Show All
Door won’t close
Fixed by
these parts
these parts

Show All
Will not drain
Fixed by
these parts
these parts


Show All
Won’t Start
Fixed by
these parts
these parts

Show All
Marks left on clothes
Fixed by
these parts
these parts
Show All
Burning smell
Fixed by
these parts
these parts

Show All
Will not agitate
Fixed by
these parts
these parts

Show All
Not Heating
Fixed by
these parts
these parts

Show All
Will Not Start
Fixed by
these parts
these parts
Show All
Leaking
Fixed by
these parts
these parts


Show All
Spins slowly
Fixed by
these parts
these parts
Show All
No hot or cold water
Fixed by
these parts
these parts
Show All
Heat stays on after drum has stopped
Fixed by
these parts
these parts
Show All
Door Pops Open
Fixed by
these parts
these parts
Show All
Touchpad does not respond
Fixed by
these parts
these parts
Show All
Watch our pros, then fix it yourself.
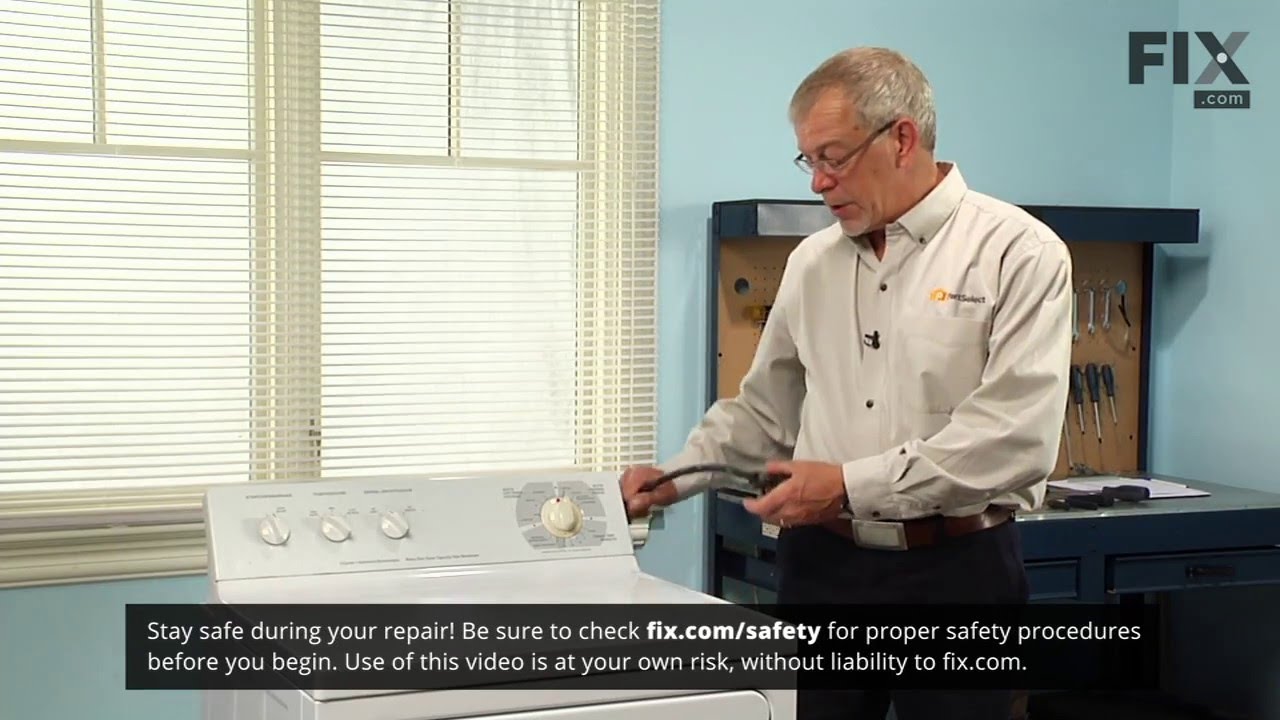
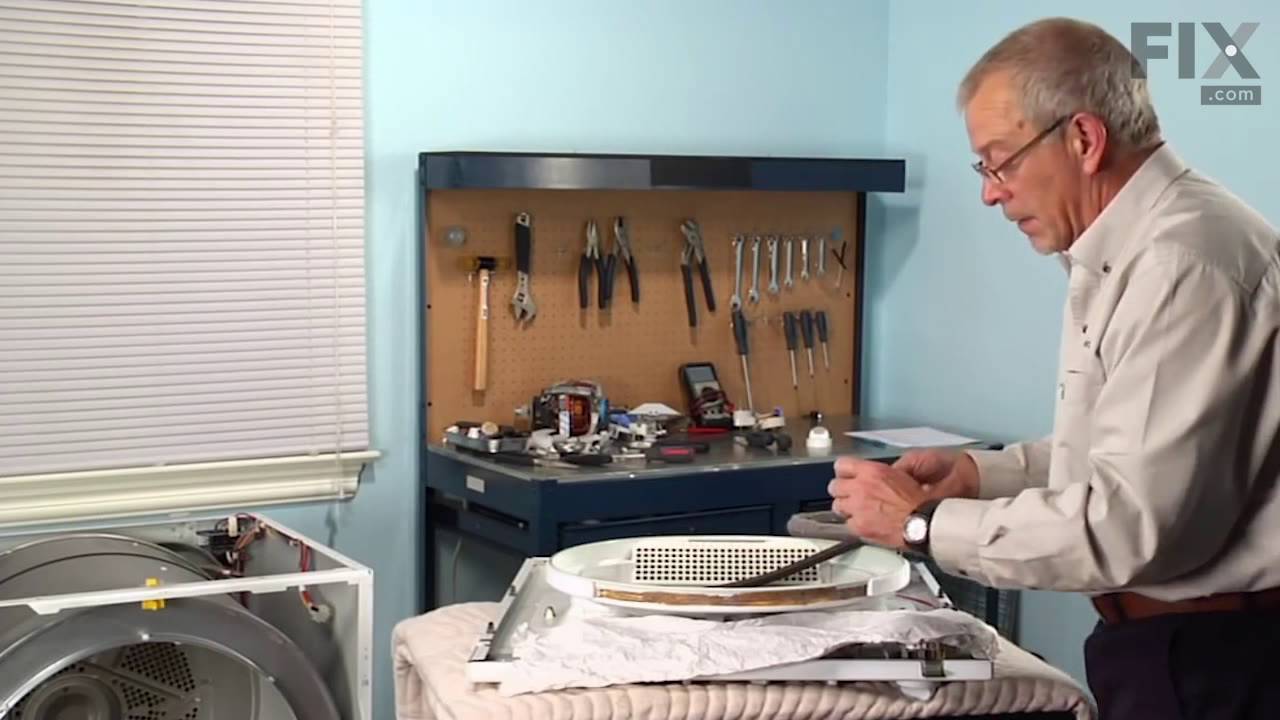


See how others fixed this model. Time, tools, difficulty, and steps that lead to victory!
View More