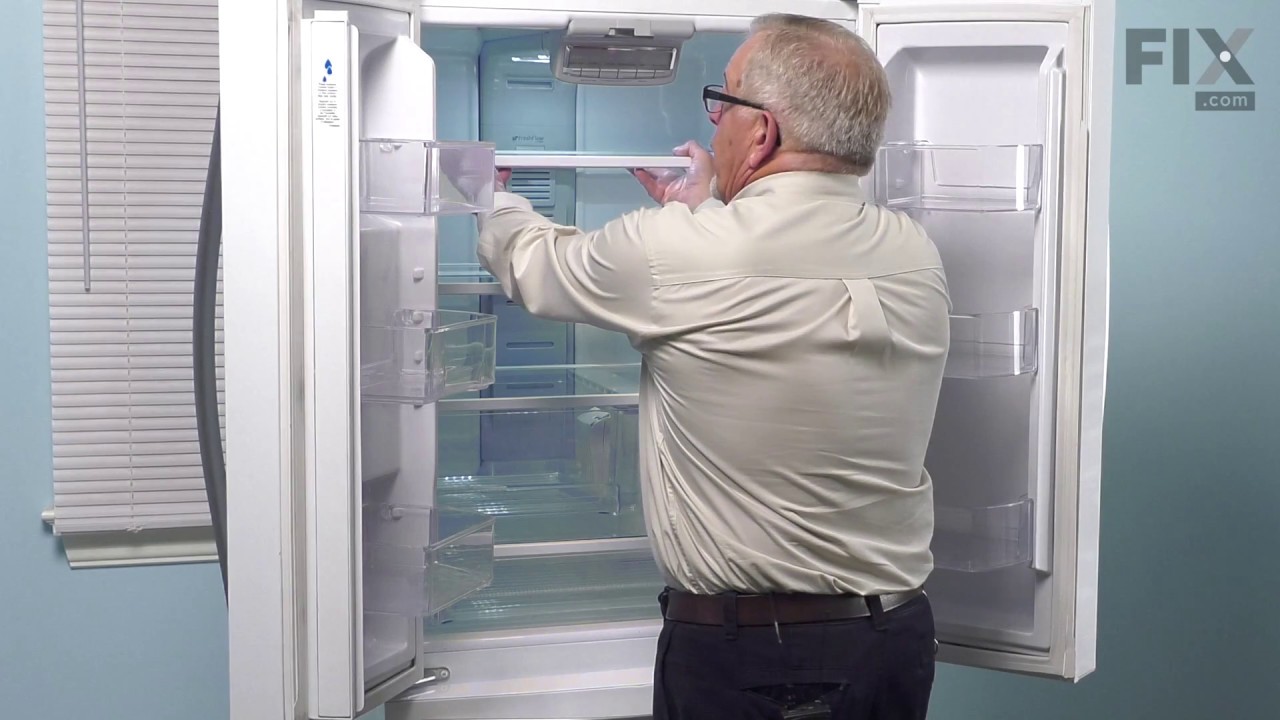
This refrigerator door bin is a genuine OEM replacement designed to fit many side-by-side refrigerator models. Compatible with brands like KitchenAid, Maytag, and Amana, it attaches to the interior door, providing storage for jars and bottles. Featuring a clear design with white trim, this bin is both durable and functional. Installation ...Read moreis tool-free—simply align and snap into place. Verify your refrigerator’s model number before ordering to ensure compatibility, as dimensions may vary slightly. Restore your refrigerator's storage capacity and organization with this high-quality replacement door bin.
The EDR1RXD1 water filter provides clean, fresh-tasting water by reducing contaminants such as lead, chlorine, and particulates. Designed for easy installation, this filter ensures your refrigerator water and ice are safe and refreshing with every use
This Refrigerator Air Filter is a white 1.8x3.2" plastic filter which neutralizes odor and bacteria in the air. It should be replaced every six months at a minimum. Refer to your user manual and model number to see if this filter is right for your fridge. Location for storage of the air filter may vary from model to model, but generally, ...Read moreyou will find a small cover on the back-middle-top of your fridge, which can be popped off to reveal the air filter, which can be easily changed out from there. This part does not come sold with the indicator; it is the filter only. Sold individually.
This capacitor (Refrigerator and Freezer Compressor Run Capacitor, Run Capacitor) provides the voltage or energy current required to start the compressor and keep it running. It allows the compressor in your appliance to easily cycle on and off. This capacitor mounts directly onto the compressor starting relay. If the capacitor is faulty ...Read morethe compressor may get unusually hot and draw excessive amperage. It the compressor overheats, it may fail to run until it cools down again. The compressor may also get noisy from overheating. If this part is totally electrically open, it is defective (often due to overheating) and needs to be replaced. The part measures 1 inch by 1-1/2 inches, and is constructed of plastic with two metal wire terminals. This item includes 1 capacitor, sold individually. This part comes in black.
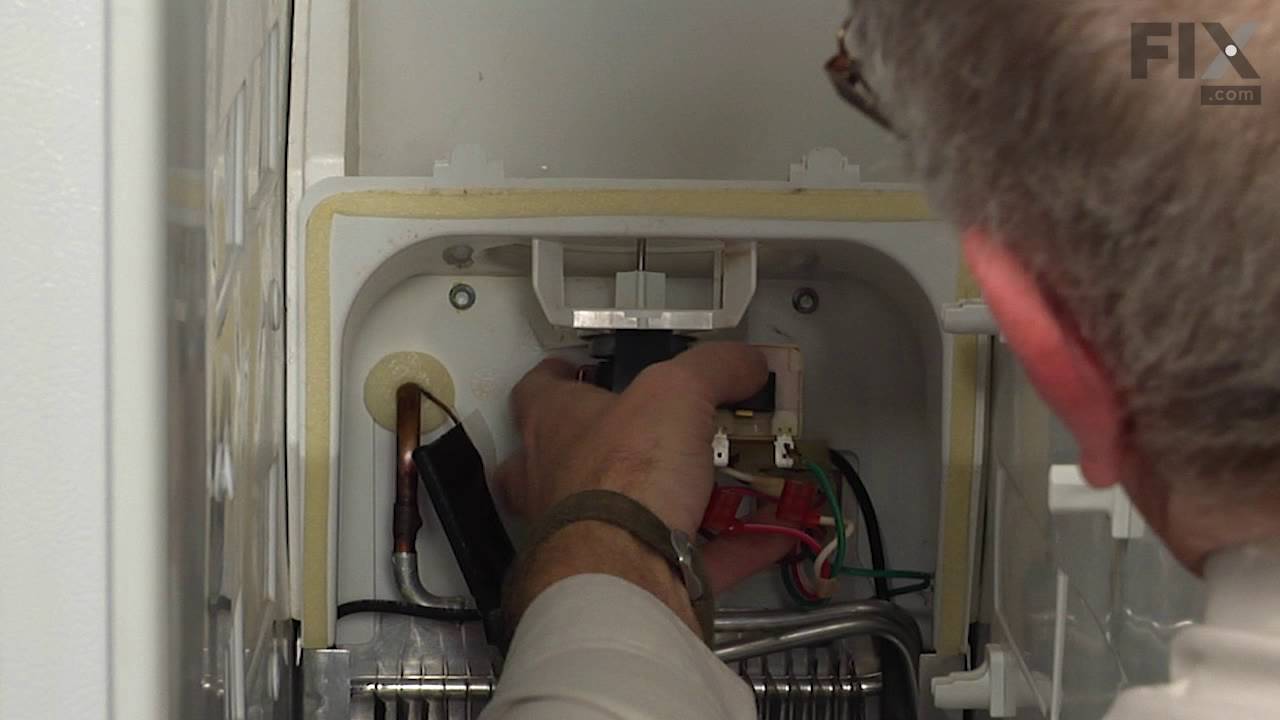
If you have ice building up in your freezer, or if your freezer is getting too warm during the defrost cycle you may need to replace the bi-metal defrost thermostat. The function of the defrost bi-metal thermostat is to clip onto the evaporator and protect your evaporator from overheating during the defrost cycle. If your refrigerator doe...Read mores not defrost properly you can test both the thermostat and the heater to figure out which part is at fault. For this repair, you will need a Phillips screwdriver, a 1/4 inch nut driver, a flat blade screwdriver, a pair of wire strippers, a roll of electrical tape, and a few butt splice connectors.
This light bulb is a 120 volt, 25 watt incandescent appliance light bulb with a small base screw-in that fits in a variety of appliances such as microwaves, refrigerators, freezers, cooktops, or stoves. Its purpose is to light up the appliance when the door is open. This is a genuine OEM part. You may need to replace the light bulb if the...Read more existing bulb is burnt out or broken. This light bulb is sold individually and is a common wear part, it is recommended to order a spare.
This touch-up paint can be used on a wide variety of household appliances. It is most often used on washers, dryer, refrigerators, dishwashers, ranges, freezers, trash compactors, or microwaves. It is an 18 ml, or.6 fluid ounces, bottle of touch-up paint. It also features a brush for easy application. This quick-drying, long-lasting paint...Read more is perfect for fixing any nicks, scratches, or chips on the exterior of your appliance. This paint is white in color, and provides a durable finish.
This part is located in the back of the freezer, and circulates air over the refrigerator coils. These coils will convert the heat into cool air, which is then circulated. Fan blade not included.
This door bin is clear with a white trim across the top. This part measures approximately 18 inches wide by 3-1/2 inches high by 6 inches deep. Sold individually.
If your refrigerator or freezer is too warm, or making noises, you may need to replace the fan blade. The fan blade attaches to the evaporator motor, which is in the freezer section, to help circulate the cold air into the refrigerator and freezer sections. The fan blade is white in color and made from plastic. This is a genuine OEM part...Read more. Please be sure to disconnect the power to your refrigerator before starting your repair.
Ask our experts a question about this model and we'll get back to you as soon as possible!
We may have answered a similar question already! Search questions and answers left by others using simple keywords like "fit", "broken", "easy", or "quality" to find questions that match.
Search filter:
Clear Filter
Your search term must have 3 or more characters.
Sort by:
Prev
1
2
Next
Sorry, we couldn't find any existing answers that matched.Try using some different or simpler keywords, or submit your new question by using the "Ask a Question" button above!
Ken - For model number WSF26C2EXB01
February 3, 2024
The quick connect between the water inlet valve and the water dispenser line is leaking. Can you replace the quick connect fitting without having to replace the whole valve?
Hi Ken, thank you for your inquiry. According to our research, the compatible water tube connector is part number PS11740187. We hope this helps.
My husband got the icemaker assembly. On the one we're replacing, the wiring harness goes into a plastic shroud mounted on the inside of the freezer door. We need to get that off to unplug the old assembly and plug in the new one. How can we remove that shroud? Please help. Thank you.
Hi Barbara,
Thank you for your question. Here is a link to one of our YouTube videos that you may reference on how to install ice maker, https://www.youtube.com/watch?v=rRBTObx0azM. The refrigerator and ice maker in the video may be different from yours, but it will give you a general idea on how to install the part. We hope this helps! Good luck with the repair!
Hello Barbara, thank you for asking. According to our research, there are two types of filters in your model: water filter, part number PS11701542, and air filter, part number PS2580853. We hope this helps!
I turned my refrigerator off for four months and when I reconnected it was no longer cooling and power comes on well. I realized that I used a 220 Voltage regulator instead of 110 voltage regulator to reconnect. I do not know the cause of the problem and what to do about it. I need help.
Hi Linus, thank you for the question. Based on our research, you may have a defective start device, part number PS11751387. It helps start the compressor. You may need to replace the start device to fix the issue. We hope this helps, good luck with this repair!
Hi Mike, thank you for reaching out. Dispense some water from the water dispenser to release any pressure in the water line. Wrap a towel or cloth around the filter to get a better grip, and try twisting the filter gently in the direction indicated on the filter. If the problem persists, the issue could be with the water filter housing, part number PS11750833. You may need to replace it to fix the issue. We hope this solves your problem!
See how others fixed this model. Time, tools, difficulty, and steps that lead to victory!View More
Search repair tips from other customers using simple keywords like "replace", "fit", "remove", "inspect". DIY doesn't mean you have to do it alone!
Search filter:
Clear Filter
Your search term must have 3 or more characters.
My refrigerator stopped cooling and the freezer section stopped freezing
441 of 556 peoplefound this instruction helpful.
garth from forest lake, MN
Really Easy
15 - 30 mins
Nutdriver, Screw drivers
I knew the chances of all the freon leaking out was unlikely so I looked at the wiring to the compressor and there was a capacitor and a starter/overload so i figured I would start there. I went on line and found the parts at this site and they were less than the minimum service call charge for a service tech so I figured what the heck le
... Read moret's give her a shot so I did give it a shot. I ordered the parts and they were there in less time than a service tech could come out and i installed the parts and guess what for 90.00 in parts and 15 minutes in time I repaired my refrigerator. Thanks guys, It took less time to order the parts than it did to make the repair so thanks, your website rocks and is very well designed so my hat is off to you guys!
Read less
Was this helpful?
Thank you for voting!
Fridge was getting too warm, ice buildup on coils.
159 of 188 peoplefound this instruction helpful.
Cathy from Winter Park, FL
A Bit Difficult
15 - 30 mins
Nutdriver
WARNING: REPLACING THIS PART REQUIRES CUTTING AND SPLICING ELECTRICAL WIRES. RISK OF ELECTRICAL SHOCK OR FIRE. DO NOT ATTEMPT THIS REPAIR IF YOU ARE NOT EXPERIENCED WITH ELECTRICAL WIRING.
Part Info: The bi-metal strip is clipped onto the evaporator coils and is designed to regulate the defrost coil temperature. If it is n
... Read moreot functioning properly you may notice ice buildup preventing air flow (and preventing proper refrigeration), or more rarely the freezer side may get too warm during the defrost cycle.
1: UNPLUG THE FRIDGE! If there is ice buildup, wait until the ice has melted. A box fan blowing at the ice will help melt it more quickly.
2: Remove the panel covering the evaporator coils. It's located inside the fridge, on the freezer side.
3: Un-clip the bi-metal strip from the evaporator coils.
4: Unplug the wires from the evaporator fan, defrost coil and bi-metal strip, then disconnect the main connector that is plugged into the rear wall.
5: Clip both wires to the old ( bad ) bi-metal strip. Cut close to the casing of the bi-metal strip so there are long wires to splice onto.
6: Strip 1/4 to 1/2 inches of insulation off of the ends of the wires ( depending on the size of the wire-nuts you use). Twist the bare wires slightly to prevent fraying.
7: Do the same for the ends of the wires on the (new) bi-metal strip.
8: Take the ends of the wires belonging to the (new) bi-metal strip and the wires coming from the main plug. Take the like-colored wires, and twist the bare metal ends together.
9: Twist on wire nuts, for both sets of wires. Make sure they are snug, with no bare wire showing.
10: Tape over the wire nuts with electrical tape. Tape over the wires nuts in a spiral fashion, completely covering the nut and both wires that are now spliced together. This will prevent accidental shorting.
11: Plug the main plug back into the rear wall of the fridge. Also re-connect the connectors to the evaporator fan and defrost coil. Make sure the clips on the connectors are snug to ensure a good connection.
12: Clip the new bi-metal strip onto the coils, in the same spot as before. ( Usually just after the small incoming copper tubing that connects to the coils, known as the expansion valve. That is usually the coldest spot on the coils during operation).
13: Replace the panel that covers the coils.
14: Plug the fridge back in... Now you fridge should defrost correctly. If it does not, your defrost coil could be burned out, or the control board could be faulty.
Read less
Was this helpful?
Thank you for voting!
evaporator fan stopped working
97 of 107 peoplefound this instruction helpful.
Antoni from vail, AZ
Really Easy
Less than 15 mins
Pliers, Screw drivers
1) removed the face plate that runs 3/4 way up the back of the freezer side. a total of 8 screws. (6") 2) disconnected the three electrical connections.(30sec) 3) removed the fan of the the old evaporator fan motor (5sec) 3) removed the fan motor (1") 4) put in the new fan motor (1") 5) put on the old fan on the n
... Read moreew fan motor(5sec) 6) reconnected the three electrical connections (30sec) 7) replaced the face plate on the back of the freezer (6") Had re-frozen meat within 1 hour.




 My Orders