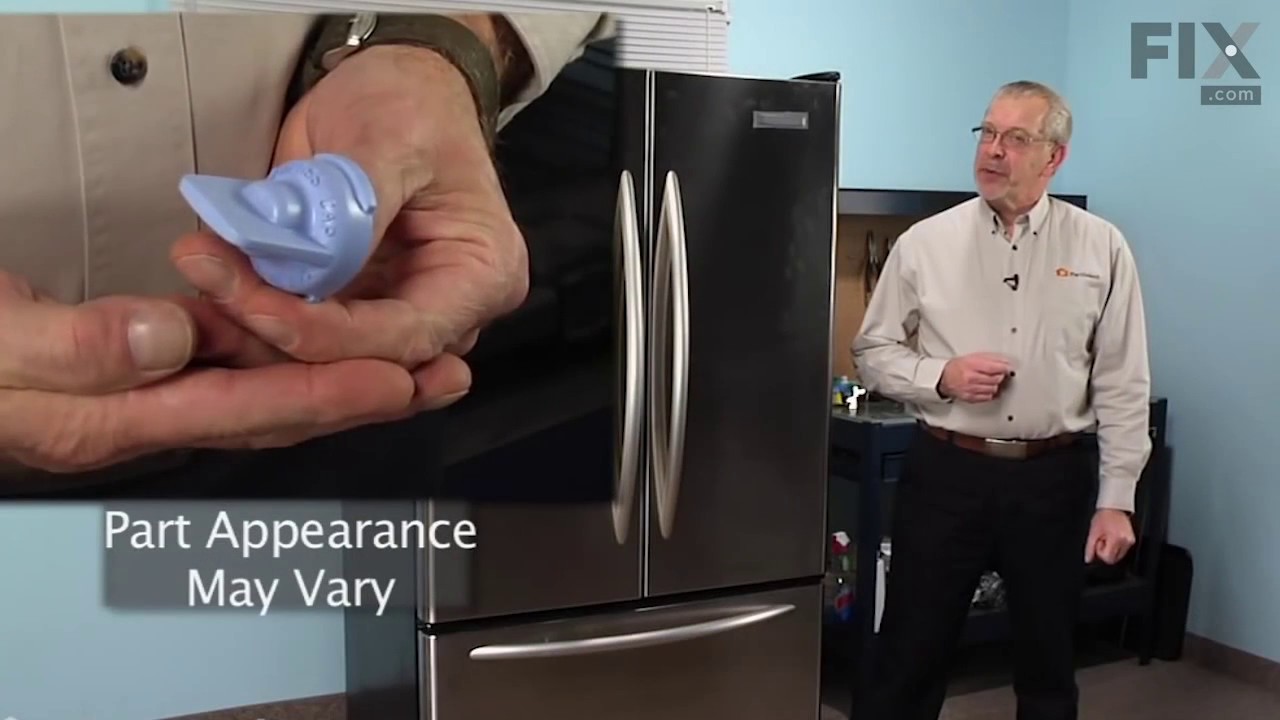
This water filter bypass cap, also known as a water filter bypass plug, is an authentic OEM part that replaces the regular water filter cartridge in refrigerators. It allows water to flow freely through the dispensing system when the filter is not present. The bypass can fail if it becomes clogged, cracked, or falls out of alignment. A fa...Read moreulty filter bypass will result in leaking, poor ice production, and difficulties dispensing water. You can find the filter bypass inside the refrigerator, near the water filter housing. Disconnect the water supply lines and remove the faulty bypass. Insert the new bypass in its place and reconnect the water supply lines.
This touch-up paint can be used on a wide variety of household appliances. It is most often used on washers, dryer, refrigerators, dishwashers, ranges, freezers, trash compactors, or microwaves. It is an 18 ml, or.6 fluid ounces, bottle of touch-up paint. It also features a brush for easy application. This quick-drying, long-lasting paint...Read more is perfect for fixing any nicks, scratches, or chips on the exterior of your appliance. This paint is white in color, and provides a durable finish.
This water fill tube is a genuine OEM part that is compatible with various models of refrigerator. It is a small plastic tube that supplies water to the ice maker tray. It is typically located at the back of the refrigerator, where it runs from the water inlet valve to the ice maker assembly. When the ice maker needs to produce ice, water...Read more flows through this tube and fills the ice maker tray, where it freezes into ice cubes. The fill tube is an essential component of the ice maker system, ensuring a steady supply of water for ice production. If the fill tube becomes clogged or damaged, it can water leaks inside the refrigerator and also lead to difficulties producing ice when needed.
Appliance spray paint is a great way to cover up any chips and scratches that have appeared on your appliances. Instead of replacing the part entirely, this is an easy fix. This is also a great way to give a fresh new look to any handles or areas that have discoloring due to wear. Make sure to clean the area before you begin and wear a pr...Read moreotective mask for safety. Give the can a good shake and spray a few inches away from the surface. Apply the paint until the area is fully covered as desired. Wait until the paint has dried before using the appliance.
This is a replacement door bin for your refrigerator. It is made of white plastic and is approximately 13 inches wide at its longest point and is 8 inches deep and 4 inches tall. The door bin holds items that are stored in the door in place. You will want to replace the door bin if the old one is cracked, damaged, or missing. To replace t...Read morehe door bin, simply snap the old bin out and snap the new one into place. This bin is sold individually and is an OEM part sourced directly from the manufacturer.
This authentic OEM black touch-up paint is specifically designed for repairing minor scratches, chips, or blemishes on your kitchen appliances. The bottle contains 16ml or 0.6oz of black paint and has an applicator brush under the cap, the same way a nail polish bottle is designed. Restoring these visible damages is important because crac...Read moreked or chipped surfaces can become a breeding ground for dirt and bacteria. If your existing bottle of paint has a thick or clumpy consistency, do not use it. Remember to shake the bottle before applying the paint to your appliance. Please keep in mind that this bottle is sold individually.
This Refrigerator Ice Maker Installation Kit connects the house water supply, to the refrigerator for ice maker and water dispenser operation. This kit includes 15-ft of copper tubing, (1) saddle valve, tape, and (1) tubing connector.
Ask our experts a question about this model and we'll get back to you as soon as possible!
We may have answered a similar question already! Search questions and answers left by others using simple keywords like "fit", "broken", "easy", or "quality" to find questions that match.
Search filter:
Clear Filter
Your search term must have 3 or more characters.
Sort by:
Prev
1
2
3
Next
Sorry, we couldn't find any existing answers that matched.Try using some different or simpler keywords, or submit your new question by using the "Ask a Question" button above!
Dominique - For model number WRX735SDHZ07
November 11, 2024
I NEED A LED LIGHT FOR THE TOP OF THE FRIDGE
Hello Dominique, Thank you for your inquiry. We show the compatible LED light module at the top of the refrigerator as part# PS16555201. We hope this helps.
Hello Susie, thank you for getting in touch. Check the freezer light switch, part number PS16217956. A faulty light switch is a very common reason for a freezer light to stop working. If the switch is working, you will need to replace the light module, part number PS16731134, to fix the issue. We hope this helps.
ice maker makes ice but there is a loud banging when you go for ice and no ice will come out, ice maker is all the way in and it seem to be slipping on drive connection. connective part in ice maker seems to pull back into ice maker about a 1/4 of inch. please include part number with any help
Hello Phillip, Thank you for your inquiry. Researching your model, we would recommend checking first for any ice buildup that could be causing either the ice maker or ice bucket to jam. If both are free from debris, then we would recommend checking the dispenser solenoid, the dispenser motor, the ice bin with auger, and the ice maker. Check to make sure the auger turns correctly and we have a video on testing the ice maker. The ice maker tests begin around the 5 minute mark in our video. We hope this helps.
Ice clips are broken so it doesnt get a snug fit, freezes the rotator and than doesnt disperse ice
Hi Cindy, thank you for contacting us. Based on our understanding of the issue, we would suggest replacing the clip, part number PS2338622, to solve the problem. Glad to be of help!
I need to replace light panel in refrigerator
Please assist in what part I need to order please
Hello Josie, thank you for getting in touch. Based on our research, the LED light module you are looking for is part number PS16555201. We hope this helps.
See how others fixed this model. Time, tools, difficulty, and steps that lead to victory!View More
Search repair tips from other customers using simple keywords like "replace", "fit", "remove", "inspect". DIY doesn't mean you have to do it alone!
Search filter:
Clear Filter
Your search term must have 3 or more characters.
LED Light stopped working
32 of 42 peoplefound this instruction helpful.
Paul from SUDBURY, MA
A Bit Difficult
30 - 60 mins
Removing the old unit was difficult. The light was clearly designed for installation not for ease of repair. Since I was concerned about marring the surface of the refrigerator I used a paint scraper to get under the lip of the light and another smaller paint scraper to lift the unit away from the body of the refrigerator. It does not
... Read morejust "pop off". I eventually did get it free without any damage to the wall of the refrigerator. The repair was then very easy. There was a connector that was easy to separate allowing for the removal of the old unit without cutting any wires. The new unit had a mating connector, which easily connected to the old connector in the refrigerator. After some pushing I was able to install the new unit into the hole in the refrigerator. It does not exactly "snap in".
Read less
Was this helpful?
Thank you for voting!
lights out in main refrigerator
20 of 21 peoplefound this instruction helpful.
fred from CHESTERFIELD, MO
Very Easy
Less than 15 mins
researched on line and found the wiring was in series and I the suggestion was to replace the first light in the series that was in the freezer. Ordered the replacement light board and took out the existing light and pooped in the new one. Lights now all work! 15 minutes at tops.
Was this helpful?
Thank you for voting!
spraying water from the connection on top of fridge
17 of 26 peoplefound this instruction helpful.
Jenny from PHOENIX, AZ
Really Easy
15 - 30 mins
Screw drivers
just like the video showed, removed the cover parts inside the fridge, disconnected the water tube inside and pulled out from the top of fridge, then inserted new water tube.




 My Orders