



 My Orders




WRX735SDHB09 Whirlpool Refrigerator - Overview
Diagrams for WRX735SDHB09
See every part. Know exactly what you need.


Enter a part description. DIY Heroes keep it simple, eg. "belt" or "pump".
Search filter:
Clear Filter
Your search term must have 3 or more characters.

$30.53
In Stock
Door Switch
Part #W11396033
This light switch may also be known as a refrigerator door switch or a light switch kit, and is compatible with your refrigerator. The function of the refrigerator door switch is to turn on the light when your fridge door is open, and to make sure it is off when your refrigerator door is closed. The reason you would need to replace this p...Read moreart is if your light is not turning on when your door is open. For this repair, you will need a putty knife, and a small flat-blade screwdriver.
Read less

$44.23
In Stock
P-Trap Drain Tube Kit
Part #W10619951
The p-trap drain tube kit may also be known as the duck bill, or the drain pipe, and it is compatible with your refrigerator. The function of the p-trap drain kit is to carry the water that has formed during the defrost cycle to the bottom of the refrigerator, where your drain pan is located. The tools you will need for this repair includ...Read moree a 1/4-inch nut driver and a small flat-blade screwdriver. To do this repair you will need to pull the refrigerator forward in order to reach the lower access panel at the back. This kit includes the tube extension piece and spacer.
Read less

$28.42
In Stock
Refrigerator Switch
Part #W11291138
This is a light switch for your refrigerator. It activates when the door of your appliance is opened, and it will turn the light inside on and off. You will need to replace this part is if your light is not working properly. In order to make this repair you will need a Phillips screwdriver, a pair of needle nose pliers, and a small flat b...Read morelade screwdriver. This light switch is almost 2 inches long, 1.5 inches wide, and just over an inch thick.
Read less

$79.80
In Stock
Refrigerator Kickplate Grille (Black)
Part #WPW10534153
This kickplate grille is attached to the bottom of the refrigerator.

$9.62
In Stock
Refrigerator Pivot Block
Part #WP67003405
This is a replacement pivot block for your refrigerator. It is made of white plastic and is approximately 4 inches long and 1 inch wide. The pivot block catches and holds the door mullion cover when you close the door. If your refrigerator door will not close properly, you may need to replace the pivot block. This part is sold individually and is an OEM part sourced directly from the manufacturer.

$83.11
In Stock
LED Light Module
Part #W11527432
This is an LED light module designed for use in refrigerators. This module features an LED light panel that is secured to the top portion of your refrigerator cabinet and shines light down when you open the appliance. If your current LED light is not turning on and/or is flickering or working intermittently, it needs to be replaced. Repla...Read morecing this LED light panel is simple as it features a single power cable harness that connects inside your fridge, and a single screw to secure it. This LED light panel is sold individually and does not come with any other parts, such as its securing screw.
Read less

$148.45
In Stock
Freezer Door Gasket
Part #WPW10714545
This door gasket is used to seal the freezer door when closed. It is compatible with Bottom freezer.

$20.37
In Stock
Drawer Gear Kit
Part #12002497
These parts will attach to your drawer rail and are used to help the drawer glide smoothly.

$133.42
In Stock
Door Gasket - Grey
Part #W10830274
This gasket is the same for both sides of the appliance. If you need both gaskets qty 2 will need to be ordered.

$56.33
In Stock
Water Tube
Part #W11415785
This water fill tube is a genuine OEM part that is compatible with various models of refrigerator. It is a small plastic tube that supplies water to the ice maker tray. It is typically located at the back of the refrigerator, where it runs from the water inlet valve to the ice maker assembly. When the ice maker needs to produce ice, water...Read more flows through this tube and fills the ice maker tray, where it freezes into ice cubes. The fill tube is an essential component of the ice maker system, ensuring a steady supply of water for ice production. If the fill tube becomes clogged or damaged, it can water leaks inside the refrigerator and also lead to difficulties producing ice when needed.
Read less

$32.63
On Order

$9.62
In Stock
Common Symptoms of the WRX735SDHB09
How this model fails, and the parts that fix it.
Light not working
Fixed by
these parts
these parts


Show All
Leaking
Fixed by
these parts
these parts


Show All
Door won’t open or close
Fixed by
these parts
these parts


Show All
Frost buildup
Fixed by
these parts
these parts

Show All
Fridge too warm
Fixed by
these parts
these parts


Show All
Freezer not defrosting
Fixed by
these parts
these parts

Show All
Noisy
Fixed by
these parts
these parts

Show All
Ice maker won’t dispense ice
Fixed by
these parts
these parts


Show All
Fridge too cold
Fixed by
these parts
these parts
Show All
Ice maker not making ice
Fixed by
these parts
these parts

Show All
Fridge and Freezer are too warm
Fixed by
these parts
these parts
Show All
Door Sweating
Fixed by
these parts
these parts

Show All
Will Not Start
Fixed by
these parts
these parts
Show All
Not dispensing water
Fixed by
these parts
these parts
Show All
Too warm
Fixed by
these parts
these parts
Show All
Watch our pros, then fix it yourself.

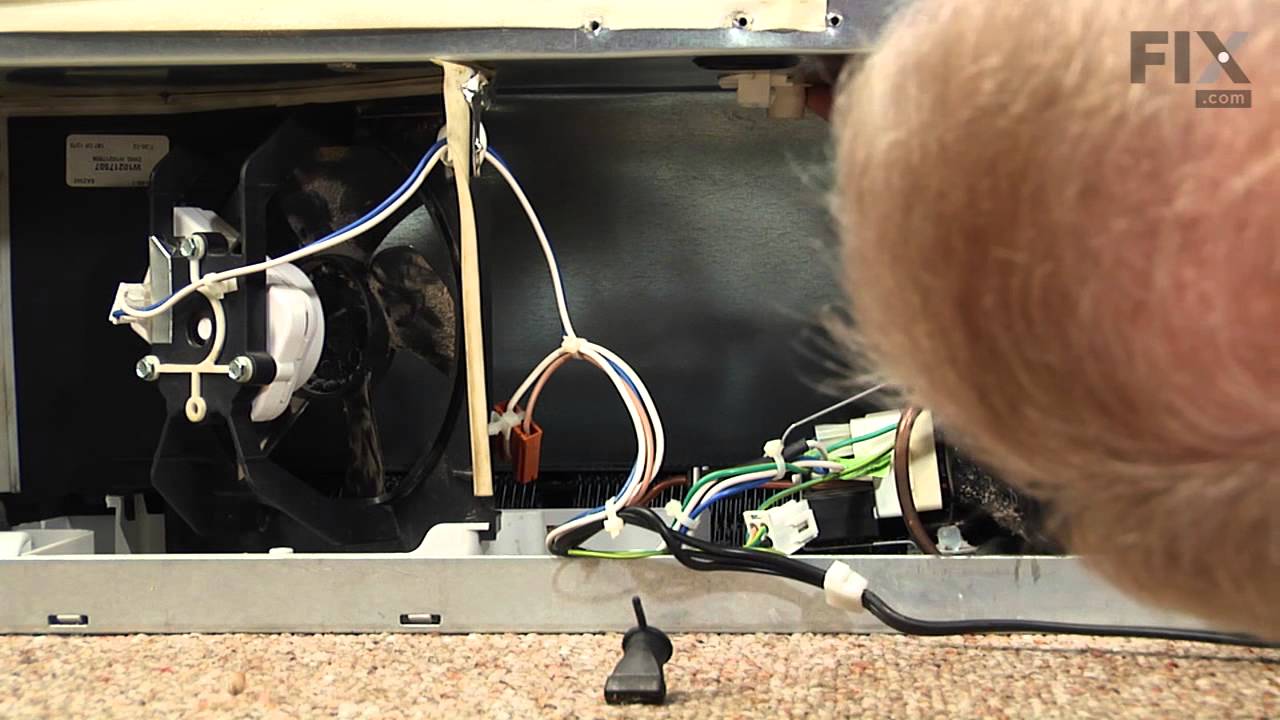
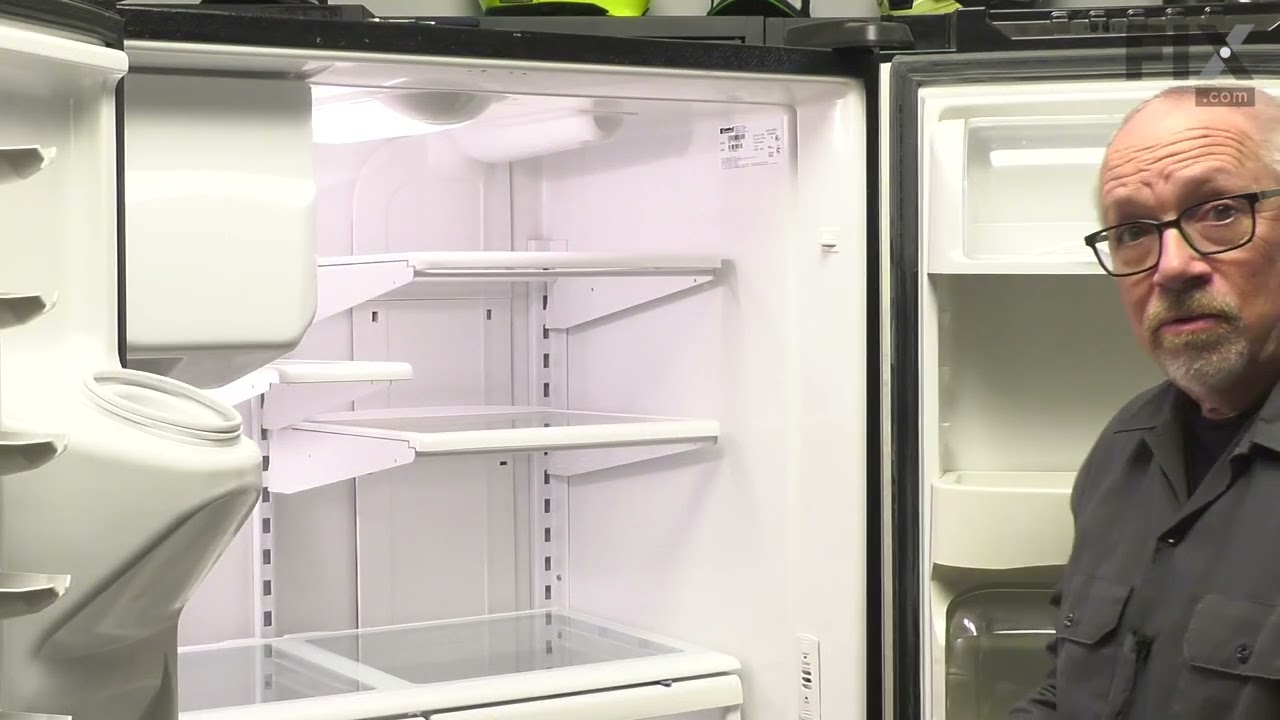
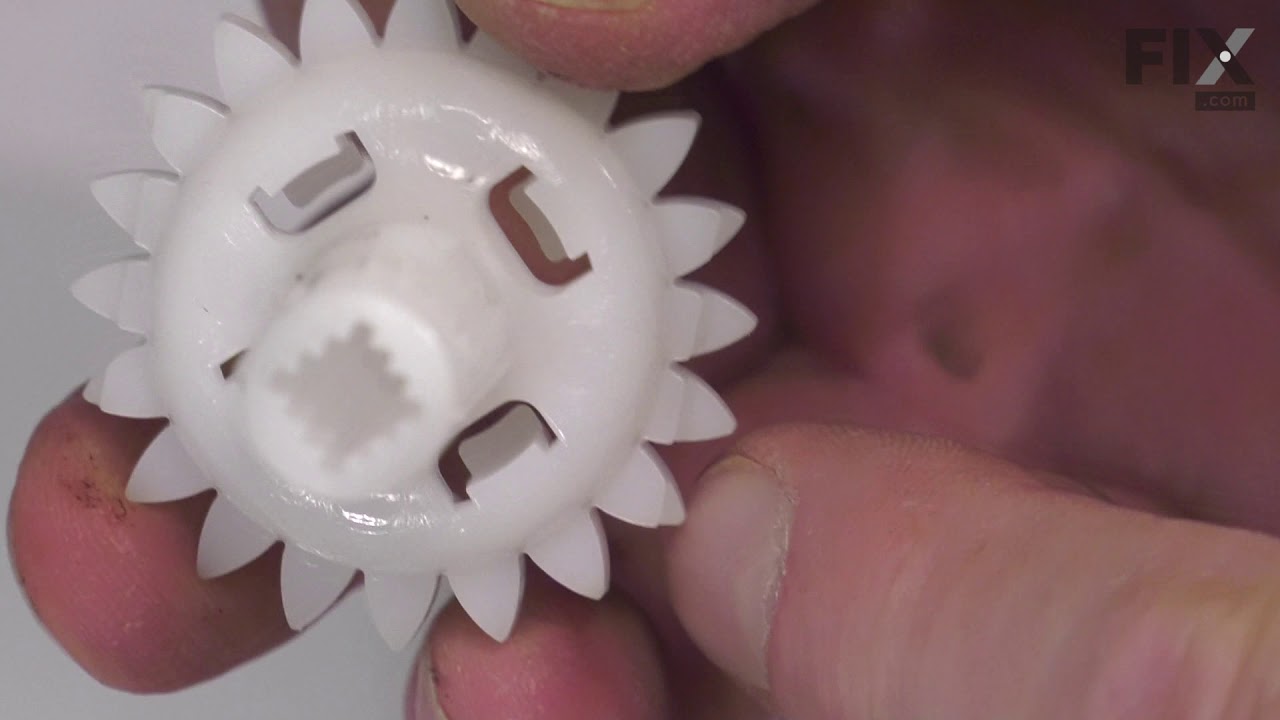
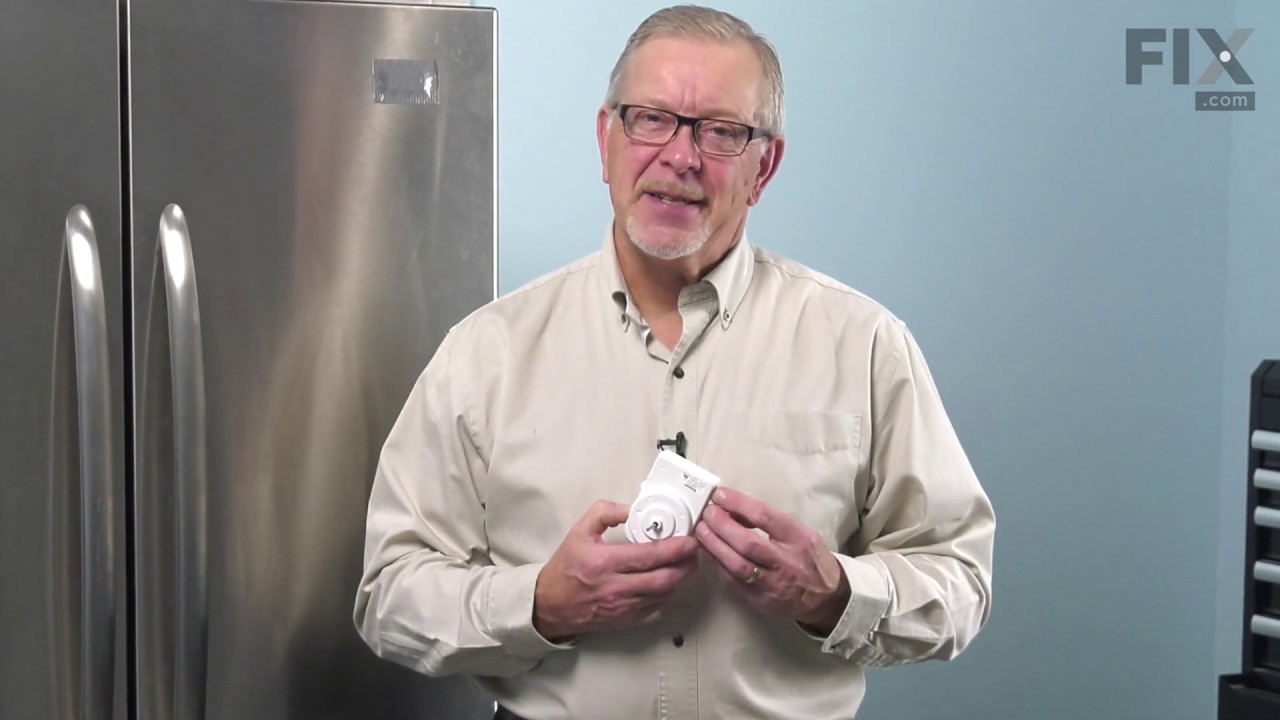
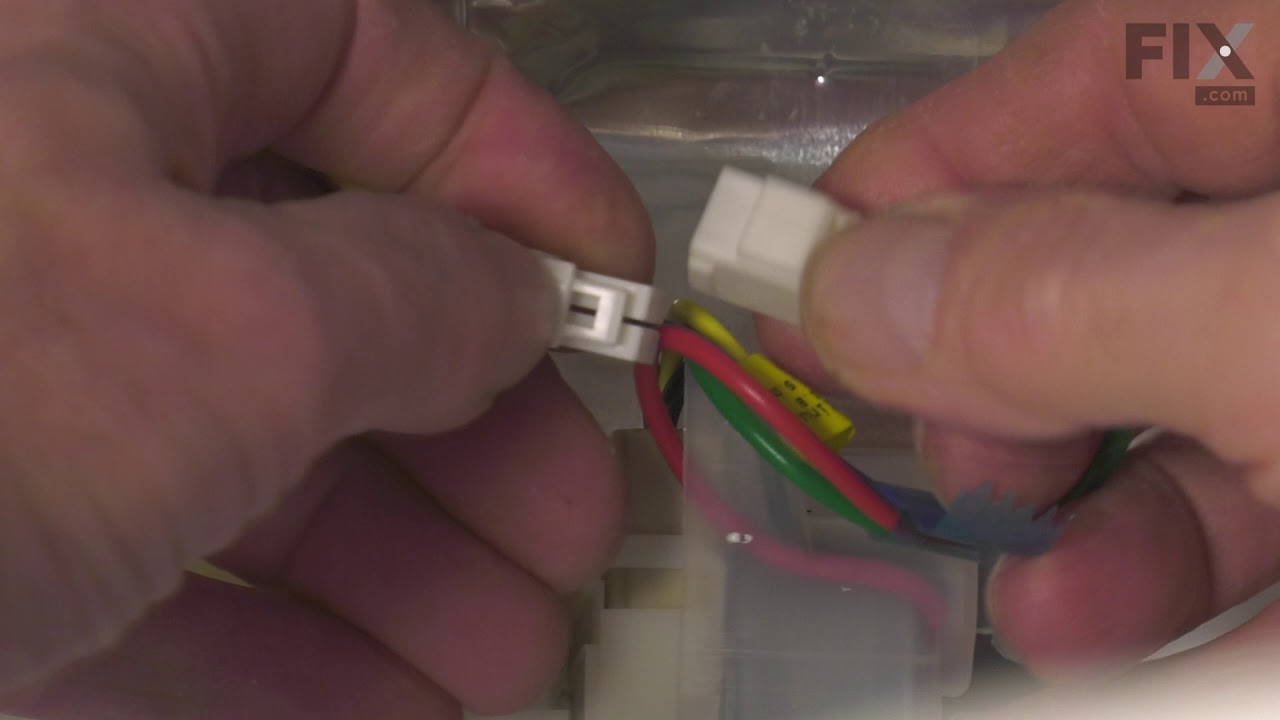
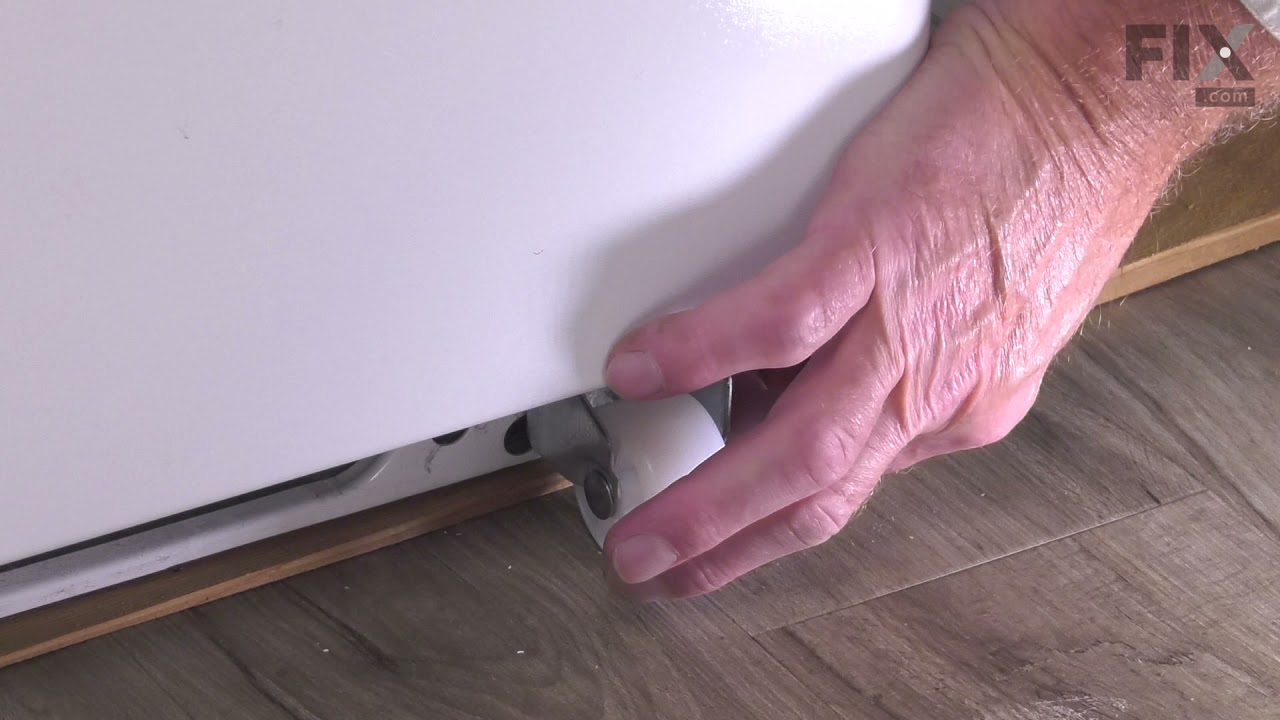
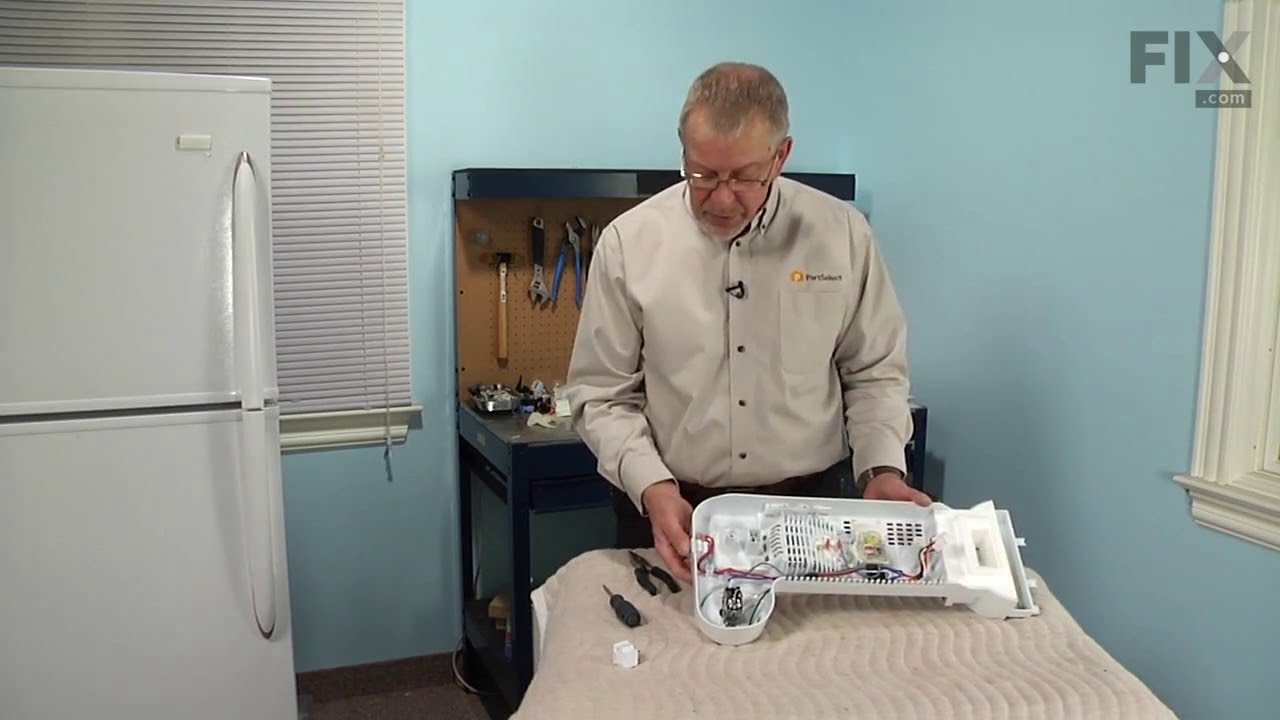
See how others fixed this model. Time, tools, difficulty, and steps that lead to victory!
View More