


 My Orders




WRT8G3EWN Crosley Refrigerator - Overview
Diagrams for WRT8G3EWN
See every part. Know exactly what you need.


Enter a part description. DIY Heroes keep it simple, eg. "belt" or "pump".
Search filter:
Clear Filter
Your search term must have 3 or more characters.

$47.25
In Stock
Door Shelf Retainer Bar
Part #240534901
This door shelf retaining bar, also known as refrigerator door bar retainer or fridge door rack, is a genuine part sourced from the original manufacturer. It is a white This manufacturer-certified Door Shelf Retainer Bar, sometimes otherwise known as the door rack or bar retainer, is a white, plastic part which can be easily installed on...Read moreto the inside of the refrigerator or freezer door to hold items on the door shelves. It holds items in your fridge and will show physical damage if broken or warped, at which time it should be replaced. Check your user manual and model number to see if this part is right for you. No tools are required for this installation, the part should simply snap into place. This part measures roughly 25 inches wide, 3 inches high, and 5 inches deep. This part is sold individually, and we recommend checking the other door shelf retaining bars on your refrigerator or freezer at the same time as ordering this part to ensure that no others need to be replaced, as they often wear or warp at similar speeds.
Read less

$38.45
On Order
Door Shelf Retainer Bar
Part #240534701
The Door Shelf Retainer Bar, also known as a refrigerator door rack, is a white, plastic part which can be easily installed onto your fridge door. It holds items in your fridge and will show physical damage if broken, at which time it should be replaced. Check your user manual and model number to see if this part is right for you. To ins...Read moretall this part, you will need to remove the old one by unlocking the tabs, which can be slid with your fingers. To install the new shelf, line it up with the shelf cut-outs, over the tabs, and gently press it down to lock it into place. This part generally fits the middle door shelf of refrigerators. This is a part that frequently requires multiple parts per refrigerator. Because it is sold individually, you will need to purchase as many door racks as necessary to complete your repair.
Read less

$56.05
In Stock
Drawer Support Rail - Right Side
Part #240530701
This manufacturer-certified drawer support rail supports the right side of the sliding drawer. It is a track that helps the drawer slide open and closed with ease. If you are having trouble opening or closing your fresh food drawer, check the support rails for any blockage, or visible damage. If the rail is damaged, it should be replaced ...Read moreto ensure no further damage is done to the drawer itself. The repair is straightforward: unscrew and remove the existing support rail, then fasten the new rail in place. This genuine OEM replacement part is made of plastic and is white in color. NOTE: This part is sold separately from the left side drawer support rail. The part measures approximately 16 inches long by 1 inch high.
Read less

$32.95
On Order
Door Handle
Part #218428101
This white refrigerator door handle is a genuine OEM replacement designed for use on both the freezer and fresh food doors of select models. Constructed for durability and a secure fit, this handle restores functionality and appearance to your appliance. Installation is straightforward and requires only a Phillips screwdriver. To replace,...Read more remove the two screws from the top of the door, slide out the old handle, attach the mounting block to the new handle, and secure it in place. Always verify model compatibility before purchase.
Read less

$53.85
On Order
Crisper Glass Shelf Insert
Part #240350608
This refrigerator crisper shelf insert is a genuine replacement component designed to sit above the crisper drawers, providing a stable surface for food storage while helping to maintain proper humidity levels below. Measuring approximately 23.82 inches by 15.50 inches, it is made of durable glass and fits select Frigidaire refrigerator m...Read moreodels. Installation is tool-free—simply remove the old insert and slide the new one into place. This OEM part is sold individually and ensures a precise fit and reliable performance.
Read less

$56.05
In Stock
Drawer Support Rail - Left Side
Part #240530601
This left-side meat pan hanger is a genuine replacement component designed for select Frigidaire, Electrolux, White Westinghouse, Tappan, and compatible refrigerator models. It provides structural support for the sliding deli or meat drawer, ensuring smooth operation and proper alignment. Constructed from durable materials, this OEM part ...Read morehelps prevent drawer sagging, misalignment, and difficulty opening or closing. A broken or worn hanger may result in the drawer dropping or becoming stuck. Replacing this support rail restores drawer functionality and contributes to overall refrigerator organization. For full support, the corresponding right-side hanger is part number 240530701. Always verify compatibility using your refrigerator’s model number.
Read less

$131.88
On Order
Refrigerator Door Gasket
Part #242193213
Upgrade your refrigerator's performance with this genuine OEM gasket-door ref. 21 in white from Frigidaire. Designed to prevent warm air from invading your fridge, this door gasket guarantees a seamless seal to maintain optimum cooling efficiency. This is perfect to replace part models in certain Frigidaire, Electrolux, White Westinghouse...Read more, and Tappan models. Its size measures a standard 21 inches. For trouble-free installation, smooth any folds and creases on the gasket by soaking it in warm water or gently warming it with a hairdryer on low heat. Do remember to safely store any perishables while the door is open during installation.
Read less

$27.45
In Stock
Light Bulb
Part #316538904
This OEM 40 watt appliance light bulb is used for some ranges, refrigerators, freezers, and microwaves. Simply locate the existing bulb, unscrew it from its socket, and replace with new light bulb. If the existing bulb is broken in the socket, disconnect the power to the refrigerator and use a pair of needle nose pliers to grip the intern...Read moreal fragments of the bulb to unscrew. Replace with the new bulb and reconnect the power to the refrigerator. These bulbs are sold individually and are a commonly replaced part; consider ordering a spare.
Read less

$56.05
In Stock
Run Capacitor
Part #5304464438
The run capacitor helps the compressor kick on and off while maintaining a constant temperature in your fridge and freezer. You may need to replace your run capacitor if your refrigerator or freezer section will not start, if they are too warm, or if your refrigerator has become too noisy. Replacing the run capacitor is a relatively easy ...Read moreproject. For this repair you will only need a 1/4 inch nut driver and needle nose pliers. Remember to disconnect the power and water supply line to the unit before you begin this repair. For full step by step instructions, simply click on the video below.
Read less

$41.14
In Stock
Defrost Thermostat
Part #5303918202
This defrost thermostat is also known as a refrigerator defrost bi-metal thermostat kit. The function of the defrost bi-metal thermostat is to prevent overheating during the defrost cycle in your refrigerator by protecting the evaporator. The most common sign that there is a problem with your refrigerator defrost thermostat kit is if your...Read more freezer is cold but your refrigerator is warm. If your evaporator coils are icy then your defrost bi-metal thermostat kit could be defective. To do this installation the tools you will need include a 1/4 inch nut driver, a pair of wire strippers and crimpers, and a heat gun.
Read less

$17.17
In Stock
Screw - Kit of Four
Part #5304515677
This screw is used in refrigerators. The screw can be loosened or tightened with a Phillips-head or square-head screwdriver. This screw is used to secure the refrigerator handle to the refrigerator door. This is an OEM part sourced directly from the manufacturer.

$53.85
On Order
Dairy Door - Clear
Part #240337712
This is a dairy door for your refrigerator. This part covers the products in the dairy bin section. To access this section, simply lift the lid. This dairy door is made entirely of plastic and is transparent. It is almost 10 inches wide, and roughly 6 inches long. In order to make this repair you will not need any tools, as this part will easily clip in and out of place of the hinged holes.
Manuals & Care Guides for WRT8G3EWN
Click to downloadInstall
Installation Instructions
(0.84MB)
Install
Installation Instructions
(1.38MB)
Manual
Owner's Manuals
(1.97MB)
Manual
Owner's Manuals
(3.93MB)
Manual
Owner's Manuals
(4.78MB)
Wiring
Wiring Diagram
(0.27MB)
Common Symptoms of the WRT8G3EWN
How this model fails, and the parts that fix it.
Fridge too warm
Fixed by
these parts
these parts


Show All
Door won’t open or close
Fixed by
these parts
these parts


Show All
Noisy
Fixed by
these parts
these parts


Show All
Freezer not defrosting
Fixed by
these parts
these parts


Show All
Freezer section too warm
Fixed by
these parts
these parts

Show All
Will Not Start
Fixed by
these parts
these parts
Show All
Fridge and Freezer are too warm
Fixed by
these parts
these parts
Show All
Door Sweating
Fixed by
these parts
these parts


Show All
Leaking
Fixed by
these parts
these parts

Show All
Too warm
Fixed by
these parts
these parts
Show All
Light not working
Fixed by
these parts
these parts


Show All
Won’t start
Fixed by
these parts
these parts
Show All
Fridge runs too long
Fixed by
these parts
these parts
Show All
Frost buildup
Fixed by
these parts
these parts
Show All
Fridge too cold
Fixed by
these parts
these parts
Show All
Freezer too cold
Fixed by
these parts
these parts
Show All
Clicking sound
Fixed by
these parts
these parts
Show All
Doesn’t stop running
Fixed by
these parts
these parts
Show All
Watch our pros, then fix it yourself.
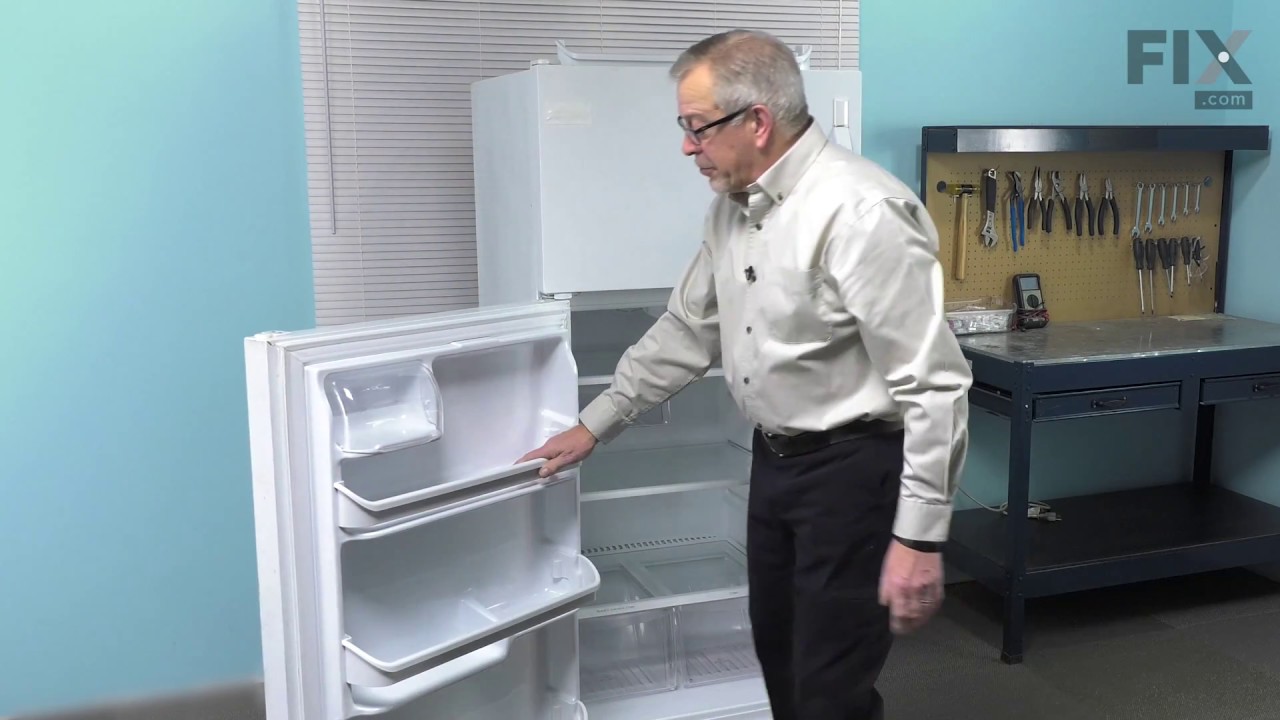
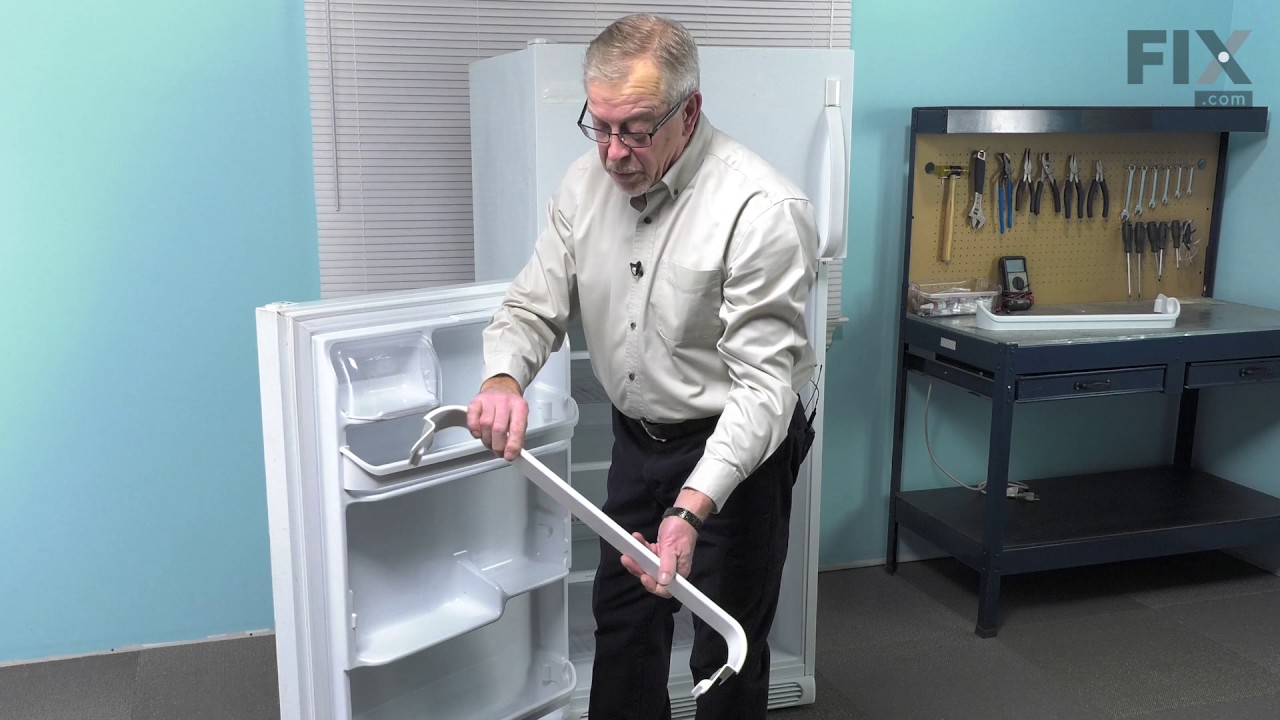
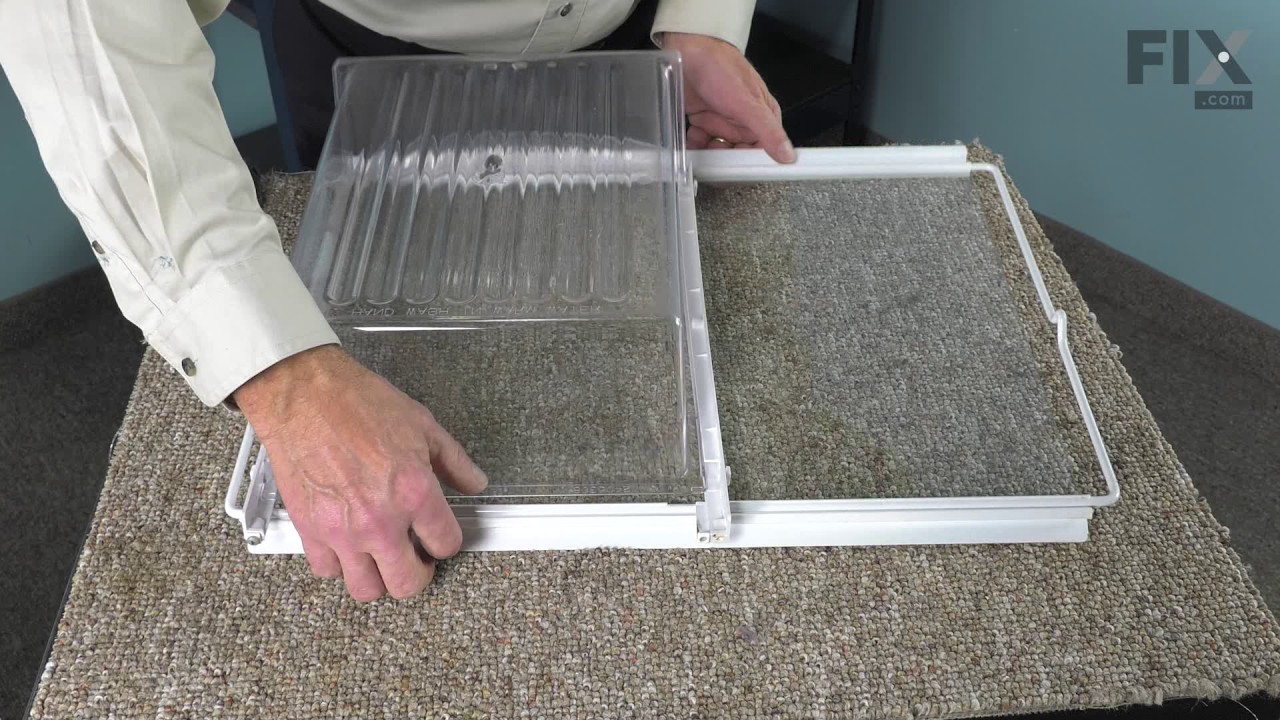
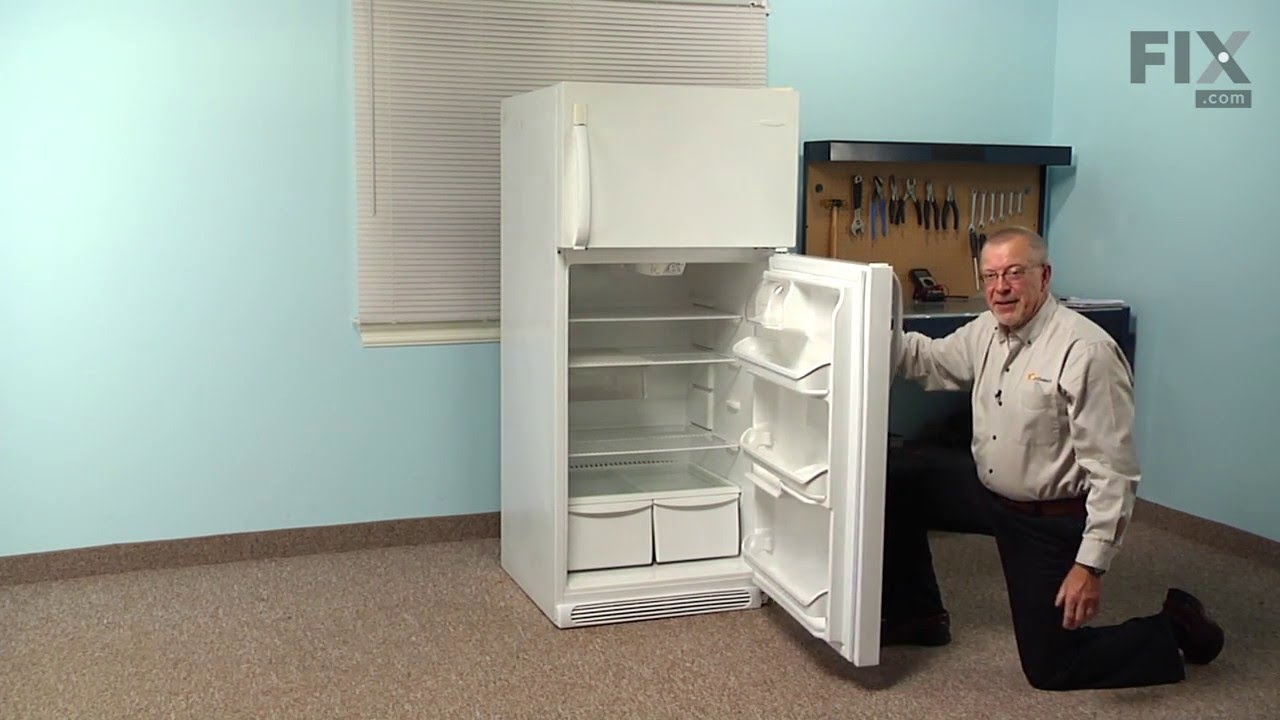
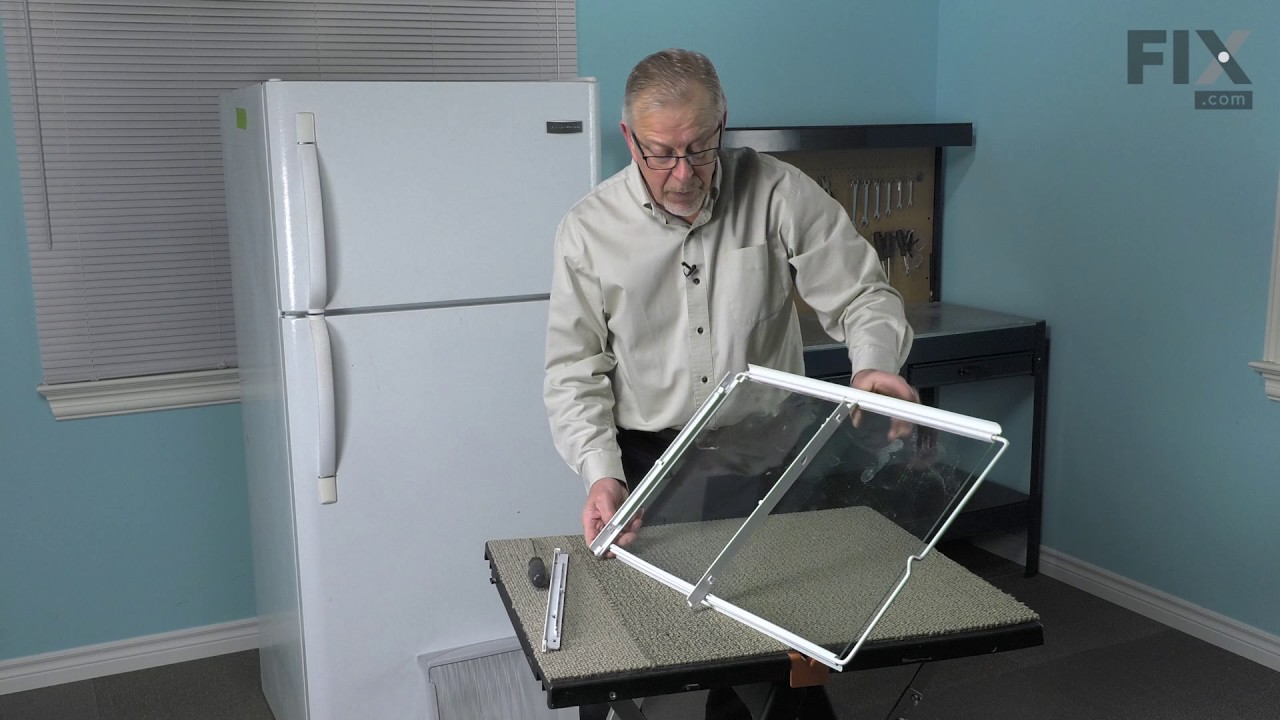
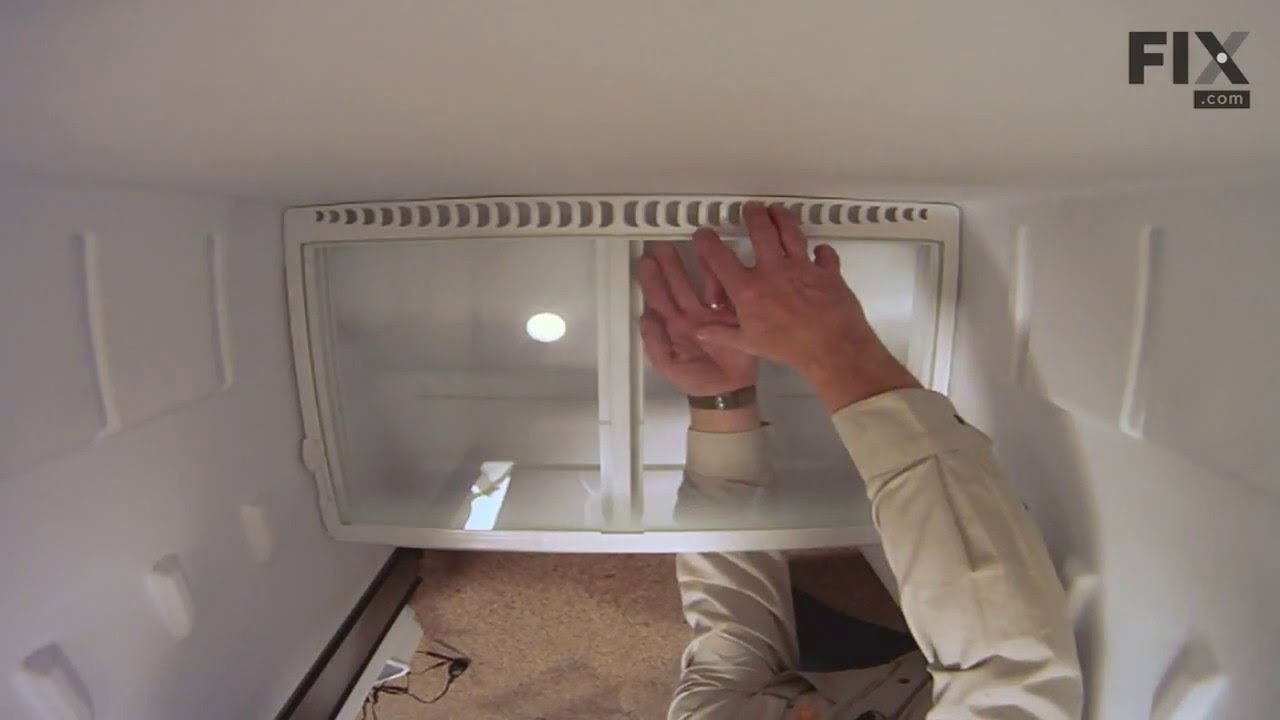

See how others fixed this model. Time, tools, difficulty, and steps that lead to victory!
View More