



 My Orders




WRT7A2EW3 Westinghouse Refrigerator - Overview
Diagrams for WRT7A2EW3
See every part. Know exactly what you need.


Enter a part description. DIY Heroes keep it simple, eg. "belt" or "pump".
Search filter:
Clear Filter
Your search term must have 3 or more characters.

$41.75
In Stock
Door Rack
Part #240535101
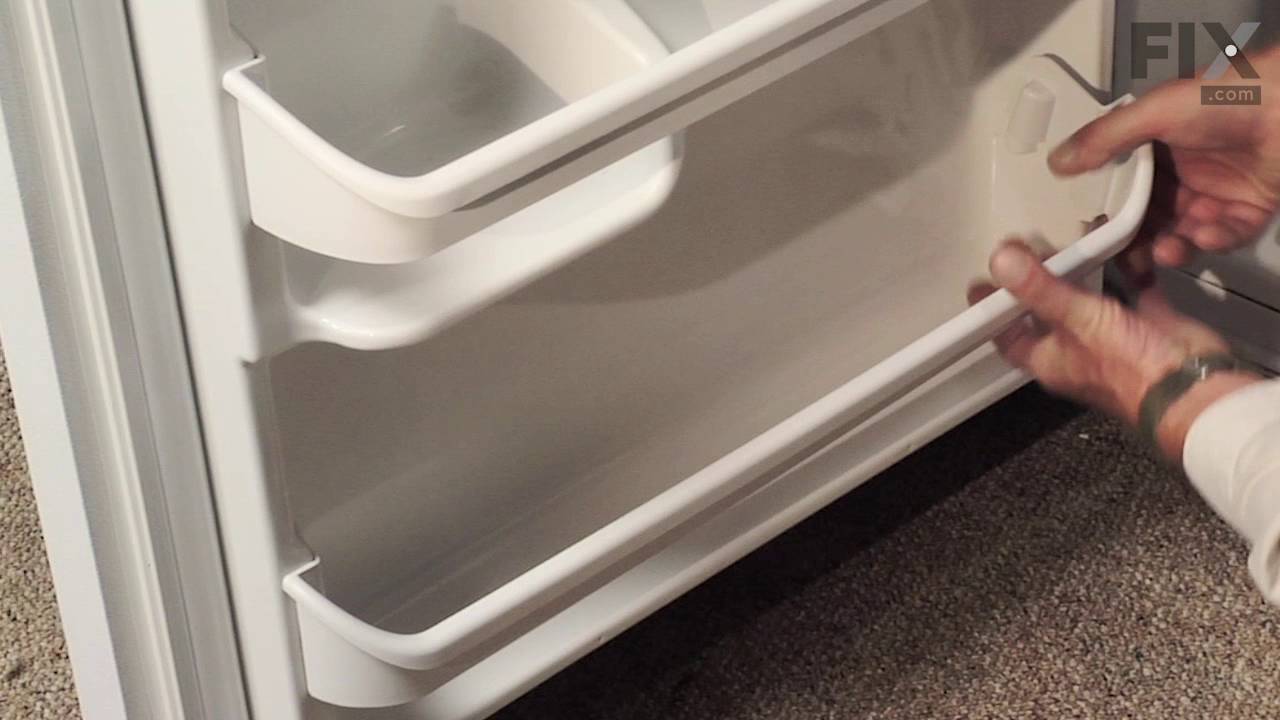
The Door Rack (also known as a retainer bar) is a 23" white plastic part used to hold small items inside the fridge door. If broken, it should be replaced. Refer to your user manual and model number to determine if this part is correct for you. This is a simple part to repair and should not require any tools. Most customers found it to be...Read more very easy to simply snap the old rack out of place and snap the new one back in, making sure the locking tabs are secure. This part is sold individually and not as a part of a kit. It is certified by the original manufacturer.
Read less

$40.84
In Stock
Defrost Timer - 60Hz 120V
Part #215846602
This Defrost Timer works like a clock by switching on the defrost heater circuit after a predetermined amount of compressor run time. This allows the defrost circuit to clear the evaporator of ice or frost to maintain proper airflow. The defrost timer is located in the control housing which is in the refrigerator section of your appliance...Read more. If this part is not working, it can lead to temperature increases in your refrigerator. If the compressor circuit fails, no cooling will take place; if the defrost circuit isn't activated, ice will quickly build up on the evaporator coils and reduce airflow and efficiency. If the timer doesn't advance or if the contacts have no continuity, the timer will need to be replaced. This timer measures approximately 3 inches long and 2.5 inches wide, and is constructed of plastic and metal. It comes in black/white/silver and is sold individually. This replacement part features 1 defrost timer.
Read less

$27.45
In Stock
Light Bulb
Part #316538904
This OEM 40 watt appliance light bulb is used for some ranges, refrigerators, freezers, and microwaves. Simply locate the existing bulb, unscrew it from its socket, and replace with new light bulb. If the existing bulb is broken in the socket, disconnect the power to the refrigerator and use a pair of needle nose pliers to grip the intern...Read moreal fragments of the bulb to unscrew. Replace with the new bulb and reconnect the power to the refrigerator. These bulbs are sold individually and are a commonly replaced part; consider ordering a spare.
Read less

$64.85
In Stock
Evaporator Fan Motor Kit - 120V 60Hz
Part #5303918549
The evaporator fan motor (Motor Evaporator Fan, Evaporator Fan Motor Kit, Evaporator Fan Motor, Refrigerator Evaporator Fan Motor) circulates air through the food compartment for efficient cooling in refrigerators. The evaporator fan motor can squeal as its bearing dries out. The motor bearings can totally seize, preventing any movement. ...Read moreThe motor coil can also burn out, preventing any fan movement. If this motor fails, the refrigerator compartment will warm up and eventually the freezer will reduce cooling as well. Excessive frost can build up on the evaporator coil due to lack of air movement. The motor can make a squealing noise when it is beginning to fail or will not operate at all when powered, and this is a sign it should be replaced. The evaporator is located in the rear of the freezer compartment. This part measures 2-1/2 inches wide by 3 inches tall by 1 inch thick, at its widest point. It is constructed of plastic and metal, and comes in black/silver. This kit includes the evaporator fan motor and harness.
Read less

$41.14
In Stock
Defrost Thermostat
Part #5303918202
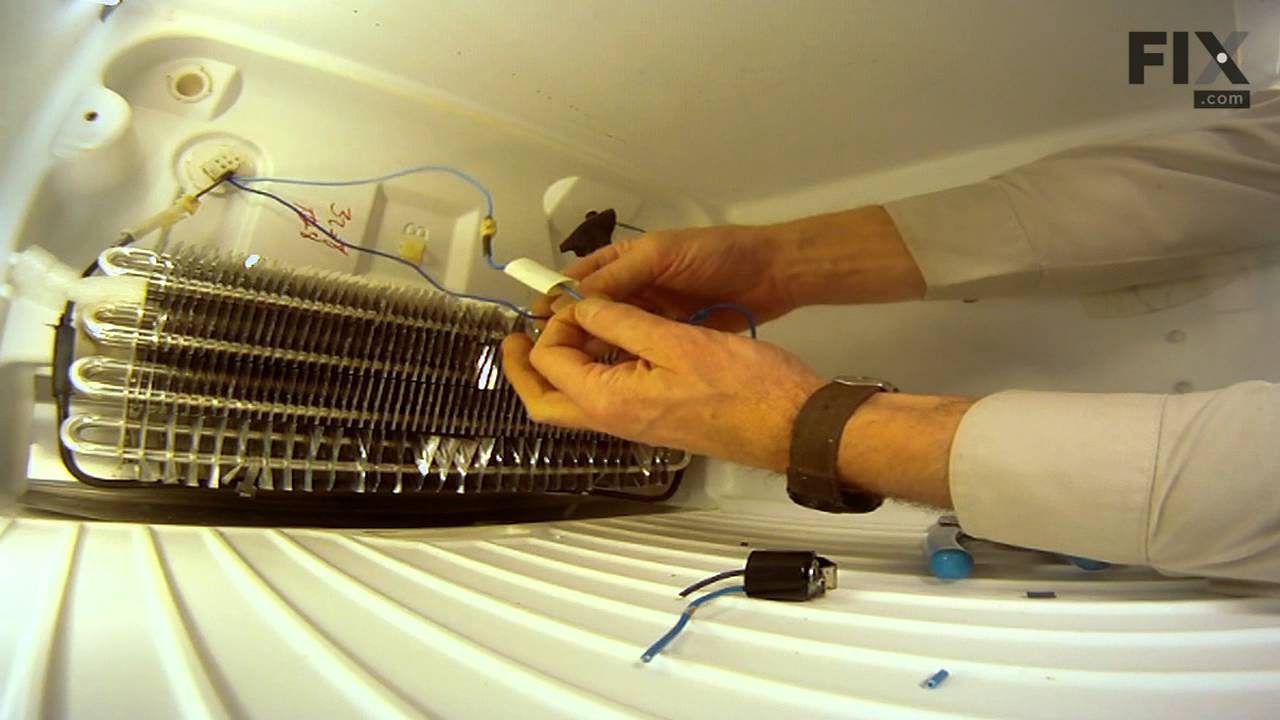
This defrost thermostat is also known as a refrigerator defrost bi-metal thermostat kit. The function of the defrost bi-metal thermostat is to prevent overheating during the defrost cycle in your refrigerator by protecting the evaporator. The most common sign that there is a problem with your refrigerator defrost thermostat kit is if your...Read more freezer is cold but your refrigerator is warm. If your evaporator coils are icy then your defrost bi-metal thermostat kit could be defective. To do this installation the tools you will need include a 1/4 inch nut driver, a pair of wire strippers and crimpers, and a heat gun.
Read less

$53.85
In Stock
Evaporator Fan Blade
Part #5308000010
This evaporator fan blade is a genuine OEM part that is sourced directly from the manufacturer. The evaporator fan blade circulates air through the refrigerator to control the amount of cold air goes that goes to internal compartments of the unit. It may need to be replaced if the fridge is noisy or not cold enough. This part is made of p...Read morelastic and is sold individually. It will be necessary to disconnect power to the refrigerator and empty the freezer compartment of the refrigerator. The tools needed to complete this repair are a 1/4 inch nut driver and a pair of needle nose pliers.
Read less

$13.73
In Stock
Hinge Bearing
Part #5304507146
This is a replacement hinge bearing for your refrigerator. The hinge bearing is found on the door hinge, and reduces friction when the door opens and closes. If the bearing is damaged, you may not be able to open or close the door properly, and in this case, it will need to be replaced. It is made of white plastic and is approximately 2 i...Read morenches long and 1 inch in diameter. This part is sold individually and is a genuine OEM part.
Read less

$20.67
In Stock
Single Washer
Part #240311303
Improve door function and alignment with this hinge nylon washer, designed to support the door as it pivots on the hinge pin. Made from durable nylon, it helps reduce friction and noise while ensuring smooth opening and closing. By maintaining proper door positioning, it supports a secure seal and contributes to efficient operation and consistent cooling performance.

$102.95
In Stock
Cold Control Thermostat
Part #241537103
This cold control thermostat is a genuine replacement component designed to regulate the internal temperature of refrigerators. It functions by sensing the ambient temperature and cycling the compressor on or off to maintain the desired cooling level. By controlling the flow of electricity to the compressor, it ensures consistent performa...Read morence and prevents temperature fluctuations that could affect food preservation. This part is compatible with select refrigerator models and plays a critical role in maintaining energy efficiency and appliance reliability. Installation should be performed with the appliance unplugged, and model-specific instructions should be consulted for proper setup.
Read less

$25.25
In Stock

$140.98
In Stock
Fresh Food Door Gasket - White
Part #241872504
This white refrigerator door gasket is a genuine replacement component designed to create a secure, airtight seal around the fresh food compartment door. Measuring approximately 41 inches by 27 inches, it is compatible with a range of refrigerator models from Frigidaire, Electrolux, and associated brands such as Gibson, Kelvinator, and Ke...Read morenmore. The gasket plays a critical role in maintaining internal temperature by preventing warm air from entering and cold air from escaping, thereby supporting consistent cooling, preserving food freshness, and improving energy efficiency. A worn or damaged gasket may result in increased energy consumption, frost buildup, or air leaks. Installation typically involves pressing the gasket into the existing groove around the door frame, with no special tools required. Sold individually.
Read less

$26.35
In Stock
Hinge Mounting Hexagonal Screw
Part #240578902
This genuine OEM hinge mounting screw is designed for use in Frigidaire and Electrolux refrigerators, providing a secure and reliable way to fasten door hinges to the cabinet. Built with a durable hex washer head and standard threading, it helps restore proper door alignment and maintain a tight seal to prevent cold air loss. Ideal for re...Read moreplacing worn, stripped, or corroded hardware, this heavy-duty screw ensures long-lasting stability and dependable everyday performance.
Read less
Manuals & Care Guides for WRT7A2EW3
Click to downloadInstall
Installation Instructions
(0.78MB)
Manual
Owner's Manuals
(1.13MB)
Wiring
Wiring Diagram
(0.22MB)
Common Symptoms of the WRT7A2EW3
How this model fails, and the parts that fix it.
Fridge too warm
Fixed by
these parts
these parts


Show All
Freezer not defrosting
Fixed by
these parts
these parts
Show All
Freezer section too warm
Fixed by
these parts
these parts
Show All
Noisy
Fixed by
these parts
these parts

Show All
Door won’t open or close
Fixed by
these parts
these parts


Show All
Fridge and Freezer are too warm
Fixed by
these parts
these parts

Show All
Will Not Start
Fixed by
these parts
these parts
Show All
Leaking
Fixed by
these parts
these parts

Show All
Fridge runs too long
Fixed by
these parts
these parts
Show All
Fridge too cold
Fixed by
these parts
these parts
Show All
Light not working
Fixed by
these parts
these parts


Show All
Too warm
Fixed by
these parts
these parts
Show All
Freezer too cold
Fixed by
these parts
these parts
Show All
Frost buildup
Fixed by
these parts
these parts
Show All
Door Sweating
Fixed by
these parts
these parts
Show All
Watch our pros, then fix it yourself.

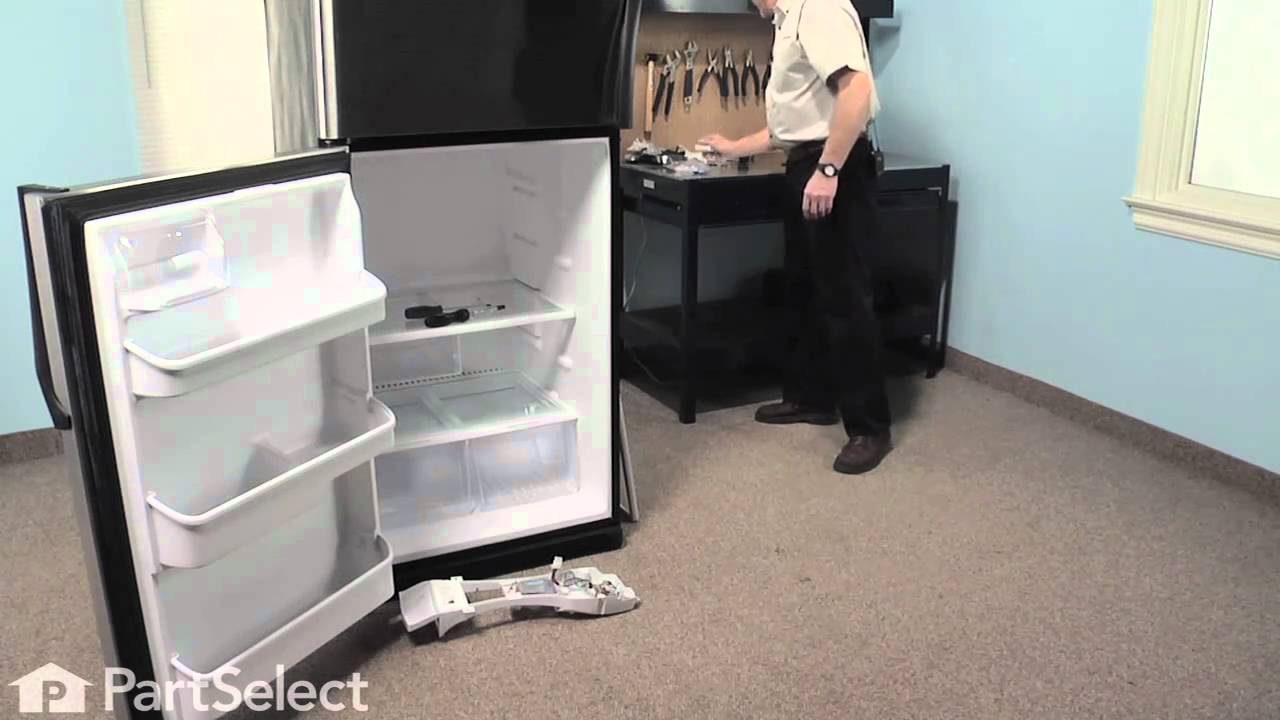
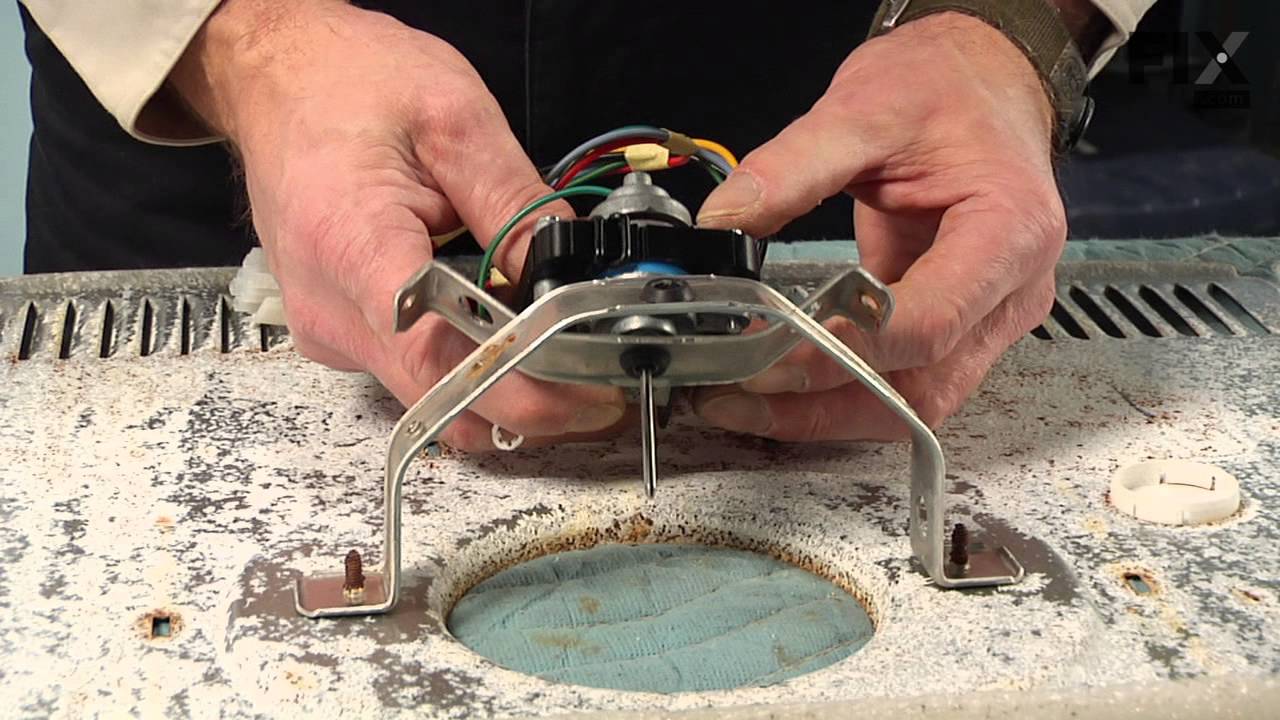
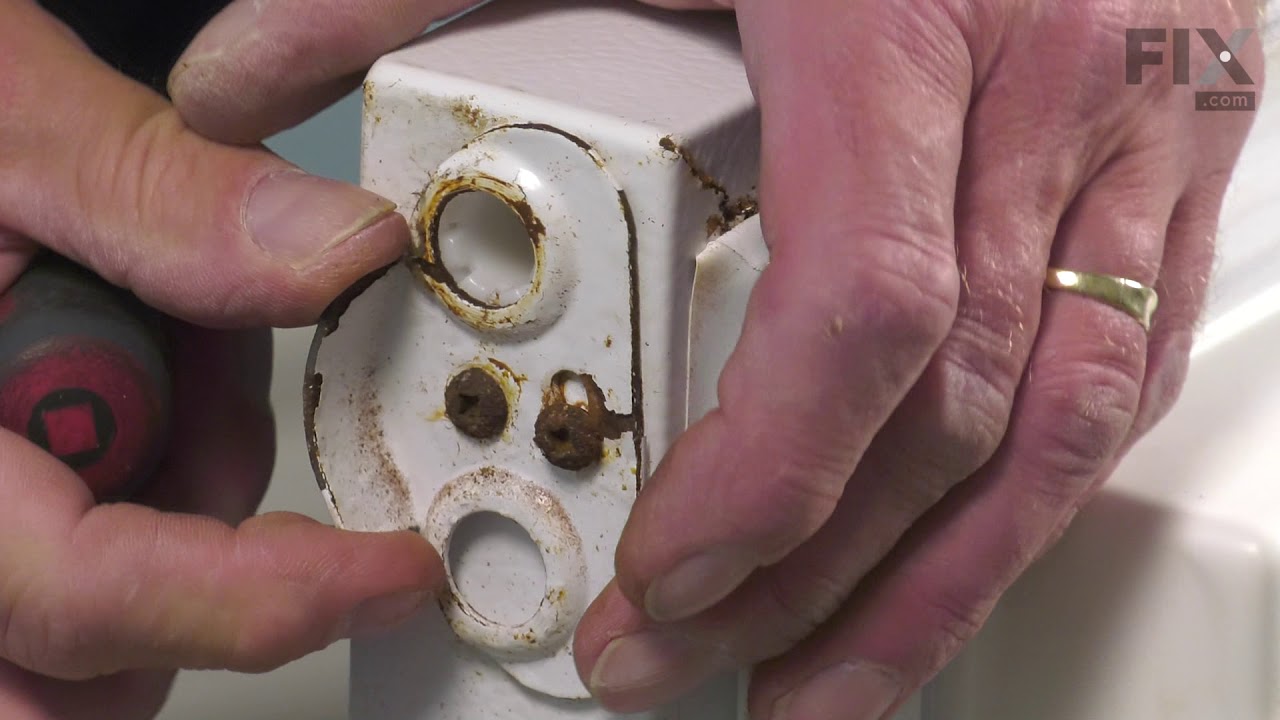

See how others fixed this model. Time, tools, difficulty, and steps that lead to victory!
View More