



 My Orders




WRT519SZDM11 Whirlpool Refrigerator - Overview
Diagrams for WRT519SZDM11
See every part. Know exactly what you need.


Enter a part description. DIY Heroes keep it simple, eg. "belt" or "pump".
Search filter:
Clear Filter
Your search term must have 3 or more characters.

$45.29
In Stock
Refrigerator Capacitor
Part #WPW10662129
This capacitor (Refrigerator and Freezer Compressor Run Capacitor, Run Capacitor) provides the voltage or energy current required to start the compressor and keep it running. It allows the compressor in your appliance to easily cycle on and off. This capacitor mounts directly onto the compressor starting relay. If the capacitor is faulty ...Read morethe compressor may get unusually hot and draw excessive amperage. It the compressor overheats, it may fail to run until it cools down again. The compressor may also get noisy from overheating. If this part is totally electrically open, it is defective (often due to overheating) and needs to be replaced. The part measures 1 inch by 1-1/2 inches, and is constructed of plastic with two metal wire terminals. This item includes 1 capacitor, sold individually. This part comes in black.
Read less

$49.50
In Stock
Meat Drawer Shelf
Part #W10861519
This is a meat drawer shelf frame for some models of refrigerator. This white plastic frame measures approximately 15 inches wide by 11.5 inches deep by 1.5 inches tall, and is used to allow the meat drawer to easily slide in and out of the fridge. If your meat drawer is currently sagging and this frame is damaged and not supporting it en...Read moreough, it needs to be replaced. Replacing this frame requires you to remove the meat drawer and the glass shelf above it, so you can flip it over and slide out the old frame, and slide in the new. This frame is supplied by the original equipment manufacturer and is sold individually, so it does not include any other parts for the meat drawer or shelf above it.
Read less

$55.29
In Stock
Freezer Evaporator Fan Motor
Part #WP2315539
This evaporator fan motor is located in the back of the freezer, and circulates air over the refrigerator coils. These coils will convert the heat into cool air, which is then circulated.

$11.77
In Stock

$12.85
In Stock
BRACKET-DOOR STOP,ZINC
Part #W11745278
This hinge bracket, also known as a door stop, is attached to the bottom of the door and is used to limit how far the door swings out to protect the refrigerator itself, and any surrounding cabinets from potential damage. If your fridge is having issues opening or staying closed, check the hinges for any damage or cracking. To replace thi...Read mores bracket, simply remove the door off your refrigerator, unscrew and remove this bracket from the bottom of the door, and install the new one. This hinge bracket is an OEM replacement and is compatible with several different makes and models of refrigerator.
Read less

$7.47
In Stock

$7.47
In Stock

$11.77
In Stock

$11.77
On Order
Refrigerator Insert
Part #WP489467
You've got an issue? We have the solution! Let us introduce you to our latch and handle assembly tailor-made for your GE range. Having issues with your oven door during self-cleaning cycles? No worries, this assembly provides a solid locking feature, making sure your oven door remains secure and safe throughout the cycle. Remember, befo...Read morere getting started on those repairs, it?s key to switch off the electrical power connected to your range. This safety step is not to be skipped or taken lightly. We also encourage you to put on those work gloves while handling and installing this assembly, keeping your hands safe and protected. So, why is this part so important? It's simple?it's the one component that ensures your oven door stays locked when it's required, preventing any mishaps during self-cleaning cycles. Plus, with the GE brand on it, you are assured the part you've got in your hand is top quality and durable. Ready to give your range a new lease on life and have it working just like new? It's time to get that latch and handle assembly installed!
Read less

$44.23
On Order
Refrigerator Center Door Hinge
Part #WP2254618
This center door hinge is a genuine OEM component designed to support the freezer door on your refrigerator. Made from high-quality steel for durability, it secures the door to the cabinet, ensuring smooth movement and a tight seal for optimal cooling efficiency. If your door is sagging, misaligned, or difficult to open and close, replaci...Read moreng the hinge can restore proper function and prevent gaps that lead to energy loss. Built to exact specifications for a precise fit, installation is straightforward for most DIY repairs, making it an essential part for maintaining your appliance’s performance.
Read less

$15.00
In Stock
ROLLER
Part #W11164152
This crisper drawer roller is for refrigerators. Crisper drawer roller lets the drawer glide smoothly. Wear work gloves to protect your hands when installing this part.

$50.56
In Stock
Freezer Evaporator Fan Blade
Part #WP2163777
This part is used to circulate air through the inside of the refrigerator to help improve the cooling efficiency.
Common Symptoms of the WRT519SZDM11
How this model fails, and the parts that fix it.
Fridge too warm
Fixed by
these parts
these parts


Show All
Will Not Start
Fixed by
these parts
these parts
Show All
Fridge and Freezer are too warm
Fixed by
these parts
these parts
Show All
Door won’t open or close
Fixed by
these parts
these parts


Show All
Freezer section too warm
Fixed by
these parts
these parts
Show All
Noisy
Fixed by
these parts
these parts

Show All
Clicking sound
Fixed by
these parts
these parts
Show All
Too warm
Fixed by
these parts
these parts

Show All
Fridge too cold
Fixed by
these parts
these parts

Show All
Freezer not defrosting
Fixed by
these parts
these parts
Show All
Won’t start
Fixed by
these parts
these parts
Show All
Fridge runs too long
Fixed by
these parts
these parts
Show All
Door latch failure
Fixed by
these parts
these parts

Show All
Frost buildup
Fixed by
these parts
these parts
Show All
Ice maker not making ice
Fixed by
these parts
these parts

Show All
Watch our pros, then fix it yourself.

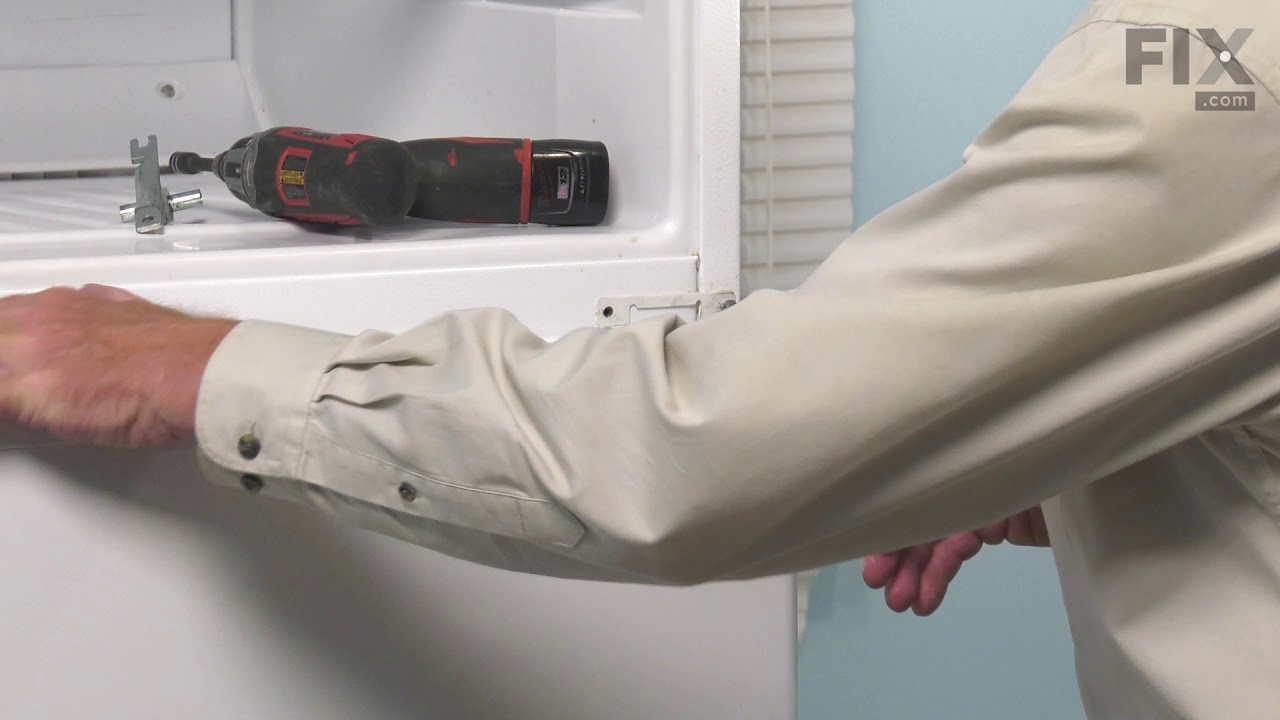
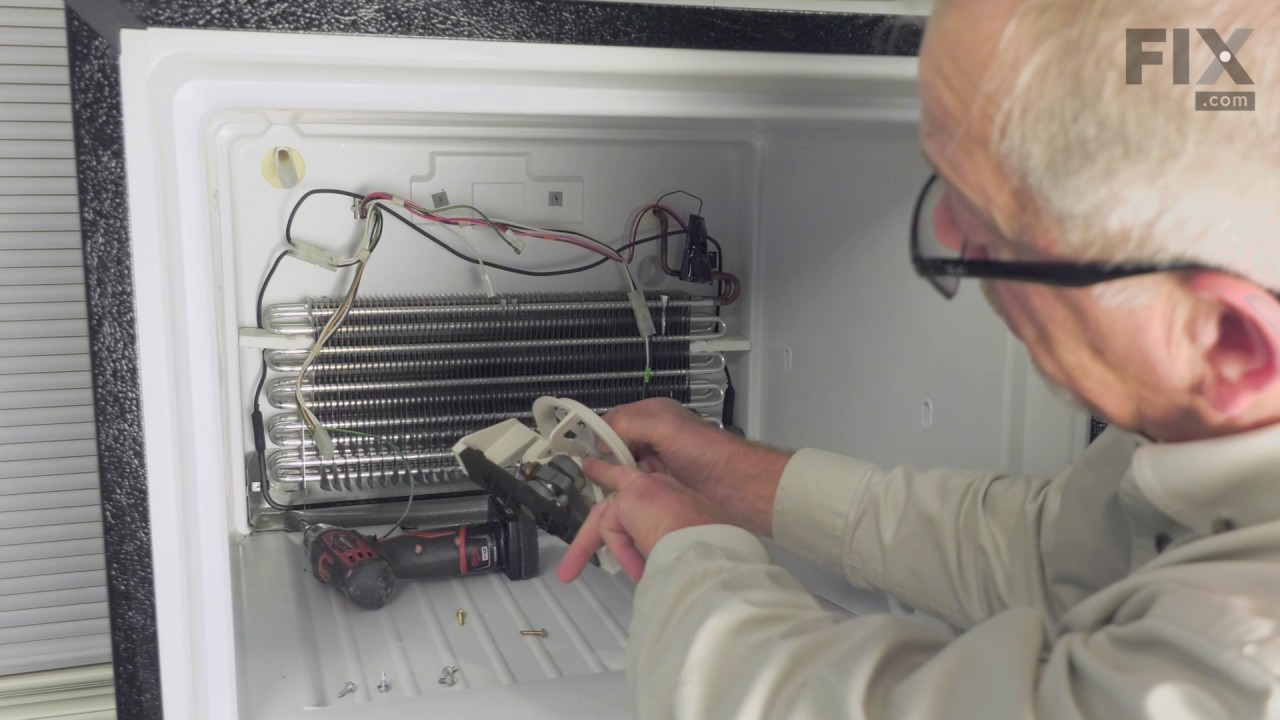
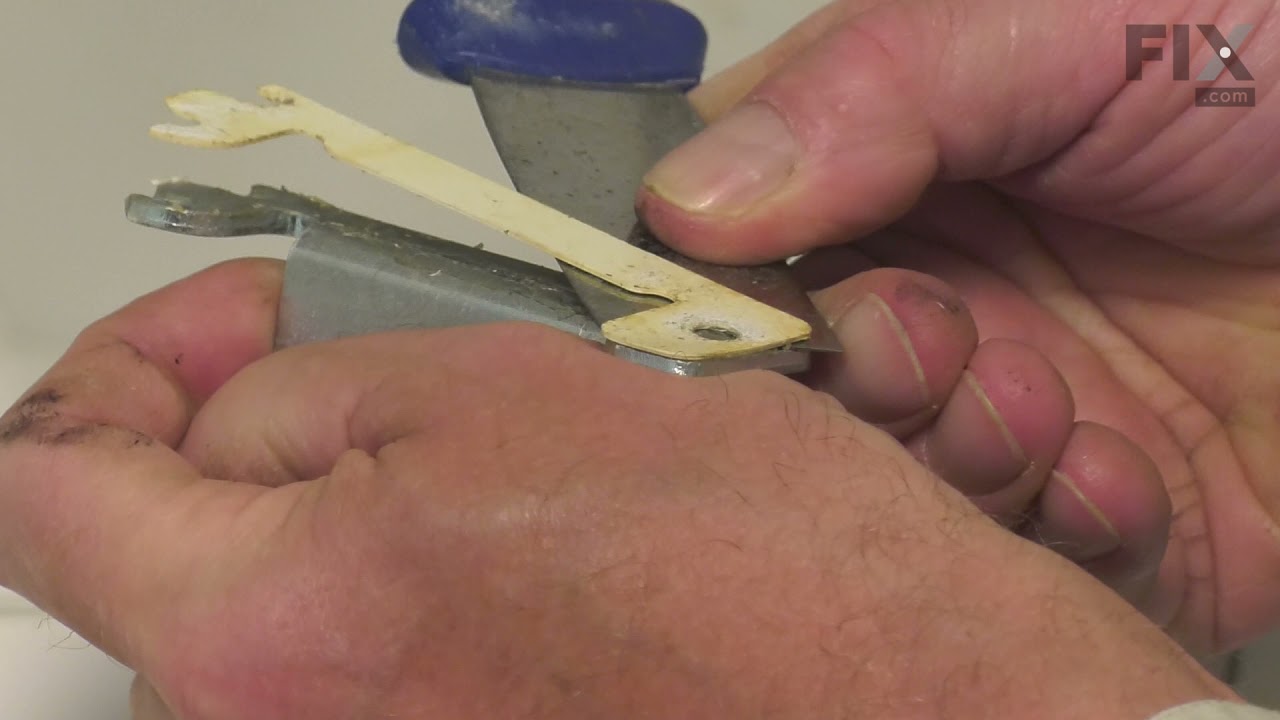
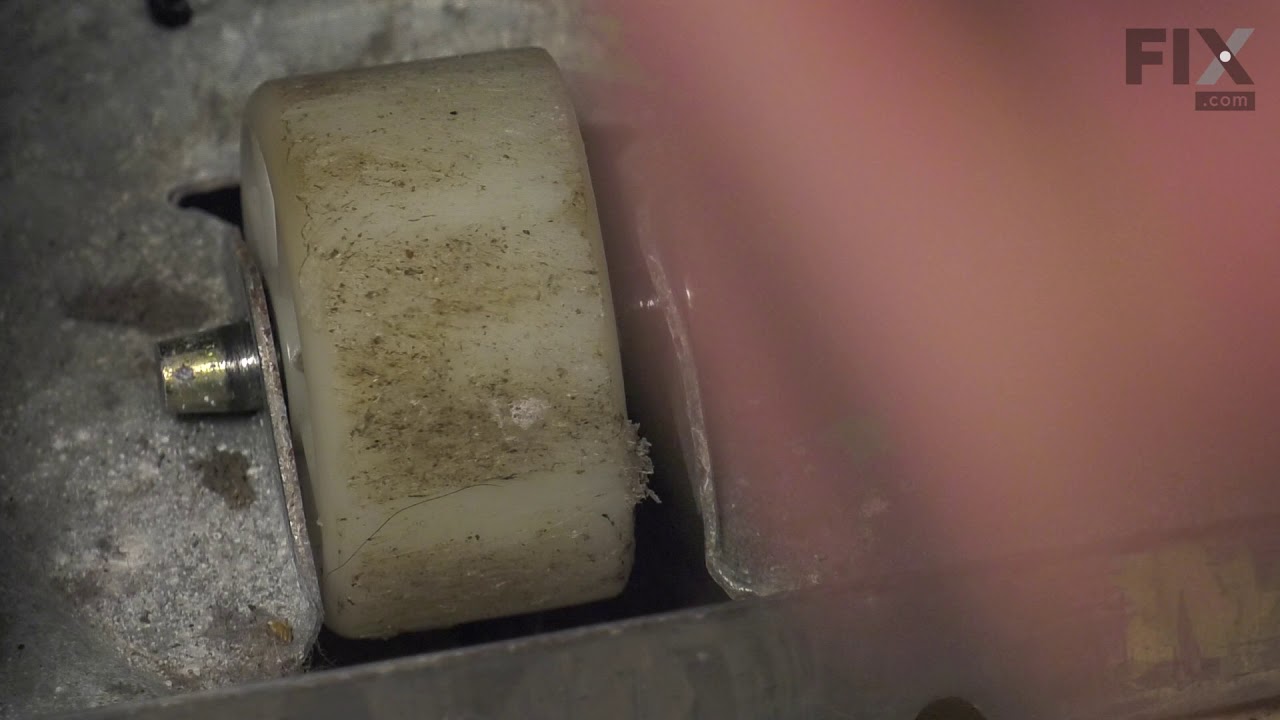
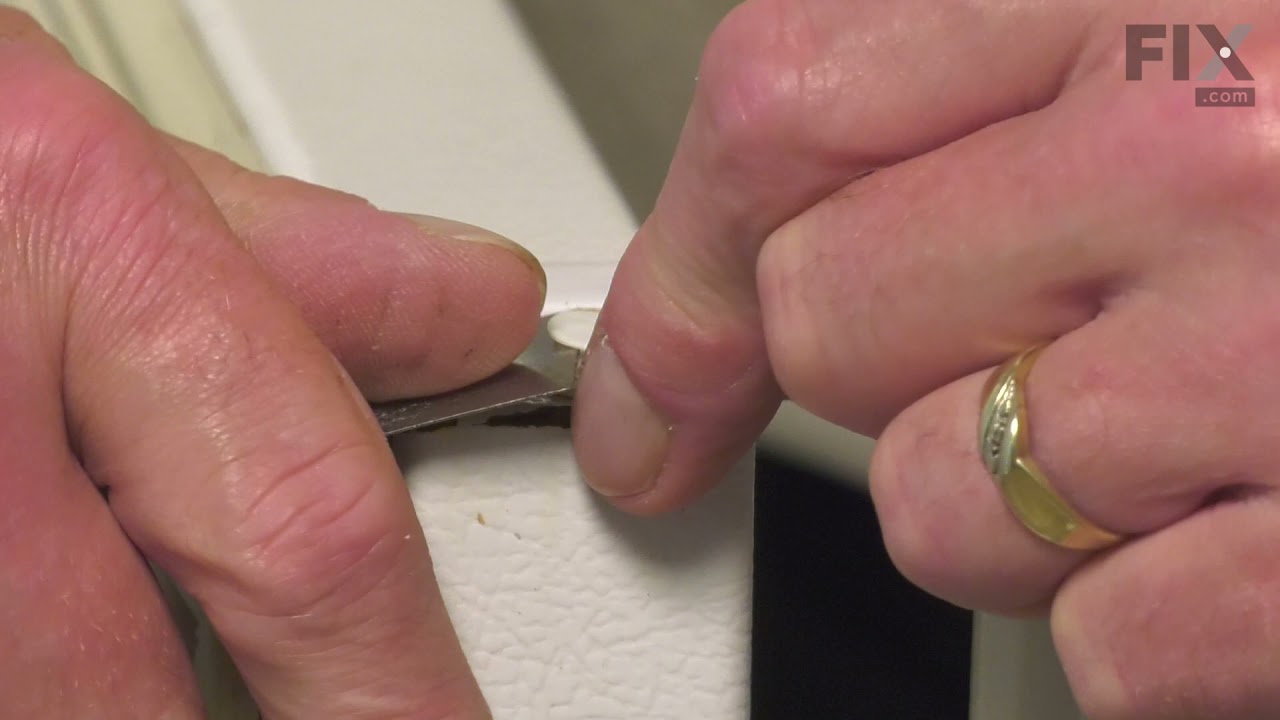
See how others fixed this model. Time, tools, difficulty, and steps that lead to victory!
View More