EasyApplianceParts is now PartSelect! We've merged our sites to provide a better shopping experience for you.   Full Details
✖

Find Parts

Parts Departments

Top Model Types

Top Brands

Repair Help

Expert Repair Videos

Keep typing for more specific results...

WRT348FMEB00 Whirlpool Refrigerator - Overview

Enter a part description. DIY Heroes keep it simple, eg. "belt" or "pump".

Search filter:
Clear Filter
Your search term must have 3 or more characters.
Replacement Ice Maker – Part Number: 4317943
$120.55
In Stock
Replacement Ice Maker
★★★★★
★★★★★
(249)
Part #4317943
This ice maker (Complete Icemaker Assembly, Whirlpool Icemaker Kit, Ice Maker Assembly, Refrigerator Ice Maker, Icemaker) receives water from the water inlet valve, freezes it, and dispenses it into the ice bucket until the bucket is full. Ice makers will need to be replaced every 3-10 years depending on the frequency of usage, and water quality. You can perform a voltage test with a multimeter or perform an inlet valve test. If you’re unable to make ice, or notice leaks then it may be a sign your ice maker is damaged and could be in need of a replacement. This model measures approximately 11x5 inches, is constructed of plastic and metal, and comes in black/silver. This ice maker is a complete assembly; the whole assembly attaches to the wall of your freezer. ***NOTE: Ice maker does NOT come with the bail or shut off arm. You must order them separately if required. It does come complete with flat and round plug wiring harness, the mounting hardware, and the instructions. The harness can be reused. The ice maker will not fit refrigerators that have the ice auger mounted on the door.
Refrigerator Door Switch – Part Number: W11384469
$30.53
In Stock
Refrigerator Door Switch
★★★★★
★★★★★
(95)
Part #W11384469
Door switch turns the light off when you close the door.
Refrigerator Door Shelf Retainer Bar End Cap – Part Number: WP2156003
$11.77
In Stock
Refrigerator Door Shelf Retainer Bar End Cap
★★★★★
★★★★★
(10)
Part #WP2156003
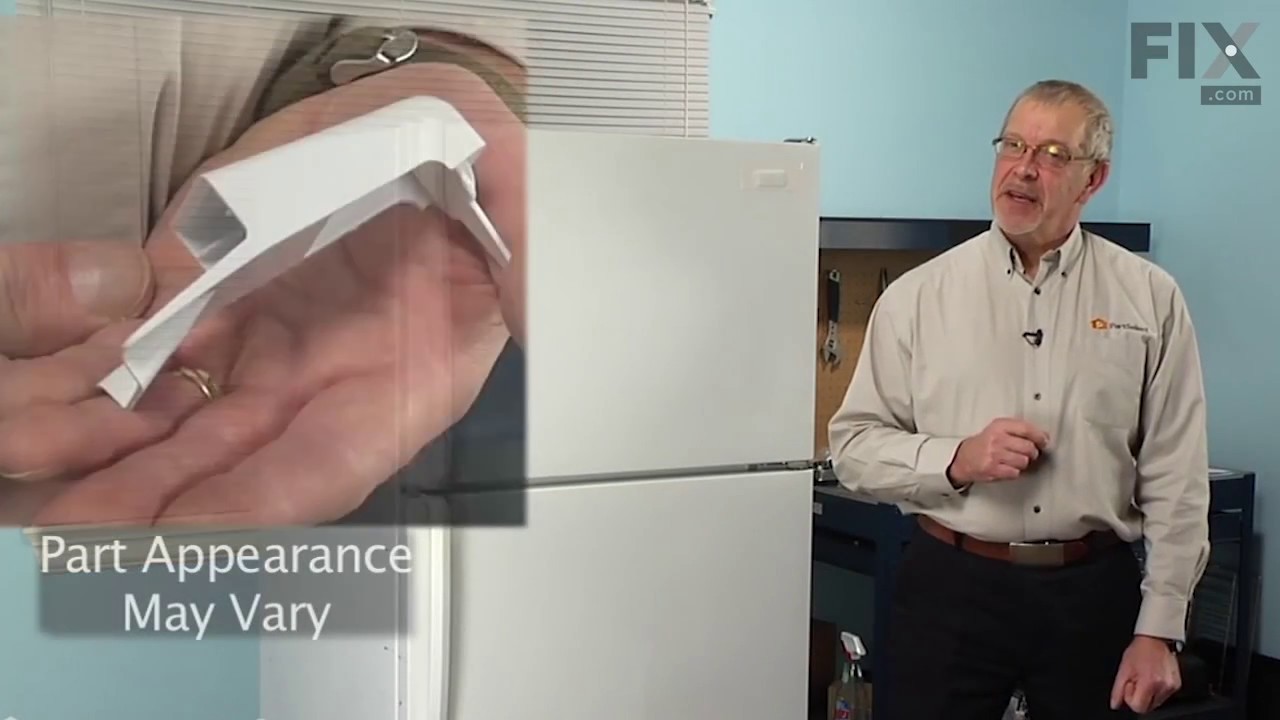
The door shelf retainer bar end cap connects to the retainer bar on your refrigerator’s door shelf, and attaches it to the refrigerator door. If your shelf retainer bar has become disconnected, a damaged end cap could be the cause. To remove the end cap, first unhook the release tab on both ends of the retainer bar. Slide out the bar and the end caps, and slide out the defective cap. Now, simply replace the end cap and snap the bar with end caps back in place on the refrigerator door. This part is made of white plastic and is sold individually.
Freezer Evaporator Fan Motor – Part Number: WP2315539
$55.29
In Stock
Freezer Evaporator Fan Motor
★★★★★
★★★★★
(56)
Part #WP2315539
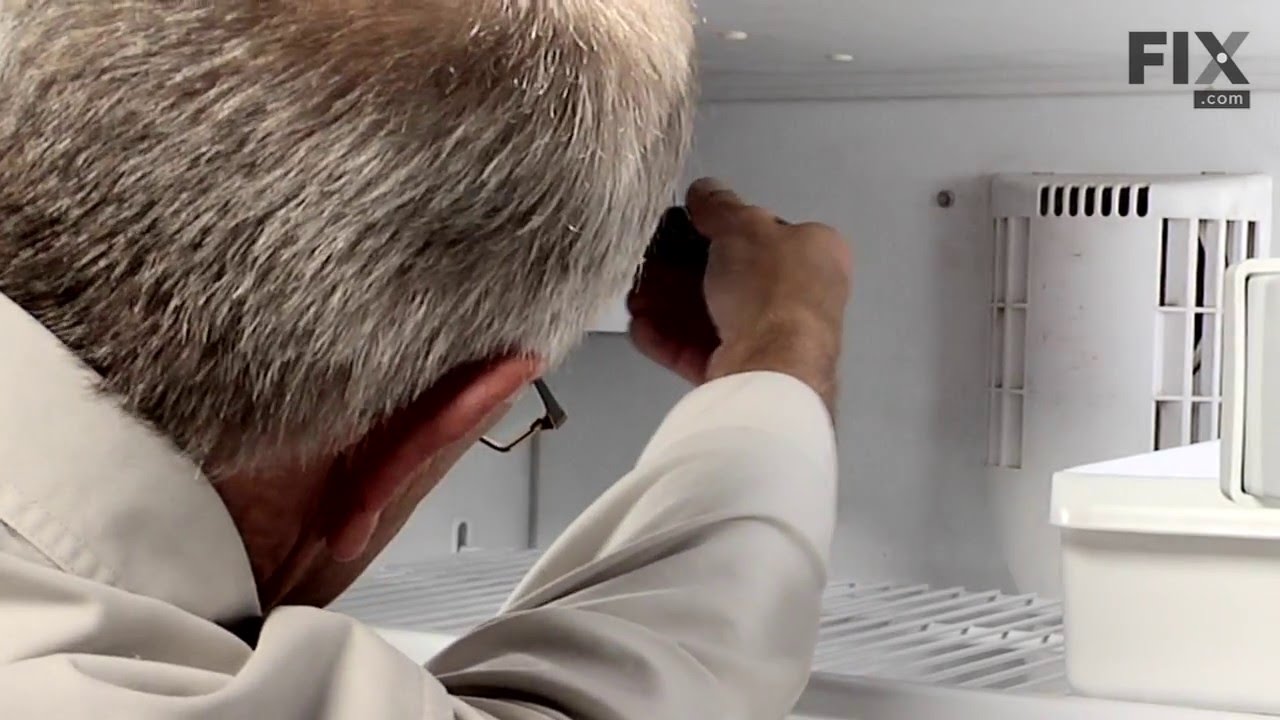
This evaporator fan motor is located in the back of the freezer, and circulates air over the refrigerator coils. These coils will convert the heat into cool air, which is then circulated.
Water Tube Kit – Part Number: W10823511
$27.36
In Stock
Water Tube Kit
★★★★★
★★★★★
(8)
Part #W10823511
This is the replacement water tube kit for your refrigerator. This tubing is made of plastic, is 1/4 inch in diameter, and comes with 2 inserts. This tube may be longer than the original tube, and may need to be cut. This water tube transports water to the ice and water dispensers. If your refrigerator is leaking, or if the ice and water dispensers are not dispensing properly, you may need to replace this tube. This part is sold individually and is an OEM part sourced directly from the manufacturer.
Touch-Up Paint - White – Part Number: 72017
No Longer Available
Touch-Up Paint - White
★★★★★
★★★★★
(7)
Part #72017
This touch-up paint can be used on a wide variety of household appliances. It is most often used on washers, dryer, refrigerators, dishwashers, ranges, freezers, trash compactors, or microwaves. It is an 18 ml, or.6 fluid ounces, bottle of touch-up paint. It also features a brush for easy application. This quick-drying, long-lasting paint is perfect for fixing any nicks, scratches, or chips on the exterior of your appliance. This paint is white in color, and provides a durable finish.
Refrigerator Screw – Part Number: WP489497
$11.77
In Stock
BRACKET-DOOR STOP,ZINC – Part Number: W11745278
$12.85
In Stock
BRACKET-DOOR STOP,ZINC
★★★★★
★★★★★
(5)
Part #W11745278
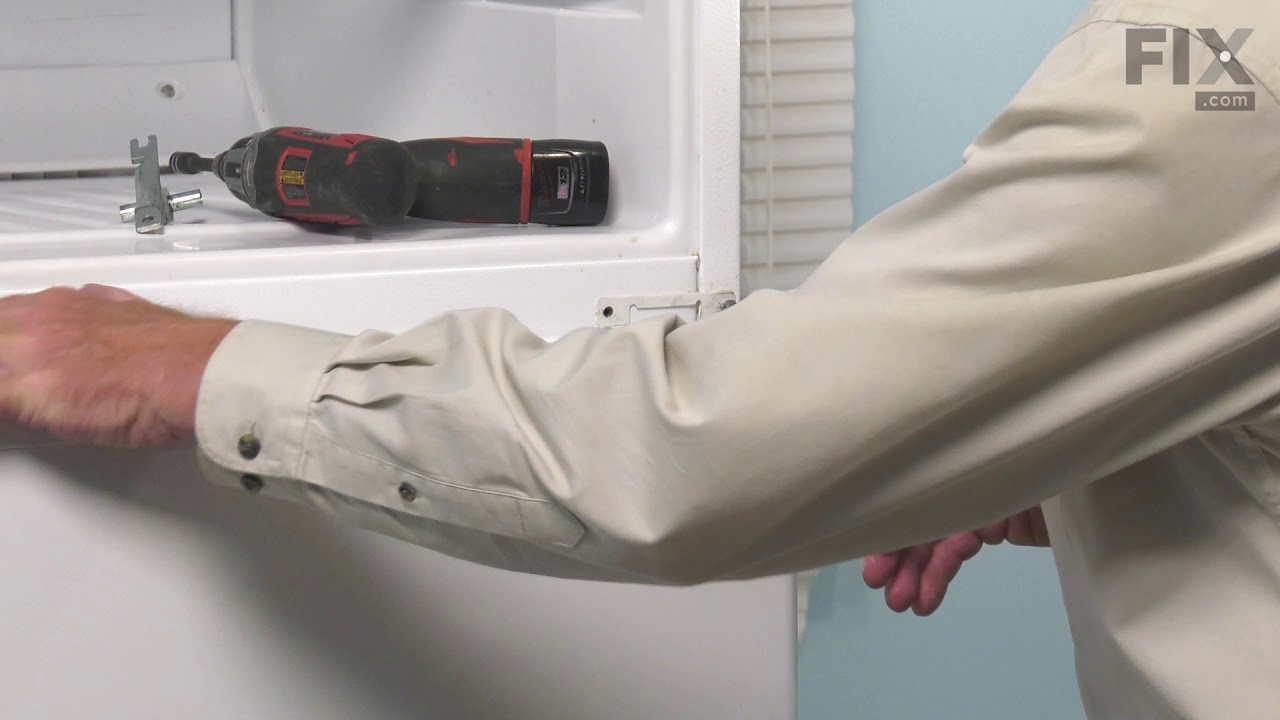
This hinge bracket, also known as a door stop, is attached to the bottom of the door and is used to limit how far the door swings out to protect the refrigerator itself, and any surrounding cabinets from potential damage. If your fridge is having issues opening or staying closed, check the hinges for any damage or cracking. To replace this bracket, simply remove the door off your refrigerator, unscrew and remove this bracket from the bottom of the door, and install the new one. This hinge bracket is an OEM replacement and is compatible with several different makes and models of refrigerator.
Refrigerator Screw – Part Number: WP489478
$7.47
In Stock
Light Socket Kit – Part Number: 4387478
$54.24
In Stock
Light Socket Kit
★★★★★
★★★★★
(7)
Part #4387478
The light socket in your refrigerator houses the light bulb and connects it to the power source. If your refrigerator light is not coming on when you open the door, you may need to replace the light socket. Before you replace the light socket, be sure that your light bulb is in working condition, as this may solve the same problem. This light socket kit comes with 2 wire connectors, a light shield, and the new socket. The wire connectors that come with this kit are included so your new socket can replace a variety of old ones. If this light socket is different than your original, you will need to use the connectors to make it fit your refrigerator. Be sure to follow the instructions provided, so this part will fit your refrigerator properly.
Refrigerator Compartment Door – Part Number: WP2218113
$45.29
In Stock
Refrigerator Compartment Door
★★★★★
★★★★★
(9)
Part #WP2218113
This part is the replacement compartment door for your refrigerator. It is made of clear plastic and is approximately 9 inches by 6 inches. The compartment door snaps into the walls of the dairy compartment on the refrigerator door itself and operates on a hinge so that it can open and close. The main reason to replace the compartment door is if yours is cracked, broken, or missing. To replace the compartment door, carefully remove the hinges, then attach the new door into the hinges. This part is sold individually and is an OEM part.
Refrigerator Insert – Part Number: WP489467
$11.77
On Order
Refrigerator Insert
★★★★★
★★★★★
(1)
Part #WP489467
You've got an issue? We have the solution! Let us introduce you to our latch and handle assembly tailor-made for your GE range. Having issues with your oven door during self-cleaning cycles? No worries, this assembly provides a solid locking feature, making sure your oven door remains secure and safe throughout the cycle. Remember, before getting started on those repairs, it?s key to switch off the electrical power connected to your range. This safety step is not to be skipped or taken lightly. We also encourage you to put on those work gloves while handling and installing this assembly, keeping your hands safe and protected. So, why is this part so important? It's simple?it's the one component that ensures your oven door stays locked when it's required, preventing any mishaps during self-cleaning cycles. Plus, with the GE brand on it, you are assured the part you've got in your hand is top quality and durable. Ready to give your range a new lease on life and have it working just like new? It's time to get that latch and handle assembly installed!

Questions And Answers for WRT348FMEB00

Be the first to ask our experts a question about this model!

Common Symptoms of the WRT348FMEB00

How this model fails, and the parts that fix it.

Watch our pros, then fix it yourself.

See how others fixed this model. Time, tools, difficulty, and steps that lead to victory! View More

Search repair tips from other customers using simple keywords like "replace", "fit", "remove", "inspect". DIY doesn't mean you have to do it alone!

Search filter:
Clear Filter
Your search term must have 3 or more characters.
Ice Maker quit working, I could manually cycle unit but then the water would overflow when unit was re-filling.
596 of 639 people found this instruction helpful.
  • Max from Green Castle, IN
  • Really Easy
  • 15 - 30 mins
  • Nutdriver, Screw drivers
I backed out the 2 top screws about a quarter inch and then removed bottem screw with a quater inch nut driver. I then lifted Ice Maker clear of the two top screws and lowered it enough to unclip the power connection with a small screwdriver. The new Ice Maker was wired correctley for my refrigeator so all I had to do wea reconnect the power connection and mount new Ice Maker on the two top screws and install the bottem screw. It took e while for the new Ice Maker to start it's cycle but after it did, it worked GREAT. Part Select service was OUTSTANDING, ordered part one day and received the next. THANKS!!!!
Was this helpful?
Thank you for voting!
No Ice in the Ice Maker
201 of 237 people found this instruction helpful.
  • Chris from Duluth, GA
  • Really Easy
  • Less than 15 mins
  • Socket set
I am NOT a handyman, and my family laughed at me when I said I was going to fix the ice maker all by myself. I ordered a replacement ice maker. When it arrived, I opened the box and read the instructions. It seemed easy. I removed the old ice maker, with a socket set. I then took off the shut off lever from the old one and placed it on the new one, since the new one didn't come with it. I then put the new one in place. All the parts fit perfectly. The ice machine was making ice within an hour. My family was amazed... and I got the last laugh!
Was this helpful?
Thank you for voting!
Evaporator Fan failure
164 of 190 people found this instruction helpful.
  • William from Middletown, NY
  • Easy
  • 15 - 30 mins
  • Nutdriver
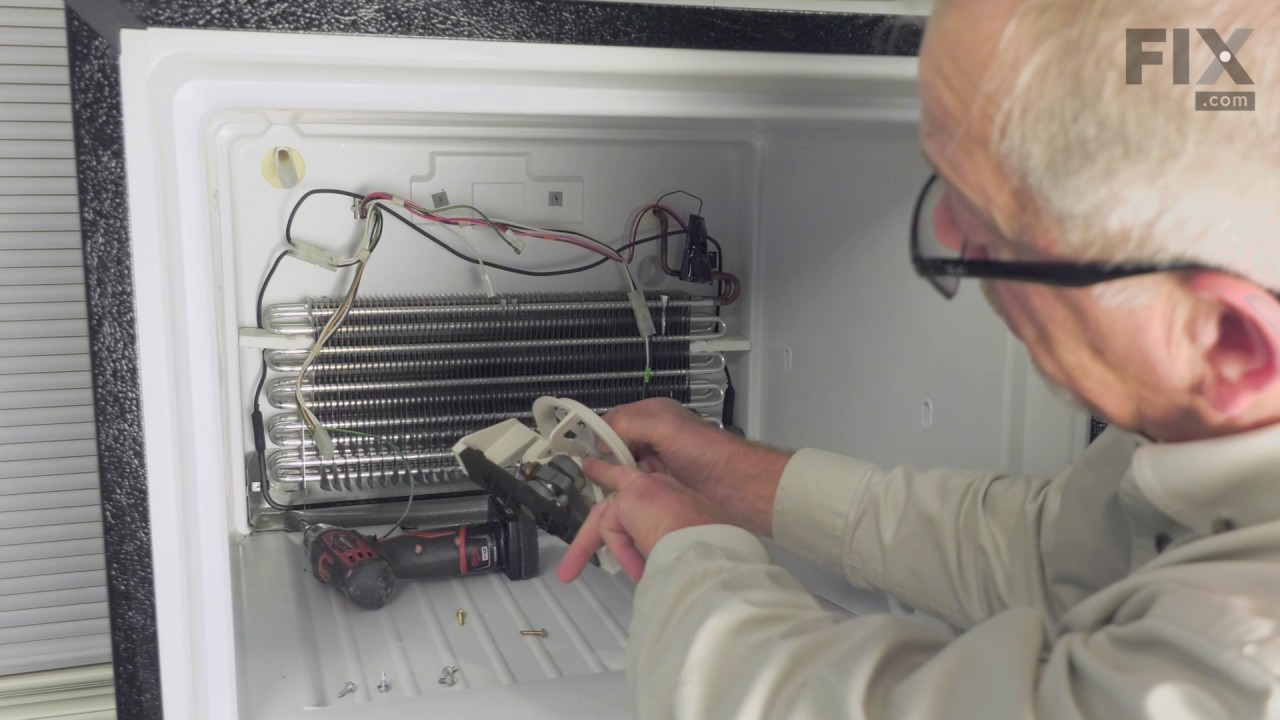
The reason I repaired it myself was because the repairman that diagnosed the problem.didn't come back in two weeks. The evaporator fan sits behind a vented wall in the freezer and directs cold air into freezer and refrigerator.I removed the ice make assembly first and then the freezer wall held in place by two sheet metal nuts. Then remov ed wires from fan motor. Removed the fan blade from fan motor,which was press fitted on,then removed fan motor from bracket assembly(make sure and retain the two vibration rubber washers on back and front of motor. Reinstall new motor with vibration washers and press fan blade on new motor. Install in bracket assemble and reassemnble.
Was this helpful?
Thank you for voting!