



 My Orders




WRSF6536RZ00 Whirlpool Refrigerator - Overview
Diagrams for WRSF6536RZ00
See every part. Know exactly what you need.


Enter a part description. DIY Heroes keep it simple, eg. "belt" or "pump".
Search filter:
Clear Filter
Your search term must have 3 or more characters.

$30.53
In Stock
Door Switch
Part #W11396033
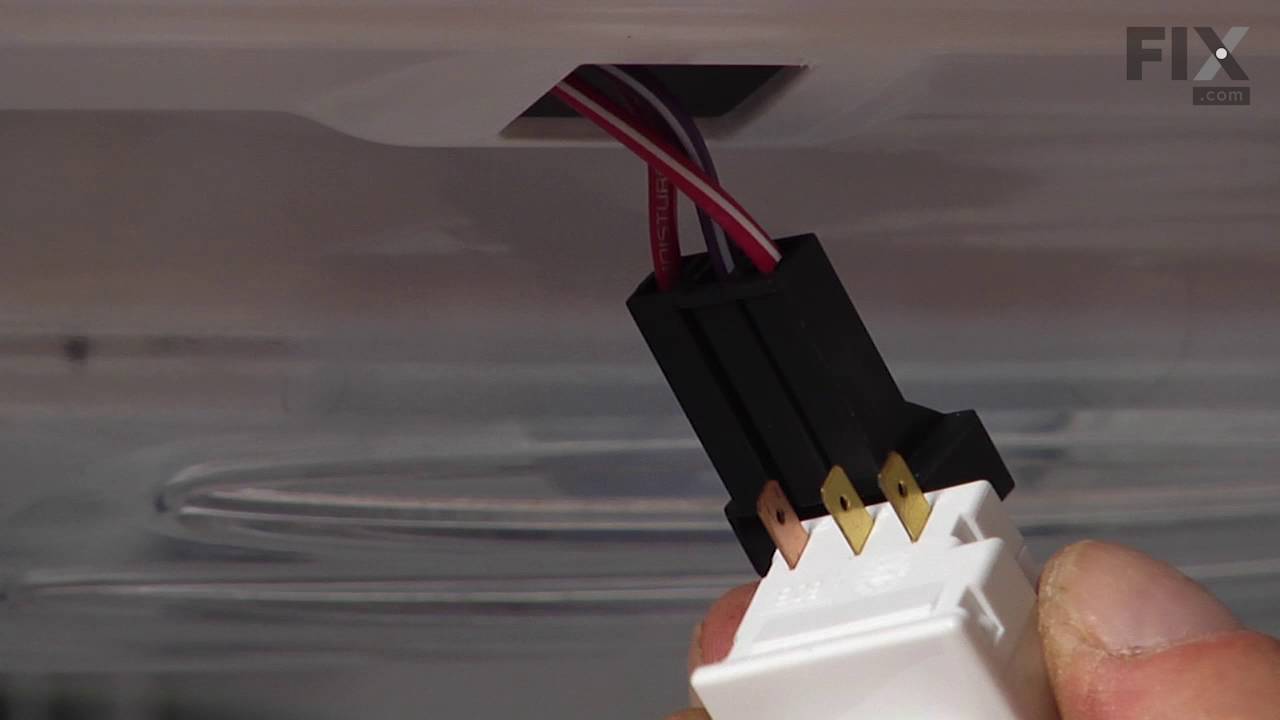
This light switch may also be known as a refrigerator door switch or a light switch kit, and is compatible with your refrigerator. The function of the refrigerator door switch is to turn on the light when your fridge door is open, and to make sure it is off when your refrigerator door is closed. The reason you would need to replace this p...Read moreart is if your light is not turning on when your door is open. For this repair, you will need a putty knife, and a small flat-blade screwdriver.
Read less

$77.34
In Stock
Refrigerator Ice Maker
Part #W10873791
Tired of your fridge not making ice? This replacement ice maker can fix that. It automatically fills with water, freezes it, and drops ice into the bin—so you always have ice ready for drinks or cooking. It’s made to fit several Whirlpool, Maytag, and KitchenAid models and is great if your current ice maker is leaking, noisy, or just not working. Easy to install and ready to get your ice supply back on track.

$11.77
In Stock
Refrigerator Screw
Part #WPW10661886
This mounting screw is a genuine OEM replacement part for the door handle in your refrigerator. If you are having trouble shutting the refrigerator door, or opening it, replacing this screw can help solve the issue. Replacing this part is easy and requires minimal disassembly of the refrigerator end cap handle. Your will need a screwdriver to complete this repair.

$11.77
In Stock

$28.42
In Stock
Evaporator Fan Blade
Part #WP2169142
If your refrigerator or freezer is too warm, or making noises, you may need to replace the fan blade. The fan blade attaches to the evaporator motor, which is in the freezer section, to help circulate the cold air into the refrigerator and freezer sections. The fan blade is white in color and made from plastic. This is a genuine OEM part...Read more. Please be sure to disconnect the power to your refrigerator before starting your repair.
Read less

$9.62
In Stock

$7.47
In Stock

$26.82
In Stock

$9.62
In Stock
Foot Brake
Part #WPW10141622
Introducing the Whirlpool Refrigerator Leveling Leg. This genuine OEM part supports your refrigerator, ensuring it remains stability and level. The height of the leveling leg can be adjusted to suit your unique refrigerator model, providing you with versatility and customization. This leveling leg is compatible with some models of Whirlpo...Read moreol, KitchenAid, Maytag, Jenn-Air, Amana, Inglis, and Magic Chef fridges. For a smooth installation, we recommend wearing work gloves to protect your hands. Verify your model compatibility before purchase.
Read less

$15.00
In Stock
ROLLER
Part #W11164152
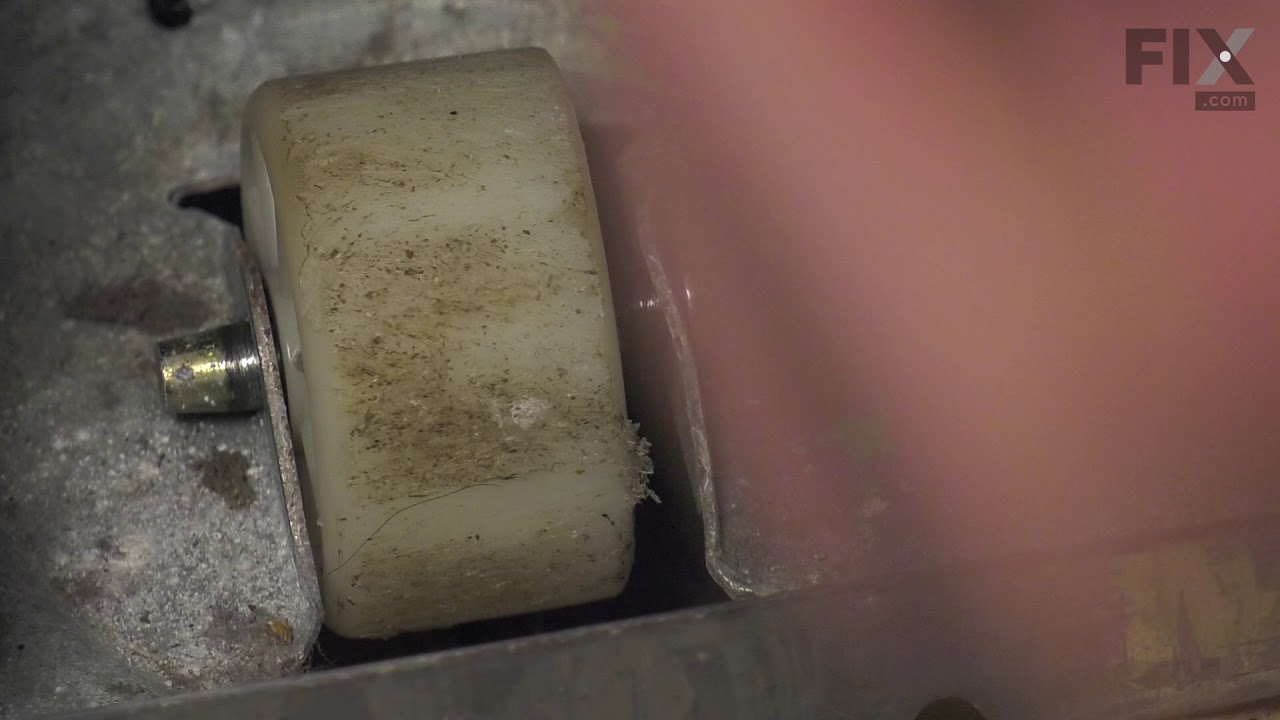
This crisper drawer roller is for refrigerators. Crisper drawer roller lets the drawer glide smoothly. Wear work gloves to protect your hands when installing this part.

$25.75
In Stock

$61.55
In Stock
Refrigerator Temperature Sensor
Part #WPW10384183
Food that freezes in the refrigerator may point to a temperature sensor problem. The sensor works like a small thermometer by tracking the temperature inside the compartment. As the temperature changes, it sends a signal that helps the appliance control its cooling cycles. Replacement may be needed if testing shows that the sensor gives t...Read morehe wrong reading or has damaged wires. Disconnect electrical power before opening the appliance. Follow the service guide to find the correct sensor location, and make sure the plug is fully connected during installation.
Read less
Common Symptoms of the WRSF6536RZ00
How this model fails, and the parts that fix it.
Light not working
Fixed by
these parts
these parts


Show All
Ice maker not making ice
Fixed by
these parts
these parts


Show All
Ice maker won’t dispense ice
Fixed by
these parts
these parts

Show All
Door won’t open or close
Fixed by
these parts
these parts


Show All
Noisy
Fixed by
these parts
these parts

Show All
Fridge too warm
Fixed by
these parts
these parts


Show All
Leaking
Fixed by
these parts
these parts

Show All
Too warm
Fixed by
these parts
these parts
Show All
Freezer section too warm
Fixed by
these parts
these parts
Show All
Not dispensing water
Fixed by
these parts
these parts
Show All
Fridge too cold
Fixed by
these parts
these parts
Show All
Frost buildup
Fixed by
these parts
these parts
Show All
Clicking sound
Fixed by
these parts
these parts
Show All
Watch our pros, then fix it yourself.
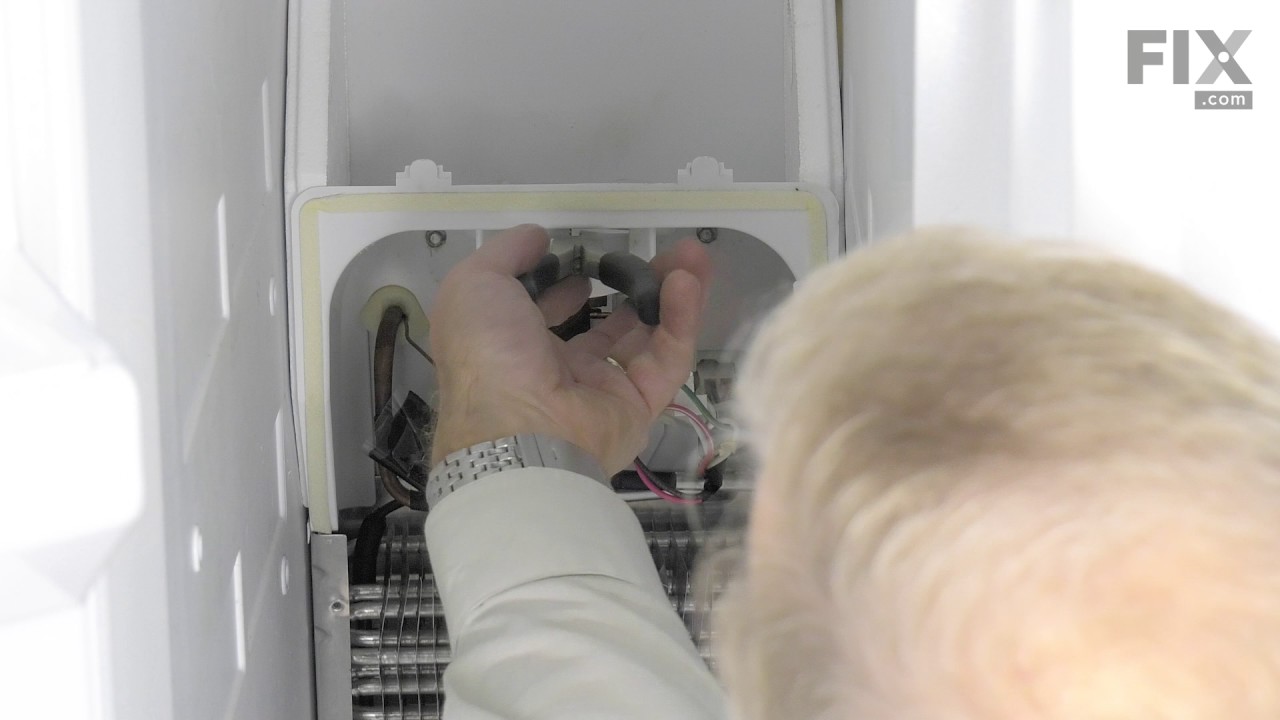
See how others fixed this model. Time, tools, difficulty, and steps that lead to victory!
View More