



 My Orders




WRS335SDHB07 Whirlpool Refrigerator - Overview
Diagrams for WRS335SDHB07
See every part. Know exactly what you need.


Enter a part description. DIY Heroes keep it simple, eg. "belt" or "pump".
Search filter:
Clear Filter
Your search term must have 3 or more characters.

$84.45
In Stock
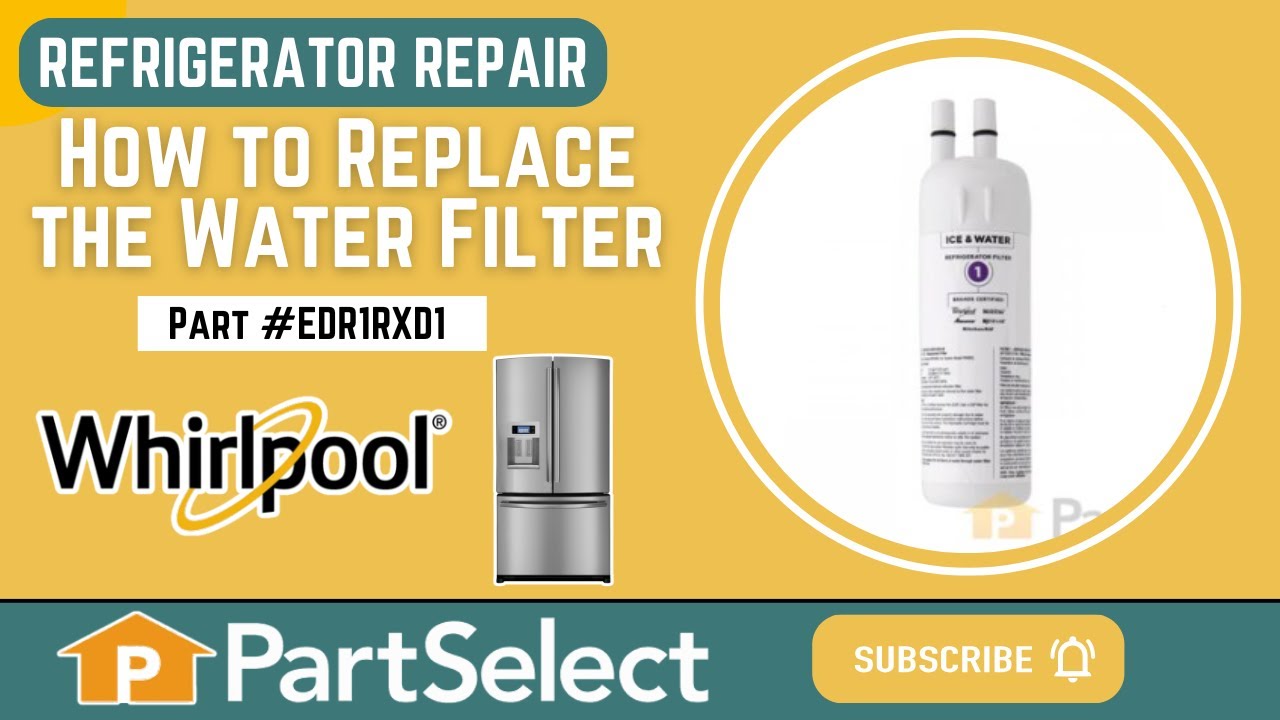
Refrigerator Ice and Water Filter
Part #EDR1RXD1
The EDR1RXD1 water filter provides clean, fresh-tasting water by reducing contaminants such as lead, chlorine, and particulates. Designed for easy installation, this filter ensures your refrigerator water and ice are safe and refreshing with every use

$53.20
In Stock

$30.53
In Stock
Door Switch
Part #W11396033
This light switch may also be known as a refrigerator door switch or a light switch kit, and is compatible with your refrigerator. The function of the refrigerator door switch is to turn on the light when your fridge door is open, and to make sure it is off when your refrigerator door is closed. The reason you would need to replace this p...Read moreart is if your light is not turning on when your door is open. For this repair, you will need a putty knife, and a small flat-blade screwdriver.
Read less

$97.14
In Stock
Refrigerator Ice Bucket
Part #WPW10670845
This refrigerator ice bucket is a genuine replacement component designed to store ice produced by the icemaker before dispensing. Compatible with a wide range of models from Whirlpool, KitchenAid, Kenmore, Maytag, and Amana, it is constructed from durable plastic to withstand regular use. The container is sold as a standalone part and doe...Read mores not include the auger or other internal components. Replacing a cracked or missing ice bucket helps restore proper ice storage and dispensing functionality. Installation is straightforward and typically requires no tools—simply follow the instructions in your owner's manual to ensure proper fit and alignment.
Read less

$120.54
In Stock
Door Shelf Bin
Part #W11239961
This is a door shelf bin made for use within some models of refrigerators. This shelf bin is used to hold food items and containers, but if it is cracked or damaged and no longer able to hold any items, it needs to be replaced immediately. This shelf measures 15-inches wide at its widest point, and 13-inches wide where it would be install...Read moreed, as well as 6.5-inches deep and 3.5-inches tall. This shelf bin is an OEM part, and does not come with any other shelves or parts.
Read less

$111.56
In Stock
Crisper Drawer
Part #W11162443
This is a manufacturer-made crisper drawer for your refrigerator. Crisper drawers are used to store fruits and vegetables at different humidity levels than the rest of your fridge. If your current crisper drawer is cracked or broken, it will need replacing immediately to ensure your food lasts as long as possible. This crisper drawer is m...Read moreade of clear and frosted plastic, and measures approximately 16.5" x 16.3" x 9.05" (Width x Depth x Height). This crisper drawer is sold individually and does not come with any other drawers or parts.
Read less

$11.77
In Stock
Refrigerator Screw
Part #WPW10661886
This mounting screw is a genuine OEM replacement part for the door handle in your refrigerator. If you are having trouble shutting the refrigerator door, or opening it, replacing this screw can help solve the issue. Replacing this part is easy and requires minimal disassembly of the refrigerator end cap handle. Your will need a screwdriver to complete this repair.

$27.36
In Stock
Water Tube Kit
Part #W10823511
This is the replacement water tube kit for your refrigerator. This tubing is made of plastic, is 1/4 inch in diameter, and comes with 2 inserts. This tube may be longer than the original tube, and may need to be cut. This water tube transports water to the ice and water dispensers. If your refrigerator is leaking, or if the ice and water ...Read moredispensers are not dispensing properly, you may need to replace this tube. This part is sold individually and is an OEM part sourced directly from the manufacturer.
Read less

$62.60
In Stock
Door Shelf
Part #WP2309941
This authentic Whirlpool refrigerator part is a door shelf rail. It snaps into your refrigerator door and prevents items from sliding or falling out when your open the door. It is made of plastic and is approximately 17 inches in length by 5 inches in width. To replace this part, simply snap out the old door shelf rail and install the new one.

No Longer Available
Touch-Up Paint - White
Part #72017
This touch-up paint can be used on a wide variety of household appliances. It is most often used on washers, dryer, refrigerators, dishwashers, ranges, freezers, trash compactors, or microwaves. It is an 18 ml, or.6 fluid ounces, bottle of touch-up paint. It also features a brush for easy application. This quick-drying, long-lasting paint...Read more is perfect for fixing any nicks, scratches, or chips on the exterior of your appliance. This paint is white in color, and provides a durable finish.
Read less

$11.77
In Stock

$11.77
In Stock
Common Symptoms of the WRS335SDHB07
How this model fails, and the parts that fix it.
Light not working
Fixed by
these parts
these parts


Show All
Ice maker won’t dispense ice
Fixed by
these parts
these parts


Show All
Leaking
Fixed by
these parts
these parts


Show All
Ice maker not making ice
Fixed by
these parts
these parts

Show All
Door won’t open or close
Fixed by
these parts
these parts


Show All
Noisy
Fixed by
these parts
these parts


Show All
Fridge too warm
Fixed by
these parts
these parts

Show All
Not dispensing water
Fixed by
these parts
these parts

Show All
Frost buildup
Fixed by
these parts
these parts


Show All
Ice maker dispenses too little ice
Fixed by
these parts
these parts
Show All
Too warm
Fixed by
these parts
these parts
Show All
Fridge too cold
Fixed by
these parts
these parts
Show All
Door Sweating
Fixed by
these parts
these parts
Show All
Fridge and Freezer are too warm
Fixed by
these parts
these parts
Show All
Clicking sound
Fixed by
these parts
these parts
Show All
Freezer section too warm
Fixed by
these parts
these parts
Show All
Watch our pros, then fix it yourself.
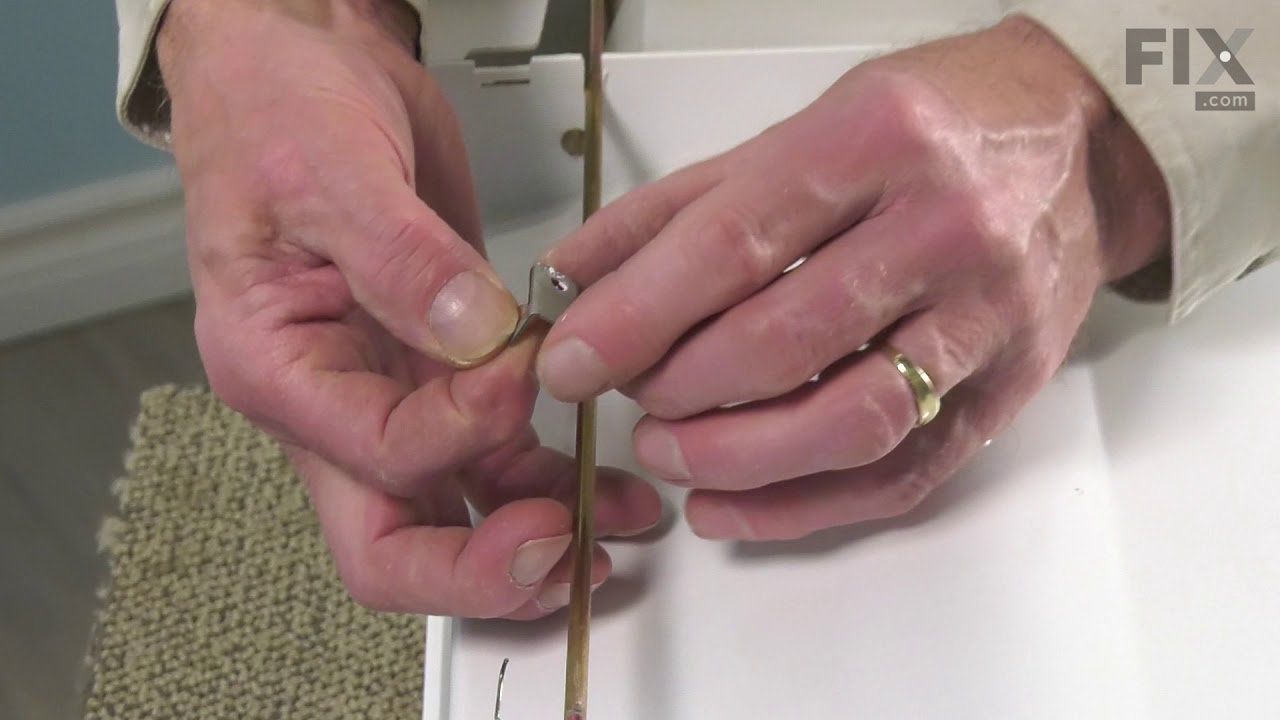


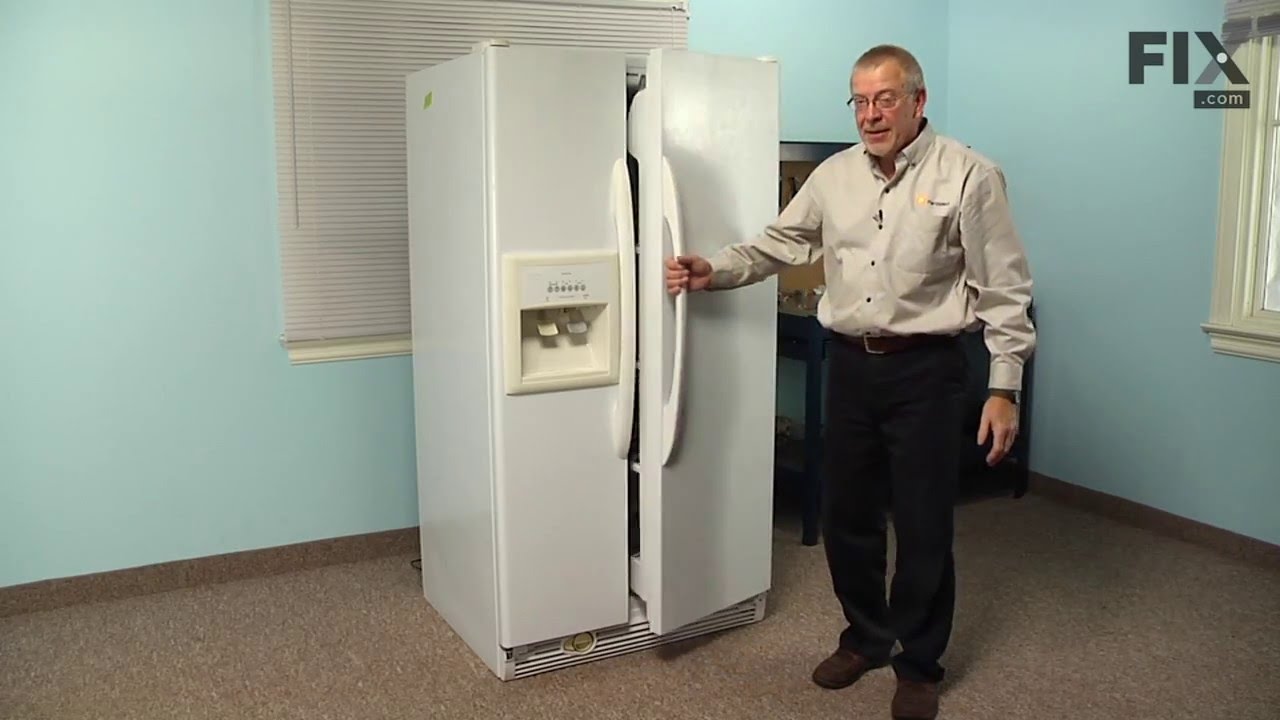

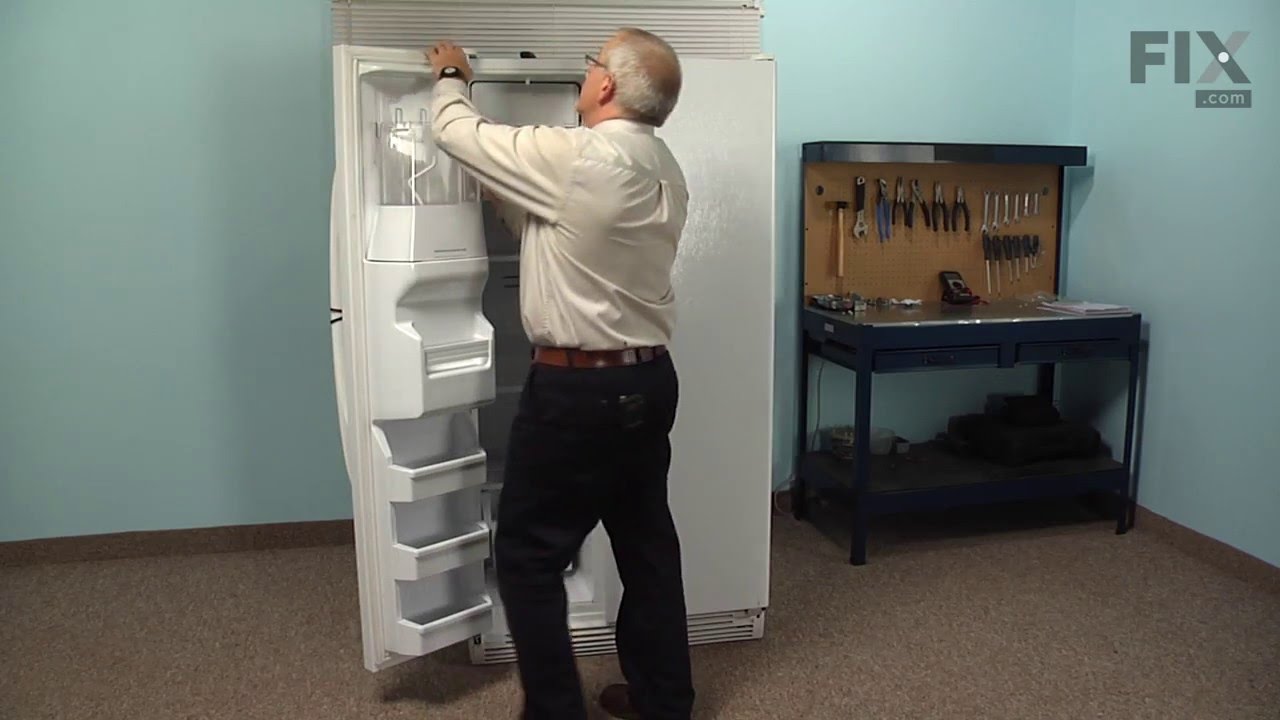
See how others fixed this model. Time, tools, difficulty, and steps that lead to victory!
View More