



EasyApplianceParts is now PartSelect! We've merged our sites to provide a better shopping experience for you.   Full Details
✖

Find Parts

Parts Departments

Top Model Types

Top Brands

Repair Help

Expert Repair Videos

Keep typing for more specific results...

Parts That Fix Whirlpool Refrigerator WRS322FDAM03 Leaking

Leaking is a commonly reported symptom for the WRS322FDAM03 Whirlpool Refrigerator, and we have put together a full guide on how to fix this. This advice is based on feedback from people who own this exact appliance. We have listed the most common parts for your WRS322FDAM03 Whirlpool Refrigerator that will fix Leaking. We have included repair instructions, and helpful step-by-step video tutorials. If you are experiencing this issue, not to worry, DIYers just like you have fixed this, and shared their experience to help you!

Fixes Symptom 24% of time

This is the replacement water tube kit for your refrigerator. This tubing is made of plastic, is 1/4 inch in diameter, and comes with 2 inserts. This tube may be longer than the original tube, and may need to be cut. This water tube transports water to the ice and water dispensers. If your refrigerator is leaking, or if the ice and water dispensers are not dispensing properly, you may need to replace this tube. This part is sold individually and is an OEM part sourced directly from the manufacturer.

$ 27.36
In Stock
Part #W10823511

Replacing your Kenmore Refrigerator Water Tube Kit
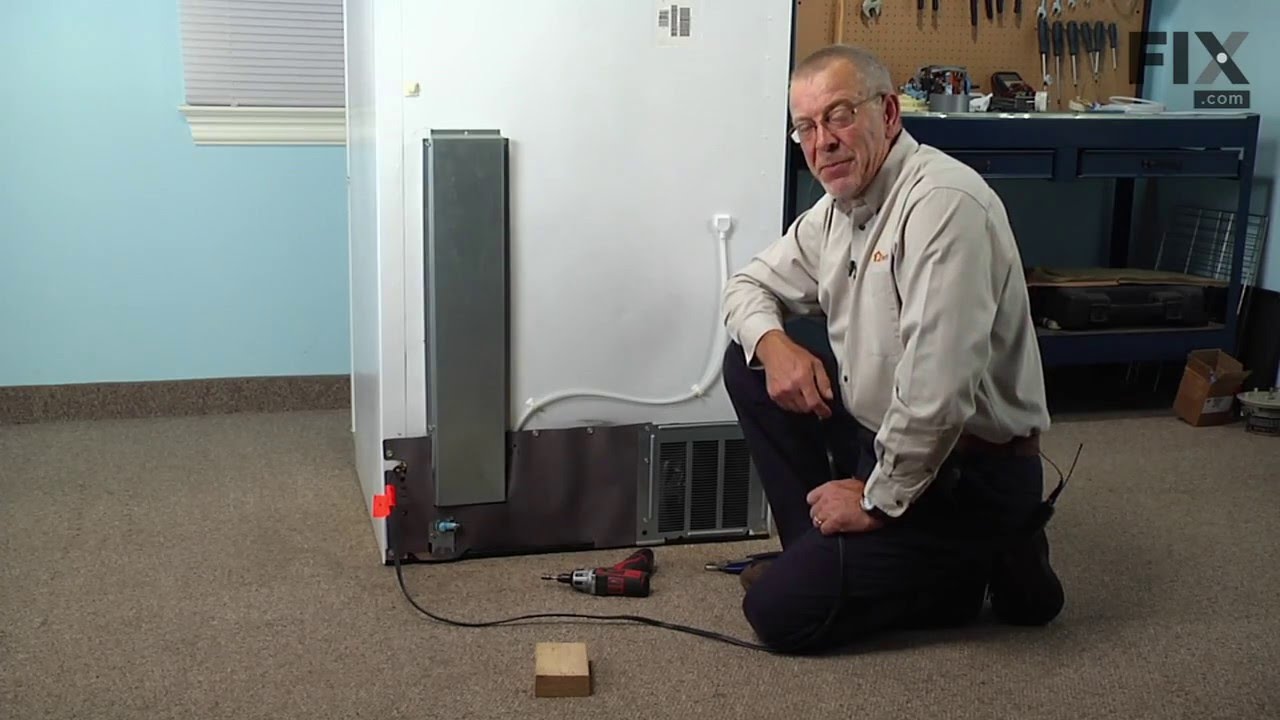
Replacing your Water Tube Kit

Customer Repair Stories

35 year old water tube became brittle and cracked; leaking water
8 of 10 people found this instruction helpful.
  • Melvin from OPELIKA, AL
  • Very Easy
  • Less than 15 mins
  • Screw drivers
Unscrewed clamp holding water tube to refrigerator ice maker. Pulled water tube from ice maker and water valve inlet. Cut the new tubing to the exact same length and inserted one end to the water valve inlet and the other end to the ice maker then screwed clamp holding water tube back to the refrigerator ice maker.
Was this helpful?
Thank you for voting!
Water began to leak under the refrigerator. Source looked like it was coming from control valve suppling water to ice maker and water dispenser.
21 of 32 people found this instruction helpful.
  • jesse from hacienda heights, CA
  • Really Easy
  • 30 - 60 mins
  • Nutdriver, Pliers, Screw drivers
Followed instructions supplied. It was relatively easy and the parts fit exactly right. Sears wanted twice as much for the part and service would have charged me another $100 to come to my home. I saved over $100 doing the project myself.
Was this helpful?
Thank you for voting!

Fixes Symptom 21% of time

This is the replacement evaporator drip tray for your refrigerator. It is made of white plastic and is approximately 19 inches by 9 inches. The evaporator drip tray sits below the evaporator to collect dripping water. If the drip tray is damaged, you may notice that your refrigerator is leaking. Because it is made of plastic, the drip tray can eventually develop a crack. You will need to pull out the refrigerator from the wall, and take off the bottom panel on the back of your refrigerator in order to access the drip tray for replacement. This is an OEM part sourced directly from the manufacturer.

$ 78.26
In Stock
Part #WPW10614158

Replacing your Whirlpool Refrigerator Evaporator Drip Tray
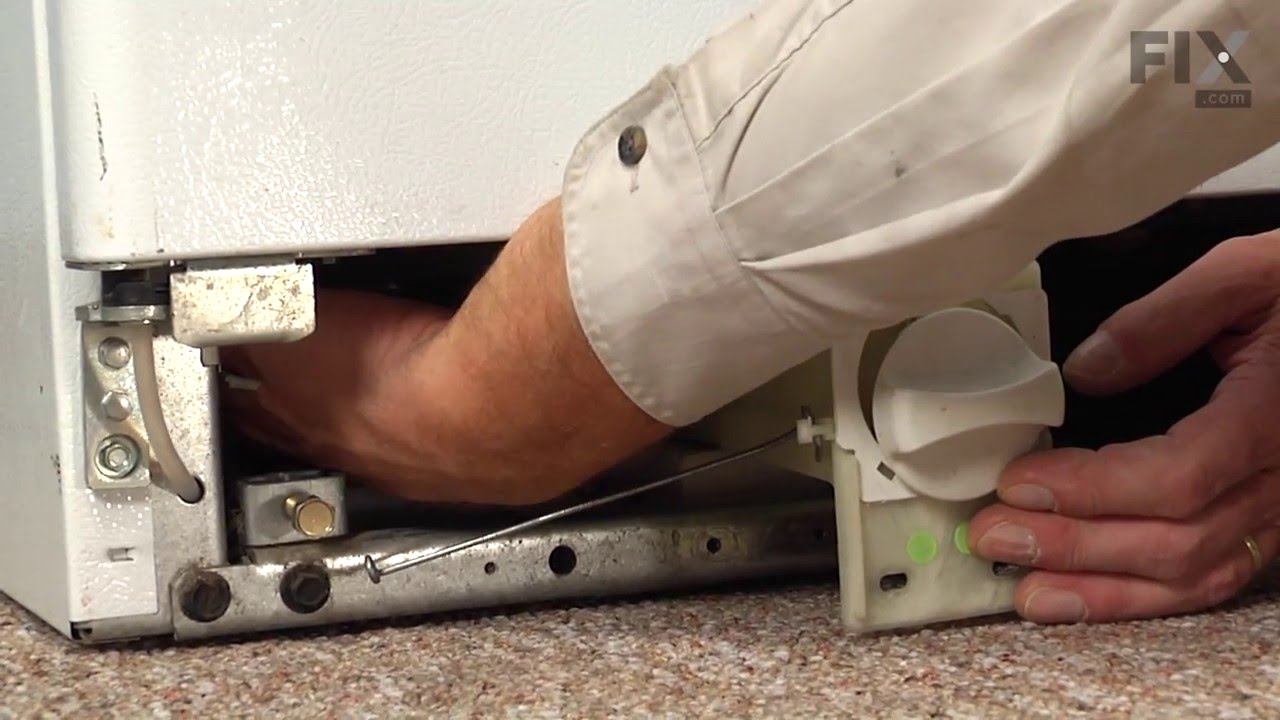
Replacing your Evaporator Drip Tray

Customer Repair Stories

Water leaking from under refrigerator.
17 of 18 people found this instruction helpful.
  • Ronald from DELRAN, NJ
  • Difficult
  • 1- 2 hours
  • Nutdriver, Screw drivers, Socket set
Water leaking from under refrigerator. Initially believed leak was from filter assembly. Removed filter and shut off water supply but leak appeared at different intervals again. Large puddle of water coming out from under refrigerator. Removed back lower panel and checked for leak, but didn't find any. My wife was also checking for le ak and found a crack in drip tray. Only way we could get the drip tray out was to first remove front lower panel, disconnect and remove wiring harness in front of drip tray, unbolt water filter assembly, and unbolt water solenoid unit at rear of refrigerator. Their water lines connect to filter assembly. My wife controlled the water solenoid unit to give me play as I pulled the filter assembly out as much as I could from the front. I could now wiggle the cracked drip tray out from under the filter unit. Replaced drip tray and reinstalled wiring harness, water filter unit w/new filter, and re-bolted water solenoid unit at back of refrigerator. Replaced back lower panel after turning water back on and checking for leaks. Replaced front lower panel.

The reason still had leak after initially turning off water supply was because the drip tray is used to catch the water when refrigerator goes into the defrost cycle. Since the original drip tray had cracked, water only appeared on floor after defrost cycle.
Was this helpful?
Thank you for voting!
Cracked Evaporation tray was leaking water on kitchen floor
26 of 34 people found this instruction helpful.
  • Jerrel from REDDING, CA
  • A Bit Difficult
  • 30 - 60 mins
  • Socket set, Wrench (Adjustable)
I emptied refrigerator contents and tilted the refrigerator to the right so as to access the metal panel upon which the evaporation tray was resting. The metal panel is on the left side underneath the refrigerator and the evaporation tray is resting on the panel. I removed 4 screws that were holding the metal panel, pressed down on the panel, slid out the old, cracked plastic evaporation tray, inserted the new plastic evaporation tray, raised the metal panel to its original position, replaced the 4 screws, being careful not to pinched the water line that feeds the ice-maker. VOILA! Un-tilt the frig and re-stock it. It took a day for the temperature to stabilize, due to tilting, I think. New tray $45.
Was this helpful?
Thank you for voting!

Sold Individually. - * Part may differ in appearance, but functions same as original.

$ 23.60
In Stock
Part #WP2300868

Replacing your Whirlpool Refrigerator Water Tube Connector/Union 5/16 To 5/16
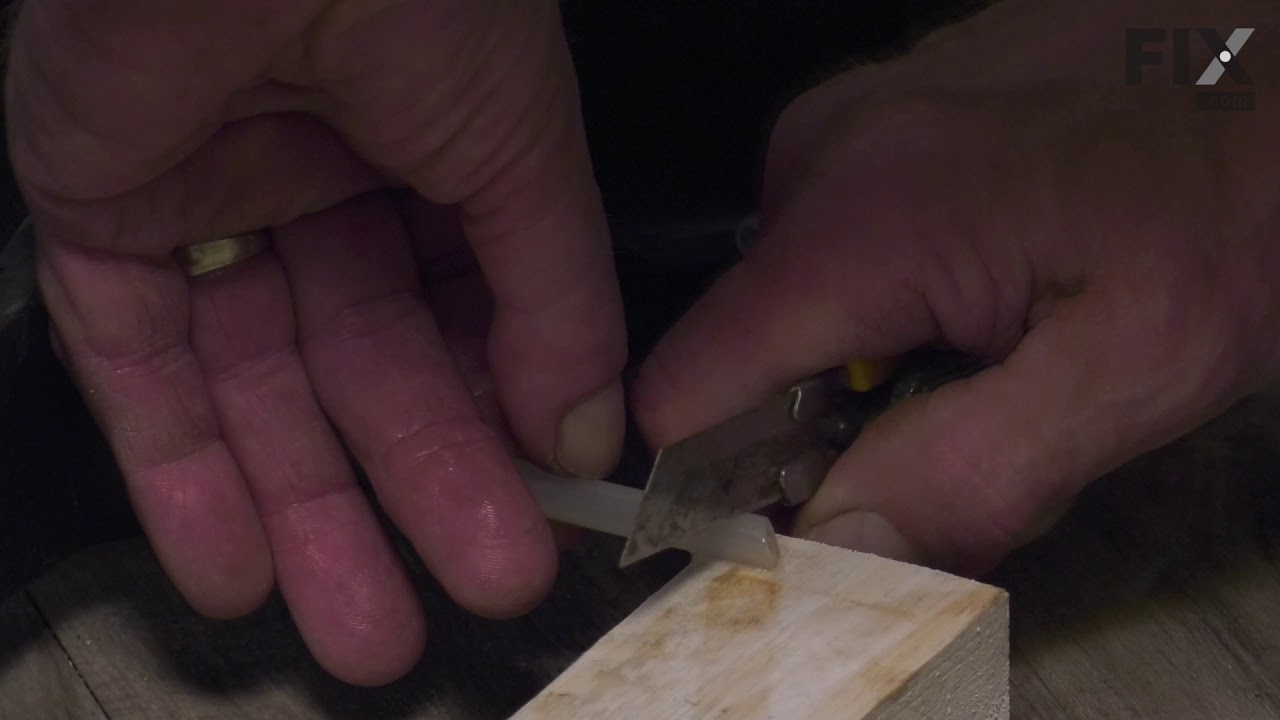
Replacing your Refrigerator Water Tube Connector/Union 5/16 To 5/16

Customer Repair Stories

Leaking water tube connector/union
10 of 12 people found this instruction helpful.
  • Roderick from NEWTOWN, PA
  • Easy
  • 15 - 30 mins
  • Pliers, Screw drivers
Received the union I ordered, then discovered that the tubes were different sizes, so I had the wrong part. I had read elsewhere that it was necessary to trim the two ends of the tubes with a box cutter to stop the leaks - I did this, and the leaking stopped. I was then able to go to a local hardware store and get a 5/16 to 1/4 union and replace it. The leaking is stopped, and the water supply in the door is now working like new. No problem with partselect, but I did buy a caliper so that I can check tube diameters if I ever have a similar problem! This is a great site to find instructions - well worth the time to search!
Was this helpful?
Thank you for voting!
Had to replace a hose connector at the base of my refrig/frreezer
47 of 81 people found this instruction helpful.
  • Leo from Salem, SC
  • Really Easy
  • Less than 15 mins
Perhaps a helpful hint:

When aI received the hose adapter/connector, I inserted the 2 hose ends only to have water drip from the connection.
I used a utility knife to remove an inch from each side, then reinserted the hoses. That made the differnce. Dry as a bone.

LG
Was this helpful?
Thank you for voting!

Fixes Symptom 9% of time

This part releases water from the supply line when it's activated.

$ 78.26
In Stock
Part #WPW10179146

Customer Repair Stories

Water and ice dispenser's were not working
8 of 10 people found this instruction helpful.
  • Enrique from CASA GRANDE, AZ
  • Easy
  • 1- 2 hours
  • Nutdriver, Screw drivers
Checked the water line from the wall to the supply port of the inlet valve and it was suppling water but no water beyond the water inlet valve, So I ordered a new inlet valve and installed, and it fixed the problem. Inlet valve supplies water to the ice maker and water dispenser filter housing. Partselect videos and you tube installation videos very helpful. Partselect troubleshooting guide also very helpful. Great company
Was this helpful?
Thank you for voting!
Ice maker not making cubes.
10 of 12 people found this instruction helpful.
  • Robert from STRONGSVILLE, OH
  • A Bit Difficult
  • 30 - 60 mins
  • Nutdriver, Screw drivers
First off you need to shut off the water supply valve that goes to the icemaker. Next pull the refrigerator from the wall , thats the fun part. I did not unplug my refrigerator when I did this . You can to be extra safe. At the bottom on the back side remove the cardboard cover on the bottom like four or five screws and set this aside. Th e water valve is on the bottom on the right side. There are 3 water lines attached to it. Having a towel handy might be helpfull. 1 line supplys the water, 1 is for the water dispenser and 1 is for the ice maker. These are push in connections no wrench needed. Remove the 2 screws that attach water valve to frame. Arrange it to make removing the 2 wire connections and water lines easier to remove. Wire connections just pull off. Mark them as to what valve they go to. Next remove the water lines. you need to remove a plastic lock that insures that the water lines do not pop off, very simple. Next push down on the nylon connector push down on the top of connector and pull on the plastic water line at the same time and it will come out. Do this to all 3 water lines. Remove old water valve and install new one in the reverse order. The water lines just push in no need to mess with connector when line is in reinsert the plastic lock. Reconnect the power connections. Align the water valve bracket with screw holes in frame and reattach the 2 screws holding it in place. Now would be a good time to turn on the water and check for leaks. You can check water dipenser but ice maker has a mind of its own. If all is good reinstall the cardboard cover on the back bottom and push refrigerator back where it was. Make sure the water line is not kinked. Aftre a couple of hours the ice maker should start making ice.
Was this helpful?
Thank you for voting!

Fixes Symptom 5% of time

NOTE: As per manufacture this is no longer a tank. The tank style has been updated with coiled tubing.

$ 78.39
In Stock
Part #WPW10276792

Customer Repair Stories

leaking water and no water to ice maker
1 person found this instruction helpful.
  • Bruce from Holden, ME
  • Really Easy
  • 15 - 30 mins
  • Nutdriver, Screw drivers
Removed the backing, disconnect the hose from the water valve in the lower right rear of the fridge. Remove the front grill on the bottom of the fridge, find the hose that goes to the ice maker, there should be a connector in the lower left of the fridge, separate this hose. all the connection's are push in type, to remove push on the rin g and pull the hose out and to install just push the hose in all the way. you may have to remove a couple of shelves in order to access the reservoir on the inside at the back, it is held on with one screw, once this screw is removed just pull the hose out making note of which hose goes in which hole. just reverse the steps to install. this is a very easy install.
Was this helpful?
Thank you for voting!

Fixes Symptom 4% of time

This is a plastic tubing insert kit for a refrigerator ice maker. This kit includes a package of four tubing inserts. The kit does not include other parts such as the ice maker water fill tube kit or ice maker fill tube gasket, so consider ordering those parts if necessary. The inserts are used with 1/4-inch plastic tubing. The inserts attach on the end of the water tubing to provide a smooth and solid connection between the water tubing and the clamp that attaches the tubing to the water fill valve. This is an OEM part from the genuine manufacturer.

$ 9.62
In Stock
Part #4387491
★★★★★
★★★★★
(2)

Easy 

Less than 15 mins 

The crisper drawer (Crisper Pan, Refrigerator Crisper Drawer) with humidity control is meant to keep your vegetables and fruit as fresh as possible by allowing you to regulate the humidity levels within the drawer. It attaches on the inside of your refrigerator to the bottom of the crisper shelf. This drawer can break from misuse or accidental damage. It is also subject to material fatigue over time. If broken or damaged, it may be difficult to slide the drawer in and out, and it should be replaced. This plastic drawer measures 14.92 inches long, 7.6 inches high, and 16.5 inches wide and comes in white/clear.

$ 88.88
In Stock
Part #WP2188656

Replacing your Whirlpool Refrigerator Crisper Drawer with Humidity Control
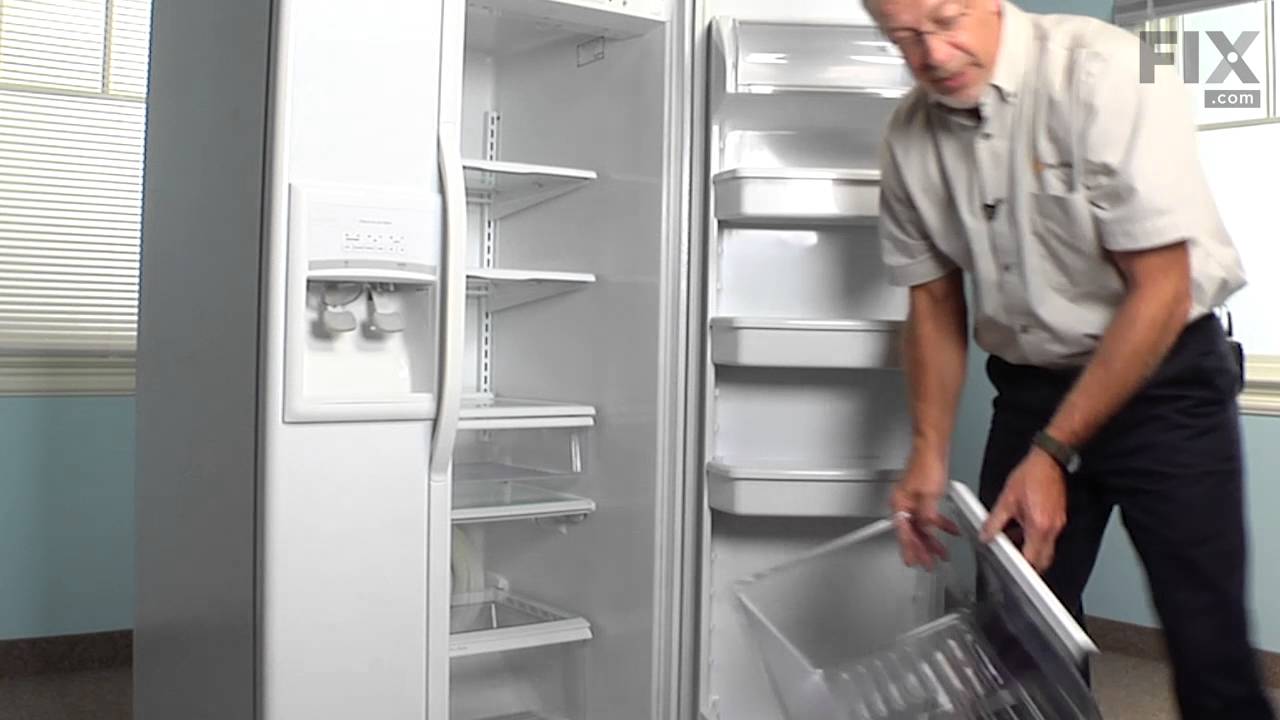
Replacing your Refrigerator Crisper Drawer with Humidity Control

Customer Repair Stories

Drawer guides broken
318 of 414 people found this instruction helpful.
  • Paula from Chesterfield, NJ
  • Really Easy
  • Less than 15 mins
Simply pulled out old drawer and replaced with new one. This broken drawer really bothered my wife so this simple repair earned me alot of points at home. Lord knows i can use all the extra points i can get. Thanks for the quick shipment of the part. 2 days from time of call to part on my door step. Thanks again
Was this helpful?
Thank you for voting!
track of the pan become broken
426 of 450 people found this instruction helpful.
  • Darrell from Cedar Bluff, VA
  • Really Easy
  • Less than 15 mins
Buy a new crisper pan,slide out old one ,slide in new one
Was this helpful?
Thank you for voting!

Fixes Symptom 3% of time

The EDR1RXD1 water filter provides clean, fresh-tasting water by reducing contaminants such as lead, chlorine, and particulates. Designed for easy installation, this filter ensures your refrigerator water and ice are safe and refreshing with every use

$ 84.45
In Stock
Part #EDR1RXD1

Replacing your Whirlpool Refrigerator Ice and Water Filter

Replacing your Refrigerator Ice and Water Filter

Customer Repair Stories

The refrigerator display said I need to replace the filter.
12 of 19 people found this instruction helpful.
  • ronald from SEVERNA PARK, MD
  • Really Easy
  • Less than 15 mins
When the filter arrived, I removed it from the package.
Upon reading the instructions, I removed the old filter.
When I removed the old filter I NOTICED HOW IT CAME
OUT SO THAT I COULD HOLD THE NEW FILTER IN
THE SAME POSITION AND REPLACED IT WITH THE
NEW IN THE SAME POSITION. When I closed the cover
door, I w ent to the display panel and reset water filter display.
Was this helpful?
Thank you for voting!
no problem. the ice and water need to be replaced every 6 months
18 of 32 people found this instruction helpful.
  • Patricia from ALAMEDA, CA
  • Really Easy
  • 15 - 30 mins
Took off the cover, pulled out the old filter, inserted the new one and closed the door.
Was this helpful?
Thank you for voting!

Fixes Symptom 2% of time

This ice maker assembly automatically produces and dispenses ice, handling each step from filling and freezing to harvesting cubes for consistent performance. Designed as a direct replacement unit, it features an 8-cube capacity and supports reliable operation across compatible refrigerator models. Replacing a worn or faulty ice maker helps restore steady ice production and ensures dependable performance.

$ 157.84
In Stock
Part #WPW10300022

Customer Repair Stories

Ice maker leaking
3 of 5 people found this instruction helpful.
  • Clifford from WASHINGTON, DC
  • Really Easy
  • 30 - 60 mins
  • Nutdriver
Unplugged freezer turned off water removed 3 nut screws Unplugged old ice maker installed new ice maker
Was this helpful?
Thank you for voting!
Was not making ice
5 of 9 people found this instruction helpful.
  • Michael from Clarksburg, MD
  • Really Easy
  • 15 - 30 mins
  • Socket set
Replaced the unit
Was this helpful?
Thank you for voting!
10 FITTING

Fixes Symptom 2% of time

$ 37.91
In Stock
Part #W11566763

Fixes Symptom 2% of time

This refrigerator door bin is a genuine OEM replacement designed to fit many side-by-side refrigerator models. Compatible with brands like KitchenAid, Maytag, and Amana, it attaches to the interior door, providing storage for jars and bottles. Featuring a clear design with white trim, this bin is both durable and functional. Installation is tool-free—simply align and snap into place. Verify your refrigerator’s model number before ordering to ensure compatibility, as dimensions may vary slightly. Restore your refrigerator's storage capacity and organization with this high-quality replacement door bin.

$ 47.40
In Stock
Part #WPW10321304

Replacing your Whirlpool Refrigerator Door Shelf Bin
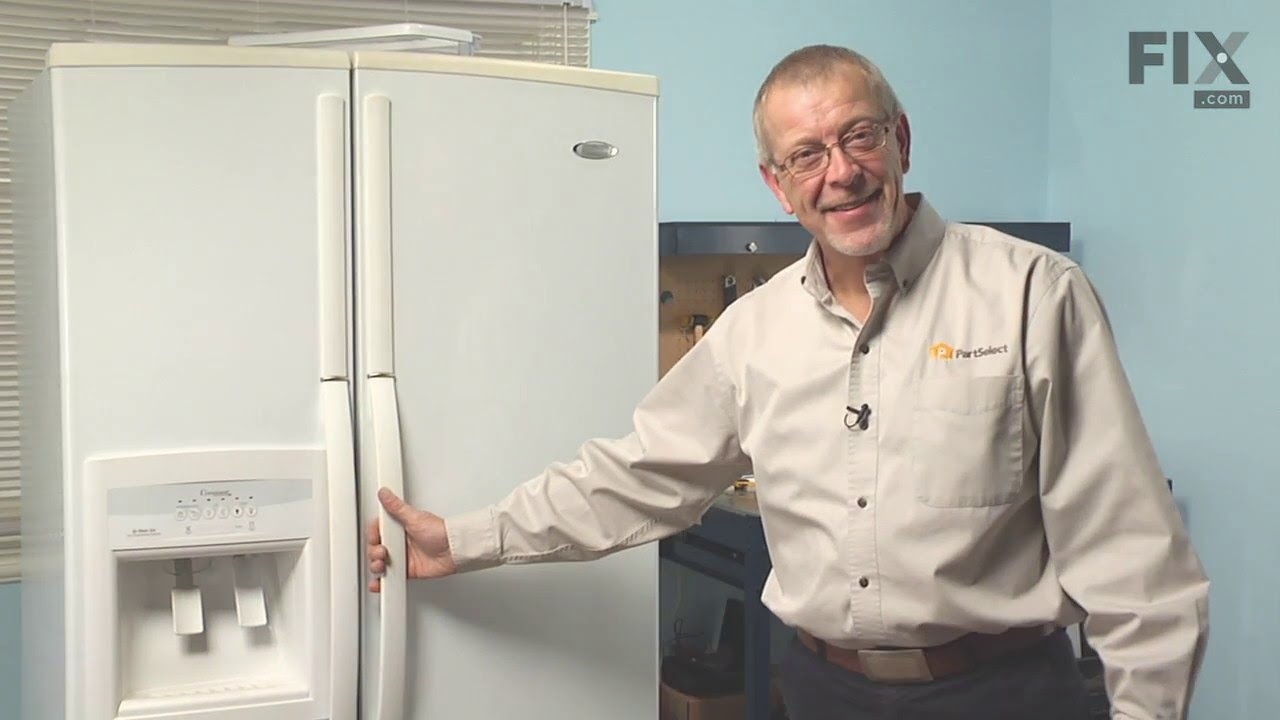
Replacing your Refrigerator Door Shelf Bin

Customer Repair Stories

Not enough door storage
13 of 14 people found this instruction helpful.
  • Dennis from Owings, MD
  • Really Easy
  • Less than 15 mins
Excellent fit and installation. The door bins slid right in and created the extra space needed on the shelves.
Was this helpful?
Thank you for voting!
plastic door shelf was cracked & couldn't hold any weight
20 of 20 people found this instruction helpful.
  • Nancy from Hilton Head Island, SC
  • Really Easy
  • Less than 15 mins
looked up the model #, found your co. & ordered a new one Service was excellent, shipping reasonable; it was a pleasant surprise. I will tell my friends about your co.
Was this helpful?
Thank you for voting!

Fixes Symptom 1% of time

This OEM, clear convertible meat drawer can be used to store meats or vegetables and is designed for the lower portion of your refrigerator, generally. It has its own cold air duct to allow cold air from the freezer to flow into the drawer. You could have a broken or faulty drawer if you find that the food is kept within is spoiling or drying out quickly. The drawer should slide open and closed with ease. If your drawer will not easily slide open or closed, check the tracks that the drawer slides on. If the tracks are not damaged, the drawer itself could be at fault and should be replaced. Inspect it for visible damage like cracking or warping, which should be obvious. This part measures approximately 16 7/16 inches wide x 14 5/16 inches deep x 7 5/8 inches high and is a genuine OEM replacement part. It is sold individually. Note that there are several different types and options for the lower vegetable and meat drawers for your refrigerator, and you should check your user manual carefully to ensure that this is the drawer you are looking for.

$ 59.47
In Stock
Part #WP2188664

Replacing your Whirlpool Refrigerator Crisper Drawer With Handle
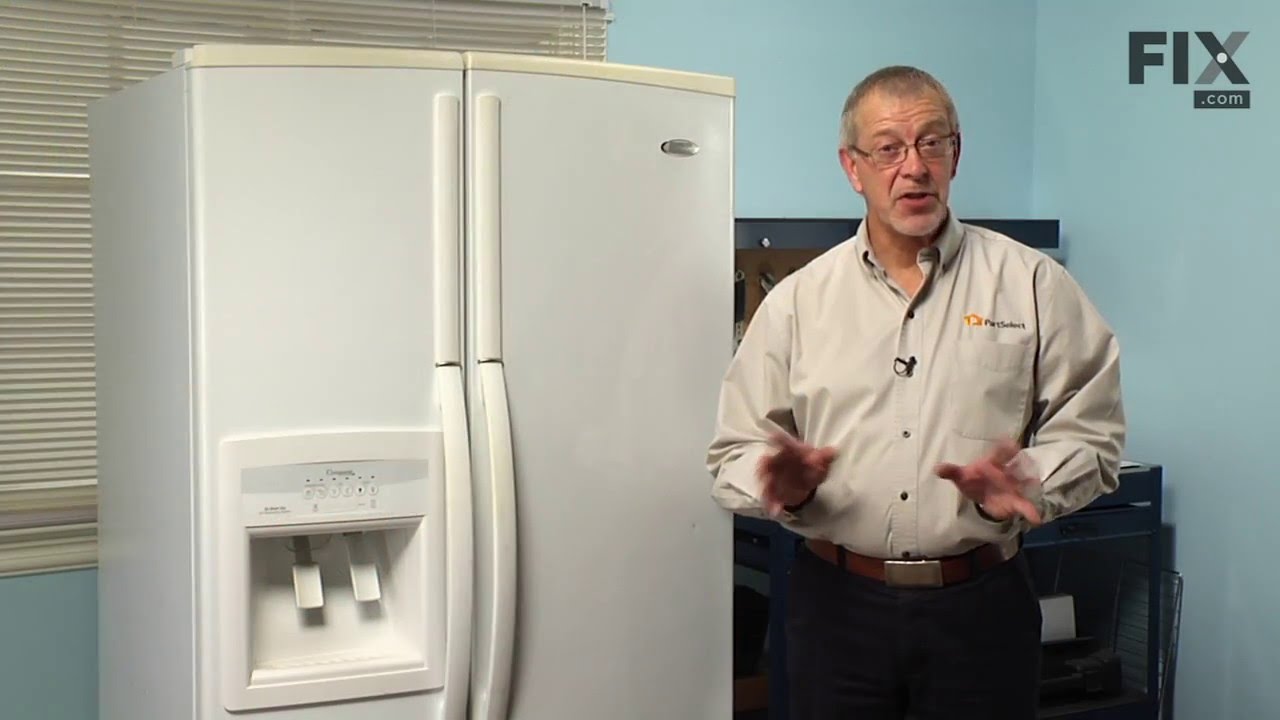
Replacing your Refrigerator Crisper Drawer With Handle

Customer Repair Stories

broken drawer
22 of 24 people found this instruction helpful.
  • Jason from Farmland, IN
  • Really Easy
  • Less than 15 mins
Put new drawer in fridge.
Was this helpful?
Thank you for voting!
broken meat and vegatable draw
25 of 28 people found this instruction helpful.
  • douglas g. from roanoke, VA
  • Really Easy
  • Less than 15 mins
a simple replacement
Was this helpful?
Thank you for voting!

Fixes Symptom 1% of time

A Bit Difficult 

30 - 60 mins 

If you have ice building up in your freezer, or if your freezer is getting too warm during the defrost cycle you may need to replace the bi-metal defrost thermostat. The function of the defrost bi-metal thermostat is to clip onto the evaporator and protect your evaporator from overheating during the defrost cycle. If your refrigerator does not defrost properly you can test both the thermostat and the heater to figure out which part is at fault. For this repair, you will need a Phillips screwdriver, a 1/4 inch nut driver, a flat blade screwdriver, a pair of wire strippers, a roll of electrical tape, and a few butt splice connectors.

$ 34.74
In Stock
Part #WPW10225581

Replacing your Whirlpool Refrigerator Bimetal Defrost Thermostat

Replacing your Refrigerator Bimetal Defrost Thermostat

Customer Repair Stories

Auto Defrost Freezer keeps defrosting SIDE BY SIDE KITCHENAID
38 of 48 people found this instruction helpful.
  • James from Ringoes, NJ
  • Easy
  • 15 - 30 mins
  • Nutdriver, Screw drivers
DISCONNECT POWER. Removed all shelves/baskets.Popped upper panel off (just clips in) Removed 6 screws in lower back panel ( 3 each side) slid panel in place but down. You can then easily see the defrost thermostat/defrost termination switch. Cut the wire connectors (pink n brown wire) stripped back wire, attached new defrost thermostat. Thermostat clips on. New thermostat ohm's at 5.5, old one was "open". Slid cover back up meeting the upper cover grooves. Screwed lower panel in. Put shelves etc back in. Plugged in. Turns on, put a bottle of water in freezer. Checked a while later, frozen. has been frozen for a week.
-James
Was this helpful?
Thank you for voting!
Fridge was getting too warm, ice buildup on coils.
159 of 188 people found this instruction helpful.
  • Cathy from Winter Park, FL
  • A Bit Difficult
  • 15 - 30 mins
  • Nutdriver
WARNING: REPLACING THIS PART REQUIRES CUTTING AND SPLICING ELECTRICAL WIRES. RISK OF ELECTRICAL SHOCK OR FIRE. DO NOT ATTEMPT THIS REPAIR IF YOU ARE NOT EXPERIENCED WITH ELECTRICAL WIRING.

Part Info:
The bi-metal strip is clipped onto the evaporator coils and is designed to regulate the defrost coil temperature. If it is n ot functioning properly you may notice ice buildup preventing air flow (and preventing proper refrigeration), or more rarely the freezer side may get too warm during the defrost cycle.

Materials:
* Replacement bi-metal strip
* Wire cutters
* Wire strippers
* Wire nuts
* Electrical tape
* 10MM socket

Steps:

1: UNPLUG THE FRIDGE! If there is ice buildup, wait until the ice has melted. A box fan blowing at the ice will help melt it more quickly.

2: Remove the panel covering the evaporator coils. It's located inside the fridge, on the freezer side.

3: Un-clip the bi-metal strip from the evaporator coils.

4: Unplug the wires from the evaporator fan, defrost coil and bi-metal strip, then disconnect the main connector that is plugged into the rear wall.

5: Clip both wires to the old ( bad ) bi-metal strip. Cut close to the casing of the bi-metal strip so there are long wires to splice onto.

6: Strip 1/4 to 1/2 inches of insulation off of the ends of the wires ( depending on the size of the wire-nuts you use). Twist the bare wires slightly to prevent fraying.

7: Do the same for the ends of the wires on the (new) bi-metal strip.

8: Take the ends of the wires belonging to the (new) bi-metal strip and the wires coming from the main plug. Take the like-colored wires, and twist the bare metal ends together.

9: Twist on wire nuts, for both sets of wires. Make sure they are snug, with no bare wire showing.

10: Tape over the wire nuts with electrical tape. Tape over the wires nuts in a spiral fashion, completely covering the nut and both wires that are now spliced together. This will prevent accidental shorting.

11: Plug the main plug back into the rear wall of the fridge. Also re-connect the connectors to the evaporator fan and defrost coil. Make sure the clips on the connectors are snug to ensure a good connection.

12: Clip the new bi-metal strip onto the coils, in the same spot as before. ( Usually just after the small incoming copper tubing that connects to the coils, known as the expansion valve. That is usually the coldest spot on the coils during operation).

13: Replace the panel that covers the coils.

14: Plug the fridge back in... Now you fridge should defrost correctly. If it does not, your defrost coil could be burned out, or the control board could be faulty.
Was this helpful?
Thank you for voting!

Fixes Symptom 1% of time

The lower door closing cam is used in refrigerator doors, it can be located on the fresh food side or the freezer side. It helps hold the door open. This cam is made out of plastic, so it might crack or wear down over time. If your door will not open and close properly you may need to replace the door closing cam. To successfully install this part, you will need a 5/16 nut driver and a small flat blade screwdriver. Before you begin, unplug your appliance and disconnect the water supply. Lubricating this part may help with installation. This replacement part is sold individually. This part will fit both the left and right side of your refrigerator door. To make the repair, remove the top hinge cover, then the top hinge support. Lift the door from the bottom support and remove the old door cams. Replace the cams, using a little lubricant if necessary, and place the door back on the lower hinge support. Replace the top hinge support and your repair is complete!

$ 9.62
In Stock
Part #WP2182179

Replacing your Whirlpool Refrigerator Lower Door Closing Cam
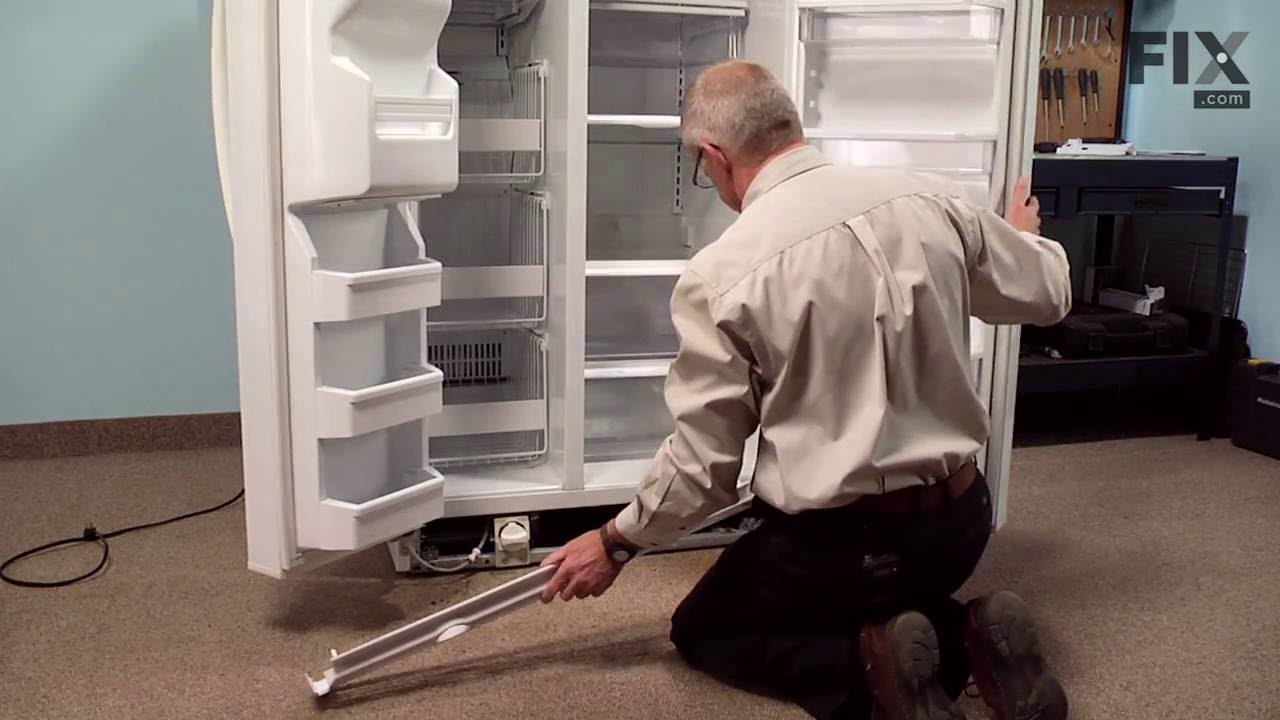
Replacing your Refrigerator Lower Door Closing Cam

Customer Repair Stories

refrigerator door not working properly
2 of 2 people found this instruction helpful.
  • Dennis from MORRO BAY, CA
  • Very Easy
  • 30 - 60 mins
  • Pliers, Socket set
Just as shown on your video.The refrigerator side was not sitting even, clunked and did not seal right. I decided to do.both sides, refrigerator and freezer while I was at it as our refrigerator is about 16 years old. Everything went in easily and saved us a lot of money. Very happy with the parts and repair video. Got the refrigerator n ice and cleaned out while we were at it..Us and the refrigerator are breathing easier now..Yeepppeee....
Was this helpful?
Thank you for voting!
Worn out door plastic cam
36 of 38 people found this instruction helpful.
  • ROGER from WAXHAW, NC
  • Really Easy
  • 15 - 30 mins
  • Nutdriver
Replaced the door cam on bottom of fridge door. ONE THING TO UNDERSTAND- THERE ARE 2 CAMS ON THE DOOR, LOWER AND UPPER, BUT THE UPPER CAM IS NOT LISTED ON THE "DOOR HARDWARE" DRAWING, ITS LISTED ON THE MAIN BODY DRAWING! BE SURE TO GET BOTH CAMS! (PARTSELECT COULD MAKE A NOTE THAT WHEN PEOPLE LOOK UP LOWER CAM, PUT A NOTE IN THERE SAYING Y0U NEED UPPER TOO!)So I had to order the upper cam later and install later. BUT it is quite easy to replace, unlike the video, I only needed 1 tool! The nut driver (electric screwdriver w nut driver head). Thanks -RF
Was this helpful?
Thank you for voting!

Fixes Symptom 1% of time

Introducing the Whirlpool Water Filter Housing, a genuine OEM part designed to effortlessly ensure the optimal performance of your appliance. This sleek black accessory comes with an access door for easy usability. Expertly built, it securely holds the water filter while effectively connecting the water lines to the filter. Relevant models include a diverse range from Whirlpool, KitchenAid, Maytag, Jenn-Air, Amana, Inglis, and Magic Chef. It's recommended to unplug the refrigerator and safely store any perishable food items before starting the installation process. Always utilize work gloves for hand protection when handling this essential part.

$ 103.32
In Stock
Part #W10862460

Customer Repair Stories

Water was not dispensing from the refrigerator.
3 of 3 people found this instruction helpful.
  • Clifford Bell. from WASHINGTON, DC
  • Really Easy
  • 30 - 60 mins
  • Screw drivers, Socket set
Installed a new water filter housing unit.
Was this helpful?
Thank you for voting!

Fixes Symptom 1% of time

This fan motor circulates the air through the refrigerator grille and cools the compressor and condenser coils. It also helps to evaporate extra water in the drain pan. Please note: If the original fan motor has 3 terminals please order part number W10204250, otherwise order this part (WP2188874).

$ 82.68
In Stock
Part #WP2188874

Replacing your Whirlpool Refrigerator Condenser Fan Motor
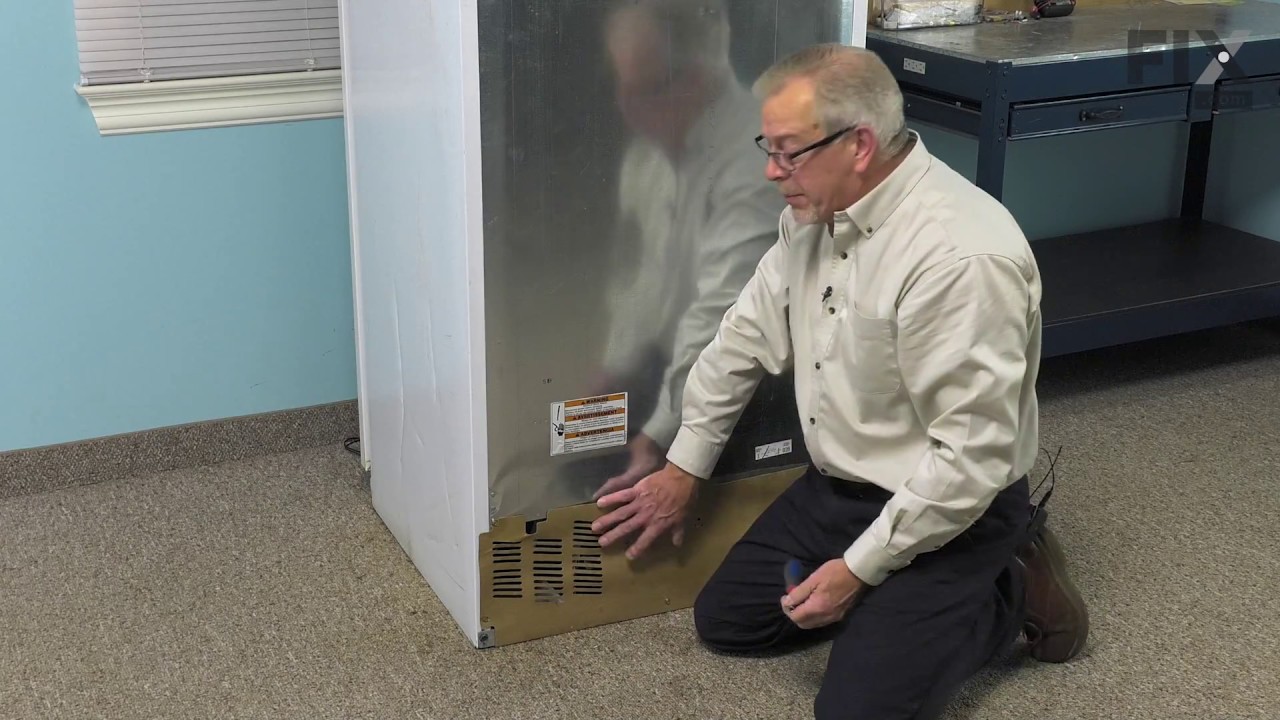
Replacing your Condenser Fan Motor

Customer Repair Stories

Front bearing had worn so that the fan vibrated causing the noise.
8 of 8 people found this instruction helpful.
  • Earl from PIMA, AZ
  • Easy
  • 30 - 60 mins
  • Nutdriver, Pliers
I removed the cardboard back then using a nut driver removed the three mounting screws, removed the old fan/motor and installed the new one, installing the three screws and replacing the cardboard cover.

My big problem was getting the right parts. Don't ever order refrigerator parts using the refrigerator model number. I did and got the wrong part, sent it back and talked to the parts lady and ordered again describing the error, the needed parts shape etc and she sent me the exact part I had sent back. I sent it back and removed the fan motor to get the part number, called and ordered by number and got the right one. Hallelujah!
Was this helpful?
Thank you for voting!
17 CHUTE

Fixes Symptom 1% of time

$ 25.75
In Stock
Part #W11505385