



 My Orders




WRFF5333PB00 Whirlpool Refrigerator - Overview

Enter a part description. DIY Heroes keep it simple, eg. "belt" or "pump".
Search filter:
Clear Filter
Your search term must have 3 or more characters.

$48.45
In Stock
Refrigerator Water Filter Bypass
Part #W11395888
This water filter bypass cap, also known as a water filter bypass plug, is an authentic OEM part that replaces the regular water filter cartridge in refrigerators. It allows water to flow freely through the dispensing system when the filter is not present. The bypass can fail if it becomes clogged, cracked, or falls out of alignment. A fa...Read moreulty filter bypass will result in leaking, poor ice production, and difficulties dispensing water. You can find the filter bypass inside the refrigerator, near the water filter housing. Disconnect the water supply lines and remove the faulty bypass. Insert the new bypass in its place and reconnect the water supply lines.
Read less

$143.57
In Stock
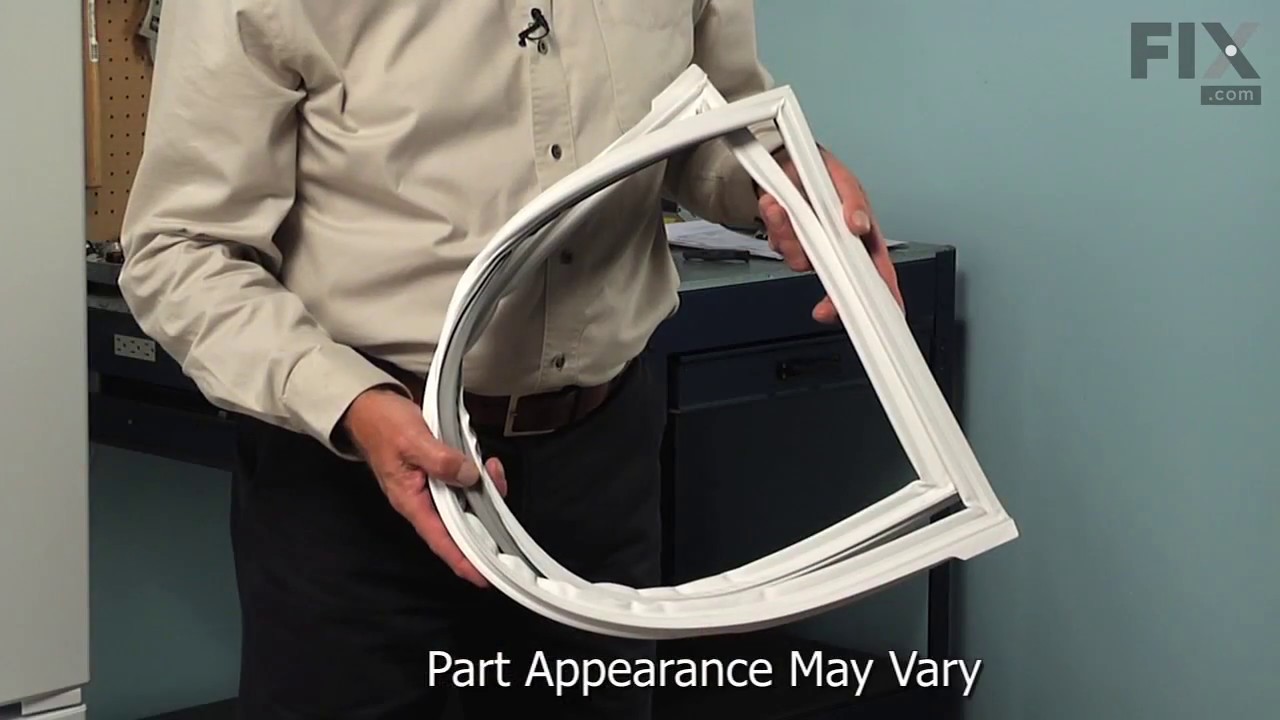
Refrigerator Door Gasket - White
Part #W10830189
This refrigerator door gasket is a genuine OEM replacement part designed for the fresh food compartment of select Whirlpool, Maytag, KitchenAid, Amana, and other compatible models. Finished in white, it forms a tight, airtight seal between the door and the cabinet, preventing warm air from entering and helping maintain consistent internal...Read more temperatures. Made from high-quality rubber or flexible material, it supports energy efficiency and reduces strain on the cooling system. Installation is straightforward—simply press the gasket into the groove on the inner door panel. Replacing a worn or damaged seal can resolve issues such as temperature fluctuations, increased energy use, and water leaks. Compatibility should be confirmed using your refrigerator’s model number.
Read less

$20.37
In Stock
Drawer Gear Kit
Part #12002497
These parts will attach to your drawer rail and are used to help the drawer glide smoothly.

$129.67
In Stock
Refrigerator Door Gasket
Part #W11368721
This door gasket is for refrigerators. The door gasket is on the inner door panel and creates a seal around the door to prevent warm air from entering the refrigerator.

$132.36
In Stock
Door Gasket - White
Part #W10443315
This white freezer door gasket is a critical component for maintaining the internal temperature of your refrigerator. Designed to form a tight, airtight seal around the perimeter of the freezer door, it prevents warm air from entering and cold air from escaping, thereby enhancing energy efficiency and preserving food quality. Made from hi...Read moregh-quality, resilient rubber, the gasket offers long-lasting elasticity and durability. A proper seal helps prevent common issues such as frost buildup, dripping, and temperature fluctuations. Replacing a worn or damaged gasket restores optimal performance and supports the overall efficiency of the appliance.
Read less

$48.45
Special Order
Door Stop - White
Part #12968202W
This part limits the door opening to prevent damaging the side of the cabinet.

$29.47
In Stock
Slide Bracket - White - Right Side
Part #WPW10284685
Think of the GE Upper Panel Manifold as the brain behind your range. It's more than just a part?it's the essential component that keeps your appliance operating smoothly and efficiently with its range of selection buttons and display elements. Here's why you need it: Just like how we can't function properly without our brain, your appli...Read moreance can't either without this control panel. It ensures your stove performs its best, whether you're boiling water or baking a cake. Safety is always a priority. Before you install the GE Upper Panel Manifold, remember to unplug your range. Putting on work gloves can also protect your hands during the process. What sets the GE Upper Panel Manifold apart are its design and features, built to extend the lifespan of your appliance and make it work like new again. By choosing GE, you're trusting a brand that always puts your satisfaction first. And don't worry about compatibility?we've got you covered. Just check if your specific model is compatible with our part, and you're all set. Ready to bring your appliance back to life with the GE Upper Panel Manifold? We're here to help every step of the way.
Read less

$134.70
On Order

$53.20
In Stock
Crisper Drawer Frame
Part #WP67005920
This crisper drawer frame supports smooth movement and proper positioning of the crisper drawer, helping maintain organized storage and easy access. Replacement is recommended when the frame cracks or the drawer no longer slides correctly.

$27.36
Special Order

$9.62
In Stock
Screw
Part #WPW10141645

$50.56
In Stock
Hinge Shim - Black - Right
Part #12999502
Common Symptoms of the WRFF5333PB00
How this model fails, and the parts that fix it.
Not dispensing water
Fixed by
these parts
these parts

Show All
Door won’t open or close
Fixed by
these parts
these parts


Show All
Door Sweating
Fixed by
these parts
these parts

Show All
Ice maker not making ice
Fixed by
these parts
these parts
Show All
Leaking
Fixed by
these parts
these parts
Show All
Frost buildup
Fixed by
these parts
these parts
Show All
Fridge too warm
Fixed by
these parts
these parts
Show All
Fridge too cold
Fixed by
these parts
these parts
Show All
Noisy
Fixed by
these parts
these parts
Show All
Freezer not defrosting
Fixed by
these parts
these parts
Show All
Ice maker dispenses too little ice
Fixed by
these parts
these parts
Show All
Freezer section too warm
Fixed by
these parts
these parts
Show All
Watch our pros, then fix it yourself.


See how others fixed this model. Time, tools, difficulty, and steps that lead to victory!
View More