



 My Orders




WRF757SDHV05 Whirlpool Refrigerator - Overview
Diagrams for WRF757SDHV05
See every part. Know exactly what you need.

Enter a part description. DIY Heroes keep it simple, eg. "belt" or "pump".
Search filter:
Clear Filter
Your search term must have 3 or more characters.

$30.53
In Stock
Door Switch
Part #W11396033
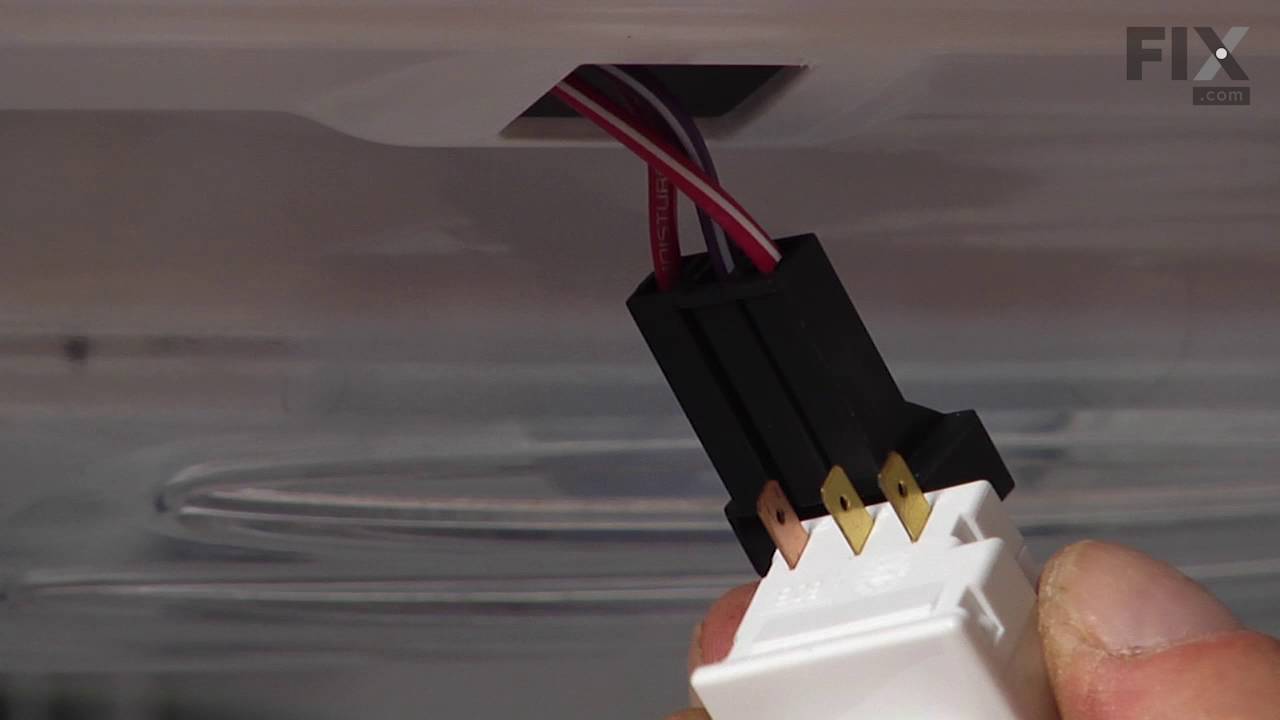
This light switch may also be known as a refrigerator door switch or a light switch kit, and is compatible with your refrigerator. The function of the refrigerator door switch is to turn on the light when your fridge door is open, and to make sure it is off when your refrigerator door is closed. The reason you would need to replace this p...Read moreart is if your light is not turning on when your door is open. For this repair, you will need a putty knife, and a small flat-blade screwdriver.
Read less

$12.85
In Stock
Refrigerator Seal
Part #WP2198628
This part is a replacement refrigerator drive shaft seal for your refrigerator. The drive shaft seal protects the auger motor from water and condensation that may leak down the drive shaft from the ice bucket. If the seal is broken, water and condensation can get in, causing the ice maker to fail. To replace the seal, first remove the ice...Read more bucket from your freezer. Then remove the two screws on the drive shaft holder, and use a pair of pliers to remove the drive shaft. At this point you can remove the seal from the drive shaft. Be sure to clean the area that the seal sits in before you reinstall the drive shaft. This part is white in color and is about an inch in diameter. The seal is sold individually.
Read less

$80.41
In Stock
Refrigerator Front pan
Part #WPW10688114
This front panel is an authentic OEM replacement part that fits on the crisper drawer in refrigerators. It acts as a barrier between the contents of the drawer and the external environment of the refrigerator. It protects the contents of the crisper drawer from debris, odors, and other contaminants that may be present. The front panel als...Read moreo helps to control the amount of airflow and humidity within the drawer, helping to keep fruits and vegetables fresh longer. It also contributes to the overall appearance of the refrigerator, providing a finished look to the crisper drawer. If the front panel is damaged, it may become difficult to slide the crisper drawer back and forth and the freshness of the food may be compromised.
Read less

$210.15
In Stock
Ice Container
Part #WPW10347093
This ice container is the part of your freezer where freshly made ice is collected and stored, making it easy to grab cubes or crushed ice whenever you need it. It features a sturdy white base connected to a clear plastic bin, so you can see how much ice you have at a glance. Inside, there’s a metal rod called an auger that helps move the...Read more ice toward the dispenser. The container keeps ice neatly contained, preventing it from scattering around the freezer. If you’re dealing with leaks, trouble dispensing ice, or clumps of ice forming into large chunks, it’s probably time for a replacement. Swapping it out is simple—just remove the old bin and slide the new one into place. Be sure to check your refrigerator’s manual to make sure it’s the right fit.
Read less

$56.33
In Stock
Refrigerator Compressor Start Relay
Part #WPW10197428
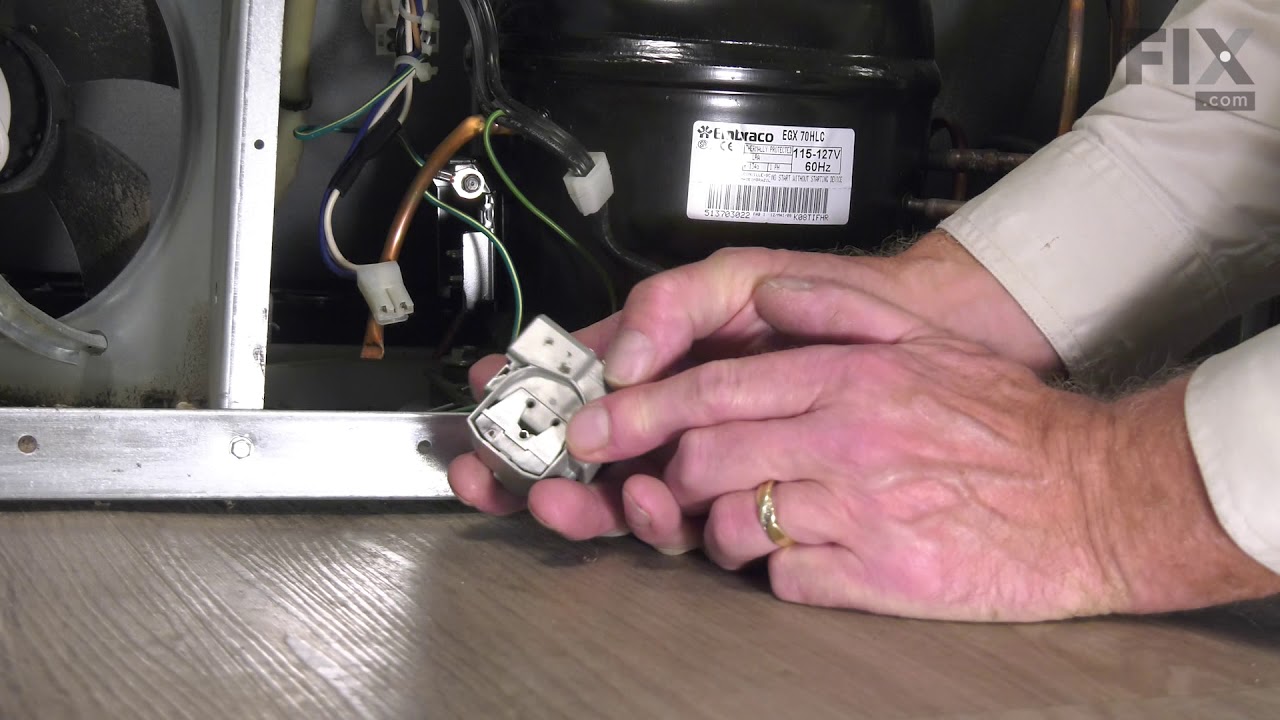
This compressor start relay is for refrigerators. The compressor start relay attaches to the compressor and helps start the compressor motor. Safely store any food that could deteriorate while the power is off and unplug the refrigerator before installing this part.

$9.62
In Stock
Foot Brake
Part #WPW10141622
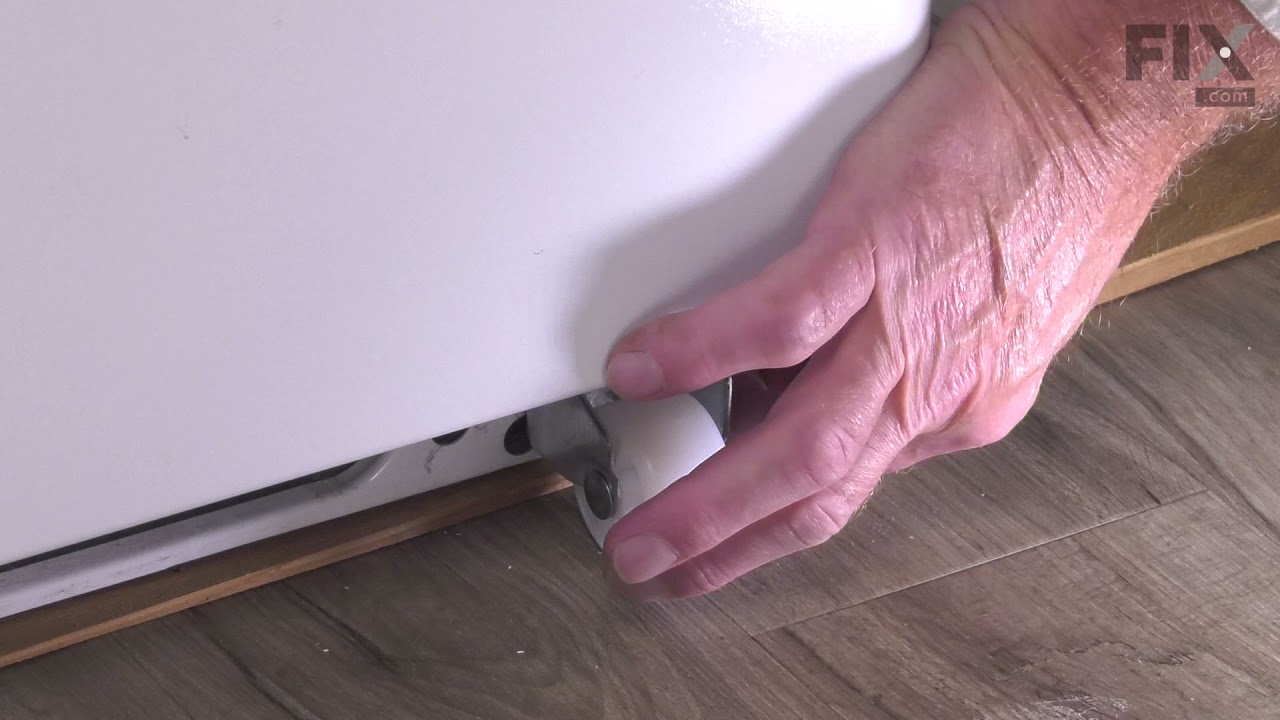
Introducing the Whirlpool Refrigerator Leveling Leg. This genuine OEM part supports your refrigerator, ensuring it remains stability and level. The height of the leveling leg can be adjusted to suit your unique refrigerator model, providing you with versatility and customization. This leveling leg is compatible with some models of Whirlpo...Read moreol, KitchenAid, Maytag, Jenn-Air, Amana, Inglis, and Magic Chef fridges. For a smooth installation, we recommend wearing work gloves to protect your hands. Verify your model compatibility before purchase.
Read less

$62.60
In Stock
Capacitor
Part #WPW10350564
The compressor run capacitor helps keep the motor running smoothly in refrigerators. It works with various models and is a genuine replacement part. Always unplug the refrigerator before installing the capacitor, and check the part number for compatibility with your model.

$11.77
Special Order

$78.64
In Stock
Crisper Pan
Part #W10850377
The crisper pan is an essential component in your refrigerator designed to store fruits and vegetables at an optimal humidity level, helping to preserve their freshness for a longer period. This genuine OEM part is made to fit specific refrigerator models and works to create a controlled environment in the crisper drawer, maintaining the ...Read moreright balance of moisture for produce storage. Please note that the front cover, wheels, and axles are sold separately, so you will need to purchase those parts individually if needed. Always consult your refrigerator's owner manual for guidance when installing this crisper pan, and ensure the part is compatible with your model. Be sure to follow proper safety procedures and use gloves when performing the installation to avoid injury.
Read less

$73.04
In Stock
Trivet Shelf
Part #W11366475
This is a door shelf bin for your refrigerator. This shelf is used to store food items, like condiments and containers. If it is cracked or damaged, it will no longer be able to support them and must be replaced. This shelf measures approximately 13-inches wide and 4-inches tall, and is made of durable clear plastic. Replacing this shelf ...Read moreis easy and only requires you to pull up on the old one to remove it, and then push the new one down to install it. This shelf is sold as an individual OEM part, and does have any accessories.
Read less

No Longer Available
Touch-up Paint - Black
Part #72032
This authentic OEM black touch-up paint is specifically designed for repairing minor scratches, chips, or blemishes on your kitchen appliances. The bottle contains 16ml or 0.6oz of black paint and has an applicator brush under the cap, the same way a nail polish bottle is designed. Restoring these visible damages is important because crac...Read moreked or chipped surfaces can become a breeding ground for dirt and bacteria. If your existing bottle of paint has a thick or clumpy consistency, do not use it. Remember to shake the bottle before applying the paint to your appliance. Please keep in mind that this bottle is sold individually.
Read less

$28.95
Special Order
Common Symptoms of the WRF757SDHV05
How this model fails, and the parts that fix it.
Light not working
Fixed by
these parts
these parts


Show All
Ice maker won’t dispense ice
Fixed by
these parts
these parts


Show All
Will Not Start
Fixed by
these parts
these parts


Show All
Fridge and Freezer are too warm
Fixed by
these parts
these parts
Show All
Fridge too warm
Fixed by
these parts
these parts
Show All
Clicking sound
Fixed by
these parts
these parts
Show All
Ice maker not making ice
Fixed by
these parts
these parts
Show All
Leaking
Fixed by
these parts
these parts
Show All
Too warm
Fixed by
these parts
these parts
Show All
Freezer section too warm
Fixed by
these parts
these parts
Show All
Not dispensing water
Fixed by
these parts
these parts
Show All
Door won’t open or close
Fixed by
these parts
these parts

Show All
Watch our pros, then fix it yourself.

See how others fixed this model. Time, tools, difficulty, and steps that lead to victory!
View More
Search repair tips from other customers using simple keywords like "replace", "fit", "remove", "inspect". DIY doesn't mean you have to do it alone!
Search filter:
Clear Filter
Your search term must have 3 or more characters.
Original bracket foot brake screw hole was stripped and foot brake would not extend
16 of 20 people
found this instruction helpful.
The repair seemed simple, I just needed to remove the old bracket -- 4 screws -- and slip the new one on.
The tricky bit is that the roller bracket holds the weight of the fridge. So in order to make sure that the fridge did not fall over, and to keep the installation point off the ground so that I could align the screw holes, ... Read more I needed to shim up the side of the fridge that I was working on.
To tap in the shims, I used a hammer and a spare chunk of wood. I ultimately used 3 shims, and kept tapping until the roller wheel could roll freely. Then I knew that the fridge was high enough. After that, it was pretty easy to remove the 4 screws, align the new bracket, and replace the screws. After that, in order to get the shims out I could just extend the foot brake as it was designed, and that lifted the fridge enough for me to easily slide out the shims. After that I just had to level out the fridge by adjusting the two feet.
Read less
Other Parts Used:


Was this helpful?
Thank you for voting!