



 My Orders




WRF550CDHZ07 Whirlpool Refrigerator - Overview

Enter a part description. DIY Heroes keep it simple, eg. "belt" or "pump".
Search filter:
Clear Filter
Your search term must have 3 or more characters.

$130.10
In Stock
Refrigerator Pantry Drawer Door Cover
Part #W10827015
This pantry drawer lid is also known as a pantry drawer door or pantry drawer cover. This is a genuine OEM part, and is sold individually. This part helps keep everything inside the drawer. It acts as a cover, and also keeps your drawer at the proper temperature by creating a seal. You may need to replace this part if door does not open o...Read morer close, or if the drawer is too cold. No tools are required for this replacement, simply push the hinge pins aside to remove the old lid. Consider checking the pantry end cap kit for damage before ordering the pantry drawer lid, as they are often purchased together.
Read less

$48.45
In Stock
Refrigerator Water Filter Bypass
Part #W11395888
This water filter bypass cap, also known as a water filter bypass plug, is an authentic OEM part that replaces the regular water filter cartridge in refrigerators. It allows water to flow freely through the dispensing system when the filter is not present. The bypass can fail if it becomes clogged, cracked, or falls out of alignment. A fa...Read moreulty filter bypass will result in leaking, poor ice production, and difficulties dispensing water. You can find the filter bypass inside the refrigerator, near the water filter housing. Disconnect the water supply lines and remove the faulty bypass. Insert the new bypass in its place and reconnect the water supply lines.
Read less

No Longer Available
Touch-Up Paint - White
Part #72017
This touch-up paint can be used on a wide variety of household appliances. It is most often used on washers, dryer, refrigerators, dishwashers, ranges, freezers, trash compactors, or microwaves. It is an 18 ml, or.6 fluid ounces, bottle of touch-up paint. It also features a brush for easy application. This quick-drying, long-lasting paint...Read more is perfect for fixing any nicks, scratches, or chips on the exterior of your appliance. This paint is white in color, and provides a durable finish.
Read less

$143.57
In Stock
Gray Refrigerator Door Gasket
Part #W10830055
This gray refrigerator door gasket is a genuine OEM replacement part designed for select Whirlpool, Maytag, KitchenAid, and Kenmore models. It forms an airtight seal around the fresh food compartment door, preventing cold air from escaping and warm air from entering. This helps maintain consistent internal temperatures, reduces frost buil...Read moredup, and improves overall energy efficiency. Constructed from flexible, high-elasticity material with an embedded magnetic strip, the gasket is engineered for durability and long-term performance. Replacing a worn or damaged seal can resolve issues such as condensation, temperature fluctuations, and increased energy consumption. Compatibility should be confirmed using your refrigerator’s model number prior to installation.
Read less

$20.37
In Stock
Drawer Gear Kit
Part #12002497
These parts will attach to your drawer rail and are used to help the drawer glide smoothly.

$56.33
In Stock
Water Tube
Part #W11415785
This water fill tube is a genuine OEM part that is compatible with various models of refrigerator. It is a small plastic tube that supplies water to the ice maker tray. It is typically located at the back of the refrigerator, where it runs from the water inlet valve to the ice maker assembly. When the ice maker needs to produce ice, water...Read more flows through this tube and fills the ice maker tray, where it freezes into ice cubes. The fill tube is an essential component of the ice maker system, ensuring a steady supply of water for ice production. If the fill tube becomes clogged or damaged, it can water leaks inside the refrigerator and also lead to difficulties producing ice when needed.
Read less

No Longer Available
Spray Paint - 12 oz. - White
Part #350930
Appliance spray paint is a great way to cover up any chips and scratches that have appeared on your appliances. Instead of replacing the part entirely, this is an easy fix. This is also a great way to give a fresh new look to any handles or areas that have discoloring due to wear. Make sure to clean the area before you begin and wear a pr...Read moreotective mask for safety. Give the can a good shake and spray a few inches away from the surface. Apply the paint until the area is fully covered as desired. Wait until the paint has dried before using the appliance.
Read less

No Longer Available
Touch-up Paint - Black
Part #72032
This authentic OEM black touch-up paint is specifically designed for repairing minor scratches, chips, or blemishes on your kitchen appliances. The bottle contains 16ml or 0.6oz of black paint and has an applicator brush under the cap, the same way a nail polish bottle is designed. Restoring these visible damages is important because crac...Read moreked or chipped surfaces can become a breeding ground for dirt and bacteria. If your existing bottle of paint has a thick or clumpy consistency, do not use it. Remember to shake the bottle before applying the paint to your appliance. Please keep in mind that this bottle is sold individually.
Read less

No Longer Available

$8.55
Special Order

$41.07
In Stock
Water Line Installation Kit
Part #8003RP
This Refrigerator Ice Maker Installation Kit connects the house water supply, to the refrigerator for ice maker and water dispenser operation. This kit includes 15-ft of copper tubing, (1) saddle valve, tape, and (1) tubing connector.

$26.82
Special Order
Common Symptoms of the WRF550CDHZ07
How this model fails, and the parts that fix it.
Door won’t open or close
Fixed by
these parts
these parts


Show All
Not dispensing water
Fixed by
these parts
these parts

Show All
Leaking
Fixed by
these parts
these parts

Show All
Ice maker not making ice
Fixed by
these parts
these parts
Show All
Door Sweating
Fixed by
these parts
these parts
Show All
Fridge too cold
Fixed by
these parts
these parts
Show All
Noisy
Fixed by
these parts
these parts
Show All
Ice maker dispenses too little ice
Fixed by
these parts
these parts
Show All
Frost buildup
Fixed by
these parts
these parts
Show All
Fridge too warm
Fixed by
these parts
these parts
Show All
Watch our pros, then fix it yourself.
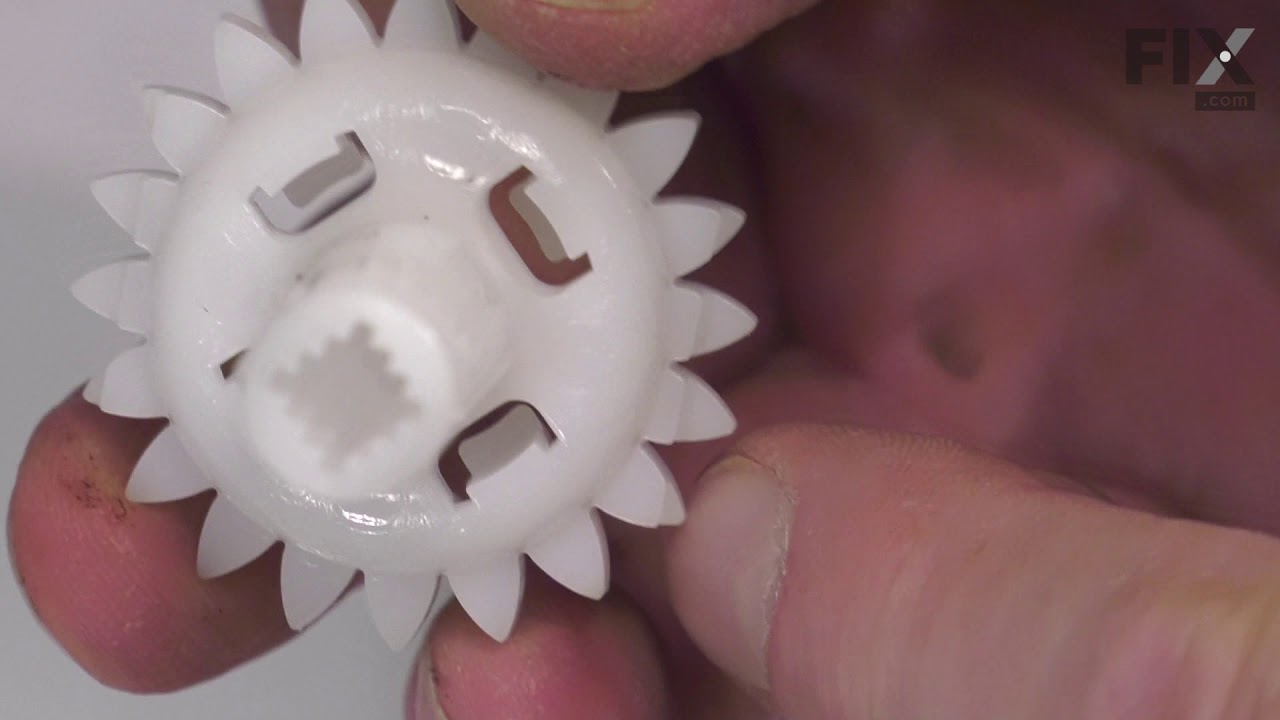
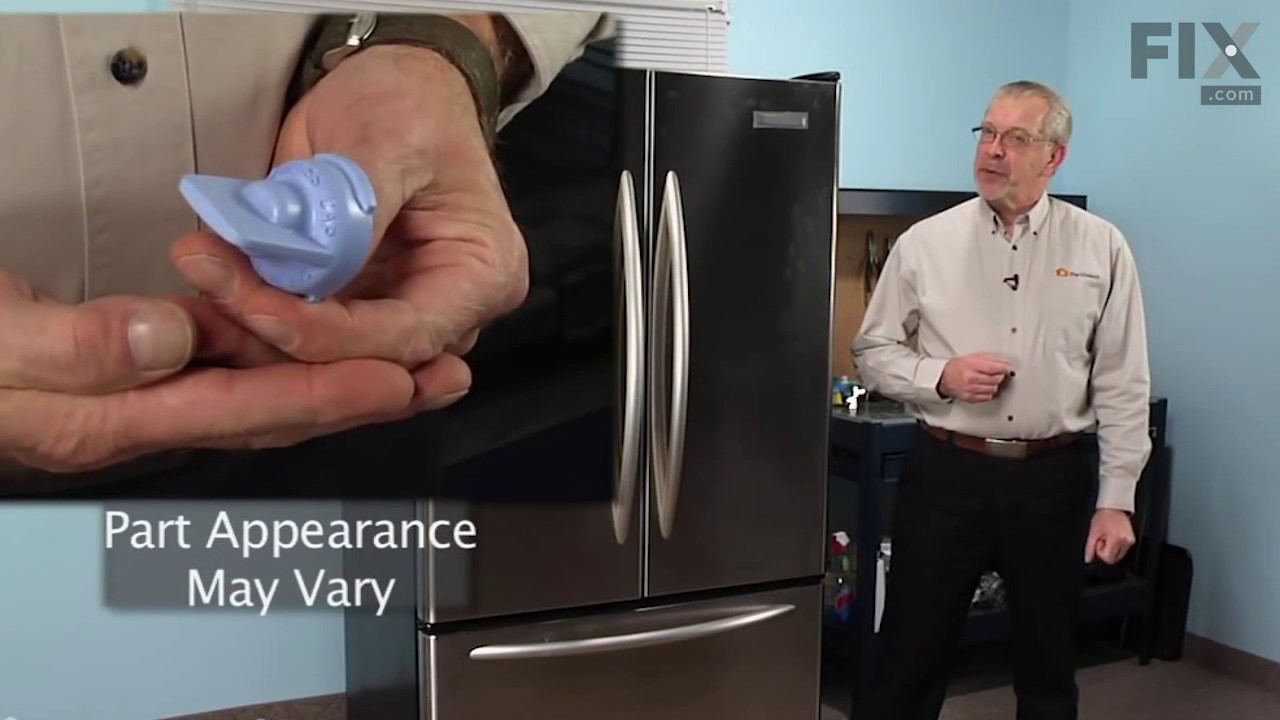
See how others fixed this model. Time, tools, difficulty, and steps that lead to victory!
View More