



 My Orders




WRF540CWHZ09 Whirlpool Refrigerator - Overview

Enter a part description. DIY Heroes keep it simple, eg. "belt" or "pump".
Search filter:
Clear Filter
Your search term must have 3 or more characters.

$130.10
In Stock
Refrigerator Pantry Drawer Door Cover
Part #W10827015
This pantry drawer lid is also known as a pantry drawer door or pantry drawer cover. This is a genuine OEM part, and is sold individually. This part helps keep everything inside the drawer. It acts as a cover, and also keeps your drawer at the proper temperature by creating a seal. You may need to replace this part if door does not open o...Read morer close, or if the drawer is too cold. No tools are required for this replacement, simply push the hinge pins aside to remove the old lid. Consider checking the pantry end cap kit for damage before ordering the pantry drawer lid, as they are often purchased together.
Read less

$144.93
In Stock
Door Gasket - Gray
Part #W10830162
This refrigerator door gasket is designed to create an airtight seal when the door is closed, helping maintain consistent internal temperatures and energy efficiency. Constructed in gray and equipped with magnets along all sides, it ensures a secure closure that prevents warm air from entering and cold air from escaping. Over time, the ga...Read moresket may become cracked or lose its sealing ability, leading to symptoms such as condensation on the door or difficulty opening and closing. Replacement is recommended if these issues occur, and installation typically involves removing the old gasket and pressing the new one into the designated groove around the door frame. Proper sealing is essential for optimal appliance performance and food preservation.
Read less

$48.45
In Stock
Refrigerator Water Filter Bypass
Part #W11395888
This water filter bypass cap, also known as a water filter bypass plug, is an authentic OEM part that replaces the regular water filter cartridge in refrigerators. It allows water to flow freely through the dispensing system when the filter is not present. The bypass can fail if it becomes clogged, cracked, or falls out of alignment. A fa...Read moreulty filter bypass will result in leaking, poor ice production, and difficulties dispensing water. You can find the filter bypass inside the refrigerator, near the water filter housing. Disconnect the water supply lines and remove the faulty bypass. Insert the new bypass in its place and reconnect the water supply lines.
Read less

$20.37
In Stock
Drawer Gear Kit
Part #12002497
These parts will attach to your drawer rail and are used to help the drawer glide smoothly.

$90.17
In Stock
GASKET-FIP
Part #W10443320
This gray freezer door gasket is designed to create a tight, reliable seal around the door of compatible refrigerator models. It helps maintain consistent internal temperatures by preventing warm air from entering and cold air from escaping, which improves energy efficiency and preserves food freshness. If the gasket becomes warped, creas...Read moreed, or damaged, it may cause temperature fluctuations, increased energy use, or difficulty closing the door. Replacing a faulty gasket is essential for optimal appliance performance. This part is sold individually and is compatible with a range of refrigerator models—please verify fit before purchase.
Read less

$26.82
Special Order

$9.62
In Stock
Screw
Part #WPW10141645

$50.56
In Stock
Hinge Shim - Black - Right
Part #12999502

$50.56
In Stock

$9.62
In Stock
GASKET
Part #W10856123

$6.40
In Stock
GROMMET
Part #W11690160

$55.29
Special Order
Box Cover
Part #WP12806701
Common Symptoms of the WRF540CWHZ09
How this model fails, and the parts that fix it.
Door won’t open or close
Fixed by
these parts
these parts


Show All
Door Sweating
Fixed by
these parts
these parts

Show All
Not dispensing water
Fixed by
these parts
these parts

Show All
Leaking
Fixed by
these parts
these parts
Show All
Frost buildup
Fixed by
these parts
these parts
Show All
Fridge too cold
Fixed by
these parts
these parts
Show All
Ice maker not making ice
Fixed by
these parts
these parts
Show All
Fridge too warm
Fixed by
these parts
these parts
Show All
Freezer not defrosting
Fixed by
these parts
these parts
Show All
Fridge and Freezer are too warm
Fixed by
these parts
these parts
Show All
Ice maker dispenses too little ice
Fixed by
these parts
these parts
Show All
Noisy
Fixed by
these parts
these parts
Show All
Watch our pros, then fix it yourself.
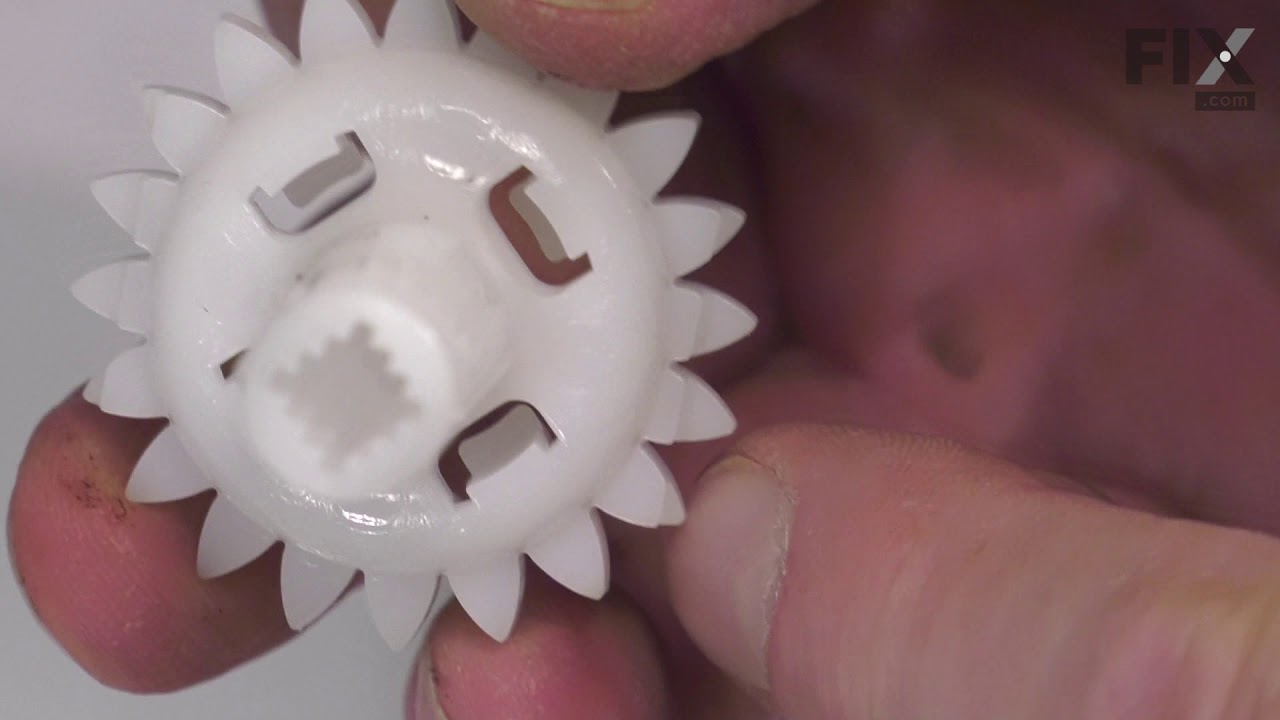
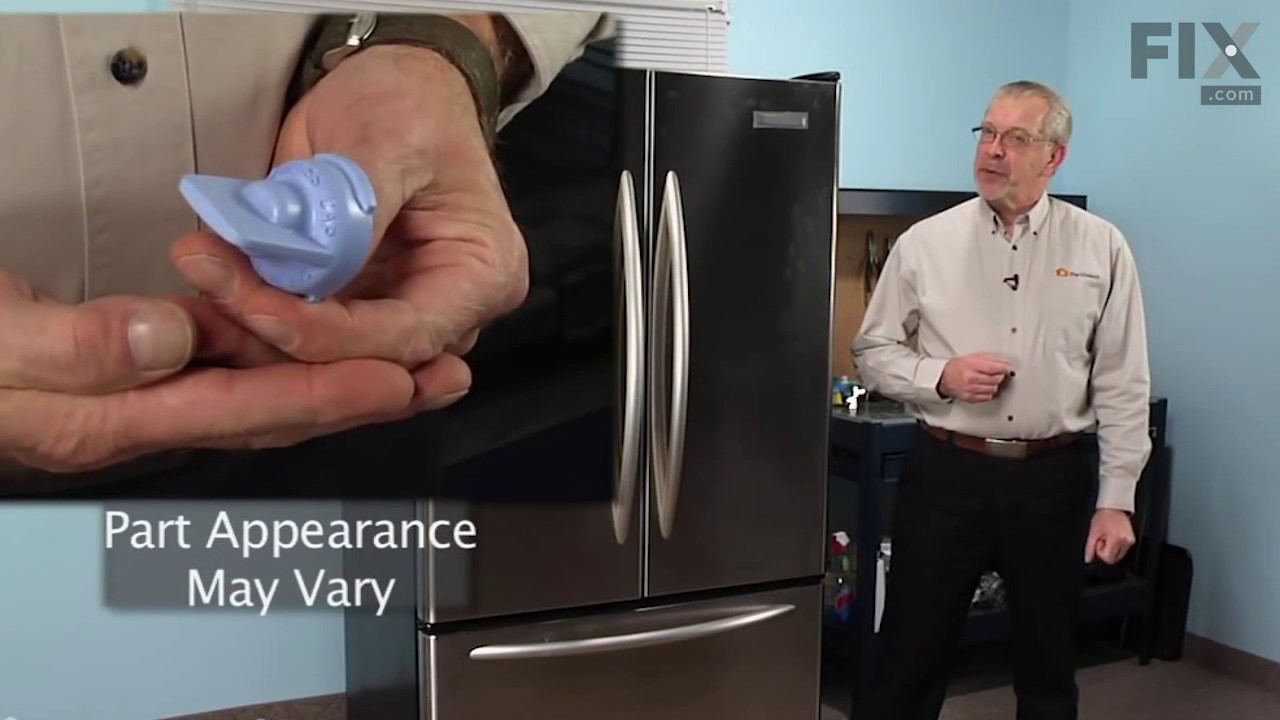
See how others fixed this model. Time, tools, difficulty, and steps that lead to victory!
View More