EasyApplianceParts is now PartSelect! We've merged our sites to provide a better shopping experience for you.   Full Details
✖

Find Parts

Parts Departments

Top Model Types

Top Brands

Repair Help

Expert Repair Videos

Keep typing for more specific results...

WPSE4200A0CC General Electric Washer - Overview

Diagrams for WPSE4200A0CC

See every part. Know exactly what you need.

Enter a part description. DIY Heroes keep it simple, eg. "belt" or "pump".

Search filter:
Clear Filter
Your search term must have 3 or more characters.
D-Shaped Knob Clip – Part Number: WH01X10106
No Longer Available
D-Shaped Knob Clip
★★★★★
★★★★★
(28)
Part #WH01X10106
This clip ensures that the knob is securely fastened to the control shaft, allowing you to properly select the correct time and setting for your dryer. If your dryer will not start or shut off, the timer will not advance, or the dryer shuts off too soon, the issue may be the control knob itself. This clip is sold individually. Although this part fits with some different brands, be sure to check the list of brands below to make sure it fits with your dryer unit. Refer to the manual provided by the manufacturer for further installation instructions.
Agitator Coupling Kit – Part Number: WH49X10042
$44.23
In Stock
Agitator Coupling Kit
★★★★★
★★★★★
(53)
Part #WH49X10042
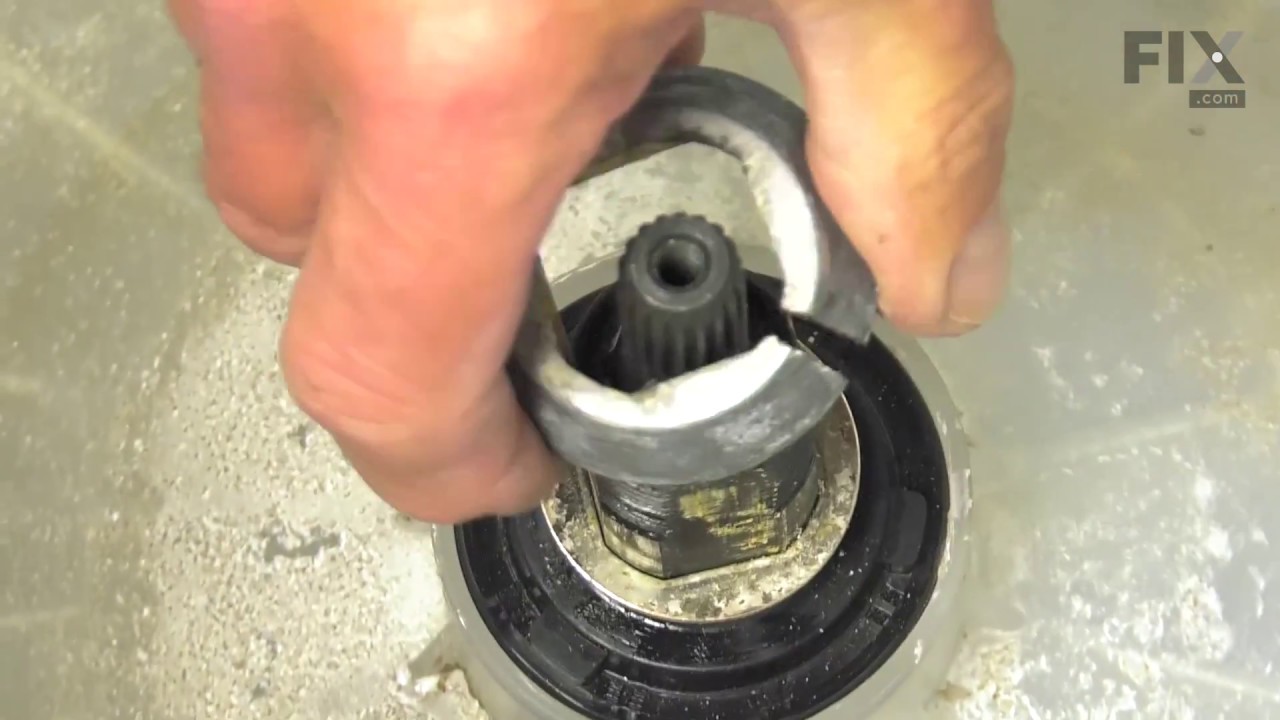
The agitator coupler connects the agitator to the agitator shaft. Common symptoms of a damaged coupler include: a grinding sound during the wash cycle, the washer refusing to agitate or spin, or the washing machine shakes and moves during the wash cycle. Unplug the washer and pull the agitator straight up. Remove the bolt that holds the coupler onto the shaft of the transmission and pull the coupler off. Be sure to clean any dirt, rust, or residue off the transmission spline grooves, and make sure the grooves on the agitator splines are clean and undamaged. We recommend using the gasket and bolt that come with the replacement coupling.
Drain Pump and Motor Assembly – Part Number: WH23X10030
$61.55
In Stock
Drain Pump and Motor Assembly
★★★★★
★★★★★
(39)
Part #WH23X10030
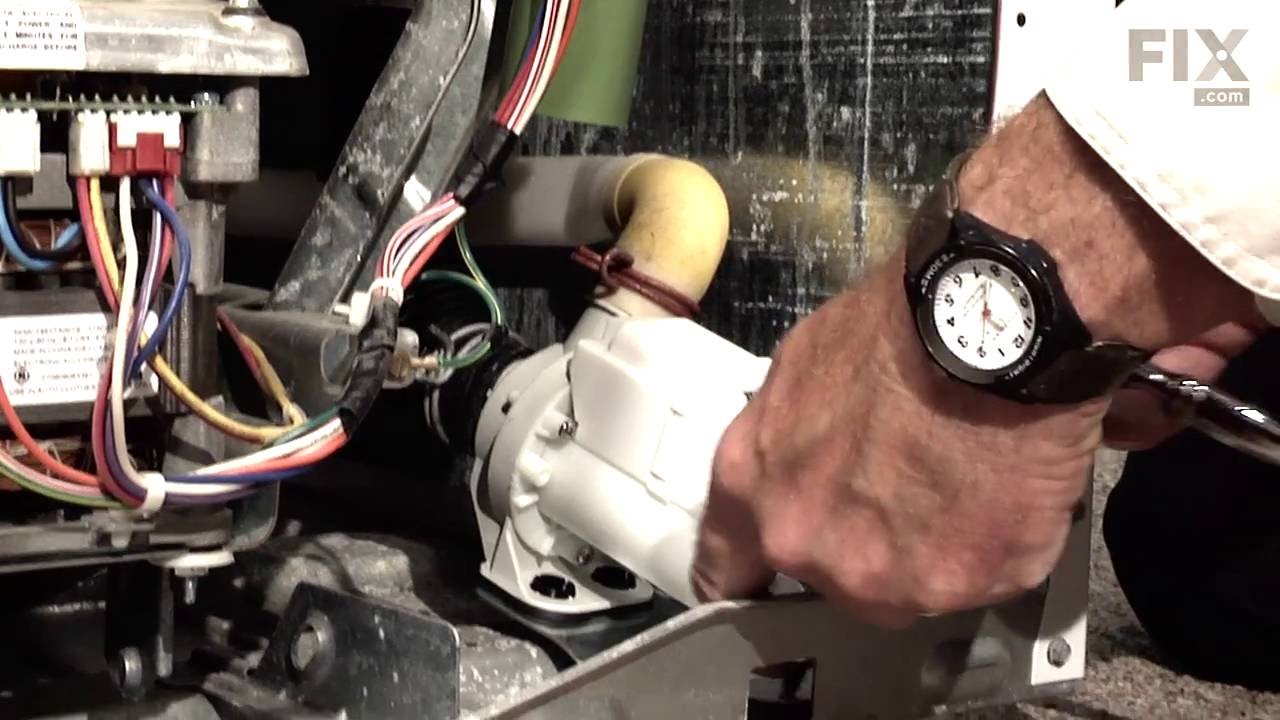
This pump helps expel water from the washing machine and is activated after the spin speed is maintained for a specific period of time. If you notice that your washing machine will not drain, there is a good chance that you will have to replace the drain pump. The drain pump is located inside the washing machine, near the bottom. To access the drain pump for this repair, you will need to remove the front panel. Before you begin this repair, be sure that the power source is disconnected and the water source is shut off.
Knob and Clip – Part Number: WH01X10060
$30.53
In Stock
Knob and Clip
★★★★★
★★★★★
(29)
Part #WH01X10060
This knob accepts a D-shaped shaft.
Screw - Black – Part Number: WH02X10002
$15.00
Special Order
Screw - Black
Part #WH02X10002
This screw is sold individually.
Water Fill Nozzle – Part Number: WH41X10077
$24.12
In Stock
Water Fill Nozzle
★★★★★
★★★★★
(6)
Part #WH41X10077
This part is the replacement water fill nozzle for your washer. It is white and tan in color, made of plastic, and is approximately 7 inches long and 4 inches wide. The water fill nozzle is also known as the water inlet assembly and directs the fill water into the tub. Over time the nozzle can become cracked and damaged, and this can cause it to leak. A damaged nozzle will need to be replaced. Be sure to disconnect the water supply to the washer before you begin this repair. You should also determine if any of the other parts that transport water into the washer are leaking, including the water inlet hose, and if they need to be repaired as well. This part is sold individually and is a genuine OEM part.
Transmission and Brake Assembly – Part Number: WH38X10002
No Longer Available
Transmission and Brake Assembly
Part #WH38X10002
This transmission and brake assembly comes with a new tub seal. This kit aids in the spinning or agitating cycles.
Lid Switch with Leads – Part Number: WH12X10141
$52.67
Special Order
Lid Switch with Leads
★★★★★
★★★★★
(2)
Part #WH12X10141
This kit comes with two butt connectors.
Locking Clip – Part Number: WH02X10279
$15.00
Special Order
Locking Clip
★★★★★
★★★★★
(1)
Part #WH02X10279
Sold individually.
Tub Cover - White – Part Number: WH49X21274
No Longer Available
Tub Cover - White
Part #WH49X21274
This cover goes on top of the balance ring that is located on top of the basket.
Dishwasher Hose Clamp Kit – Part Number: WH1X2036
$26.40
In Stock
Dishwasher Hose Clamp Kit
★★★★★
★★★★★
(2)
Part #WH1X2036
This is a water hose clamp kit for a variety of appliances including dishwashers and washers. This is a genuine replacement part. The kit includes two hose clamps. The smaller of the two is 1 inch in diameter while the larger one is 2 inches in diameter. The hose clamps secure the end of the water hose in place to prevent the hose from leaking. If you notice leaking from the hose of your appliance, you may need to replace this kit. Protect your hands with work gloves during this repair to avoid injury.
MAGNET Assembly – Part Number: WH12X10276
$19.30
In Stock

Common Symptoms of the WPSE4200A0CC

How this model fails, and the parts that fix it.

Watch our pros, then fix it yourself.
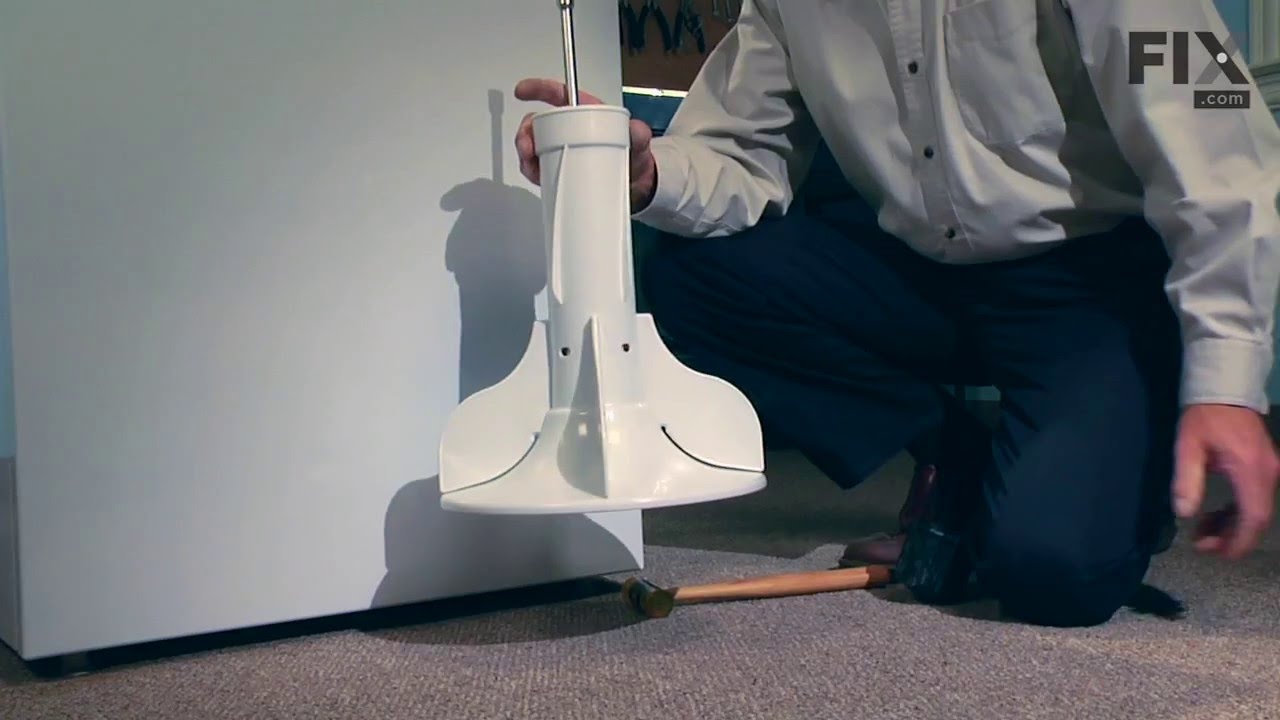
See how others fixed this model. Time, tools, difficulty, and steps that lead to victory! View More

Search repair tips from other customers using simple keywords like "replace", "fit", "remove", "inspect". DIY doesn't mean you have to do it alone!

Search filter:
Clear Filter
Your search term must have 3 or more characters.
Agitator would not move during wash cycle
232 of 265 people found this instruction helpful.
  • Mark from Lexington, KY
  • Easy
  • Less than 15 mins
  • Socket set
I placed both hands under the agitator 180 degrees apart, gave a quick jerk, and seperated the agitator from the coupling. With the agitator removed, use a socket and ratchet to remove the bolt holding the coupling to the spline. Remove the old coupling and slide the new one over the spline. Lightly tap on the coupling if necessary. I nsert the bolt with the ratchet and slide the agitator back over the coupling and you are done.
Was this helpful?
Thank you for voting!
machine would not drain all other functions seemed o.k
88 of 92 people found this instruction helpful.
  • douglas from danby, VT
  • Easy
  • 30 - 60 mins
  • Socket set
Aside from getting the wet clothes and most of the water out,the toughest part of the job for me was to figure out how to get inside the machine. I nearly wrecked the thing trying to lift the top panel. After some frustration I removed the star-type screws on back of the control panel and found, tucked away neatly, the documentation/parts list complete with instructions on how to remove the FRONT panel. Once I got inside it was easy to locate the pump. I ran the drain cycle for a moment to see if the pump turned at all. The original had an exposed fan so it was easy to see that indeed the motor was not turning. I inspected all the hose and electrical connections to make sure I had the tools I'd need and the savvy to replace the part(s) if I could locate them. I'm not much of a web-head, so I was a little surprised when I typed G.E. appliances and the search took me to partselect.com where I was pretty much coached through the procedure before I even ordered the part. The box arrived ahead of schedule (yay) and when I looked at the pump it didn't look much like the one I was replacing. But then I realized it was the same thing just ten years more advanced. I used a small pair of vise grips to pinch and lock the pipe clamps open. I know there is a plier made for this, but... Anyways, after loosening the clamps and sliding them away from the pump I pulled the hoses off and let the last of the rinse water still in them run down my shirt sleeve to my elbow. (optional, not recommended) Thus refreshed I then rummaged through my socket set and found what I needed to remove the 2 sheet metal mounting screws and disconnected the 2 power leads. I removed the faulty pump and proudly showed it to my wife. Unimpressed, she asked how much longer. I quickly reversed the procedure to install the new unit and confidently piled in a load of laundry. The cycle completed just fine and has done so since. I will and have recommmended partselect.com to friends and will use it again for sure.
Was this helpful?
Thank you for voting!
Bearing on the transmission to tub wore out (mostly due to the washer not being level)
89 of 106 people found this instruction helpful.
  • Victor from League City, TX
  • Difficult
  • More than 2 hours
  • Nutdriver, Pliers, Screw drivers, Socket set, Wrench (Adjustable), Wrench set
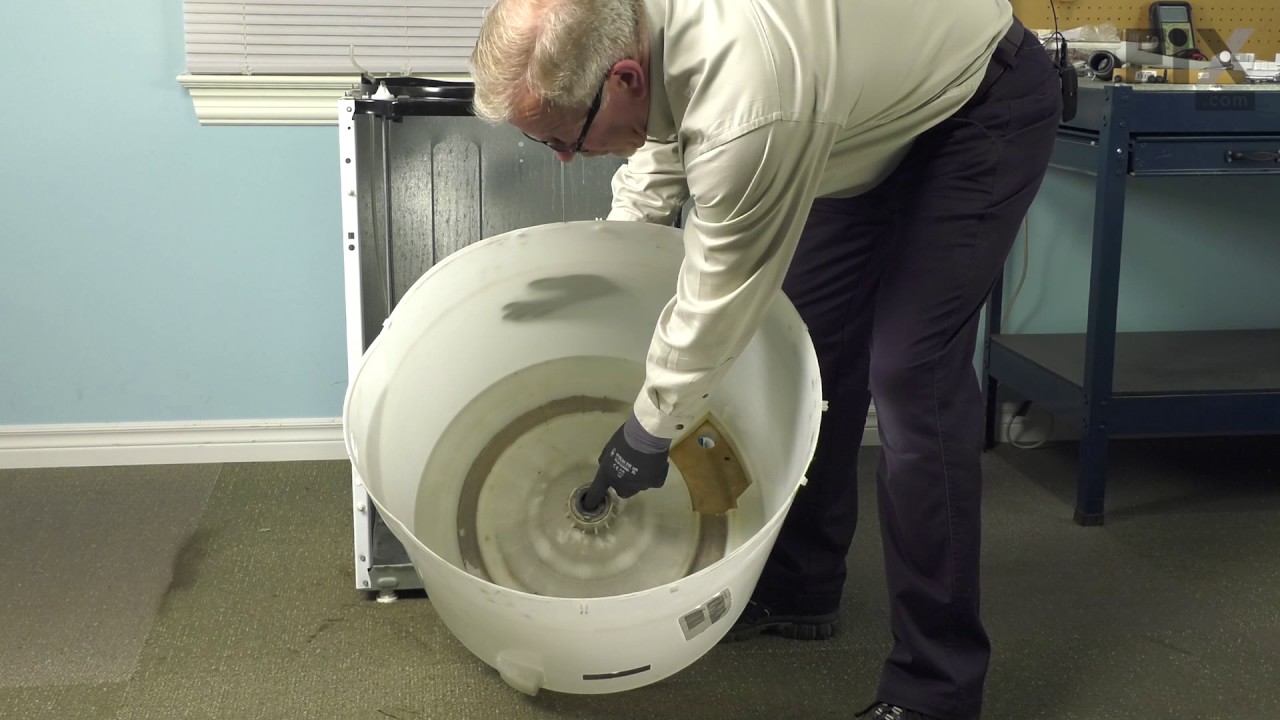
The back of the control panel had an instruction pamplet that was very useful. 2 parts did not go as written tho. To "pop" the spinner out, required short 1x4s and a shake/shingle bar to pry it up and the wedging of the 1x4s under it, until enough strain was put on it to "pop" it off. Then the large 1&11/16 nut was a bear. It require d a short pipe wrench (so it fit in the tub) and a hammer to brake it loose.
Was this helpful?
Thank you for voting!