



 My Orders




WPRE8150HW General Electric Washer - Overview

Enter a part description. DIY Heroes keep it simple, eg. "belt" or "pump".
Search filter:
Clear Filter
Your search term must have 3 or more characters.

$39.42
Special Order
DAMPENING STRAP 2PACK
Part #WH01X39337
The tub dampening straps support the wash tub and reduce vibration by keeping the tub at the center of the cabinet. If your washer shakes and moves, or is making a loud banging noise during the wash cycle, the washing machine tub could be off-balance, meaning one or more of these straps may be loose, or broken. Other symptoms include: the...Read more washer leaking, not agitating, or pumping but not spinning. These straps are sold individually. However, we recommend that you replace all 4 straps at the same time. It is also recommended that you check the tub for cracks where these straps mount.
Read less

$36.37
In Stock
Drain Hose
Part #WH41X10096
The drain hose is black in color and made of flexible material. This is a part for your top-load washer. The hose measures 57 inches long. This part moves the water out of the washer and into the drain. If this parts cracks or becomes damaged it will leak during the drain cycle of your wash and you may find water on the floor. To access t...Read morehe hose, you will need to move the washer away from the wall to get to the back of the appliance. There will be two screws holding it in place that will need to be removed.
Read less

$60.28
In Stock
Dual Action Agitator
Part #WH43X10034
This is a dual-action agitator for a washer. It is an OEM replacement part that is sourced from the manufacturer. The agitator tosses your clothes to clean them efficiently. This plastic dual-action agitator is white in color. It is approximately 18 inches tall with a base diameter of about 12 1/4 inches. No tools are required for this re...Read morepair. Your agitator has eight tabs that fasten on the drive block of your washer, which is driven by the transmission. This part does not include the agitator coupling kit, which is frequently purchased at the same time as the agitator.
Read less

$61.55
In Stock
Drain Pump and Motor Assembly
Part #WH23X10030
This pump helps expel water from the washing machine and is activated after the spin speed is maintained for a specific period of time. If you notice that your washing machine will not drain, there is a good chance that you will have to replace the drain pump. The drain pump is located inside the washing machine, near the bottom. To acces...Read mores the drain pump for this repair, you will need to remove the front panel. Before you begin this repair, be sure that the power source is disconnected and the water source is shut off.
Read less

$22.24
In Stock
Tub Seal
Part #WH02X10383
The main tub seal is located between the transmission and the outer tub. Its the primary water seal in the outer tub for the transmission-shaft. If your washer is leaking during the fill cycle, or at agitation time, your tub seal may need to be replaced. You can check if the tub seal needs to be replaced by watching that area during an ac...Read moretual fill cycle. Take off the front panel, or if it is a front-loading washer, the rear panel. Without touching the washing machine, observe the place where the shaft of the transmission comes into the tub and the weep holes at the housing of the rear bearing. If there is water leaking, the tub seal is at fault.
NOTE: This seal is difficult to replace and should probably be installed by a qualified technician.
Read less

$30.39
In Stock
Agitator Coupling
Part #WH43X10032
Bolt not included. This part connects the transmission drive shaft to the agitator base.

$28.76
In Stock
Start/Stop Button
Part #WH01X10088
This is the start/stop button for your washer. If your washer will not start after the button is depressed, you may need to replace it. However, you may also want to check your door switch, because when the washer will not start, the door switch is often the issue. This part is made of rubber and is gray in color. It is a little bigger than 1 inch in diameter and is sold individually.

$15.00
In Stock
Socket Rod Support - White
Part #WH01X10001
This part is a replacement socket rod support for your washer. The socket rod support is found at the top of the washer frame in the front part of the washer. It supports the suspension rod, so the rod can prevent the tub from shaking too much during operation. If your washer is shaking excessively or emitting an odd sound during use, it ...Read moremay be because the rod support is broken, and the suspension rod is not able to do its job. This part is made of white plastic and is sold individually.
Read less

$15.00
Special Order

$45.07
In Stock
Rod and Spring Assembly - Green
Part #WH16X10057
This part helps center and support the drum, transmission and motor assembly.

$8.55
In Stock
Screw - 1/4-20 MCH HXW 5/8 S
Part #WH02X10237
This is a replacement screw for your washer. The screw has a hex head and is approximately 1 inch in length. The washer portion of this screw is approximately 1 inch in diameter. This part is sold individually and is an authentic OEM part sourced directly from the manufacturer.

$51.61
Special Order
Belt Installation Tool
Part #WX05X20641
This part is the replacement belt install tool for your dryer. It comes with two round plastic halves of the tool that are held together with an o-ring (also included). To use the tool, position the two halves of the tool together, and roll the o-ring into the groove to secure. The belt install tool will allow you to replace a damaged dri...Read moreve belt on your dryer. Be sure to disconnect power to the dryer before you begin this repair. This is an OEM part sourced directly from the manufacturer.
Read less
Common Symptoms of the WPRE8150HW
How this model fails, and the parts that fix it.
Leaking
Fixed by
these parts
these parts


Show All
Will not drain
Fixed by
these parts
these parts
Show All
Will not agitate
Fixed by
these parts
these parts


Show All
Will Not Start
Fixed by
these parts
these parts

Show All
Marks left on clothes
Fixed by
these parts
these parts
Show All
Shaking and Moving
Fixed by
these parts
these parts
Show All
Touchpad does not respond
Fixed by
these parts
these parts
Show All
Spinning Issues
Fixed by
these parts
these parts
Show All
Draining Issues
Fixed by
these parts
these parts
Show All
Burning smell
Fixed by
these parts
these parts
Show All
Noisy
Fixed by
these parts
these parts
Show All
Watch our pros, then fix it yourself.
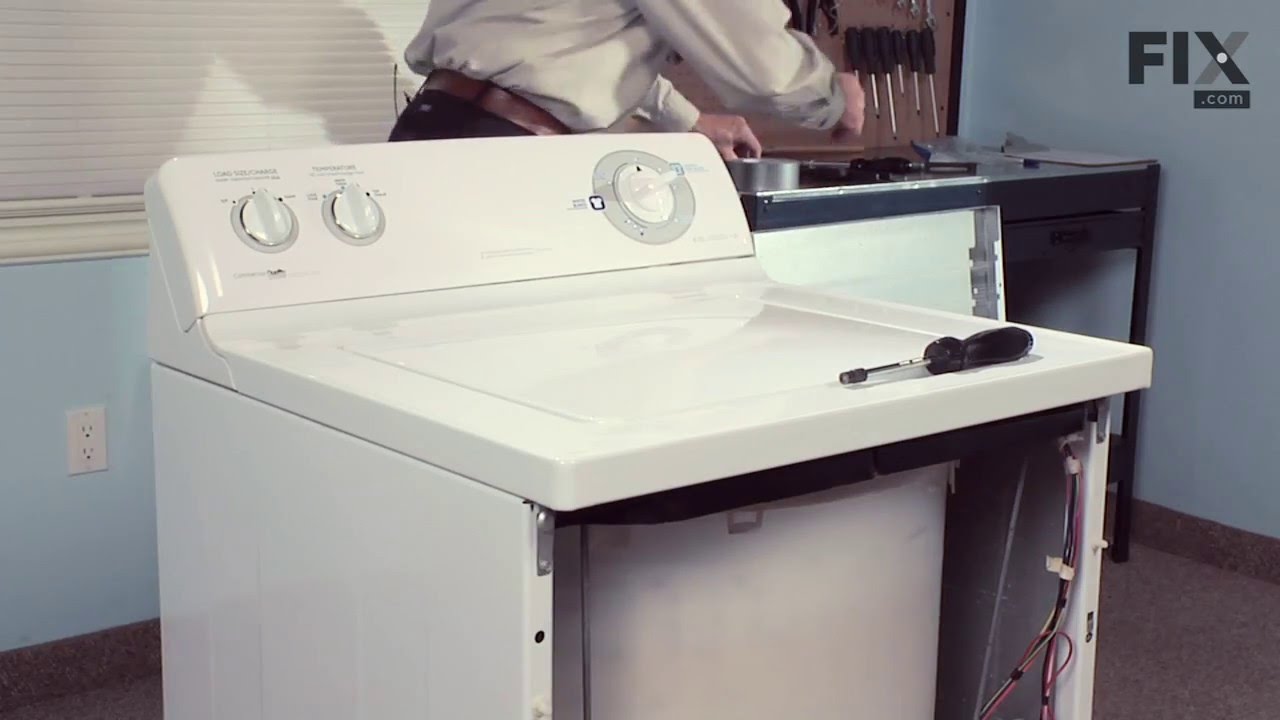

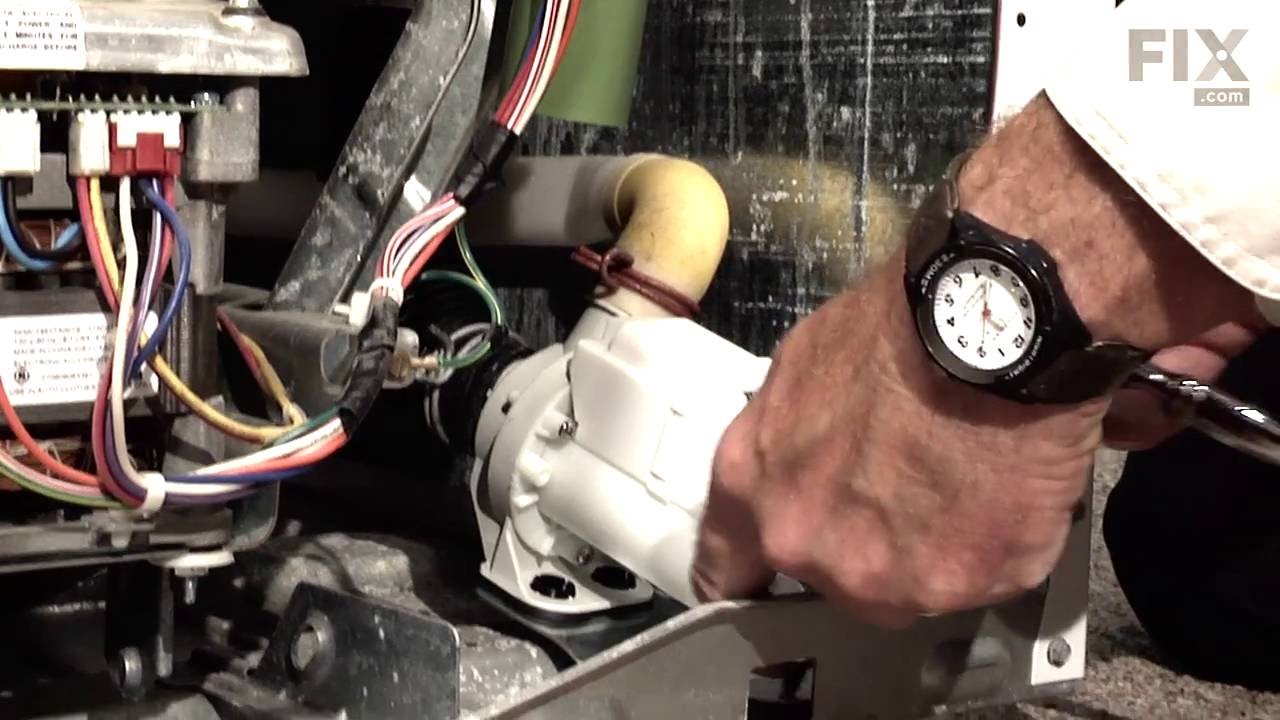
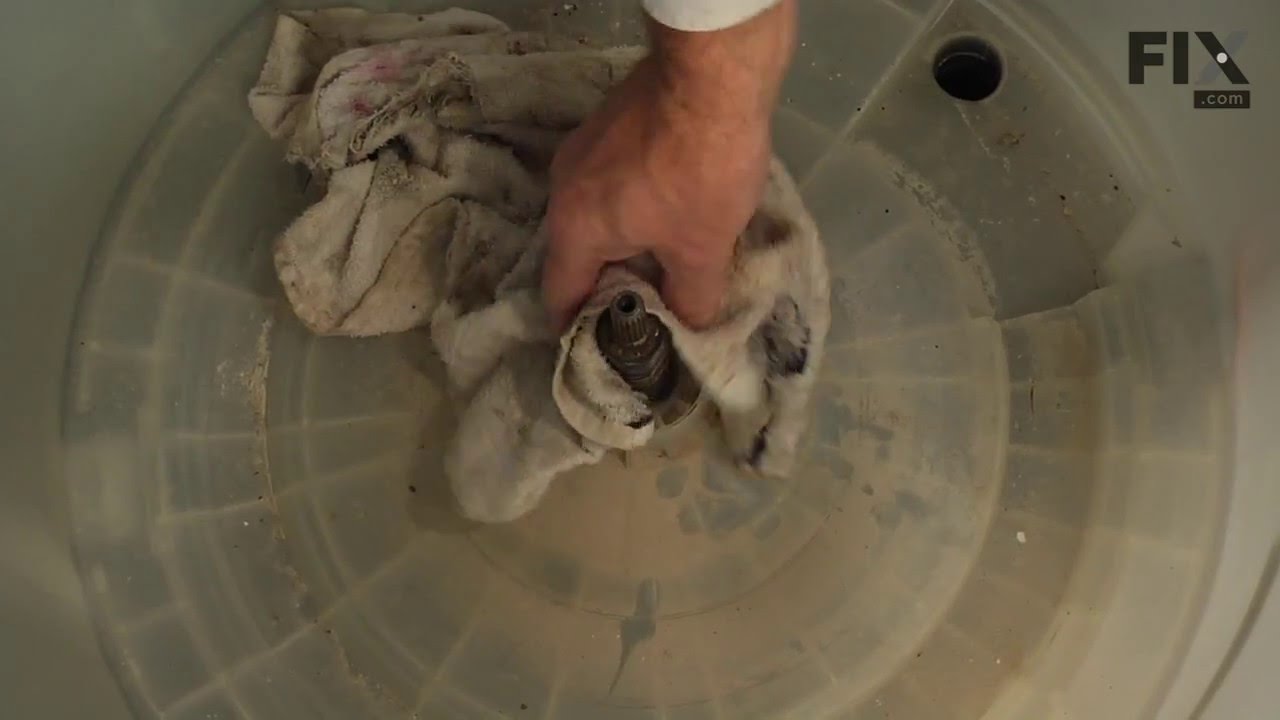

See how others fixed this model. Time, tools, difficulty, and steps that lead to victory!
View More
Search repair tips from other customers using simple keywords like "replace", "fit", "remove", "inspect". DIY doesn't mean you have to do it alone!
Search filter:
Clear Filter
Your search term must have 3 or more characters.
Pump and Motor Assembly began leaking and then seized.
51 of 56 people
found this instruction helpful.
First I removed the front panel by prying it forward with a Screw driver away from the side panels at the top (wrap a shop rag around the Screw driver to keep from scratching the paint). Once you have the panel pried loose at the top ... lean it forward until you can lift it off the tab type hooks at the bottom.
I next unplugged ... Read more the wires from the motor. The orginal motor had three wires ... two on top and one on the left side. The one on the side is a ground wire for the open frame motor. The replacement motor is sealed and does not require this wire. Just leave it unplugged when the new one is installed.
Next I removed the inlet hose that attaches to the back of the pump. Remove it by loosening the hose clamp and removing it from the bottom of the tub, leaving it attached to the back of the pump. It is much easier to remove and transfer to the new pump once it is out rather than fight with the spring type clamp on the back of the pump in the close quarters inside the machine.
Next I removed the outlet hose from the top of the pump. Squeeze the spring clamp with Pliers and work it up and off the pump.
Now I just used a Socket to remove the two bolts holding the bracket to the inside front of the machine and removed the assembly.
I now removed the inlet hose from the back of the old pump. Just squeeze the spring clamp with Pliers and work it up the hose and off the pump. Transfer the hose to the back of the new pump reusing the same clamp.
I now bolted the assembly back into the machine, reattached the outlet hose to the pump, and then reattached inlet hose to the bottom of the tub. All that was left to do was plug in the two wires to the top front of the pump motor (as I mentioned earlier, leave the side wire from the old pump unplugged as it is not needed on the new one). I then ran the machine for a few moments with the front off to check for any leaks and then put the front panel back on.
The whole replacement cost about $50 and took barely 15 min. from start to finish. The machine now works perfectly.
I next unplugged ... Read more the wires from the motor. The orginal motor had three wires ... two on top and one on the left side. The one on the side is a ground wire for the open frame motor. The replacement motor is sealed and does not require this wire. Just leave it unplugged when the new one is installed.
Next I removed the inlet hose that attaches to the back of the pump. Remove it by loosening the hose clamp and removing it from the bottom of the tub, leaving it attached to the back of the pump. It is much easier to remove and transfer to the new pump once it is out rather than fight with the spring type clamp on the back of the pump in the close quarters inside the machine.
Next I removed the outlet hose from the top of the pump. Squeeze the spring clamp with Pliers and work it up and off the pump.
Now I just used a Socket to remove the two bolts holding the bracket to the inside front of the machine and removed the assembly.
I now removed the inlet hose from the back of the old pump. Just squeeze the spring clamp with Pliers and work it up the hose and off the pump. Transfer the hose to the back of the new pump reusing the same clamp.
I now bolted the assembly back into the machine, reattached the outlet hose to the pump, and then reattached inlet hose to the bottom of the tub. All that was left to do was plug in the two wires to the top front of the pump motor (as I mentioned earlier, leave the side wire from the old pump unplugged as it is not needed on the new one). I then ran the machine for a few moments with the front off to check for any leaks and then put the front panel back on.
The whole replacement cost about $50 and took barely 15 min. from start to finish. The machine now works perfectly.
Read less
Other Parts Used:


Was this helpful?
Thank you for voting!