This pump helps expel water from the washing machine and is activated after the spin speed is maintained for a specific period of time. This pump has sound isolation mounting washers and a filter.
The main drive belt is designed to work with the motor pulley and spin the drum until it comes up to speed.
NOTE: Per factory measures 48.4" at rest & 51.2" when working.
Ensure safe and reliable operation of your front-load washer with this door lock assembly. This genuine OEM component secures the door during wash and spin cycles, preventing it from opening until the cycle is complete. It plays a critical role in system safety by ensuring the door is properly locked before the appliance begins operation....Read more Common symptoms of a failing lock include difficulty latching, the door opening mid-cycle, or the washer refusing to start. Error codes may also appear when the lock fails to communicate with the control system. Installation requires basic tools and should be matched to your appliance model for compatibility.
This part is the replacement door plunger or door strike for your washer. It is made of white plastic and is approximately 2 inches by 1.5 inches. The door strike attaches to the washer door and activates the door switch when the door is closed. If the door switch is not activated, the washer will not start. Therefore, if your washer will...Read more not start, you should inspect your door strike to see if it is cracked, damaged, or missing. This part is sold individually and is an OEM part sourced directly from the manufacturer.
Ask our experts a question about this model and we'll get back to you as soon as possible!
We may have answered a similar question already! Search questions and answers left by others using simple keywords like "fit", "broken", "easy", or "quality" to find questions that match.
Search filter:
Clear Filter
Your search term must have 3 or more characters.
Sort by:
Prev
1
Next
Sorry, we couldn't find any existing answers that matched.Try using some different or simpler keywords, or submit your new question by using the "Ask a Question" button above!
Alvin - For model number WPDH8900J0MV
May 6, 2024
Looking for the door boot for a GE washer
Hi Alvin, thank you for the question. The door gasket you are looking for is part number PS2354062. Glad to be of help!
See how others fixed this model. Time, tools, difficulty, and steps that lead to victory!View More
Search repair tips from other customers using simple keywords like "replace", "fit", "remove", "inspect". DIY doesn't mean you have to do it alone!
Search filter:
Clear Filter
Your search term must have 3 or more characters.
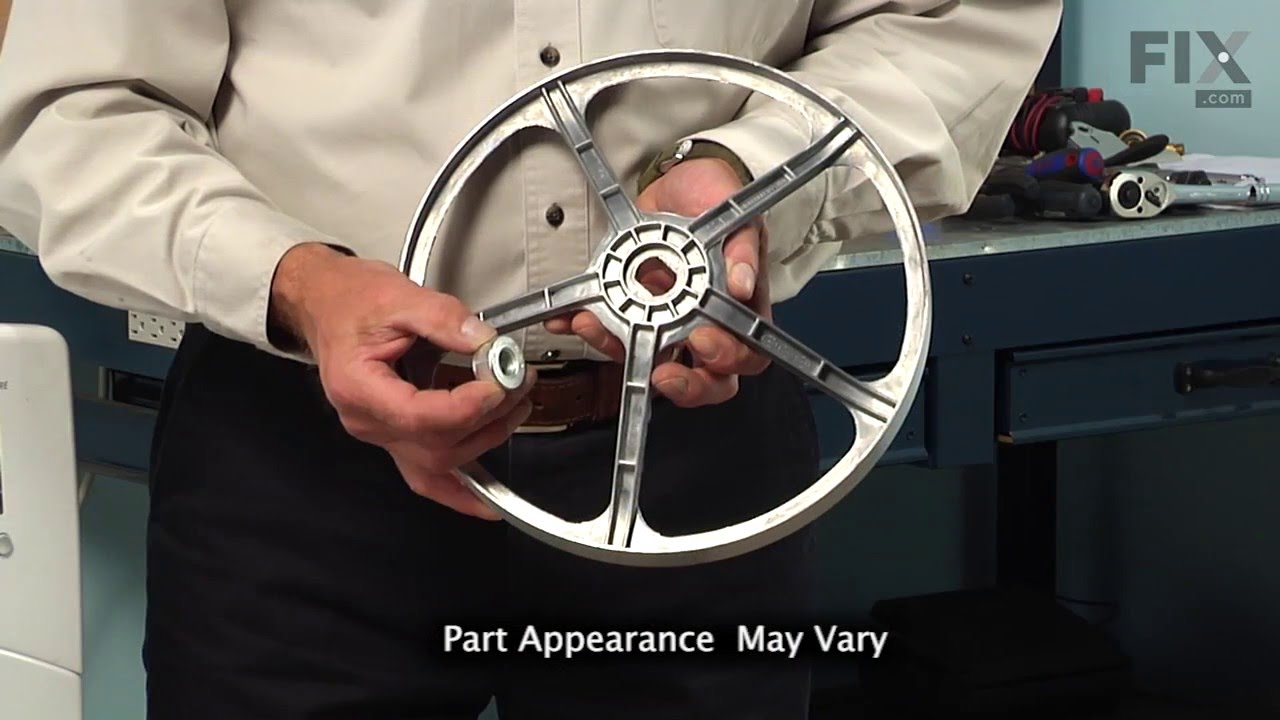
Rear Tub Pulley became loose and deformed pulley shaft
174 of 233 peoplefound this instruction helpful.
BRETT from CLINTON, CT
A Bit Difficult
30 - 60 mins
Nutdriver, Screw drivers, Socket set
Ordered new Parts. Removed old/worn parts. Found that the "hammering" from a loose pulley had worn and deformed the edges of the shaft where the flats are to accept new pulley. Gently filed the flats with the flat surface of the file and filed the hump on the shaft that the "hammering" created. Take extreme caution to not file surfa
... Read moreces too much, because new pulley will be loose and the next step is to replace the drum shaft.($$$$) Pulley did not fit 100% (Had some slop) but that was from material being worn away from "hammering" effect. Torqued with Torque wrench and added green 609 loctite compound - this is meant to help adhere and take up some loose fit in assemblies. - Drawback to Loctite is most have to be heated to 300 to 400 degrees to remove, or pulley will need to be cut off and ruined, I further repair/removal of pulley is necessary. This is an Easy Fix/Replacement of parts.... The hard part is filing the drum shaft surfaces to accept the new pulley, and getting the belt back on - Belt is tight but needs to be stretched on like putting a bike chain back on.
Washer now spins and sounds like a dream! - Good Luck!
Washing machine would cease functioning at the spin cycle and would not drain.
158 of 189 peoplefound this instruction helpful.
Trent from Shreveport, LA
Really Easy
Less than 15 mins
Pliers, Screw drivers
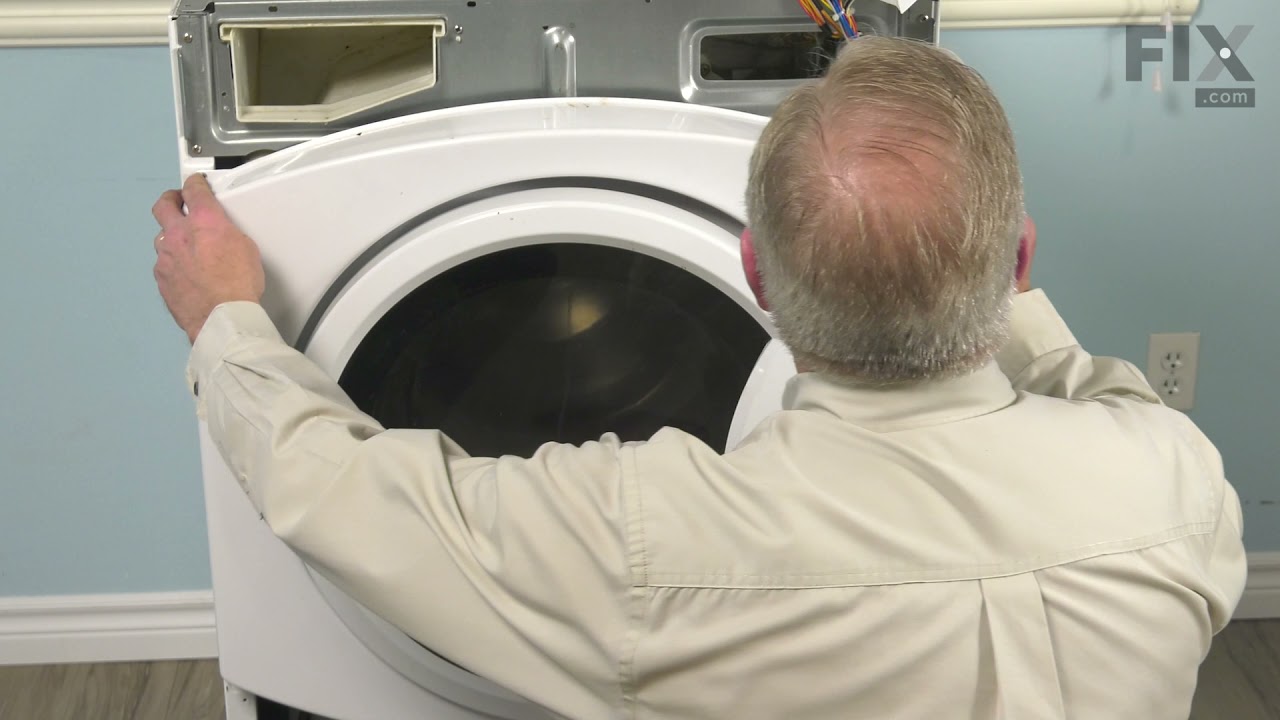
Remove the front coverfrom the machine. This is done by removing the 3 screws at the bottom of the panel. The panel then drops down and pulls straight off. The pump is located on the front right wall of the of the machine. You will notice a 2-3 inch diamete threaded cap on the right side of the front wall of the machine. This is the f
... Read moreront of the pump and access to the filter. Place a large bucket under this cap and slowly loosen the cap. All of the water remaining in the machine will begin to drain (this could be a lot of water. Do not remove the cap completely so that you can quickly stop the flow of water if needed). Once all water is drained from the appliance, Disconnect the two hoses from the pump using a pair of pliers to looses the presure clamps, sliding the clamps back an then pulling off the hoses (be careful of any remaining water in the hoses). Then remove the two screws from the rear base of the pump that secure it to the bottom floor panel of the washer. Slide the pump slightly to the rear to free it from the fittings on the front wall of the machine and the lift the pump up. At this point, firmly pull out the wiring harness plugged into the top right side of the pump. Install the new pump by plugging in the wiring harness and resecuring the pump. Plug in the machine and run on the rinse and spin cycle to test.
Read less
Was this helpful?
Thank you for voting!
pump would not pump water out of washer
77 of 102 peoplefound this instruction helpful.
John from Farnham, VA
Really Easy
Less than 15 mins
Pliers, Screw drivers
I took the two drain hoses off with the pliers then only two screws that holds the pump. After that the two hot wires which are black and white. But remember to unplug you're washer since the pump is not grounded you don't want to risk being shocked. Hope thi helps. Plus i saved around 250.00 by repairing myself.




 My Orders