


 My Orders




WOC54EC0AB02 Whirlpool Microwave - Overview
Diagrams for WOC54EC0AB02
See every part. Know exactly what you need.


Enter a part description. DIY Heroes keep it simple, eg. "belt" or "pump".
Search filter:
Clear Filter
Your search term must have 3 or more characters.

$21.45
In Stock
Screw
Part #W11233072
This is a multi-use and multi-appliance screw. It can be used on a microwave, refrigerator, range/oven, air conditioner, dehumidifier, washer, or dryer. The measurements of this screw are 8 x 1/2 inch. It has 6 threads. Refer to the manual provided by the manufacturer for further information on repair and accurate guidance. Remember to wear work gloves as a safety precaution.

$7.47
In Stock

No Longer Available
Touch-Up Paint - White
Part #72017
This touch-up paint can be used on a wide variety of household appliances. It is most often used on washers, dryer, refrigerators, dishwashers, ranges, freezers, trash compactors, or microwaves. It is an 18 ml, or.6 fluid ounces, bottle of touch-up paint. It also features a brush for easy application. This quick-drying, long-lasting paint...Read more is perfect for fixing any nicks, scratches, or chips on the exterior of your appliance. This paint is white in color, and provides a durable finish.
Read less

$49.50
In Stock
2 Piece Broiler Pan
Part #4396923
This broiler pan and roasting rack set is designed to help reduce mess while cooking by allowing grease to drain away from food. Its durable porcelain-coated construction stands up to high temperatures and makes cleanup simple. With approximate dimensions of 16 3/4 inches long, 12 3/4 inches wide, and 1 3/4 inches high, it offers a convenient size for everyday broiling and roasting.

$47.40
In Stock
Door Switch - 250V
Part #W10211972
This microwave door interlock switch is a critical safety component designed to prevent the appliance from operating when the door is open. It functions by detecting the door’s position—open or closed—and relaying this information to the microwave’s electronic control system. This ensures the unit only activates when the door is securely ...Read morelatched. Commonly used in microwave models experiencing issues such as failure to start or lack of heating, the switch plays a vital role in maintaining safe operation. Installation involves accessing the internal door latch mechanism and replacing the switch, which typically requires basic tools and careful handling to avoid damage to surrounding components. The switch is compact and designed to fit seamlessly within the microwave’s door assembly.
Read less

No Longer Available
Spray Paint - 12 oz. - White
Part #350930
Appliance spray paint is a great way to cover up any chips and scratches that have appeared on your appliances. Instead of replacing the part entirely, this is an easy fix. This is also a great way to give a fresh new look to any handles or areas that have discoloring due to wear. Make sure to clean the area before you begin and wear a pr...Read moreotective mask for safety. Give the can a good shake and spray a few inches away from the surface. Apply the paint until the area is fully covered as desired. Wait until the paint has dried before using the appliance.
Read less

$26.82
In Stock
Halogen Light Bulb
Part #W10886919
This part is the replacement halogen light bulb for your range. The bulb is 10 watts and 12 volts. The halogen lamp lights up the inside of the oven you can see the cooktop more effectively in darkness. If your light bulb is burned out, this is the part that replaces it. Be sure to turn off power to your range hood before you begin this r...Read moreepair. This bulb is sold individually and is a genuine OEM part sourced directly from the manufacturer.
Read less

$7.47
In Stock

$8.55
Special Order
Range Hex Nut
Part #WP488130
This hex nut is an authentic Whirlpool part that is sourced directly from the original equipment manufacturer, and will fit a variety of appliances including ovens, microwaves, refrigerators, air conditioners, and dishwashers. It is a metal part with a threaded hole to fasten parts in the appliance together. It is common for this part to ...Read morewear out; it is recommended to order a spare. To replace this part the tools needed are a nut driver or wrench. This nut features a built-in external tooth lock washer, which is used to help keep the nut in place.
Read less

$53.20
In Stock
Microwave Turn Ring
Part #W11110134
This roller is located underneath the glass turntable. With the help of the motor, this roller helps to rotate the glass tray. This part takes the place of the coupling.

$82.56
On Order

$28.42
In Stock
Light Bulb
Part #WPW10412711
This is a 25W 125-130V incandescent light bulb designed for use and compatible within various makes and models of microwaves, ranges, oven/microwave combos, and wall ovens. If you notice the lightbulb flickering, getting progressively dimmer, emitting a slight humming noise, taking excessively long to brighten, or if it is simply dead ? i...Read moret needs replacing as soon as possible. This light bulb normally comes with a bulb cover lens, which may also need to be replaced depending on why your lightbulb needs replacing. Make sure to follow all safety precautions during this replacement process and seek professional assistance if necessary. To replace this bulb, disconnect your appliance from its power source. Locate the bulb within your appliance and use a screwdriver to disconnect and remove the panel housing the light bulb. Be careful not to touch any capacitors within the appliance, or you could electrocute yourself. Unscrew the lightbulb socket housing and then unscrew and replace the bulb within it. Then you can reassemble the rest of the microwave.
Read less
Common Symptoms of the WOC54EC0AB02
How this model fails, and the parts that fix it.
Tray won’t turn
Fixed by
these parts
these parts


Show All
Won’t turn on
Fixed by
these parts
these parts

Show All
No heat
Fixed by
these parts
these parts


Show All
Element will not heat
Fixed by
these parts
these parts


Show All
Door won’t open after self cleaning cycle
Fixed by
these parts
these parts
Show All
Will Not Start
Fixed by
these parts
these parts
Show All
Noisy
Fixed by
these parts
these parts
Show All
Door not closing properly
Fixed by
these parts
these parts
Show All
Watch our pros, then fix it yourself.
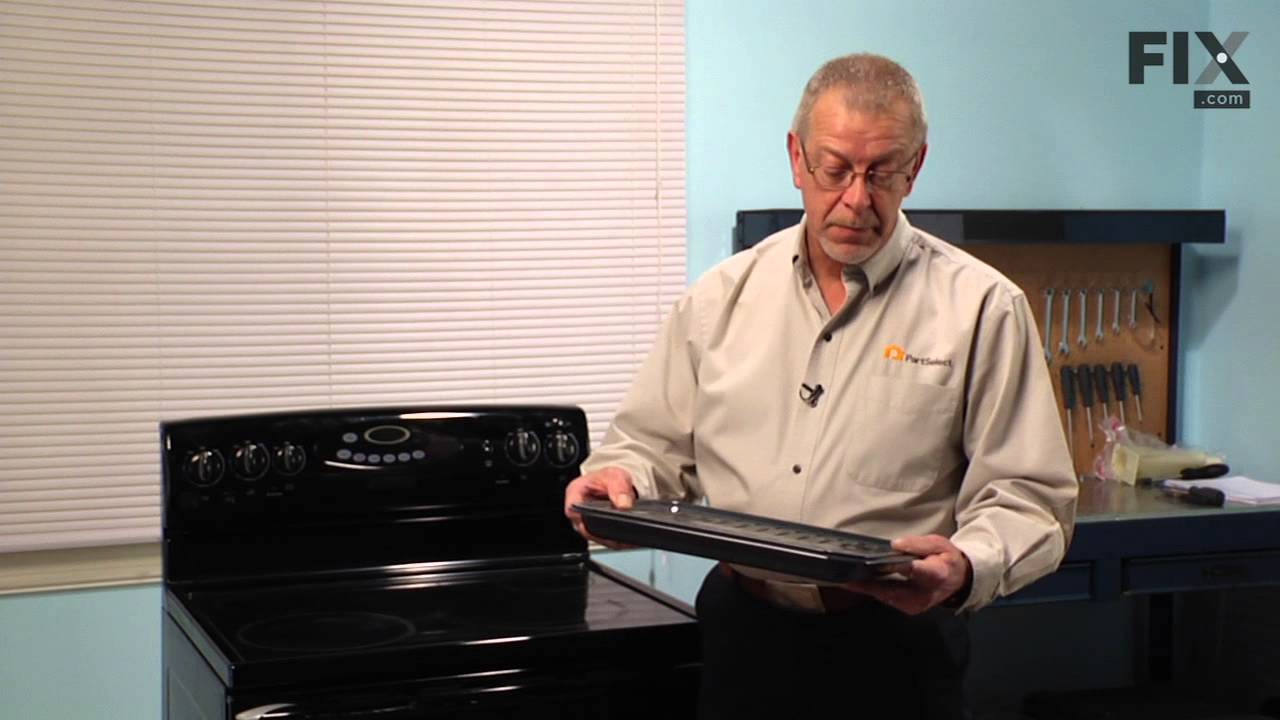
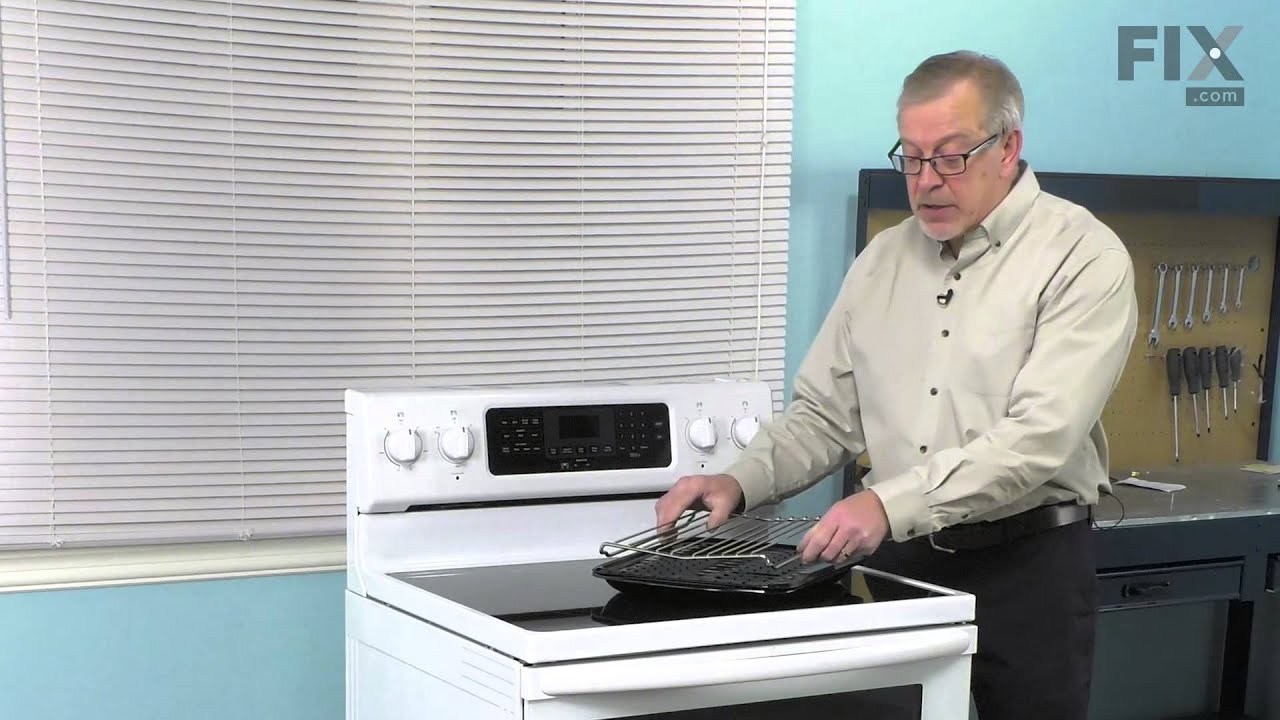
See how others fixed this model. Time, tools, difficulty, and steps that lead to victory!
View More