


 My Orders




WM3700HWA (00) LG Washer - Overview

Enter a part description. DIY Heroes keep it simple, eg. "belt" or "pump".
Search filter:
Clear Filter
Your search term must have 3 or more characters.

$55.29
In Stock
Tub-to-Pump Drain Hose
Part #4738ER1002A
This is a tub-to-pump drain hose for a front load washer. The hose features flexible bellows which allow it to expand and contract when necessary. It carries the water from the tub of the washer to the drain pump so the used water can properly empty from the tub. This part is made of rubber, is black in color and measures 13 inches long. ...Read moreBe sure to drain the excess water from the washer before completing this repair. This is an authentic OEM part that is sourced directly from the manufacturer.
Read less

$42.12
In Stock
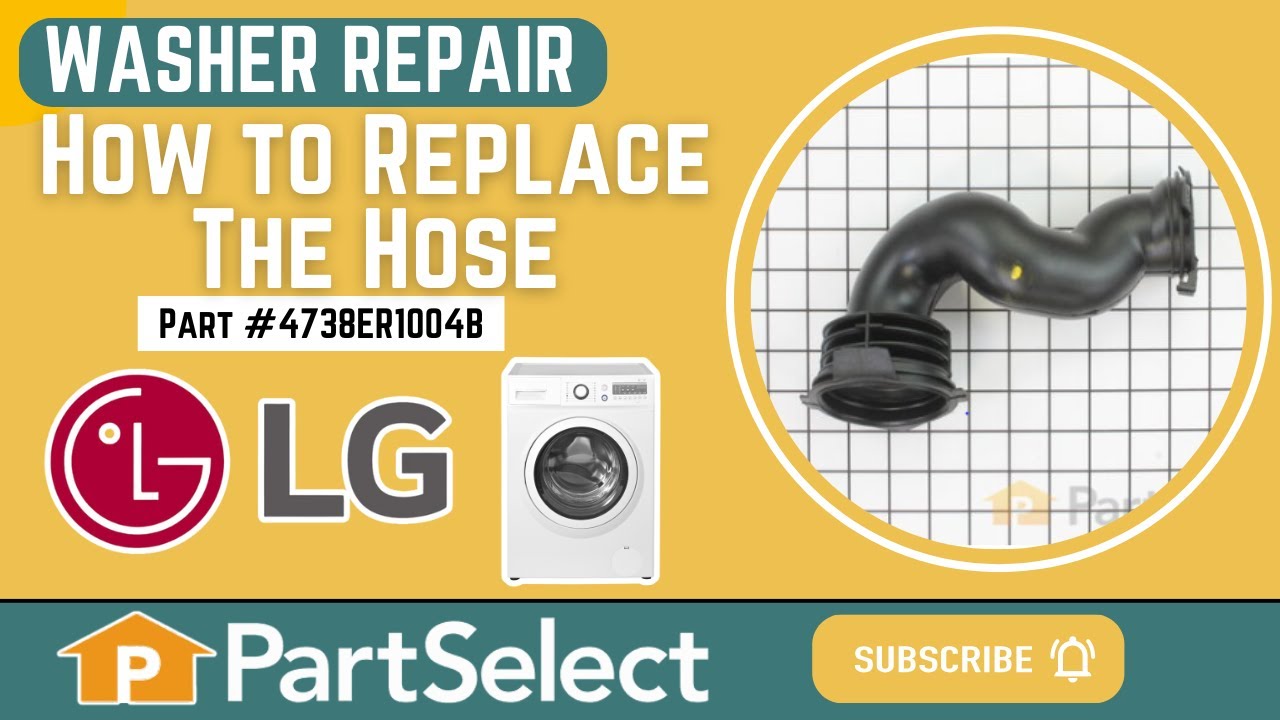
Washer Hose with Bellows
Part #4738ER1004B
This washer hose with bellows, also known as a dispenser hose, is a genuine OEM replacement part for your washer. Replacing this part can be helpful if your washer is leaking. The dispenser hose connects the dispenser assembly to the tub. Before beginning the repair, unplug the washer and turn off the water supply. You will need a Phillip...Read mores head screwdriver to complete this repair; a clamp tool can also be helpful. Remove the screws holding the lid of the washer in place, and take off the lid. Locate the dispenser hose and remove its clamps. Place the clamps on the new hose, using the arrows for a guide in positioning the clamps. Install the new hose and reassemble all other parts.
Read less

$72.00
In Stock
Washer Tub Bearing, Rear
Part #4280EN4001F

$44.95
Special Order
Shock Absorber Assembly
Part #ACV72909503
This friction damper assembly in your washer stabilizes the tub or drum. It absorbs the movements and vibrations during the spin cycle to keep the machine steady and reduce noise. It connects the tub to the cabinet. If the assembly is broken, your washer may be excessively noisy or shaky. This genuine OEM replacement part is sold individually, and separately from the shock absorbers.

$47.40
In Stock
Washer Hinge Spring
Part #4970FR2084Z
This is a suspension spring for models of LG washing machines. This spring, along with the shock absorbers, is the entire suspension of the washing machine. If your washing machine is having spinning issues, or if you are noticing an excessive amount of banging, this spring may be damaged or worn out and in need of a replacement. Replacin...Read moreg this spring will require you to gain access to the interior of the washer cabinet. This spring attaches to the frame of the washer cabinet and to the tub of the washer itself. Since there are normally two springs in each washer, they will likely wear down at the same rate and if you are replacing one, it is normal to replace both. However, this spring is sold as an individual OEM part, so consider that before ordering.
Read less

$21.45
In Stock
Clamp Assembly
Part #ACA56078801
This is an outer seal clamp designed for use within LG washing machines. This clamp tightens and secures the gasket that seals the washer tub from the door. If your gasket is loose fitting and is not damaged or warped, this clamp is likely worn out and in need of replacing. This clamp is an OEM part and is made entirely of metal, with a s...Read moretrong tension spring in the middle. This outer seal clamp is sold individually and will require a set of pliers to replace.
Read less

$36.85
In Stock
LOCKER,HOOK
Part #MFG63099101
This hook locker, commonly referred to as a door lock strike is specially designed for LG washers. It is a small, metal plate that is attached to the washer door. When the door is closed it engages with the door lock mechanism to keep the door securely shut while the washer is running. If it is damaged, worn down, or corroded, it will be ...Read moreunable to engage with the locking mechanism and prevent your washer from closing or staying shut. You may notice that your washer will not start or stops running mid-cycle. You will need to replace the door strike to fix the washer.
Read less

$15.00
In Stock
Clamp
Part #4861FR3068A

$19.30
In Stock
BOLT ASSEMBLY
Part #FAA31690703
This shipping bolt is an OEM part that holds the tub and basket of your washer steady during transport, stopping them from moving around and getting damaged. You will usually find these bolts at the back of the washer, screwed into the frame. This is sold individually, but keep in mind that most washers need two of these bolts.

$130.68
In Stock
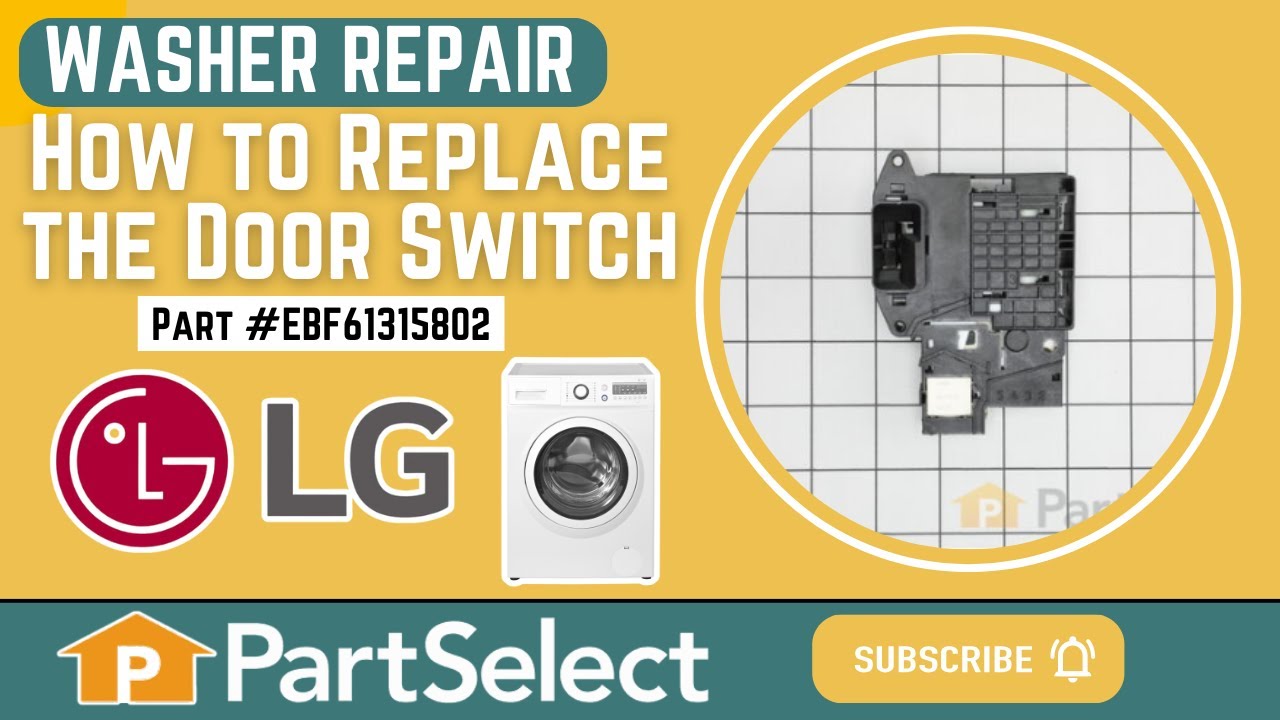
Washer Switch Assembly
Part #EBF61315802
This is a door lock switch, compatible with various models of LG washing machines. This door lock switch is designed to communicate to the control board when the door of the washer is closed, so the door can lock and allow the washing cycle to safely begin. If your washer is having difficulty locking before it begins its washing cycle, or...Read more if it has difficulty starting in general, you may need to replace this lock switch. This switch is made primarily of black, gray, and white plastic, and will require a screwdriver/drill, and a pair of needle nose pliers to replace. This door switch is a genuine OEM part that will require you to disassemble part of your washing machine to completely replace it.
Read less

$18.22
In Stock
BOLT ASSEMBLY
Part #FAA31690704
This is a bolt shipping assembly made for LG washing machines. This bolt is made to hold the washer tub and basket in place while it is transported, to prevent any damage to the internal components of the washer. This specific bolt is 4.5 inches long, although there are three different lengths of bolts, this one being the shortest. Depend...Read moreing on the needs of your model, you will need this bolt and one of the other two. This bolt is an OEM part that comes individually, so consider ordering two since you will need at least two bolts if you do not already have them.
Read less

$47.40
In Stock
Washer Gasket
Part #MDS62058301
This part is the replacement rear tub gasket for your washer. It is made of black plastic and is approximately 3-1/4 inches in diameter. The rear tub gasket forms a watertight seal between the rear tub and the drive shaft. If the gasket is worn or damaged, it may not be able to create this seal, and you may experience a water leak from yo...Read moreur washer. Be sure to disconnect the washer from the water and power sources before you begin this repair. This is an OEM part sourced directly from the manufacturer and it is sold individually.
Read less
Common Symptoms of the WM3700HWA
How this model fails, and the parts that fix it.
Leaking
Fixed by
these parts
these parts


Show All
Lid or door won’t close
Fixed by
these parts
these parts


Show All
Locking Issues
Fixed by
these parts
these parts
Show All
Will Not Start
Fixed by
these parts
these parts

Show All
Shaking and Moving
Fixed by
these parts
these parts

Show All
Water Filling Issues
Fixed by
these parts
these parts


Show All
Spinning Issues
Fixed by
these parts
these parts
Show All
Will not drain
Fixed by
these parts
these parts
Show All
Watch our pros, then fix it yourself.
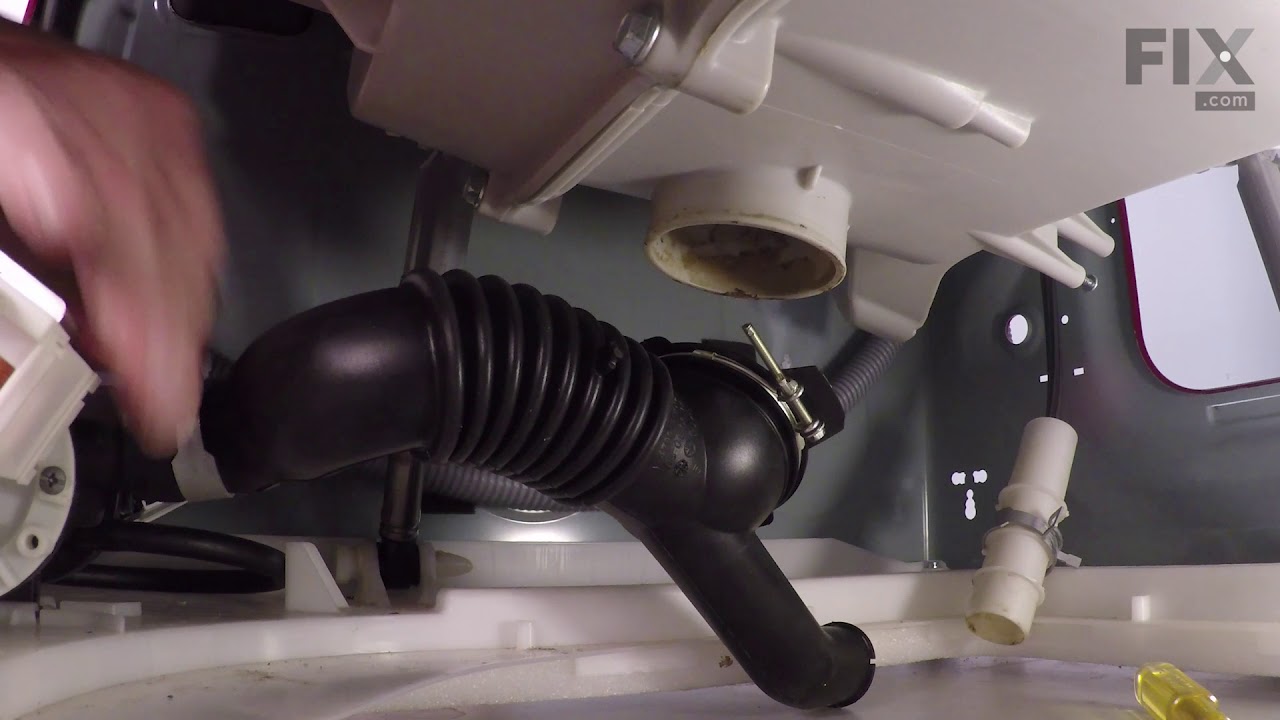
See how others fixed this model. Time, tools, difficulty, and steps that lead to victory!
View More
Search repair tips from other customers using simple keywords like "replace", "fit", "remove", "inspect". DIY doesn't mean you have to do it alone!
Search filter:
Clear Filter
Your search term must have 3 or more characters.
LE code appeared
19 of 20 people
found this instruction helpful.
From my research, I thought I needed to replace the Hall Sensor (also known as the Rotor Positioning Sensor). The Part Select site informed me that I might need to also replace the Rotor Assembly. The site said that I could not order just the Hall Sensor - I needed to order the Washer Motor Stator which would include the Hall Sensor. W
... Read more
hen I received the order, I found that the Motor Stator did not include the Hall Sensor. I found that I could order a part that matched the Hall Sensor I removed from my machine. I then ordered that part. I installed just the new Hall Sensor - the machine worked. I have returned the unused parts.
Read less
Other Parts Used:


Was this helpful?
Thank you for voting!