


 My Orders




WM3555HVA (APTEPUS) LG Washer Dryer Combo - Overview
Diagrams for WM3555HVA
See every part. Know exactly what you need.


Enter a part description. DIY Heroes keep it simple, eg. "belt" or "pump".
Search filter:
Clear Filter
Your search term must have 3 or more characters.

$24.67
In Stock
Rear Tub Gasket
Part #4036ER2004A
If you notice your washing machine is leaking water from the top of the transmission, it might be due to the gasket being damaged or worn down. When replacing your gasket, consider replacing your tub bearings at the same time. The gasket (or seal) is located at the back of the outer tub of your washing machine. To access this part you wil...Read morel need to pull the top off of the appliance by releasing the screws holding it in place. This part is sold individually, is black in color, and measures 3 inches in diameter.
Read less

$72.00
On Order
Washer Tub Bearing, Rear
Part #4280EN4001F

$72.00
In Stock
Ball Bearing
Part #4280EN4001C
The tub bearing supports the spin basket shaft at the back of the washing tub. If your washing machine will not spin, is leaking water, or if there is a loud screeching noise during the wash cycle, there could be an issue with the tub bearing. This genuine OEM replacement bearing has a 3-inch outer diameter, and is used to help the tub sp...Read morein smoothly and to stop the washing machine from shaking during the cycle.
NOTE: This part is very difficult to install. The manufacturer recommends replacing the complete rear tub and bearing assembly at the same time.
Read less

$36.85
In Stock
LOCKER,HOOK
Part #MFG63099101
This hook locker, commonly referred to as a door lock strike is specially designed for LG washers. It is a small, metal plate that is attached to the washer door. When the door is closed it engages with the door lock mechanism to keep the door securely shut while the washer is running. If it is damaged, worn down, or corroded, it will be ...Read moreunable to engage with the locking mechanism and prevent your washer from closing or staying shut. You may notice that your washer will not start or stops running mid-cycle. You will need to replace the door strike to fix the washer.
Read less

$130.68
In Stock
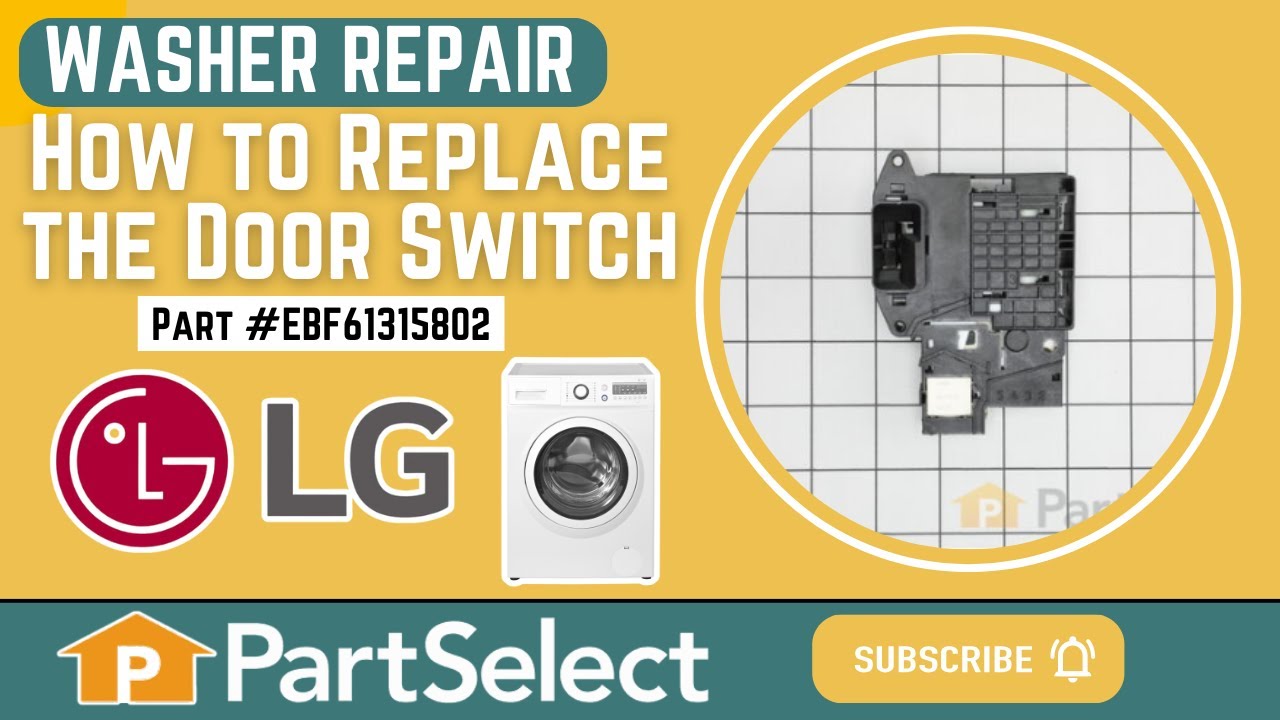
Washer Switch Assembly
Part #EBF61315802
This is a door lock switch, compatible with various models of LG washing machines. This door lock switch is designed to communicate to the control board when the door of the washer is closed, so the door can lock and allow the washing cycle to safely begin. If your washer is having difficulty locking before it begins its washing cycle, or...Read more if it has difficulty starting in general, you may need to replace this lock switch. This switch is made primarily of black, gray, and white plastic, and will require a screwdriver/drill, and a pair of needle nose pliers to replace. This door switch is a genuine OEM part that will require you to disassemble part of your washing machine to completely replace it.
Read less

$15.00
In Stock
Washer Hose Connector
Part #5214FR4006G
This part is the replacement connector hose or clean-out drain hose for your washer. It is black in color and is sold individually. The connector hose drains water out of the washer if the drain cycle is not working. If the hose breaks, it will not be able to drain the water properly, and you may experience a water leak. Be sure to discon...Read morenect your washer from the power source, as well as the water source before you begin this repair. This is an OEM part sourced directly from the manufacturer.
Read less

$11.77
In Stock
CAP,DRAIN HOSE
Part #5006EN3015A
This drain hose plug, also known as a hose cap, is a genuine OEM part for your washing machine. This plug caps the drain hose from the pump housing, and helps prevent leaks from your washer. Before beginning this repair, make sure the power and water sources to your washer are shut off. To access the pump housing, open the pump filter cov...Read moreer, pull out the drain hose, remove the old plug and replace it, first draining the remaining water from the drain hose.
Read less

$18.22
In Stock
Shock Absorber Pin
Part #4774EN3002A
This washer shock absorber mounting pin secures the suspension damper to the outer tub and base frame, helping stabilize the wash basket and reduce vibration during operation. By maintaining proper alignment of the shock absorber, it helps prevent excessive movement, banging, shaking, and loud thumping noises during high-speed spin cycles...Read more. Replacing a worn, damaged, bent, or missing mounting pin can restore the effectiveness of the suspension system and help protect other washer components from unnecessary stress and wear. Installation typically involves removing the retaining clip, disconnecting the existing pin from the shock absorber mounting point, inserting the replacement pin, and securing it with the appropriate retaining hardware. For best results, inspect the shock absorbers, retaining clips, and mounting brackets for signs of wear or damage and replace any faulty components at the same time to ensure smooth, stable washer operation.
Read less

$34.74
In Stock
Shock Absorber
Part #4901ER2003A
This is a replacement shock absorber for your washer. The shock absorber is approximately 10 inches long and a little more than one inch wide. It is black and silver in color, and is sold individually. There are four shock absorbers on your washer. They support the tub and prevent it from shaking around. If your washer is shaking or makin...Read moreg a lot of noise during operation, you may need to replace the shock absorber. It is important to determine if you have one or more shock absorbers that need replacement before you begin the repair. This is an OEM part from the manufacturer.
Read less

$65.73
In Stock
Inlet Valve Assembly
Part #5220FR2006Z

$55.29
Special Order
Thermostat
Part #6931FR3108A

$48.45
Special Order
Common Symptoms of the WM3555HVA
How this model fails, and the parts that fix it.
Leaking
Fixed by
these parts
these parts


Show All
Lid or door won’t close
Fixed by
these parts
these parts


Show All
Locking Issues
Fixed by
these parts
these parts
Show All
Noisy and Marks Left on Clothes
Fixed by
these parts
these parts

Show All
Spinning Issues
Fixed by
these parts
these parts
Show All
Burning smell
Fixed by
these parts
these parts
Show All
Will not drain
Fixed by
these parts
these parts
Show All
Will Not Start
Fixed by
these parts
these parts
Show All
Water Filling Issues
Fixed by
these parts
these parts
Show All
Watch our pros, then fix it yourself.
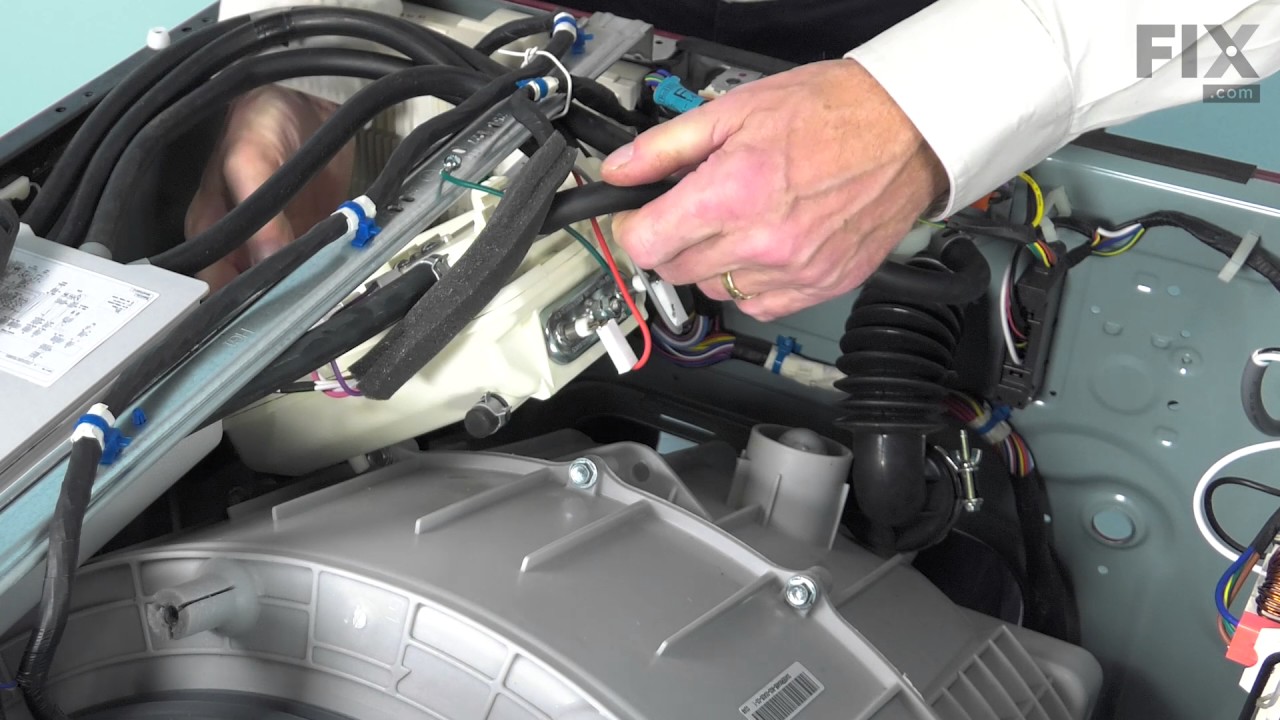
See how others fixed this model. Time, tools, difficulty, and steps that lead to victory!
View More