


 My Orders




WM1355HW (ABWEEUS) LG Washer - Overview

Enter a part description. DIY Heroes keep it simple, eg. "belt" or "pump".
Search filter:
Clear Filter
Your search term must have 3 or more characters.

$58.42
In Stock
Washing Machine Drain Pump
Part #4681EA2001T
The drain pump and motor assembly may also be known as the washer drain pump and is a part for your washer. The drain pump helps expel water from the washing machine. The drain pump is activated after the spin cycle speed is maintained for a specific period of time. To make this installation you will need a Phillips screwdriver, a small f...Read morelat-blade screwdriver, a pair of needle-nose pliers, and a pair of slip-joint pliers. Note that the pump casing is not included. This medium-difficulty repair may vary, but can generally be started by disconnecting power, then removing the top of the washer by taking out the four back screws and two small brackets. Then, remove the front panel by taking out the two screws and eight tabs that should be taken from the top. Moving down the front of the washer, remove the door, latch, tub gasket, and drain cover. Disconnect the drain hoses and clip from under the drain assembly, and install new assembly from there. Reassemble parts in direct reverse order -- taking photos during disassembly and keeping parts clearly organized can help here. Despite the number of steps, you will only need a standard Phillips screwdriver to complete this repair.
Read less

$35.80
In Stock
Water Inlet Valve - Hot
Part #5220FR2006H
The hot water inlet valve on your washing machine controls the water flow into the washer. This inlet valve has a standard hose fitting inlet and one water outlet. The water inlet valve opens to allow water to enter the washing machine. If the water inlet valve is defective, the washer may leak, fill slowly, or not fill at all. To test yo...Read moreur valve, unplug the washer when the symptom occurs. If the washer continues to fill, then your inlet valve is defective. This part is approximately 3 inches long x 3 inches wide.
Read less

$24.67
In Stock
Rear Tub Gasket
Part #4036ER2004A
If you notice your washing machine is leaking water from the top of the transmission, it might be due to the gasket being damaged or worn down. When replacing your gasket, consider replacing your tub bearings at the same time. The gasket (or seal) is located at the back of the outer tub of your washing machine. To access this part you wil...Read morel need to pull the top off of the appliance by releasing the screws holding it in place. This part is sold individually, is black in color, and measures 3 inches in diameter.
Read less

$70.95
In Stock
Door Lock Assembly
Part #EBF49827801
The door lock assembly is a part for your washing machine and tells the washer that the door is closed and locked into place. If the switch has shorted out and not locking, it is no longer delivering the message to the machine and it will not latch into place. If you find that your door will not close, open, or start, it is more than like...Read morely an issue with the locker switch assembly. The switch is located behind the front panel. You will need to remove the gasket to reach the switch.
Read less

$72.00
In Stock
Washer Tub Bearing, Rear
Part #4280EN4001F

No Longer Available
Tub Bearing
Part #4280FR4048L
The tub bearing supports the spin basket shaft at the back of the washing tub. If your washing machine will not spin, is leaking water, or if there is a loud screeching noise during the wash cycle, there could be an issue with the tub bearing. This genuine OEM replacement bearing has a 3-inch outer diameter, and is used to help the tub sp...Read morein smoothly and to stop the washing machine from shaking during the cycle.
NOTE: This part is very difficult to install. The manufacturer recommends replacing the complete rear tub and bearing assembly at the same time.
Read less

$24.67
In Stock
Pump Filter
Part #383EER2001A
This replacement pump filter, also known as a filter assembly, is a genuine OEM part for your washer or washer/dryer combo. Before beginning this repair, turn off the power and water supply to your washer. The filter assembly may need to be replaced because it is broken or is leaking water. To locate the filter assembly, pry open the smal...Read morel door on the front of the washer, using a flat-blade screwdriver. Unplug the drain hose next to the filter and drain the water into a bucket. Then unscrew the pump filter, and replace with your new one.
Read less

$21.45
Special Order
Locking Pin
Part #4774FR3118B
This is a locking pin, and it works in conjunction with your washer. The part measures to be roughly 3 inches long, and less than an inch wide. The pin is cylindrical, off-white in color, and made entirely of plastic. This part is used to hold the shock absorber on the washing machine. There is a pin used at the bottom and top of the shoc...Read morek absorber. This model is sold individually. If your washing machine is experiencing an above-average amount of shaking and moving this part may be the reason.
Read less

$15.00
In Stock
Clamp
Part #4861FR3068A

$15.00
In Stock
Washer Hose Connector
Part #5214FR4006G
This part is the replacement connector hose or clean-out drain hose for your washer. It is black in color and is sold individually. The connector hose drains water out of the washer if the drain cycle is not working. If the hose breaks, it will not be able to drain the water properly, and you may experience a water leak. Be sure to discon...Read morenect your washer from the power source, as well as the water source before you begin this repair. This is an OEM part sourced directly from the manufacturer.
Read less

$55.29
In Stock

$21.45
In Stock
Common Symptoms of the WM1355HW
How this model fails, and the parts that fix it.
Will not drain
Fixed by
these parts
these parts


Show All
Leaking
Fixed by
these parts
these parts

Show All
Draining Issues
Fixed by
these parts
these parts
Show All
Will Not Start
Fixed by
these parts
these parts

Show All
Lid or door won’t close
Fixed by
these parts
these parts
Show All
Locking Issues
Fixed by
these parts
these parts
Show All
Water Filling Issues
Fixed by
these parts
these parts
Show All
Engine runs but does not pump water
Fixed by
these parts
these parts
Show All
No hot or cold water
Fixed by
these parts
these parts
Show All
Burning smell
Fixed by
these parts
these parts

Show All
Noisy and Marks Left on Clothes
Fixed by
these parts
these parts
Show All
Noisy
Fixed by
these parts
these parts
Show All
Spinning Issues
Fixed by
these parts
these parts
Show All
Not draining
Fixed by
these parts
these parts
Show All
Watch our pros, then fix it yourself.
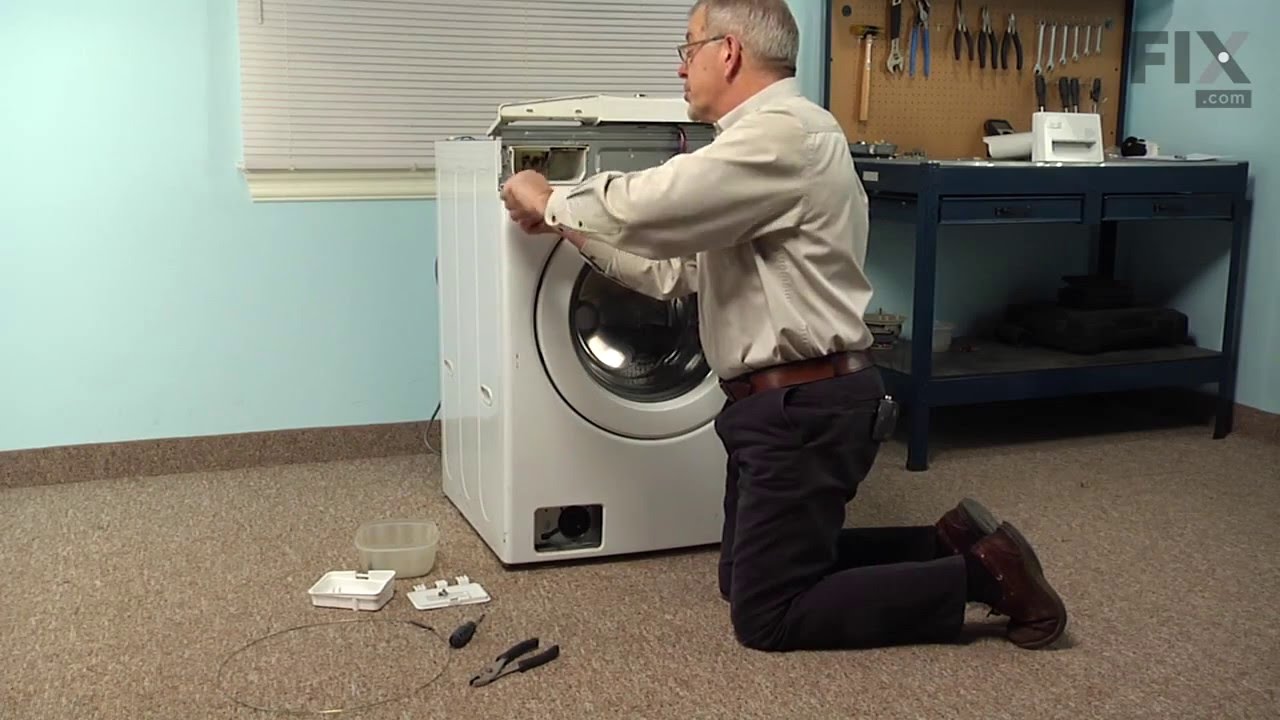
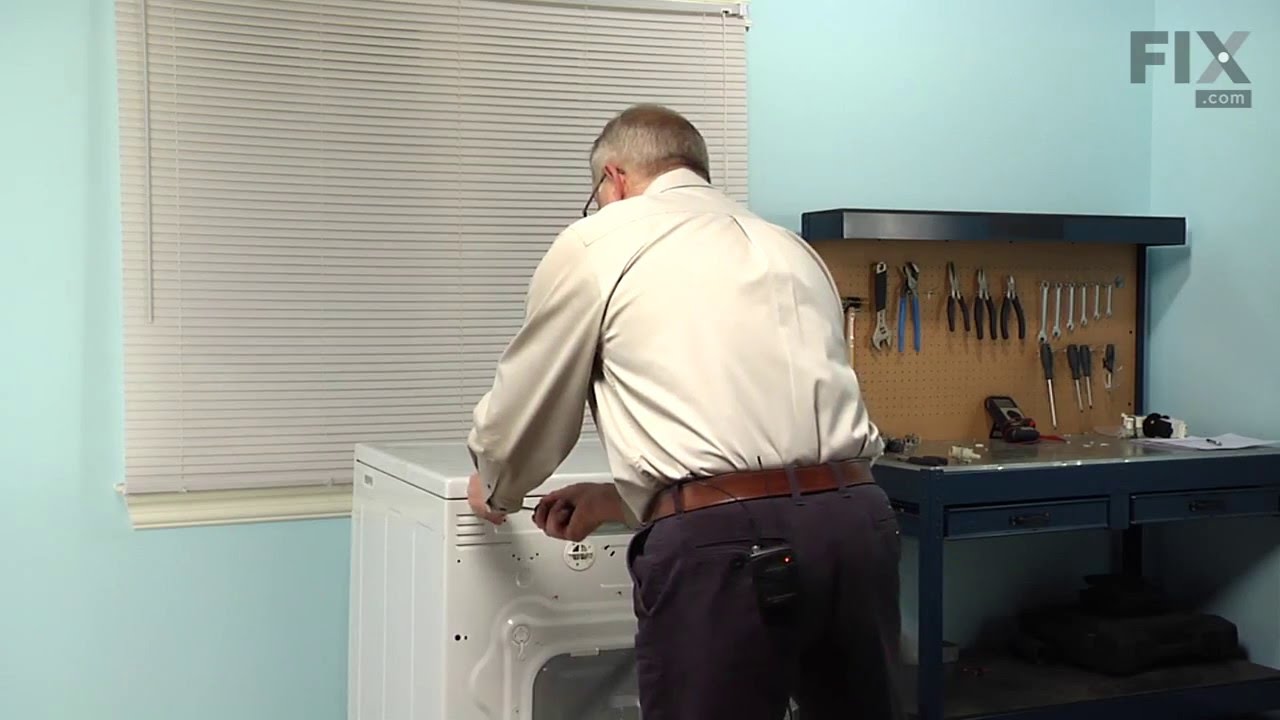
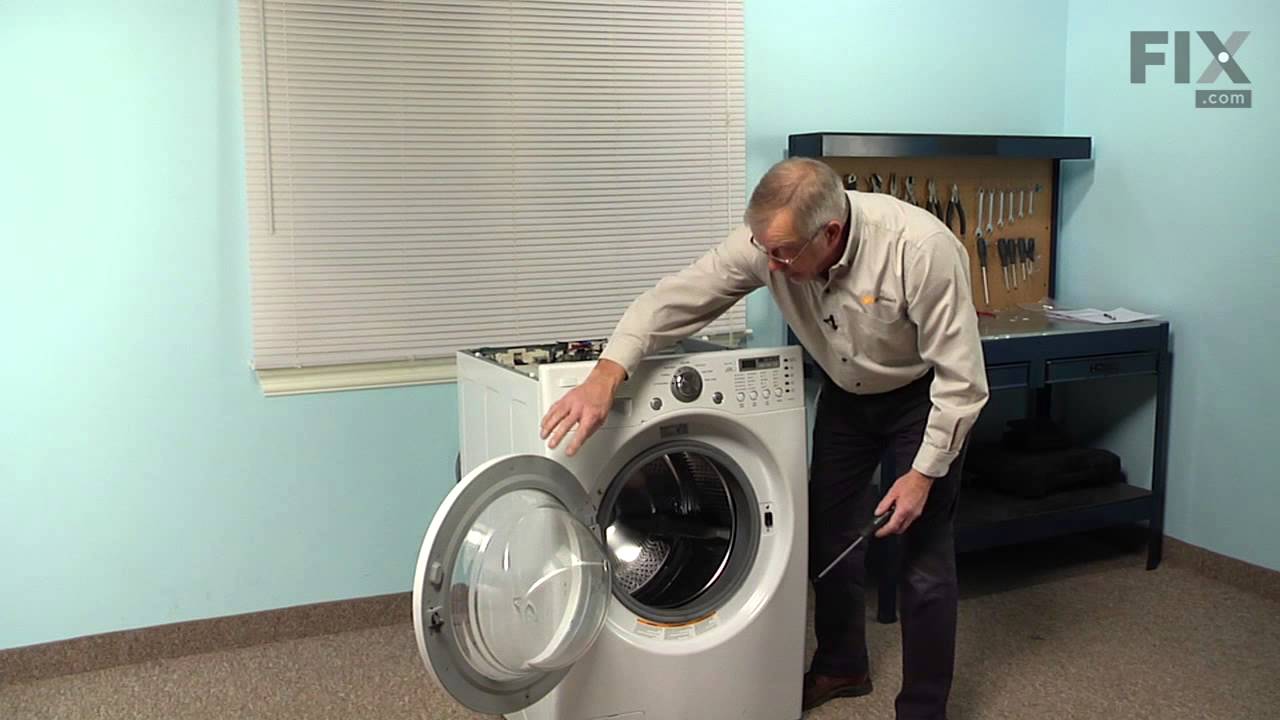
See how others fixed this model. Time, tools, difficulty, and steps that lead to victory!
View More