



EasyApplianceParts is now PartSelect! We've merged our sites to provide a better shopping experience for you.   Full Details
✖

Find Parts

Parts Departments

Top Model Types

Top Brands

Repair Help

Expert Repair Videos

Keep typing for more specific results...

Parts That Fix General Electric Washer WLSR3000G5WW Leaking

Leaking is a commonly reported symptom for the WLSR3000G5WW General Electric Washer, and we have put together a full guide on how to fix this. This advice is based on feedback from people who own this exact appliance. We have listed the most common parts for your WLSR3000G5WW General Electric Washer that will fix Leaking. We have included repair instructions, and helpful step-by-step video tutorials. If you are experiencing this issue, not to worry, DIYers just like you have fixed this, and shared their experience to help you!

Fixes Symptom 33% of time

The drain hose is black in color and made of flexible material. This is a part for your top-load washer. The hose measures 57 inches long. This part moves the water out of the washer and into the drain. If this parts cracks or becomes damaged it will leak during the drain cycle of your wash and you may find water on the floor. To access the hose, you will need to move the washer away from the wall to get to the back of the appliance. There will be two screws holding it in place that will need to be removed.

$ 36.37
In Stock
Part #WH41X10096

Replacing your General Electric Washer Drain Hose
Replacing your Drain Hose

Customer Repair Stories

Hose would not seal at rear of washer.
8 of 9 people found this instruction helpful.
  • Charles Wayne from Forest Hill, WV
  • A Bit Difficult
  • 30 - 60 mins
  • Nutdriver
The hose has a tapered end that fits in a tapered hole in the back of the washing machine.When insalled the first time,the joint leaked badly.My solution was to coat the hose end and the interior of the hole in the back of the washing machine with silicon sealant;let it set up for a few minutes and install the new hose.This solved the lea k and the hose seems to be working fine now.
Was this helpful?
Thank you for voting!
Purchased used washin machine w/o drain hose
10 of 11 people found this instruction helpful.
  • Daniel from Oxford, GA
  • Really Easy
  • Less than 15 mins
  • Socket set
After realizing I had purchased a used washing machine without a drain hose I thought I would never find one, but then I found partselect.com. After easily locating the part on the web site from the detailed diagrams and model number I then ordered it. Receiving the part quickly I used a socket to remove the plastic connector that preve nts the hose from disconnecting once the washer is turned on. I fed the hose through the plastic connector and into the drain hole without any issues. I then used my one small socket to secruely fasten it back together. There was no additional tools or items needed to successfully attach the washer drain hose.
Was this helpful?
Thank you for voting!

Fixes Symptom 21% of time

The main tub seal is located between the transmission and the outer tub. Its the primary water seal in the outer tub for the transmission-shaft. If your washer is leaking during the fill cycle, or at agitation time, your tub seal may need to be replaced. You can check if the tub seal needs to be replaced by watching that area during an actual fill cycle. Take off the front panel, or if it is a front-loading washer, the rear panel. Without touching the washing machine, observe the place where the shaft of the transmission comes into the tub and the weep holes at the housing of the rear bearing. If there is water leaking, the tub seal is at fault. NOTE: This seal is difficult to replace and should probably be installed by a qualified technician.

$ 22.24
In Stock
Part #WH02X10383

Replacing your General Electric Washer Tub Seal
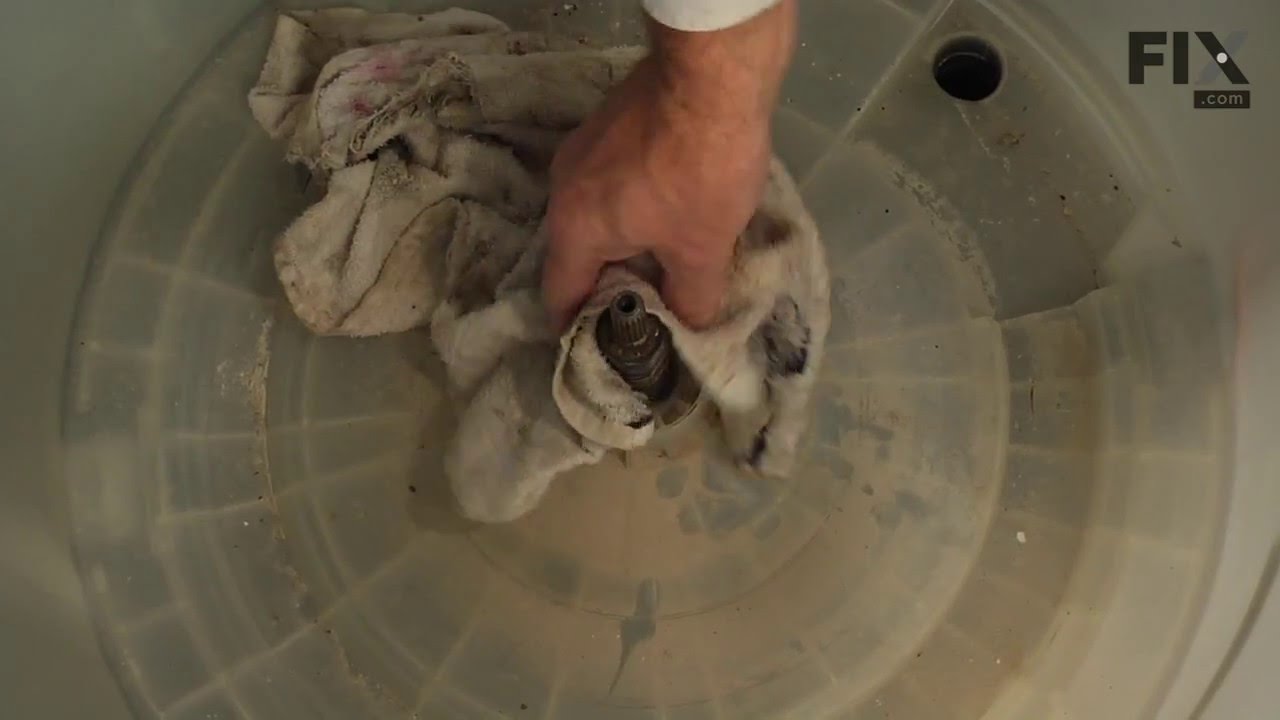
Replacing your Tub Seal

Customer Repair Stories

Would agitate, but not spin, leaving clothing soaking wet.
3 of 5 people found this instruction helpful.
  • Anthony from DEKALB, IL
  • Easy
  • 30 - 60 mins
  • Screw drivers
The hardest part is lifting the washer to get a the bottom. Disconnect the power, shut off water. Disconnect hoses and drain hose. Move washer from the wall about 2 feet. Tilt up front of washer. I used 4 12" long 8x8 inch lumber, lift washer….place one on each from corner. Lift again, place 1 more 4x4 on each existing 4x4. Now remove the belt off the 3 pulleys. Use the flat blade screw driver to remove the C clip holding the Pully on the shaft, with the flat bladed screw driver and hammer. Once the C clip is off remove the metal washer, pulley, plastic lock (apart of the bottom of the pulley & the thrush bearing and it's washer. Using the parts supplied (the "new thrush bearing is a bearing and washer combined) replace as you removed it. Thrust bearing, pulley, washer and, c clip. I tapped mine on using the flat bladed screw drive……becareful not to break it (they did supply 2 for me in the repair packet) make sure he c clip is secured. Lower the washer after removing all the tools from under the washer, by reversing the lift sequence. Slide the washer in place. Connect the hoses back up. Plug it in.Reconnect the drain hose, you should be good to go.
Was this helpful?
Thank you for voting!
Leak
4 of 4 people found this instruction helpful.
  • Tom from VERMILLION, SD
  • Really Easy
  • More than 2 hours
  • Nutdriver, Socket set
You tube is the only way to go!
Was this helpful?
Thank you for voting!

Fixes Symptom 13% of time

This replacement inlet drain hose connects your washer's water pump to its tub. This hose is seven and a half inches in length and only two inches wide.

$ 27.85
In Stock
Part #WH41X22935

Replacing your General Electric Washer Pump to Tub Inlet Drain Hose
Replacing your Pump to Tub Inlet Drain Hose

Customer Repair Stories

water leak in hose
4 of 5 people found this instruction helpful.
  • Steven from Holbrook, NY
  • A Bit Difficult
  • 15 - 30 mins
  • Nutdriver, Pliers, Screw drivers
First I located the trouble. I noticed that it was water leaking and figured it had to be a hose. I took the front panel off of the washer and after noticing that the drain hose had a slight hole in it, realized that I could fix it and save myself a repair call. I undid the two hose clamps and removed the hose. I went to a local repai r shop that could not guarantee the right part. I went online and found Parts Select.com. I entered minimal information and the picture of the item that I was looking for, the Drain Inlet Hose, was staring at me! Within 3 business days and less than 20 dollars spent, I repaired my washing machine. The total time spent to repair after I received the hose took about 10 minutes. I will definitely use parts select .com and recommend to all my friends and family. Thank you.
Was this helpful?
Thank you for voting!
Water was leaking
14 of 14 people found this instruction helpful.
  • Christine from Tempe, AZ
  • Really Easy
  • 15 - 30 mins
  • Pliers, Screw drivers
My husband was unavailable and already overloaded, so I took a screw driver and removed the front cover of the washer. After I discovered where the leak was coming from, I used a screw driver to remove one end of the hose and pliers to remove the other end. I went online, found the part and ordered it. It came in surprisingly fast. My husband put it back in about 5 minutes.
Was this helpful?
Thank you for voting!

Fixes Symptom 7% of time

This split ring is supplied by the original equipment manufacturer, and it is designed to secure the tub bearing in washing machines. It is a circular metal ring, with an outer diameter of 2 inches. The ring has a split or gap, which allows it to expand and contract for easy installation and removal. It is typically located on the inner side of the washing machine outer tub, where it provides stability and prevents the washer from excessively shaking during use. It is normal for the split ring to become worn, corroded, or damaged due to age, exposure to moisture, and excessive stress. A faulty split ring will lead to a noisy, unstable washer and eventually cause the tub assembly to fall out of alignment. Remove the washer panels to access the outer tub and split ring. Carefully detach the damaged split ring from the tub and position the new split ring in its place. Ensure that it is properly aligned and securely fastened before reattaching the panels.

No Longer Available
Part #WH02X10265

Fixes Symptom 6% of time

This pump helps expel water from the washing machine and is activated after the spin speed is maintained for a specific period of time. If you notice that your washing machine will not drain, there is a good chance that you will have to replace the drain pump. The drain pump is located inside the washing machine, near the bottom. To access the drain pump for this repair, you will need to remove the front panel. Before you begin this repair, be sure that the power source is disconnected and the water source is shut off.

$ 61.55
In Stock
Part #WH23X10030

Replacing your General Electric Washer Drain Pump and Motor Assembly
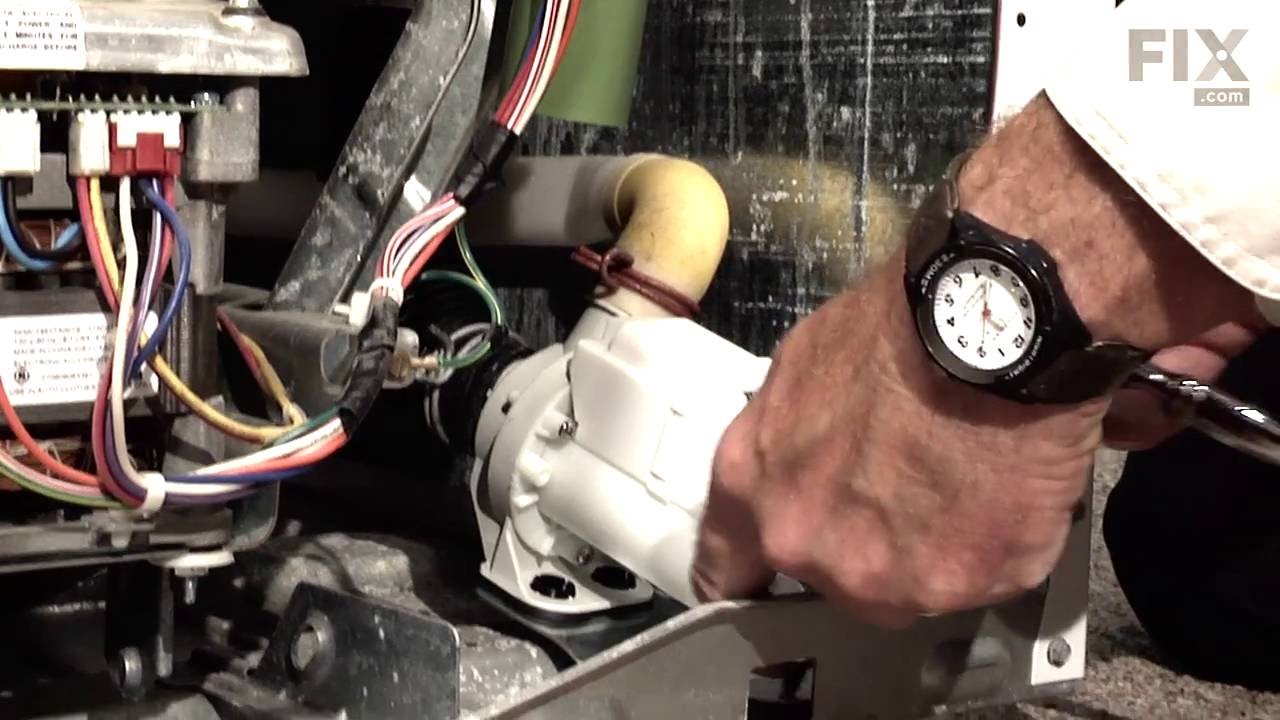
Replacing your Drain Pump and Motor Assembly

Customer Repair Stories

washer didn't spin & water would not pump out
35 of 40 people found this instruction helpful.
  • Ken from West Monroe, NY
  • Really Easy
  • Less than 15 mins
  • Pliers, Wrench set
removed hoses and clamps. removed 2 bolts on pump. put it back together. done 15 min.
Was this helpful?
Thank you for voting!
machine would not drain all other functions seemed o.k
88 of 92 people found this instruction helpful.
  • douglas from danby, VT
  • Easy
  • 30 - 60 mins
  • Socket set
Aside from getting the wet clothes and most of the water out,the toughest part of the job for me was to figure out how to get inside the machine. I nearly wrecked the thing trying to lift the top panel. After some frustration I removed the star-type screws on back of the control panel and found, tucked away neatly, the documentation/parts list complete with instructions on how to remove the FRONT panel. Once I got inside it was easy to locate the pump. I ran the drain cycle for a moment to see if the pump turned at all. The original had an exposed fan so it was easy to see that indeed the motor was not turning. I inspected all the hose and electrical connections to make sure I had the tools I'd need and the savvy to replace the part(s) if I could locate them. I'm not much of a web-head, so I was a little surprised when I typed G.E. appliances and the search took me to partselect.com where I was pretty much coached through the procedure before I even ordered the part. The box arrived ahead of schedule (yay) and when I looked at the pump it didn't look much like the one I was replacing. But then I realized it was the same thing just ten years more advanced. I used a small pair of vise grips to pinch and lock the pipe clamps open. I know there is a plier made for this, but... Anyways, after loosening the clamps and sliding them away from the pump I pulled the hoses off and let the last of the rinse water still in them run down my shirt sleeve to my elbow. (optional, not recommended) Thus refreshed I then rummaged through my socket set and found what I needed to remove the 2 sheet metal mounting screws and disconnected the 2 power leads. I removed the faulty pump and proudly showed it to my wife. Unimpressed, she asked how much longer. I quickly reversed the procedure to install the new unit and confidently piled in a load of laundry. The cycle completed just fine and has done so since. I will and have recommmended partselect.com to friends and will use it again for sure.
Was this helpful?
Thank you for voting!

Fixes Symptom 5% of time

This is a tub bearing and it is meant to work in conjunction with your washing machine. The purpose of this part is to aid in keeping the inner tub of your washing machine spinning smoothly during a wash cycle. The most common reasons for needing to change your tub bearing is if your appliance is noisy or shaking/moving during the wash cycle, another common symptom is leaking water. This part is sold individually and measures to have an inner diameter of roughly 1 inch, and an outer diameter of roughly 2 inches.

$ 16.05
In Stock
Part #WH2X1197

Replacing your General Electric Tub Bearing Washer
Replacing your Tub Bearing Washer

Customer Repair Stories

Noisy washer, especially while spinning.
1 person found this instruction helpful.
  • Olle J from Albert Lea, MN
  • A Bit Difficult
  • 30 - 60 mins
  • Pliers
Take off front. Take off top. Pull off agitator. Pull off agitator coupler, after removing bolt holding in place. Attempt to remove hub nut, no joy. Wound up cutting the nut with a Dremel tool and chiseling the nut off. Closer inspection revealed a bad transmission. Due to the cost of the transmission, we will continue to use the machine until it completely fails.
Was this helpful?
Thank you for voting!
The machnica had recently developed a rumble during the spin cycle
1 person found this instruction helpful.
  • Fred from Murphy, TX
  • Difficult
  • More than 2 hours
  • Socket set, Wrench (Adjustable), Wrench set
The first thought regarding the light rumble during the spin cycle is that the bearing was going bad. Many of the other inputs on replacing the bearing included the problem with removal of the Hub Nut. Only one article noted a set of assembly instruction for the washer is clipped onto the upper rear panel behind the control knobs, but I did not see this comment until later. Not being sure where to start with diassembling the washer, I began by taking off the control panel and to my pleasant surprise I found a neatly folded set of detailed instructions. Following the instructions, I proceeded to quickly disassemble the washer until I got to the HUB NUT. The Hub Nut is an aluminum, 1 -11/16 inch, left hand threaded problem. My tool selection is somewhat limited, so after unsuccessfully attaching it with grippers and vice grips, supported with the liberal aid of a rubber mallet and plenty of WD40, I went looking for something with which I could a better grip on the hub nut. The grippers and vice grips would slide a bit when hit with the mallet. Also since the space is very restricted, a large wrench could not be used. I located a 9-inch pipe wrench, and with the rubber mallet the Hub Nut finally loosened after just a few hits. I replaced the old bearing which appeared to be in fair condition. While replacing the bearing has not solved my noise problem, I thought that my experience with the pipe wrench benefit someone else in their efforts to get the hub nut off without using a chisel.
Was this helpful?
Thank you for voting!

Fixes Symptom 4% of time

This part is the replacement water fill nozzle for your washer. It is white and tan in color, made of plastic, and is approximately 7 inches long and 4 inches wide. The water fill nozzle is also known as the water inlet assembly and directs the fill water into the tub. Over time the nozzle can become cracked and damaged, and this can cause it to leak. A damaged nozzle will need to be replaced. Be sure to disconnect the water supply to the washer before you begin this repair. You should also determine if any of the other parts that transport water into the washer are leaking, including the water inlet hose, and if they need to be repaired as well. This part is sold individually and is a genuine OEM part.

$ 24.12
In Stock
Part #WH41X10077

Replacing your General Electric Washer Water Fill Nozzle
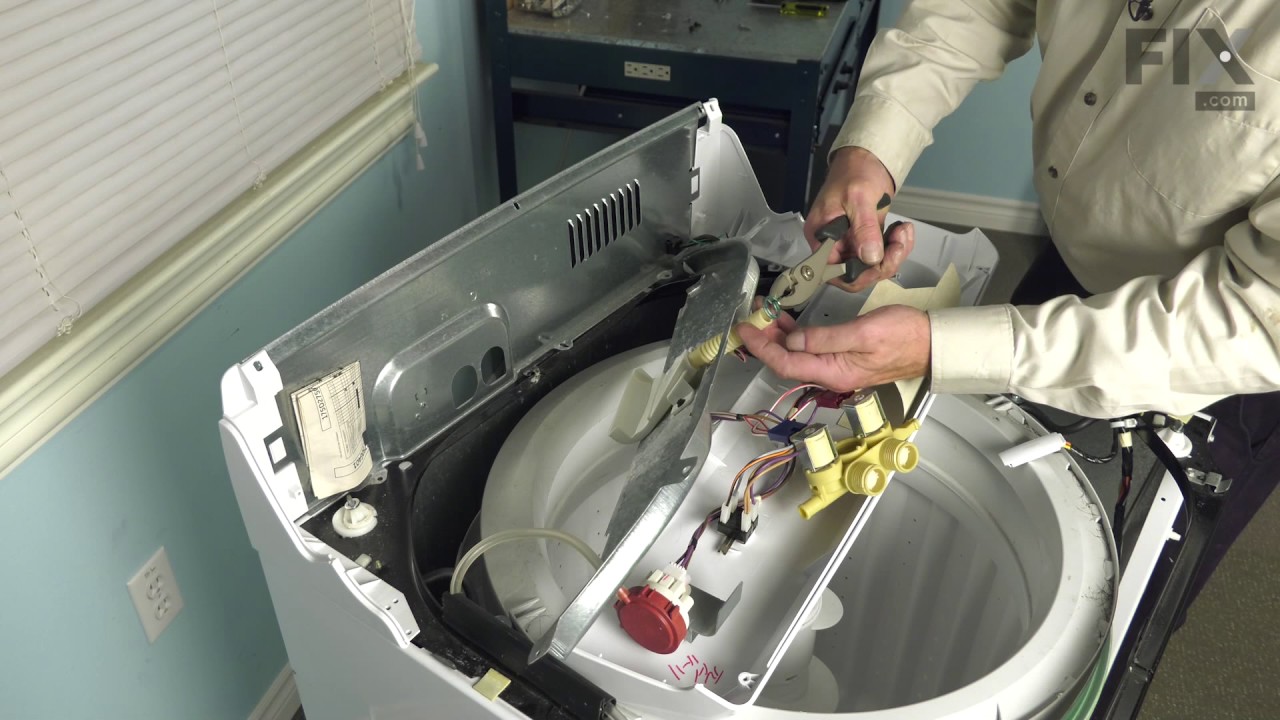
Replacing your Water Fill Nozzle

Customer Repair Stories

Water dripping into the washer when washer was not in use
2 of 2 people found this instruction helpful.
  • Beata from STUART, FL
  • Really Easy
  • 30 - 60 mins
  • Socket set
I followed instructional video on partselect.com, it was very easy, but it didn't take care of the problem. I got to to order "TRIPLE WATER VALVE" and that did the trick. After opening the washer first time (for water fill nozzle), it took me even less time. You don't have to take the front panel off to replace the water valve.
Was this helpful?
Thank you for voting!
Water leaking from filler hose outside of tub
10 of 15 people found this instruction helpful.
  • Paul from Talihina, OK
  • Easy
  • 15 - 30 mins
  • Nutdriver, Pliers, Screw drivers
removed washer front panel, top panel to access the water fill spout and hose. Disconnected and replaced.
personnel at part select were very knowledgable about detailed part and the overnight service was right on time.
I would recommend part select for your next appliance parts needs.
Was this helpful?
Thank you for voting!

Fixes Symptom 3% of time

The tub dampening straps support the wash tub and reduce vibration by keeping the tub at the center of the cabinet. If your washer shakes and moves, or is making a loud banging noise during the wash cycle, the washing machine tub could be off-balance, meaning one or more of these straps may be loose, or broken. Other symptoms include: the washer leaking, not agitating, or pumping but not spinning. These straps are sold individually. However, we recommend that you replace all 4 straps at the same time. It is also recommended that you check the tub for cracks where these straps mount.

$ 39.42
Special Order
Part #WH01X39337

Replacing your General Electric Washer DAMPENING STRAP 2PACK
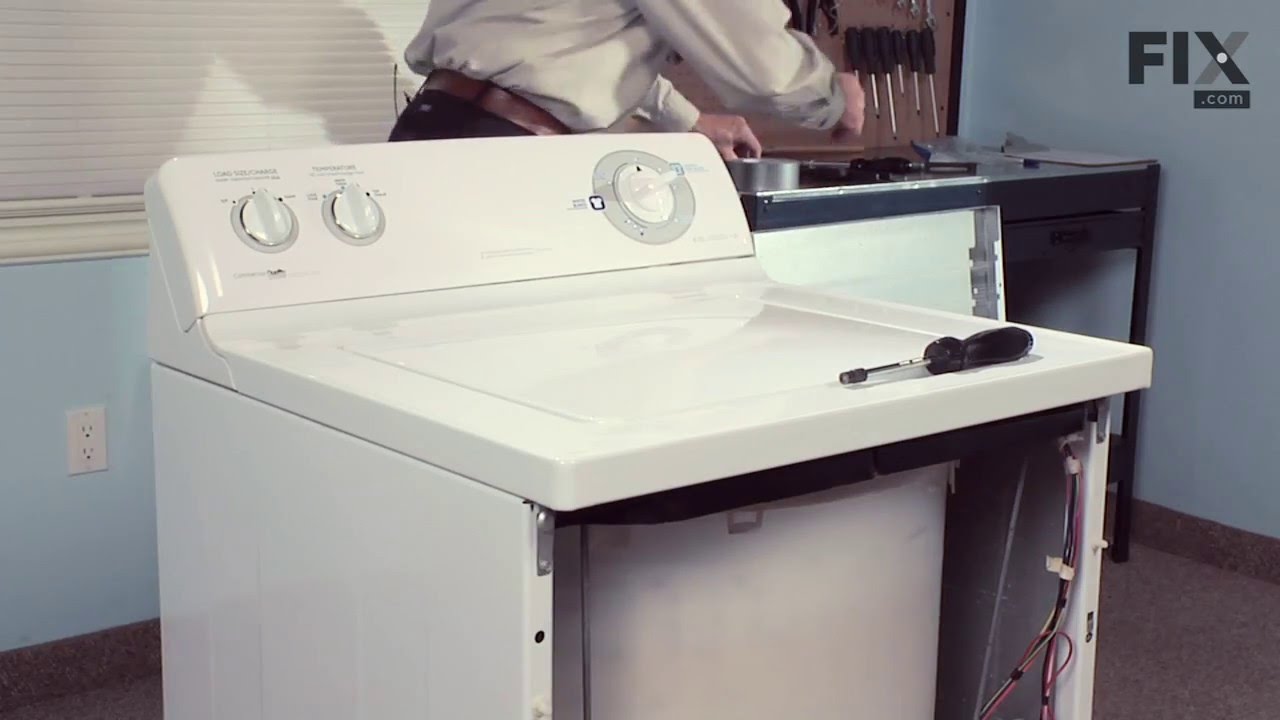
Replacing your DAMPENING STRAP 2PACK

Customer Repair Stories

Noticed 3 straps were broken when we replaced the hose
14 of 20 people found this instruction helpful.
  • Christine from Tempe, AZ
  • Easy
  • 15 - 30 mins
  • Pliers, Socket set
I removed the front cover, then unscrewed the top to expose the top. There are two screws that hold each strap, which turns out are different sizes, so I had to use two different sockets. I also had to remove the hose & plastic tube for the bleach. Once that was done, the replacement was easy, I replaced all 4 straps, reconnected the t ube for the bleach, screwed the top back on and snapped the front cover into place. This took maybe 30 minutes - and I am female!
Was this helpful?
Thank you for voting!
loud noise upon aggitation
18 of 23 people found this instruction helpful.
  • Robert from Covington, PA
  • Really Easy
  • 15 - 30 mins
  • Nutdriver
replaced Tub dampeners Straps.
Was this helpful?
Thank you for voting!

Fixes Symptom 2% of time

Easy 

15 - 30 mins 

This tub bearing goes in your washing machine. You will find it on the bottom of the outer tub, where the transmission goes through the tub. If you hear metal on metal when the washer is spinning, you may need to replace the tub bearing. This bearing is made of metal, and is approximately 3 inches wide and 2 inches tall.

$ 43.94
In Stock
Part #WH2X1198

Replacing your General Electric Washer Tub Bearing
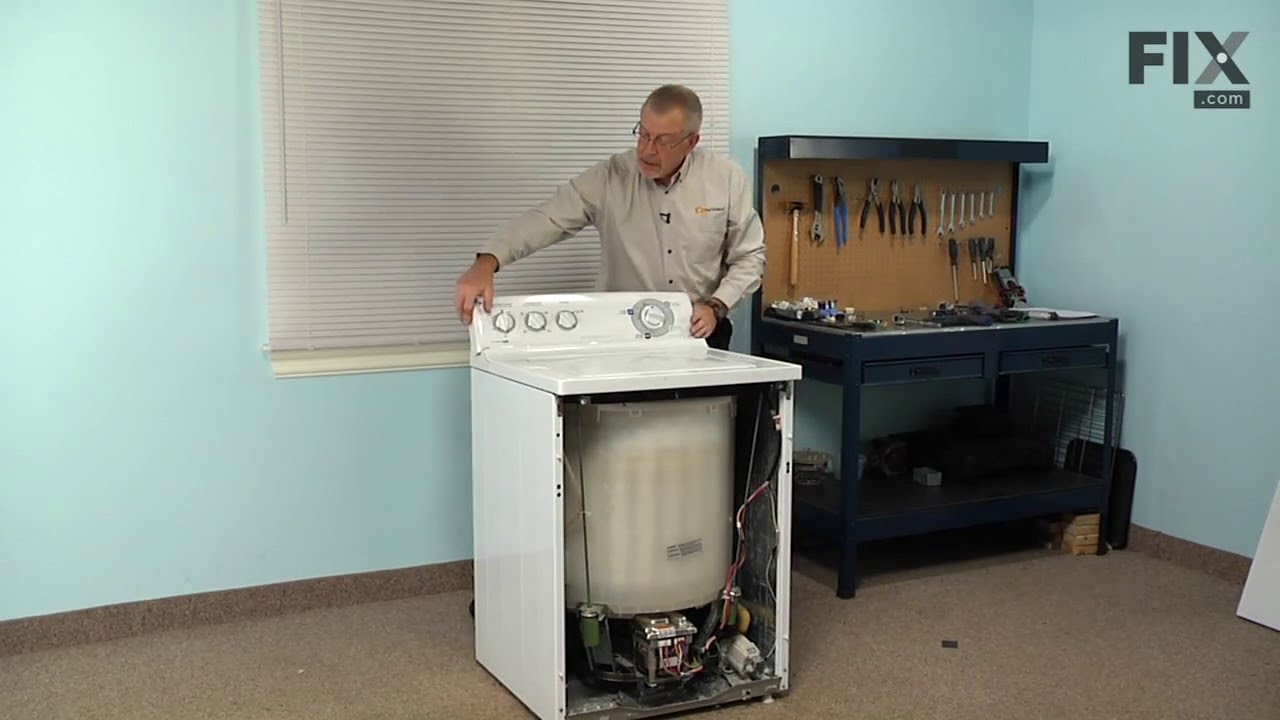
Replacing your Tub Bearing

Replacing your General Electric Washer Tub Bearing

Replacing your Tub Bearing

Customer Repair Stories

hammering on the tub nut wrench rotated the drive axle & pulley
2 of 2 people found this instruction helpful.
  • Martin from LAKE ST LOUIS, MO
  • Difficult
  • More than 2 hours
  • Nutdriver, Pliers, Screw drivers, Socket set
I had to insert a broom stick to keep the drive pulley from rotating as I hammered the tub nut loose.

2nd tip, my washer has the standard agitator with the glued on cap; it was unclear if I needed to remove it; you should clarify that this is not necessary, that one must only pop up the entire agitator; I used a shipping strap looped under the agitator and over a 2x4 across the top of the frame, tightening until the tub was raised a bit and then a gentle pop down on the tub and the agitator easily popped off.
Was this helpful?
Thank you for voting!

Fixes Symptom 2% of time

This water inlet valve attaches the water lines to the back of your appliance. The attaching solenoids on the valve open and close according to the desired temperature, or amount of water needed.

$ 74.08
In Stock
Part #WH13X10027

Customer Repair Stories

Water keeps running into machine even after it finished the cycle.
17 of 20 people found this instruction helpful.
  • Don from Dahlonega, GA
  • Really Easy
  • 15 - 30 mins
  • Nutdriver, Pliers
Removed the old part put it in the trash, installed the new part. Very easy repair to make.
Was this helpful?
Thank you for voting!
Water was very slow filling and relay hummed loudly.
32 of 34 people found this instruction helpful.
  • John from Mt. Pleasant, SC
  • Easy
  • 30 - 60 mins
  • Nutdriver, Pliers, Screw drivers
Disconnected electrical power plug and two water inlet hoses Removed three screws holding control panel to back panel. Slid control panel sideways then tilted forward to expose inlet valve. Removed the two clip wiring connections and two hold down screws. Compressed the spring clip on the outlet hose and slid it off the valve. Installed the new valve in reverse order. Reinstalled the control panel and three attachment screws. Reconnected the water hoses and plugged the electrical cord back in. Started wash cycle to check out. It now fills properly. Problem solved!!
Was this helpful?
Thank you for voting!

Fixes Symptom 2% of time

This is a water hose clamp kit for a variety of appliances including dishwashers and washers. This is a genuine replacement part. The kit includes two hose clamps. The smaller of the two is 1 inch in diameter while the larger one is 2 inches in diameter. The hose clamps secure the end of the water hose in place to prevent the hose from leaking. If you notice leaking from the hose of your appliance, you may need to replace this kit. Protect your hands with work gloves during this repair to avoid injury.

$ 26.40
In Stock
Part #WH1X2036

Fixes Symptom 1% of time

This part is for the hose to outer tub.

$ 52.93
Special Order
Part #WH1X2729

Fixes Symptom 1% of time

This part holds the water during the wash cycle and houses the spin basket.

$ 86.96
In Stock
Part #WH45X20473

Replacing your General Electric Washer Outer Tub
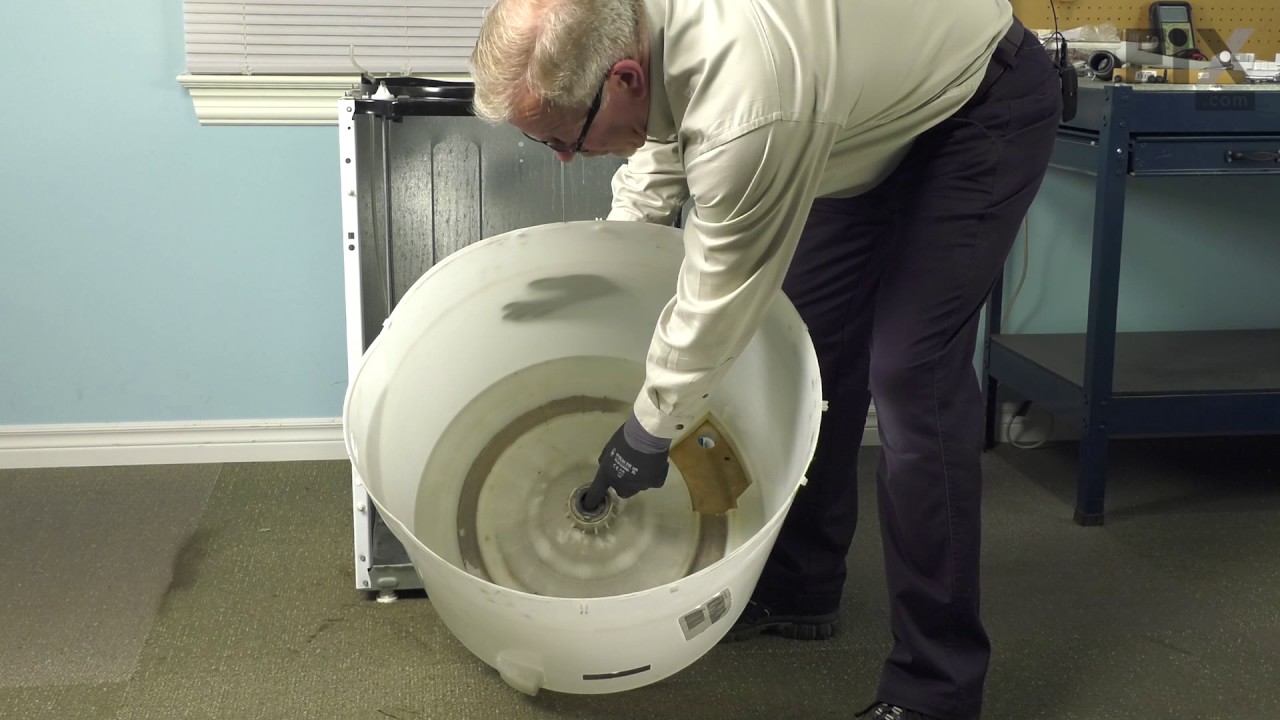
Replacing your Outer Tub

Customer Repair Stories

Cracked outer tub
0 of 1 people found this instruction helpful.
  • Josh from Plano, TX
  • A Bit Difficult
  • 30 - 60 mins
  • Nutdriver, Pliers, Screw drivers, Socket set
If you are hands on and mechanically able to do the job, you'll be surprised how easy it is to complete. Just take your time and sure you follow the directions.
Was this helpful?
Thank you for voting!
washer was leaking (noticed during spin cycle)
8 of 10 people found this instruction helpful.
  • John from Shady Point, OK
  • A Bit Difficult
  • More than 2 hours
  • Nutdriver, Screw drivers, Socket set, Wrench set
Took complete tub assembly out of washer and inspected it. Did not find an obvious cause of leak but all 8 screws on inner tub hub were loose. As both tub nut and split ring were corroded, replaced them and the outer tub seal. Did a lot of cleaning!! As I was putting the trans assy back on the outer tub, I noticed a crack around the d rain spout. At 1st, it looked like it belonged there but a closer look proved it didn't. I ordered a new outer tub (which came in 2 days) and I put the whole thing back together. Reassembly was far easier than disassembly was and I learned a whole lot about washers. YouTube is a great source of information.
Was this helpful?
Thank you for voting!

Fixes Symptom less than 1% of time

$ 15.00
Special Order
Part #WH1X2594

Fixes Symptom less than 1% of time

$ 15.35
In Stock
Part #WH2X42D