 My Orders




WL507901 Campbell Hausfeld Compressor - Overview


Enter a part description. DIY Heroes keep it simple, eg. "belt" or "pump".
Search filter:
Clear Filter
Your search term must have 3 or more characters.

$6.40
In Stock
Ferrule
Part #ST085200AV
Designed for use in compressors, this genuine replacement part is used to provide a seal and prevent leaks. It is red, made of rubber, is not part of a kit or assembly, and is sold individually.
When this part is worn, you will notice leaks from your machine, and it will need to be replaced. As with most rubber seals, this part is known...Read more to wear with regular use of your compressor, and will no longer be able to properly seal when it needs to be replaced. It is found at the bottom of the air tank, and you will need a wrench to complete this repair.
Customers rate this repair as Easy.
Read less

$10.50
In Stock
Compression Nut
Part #ST033001AV
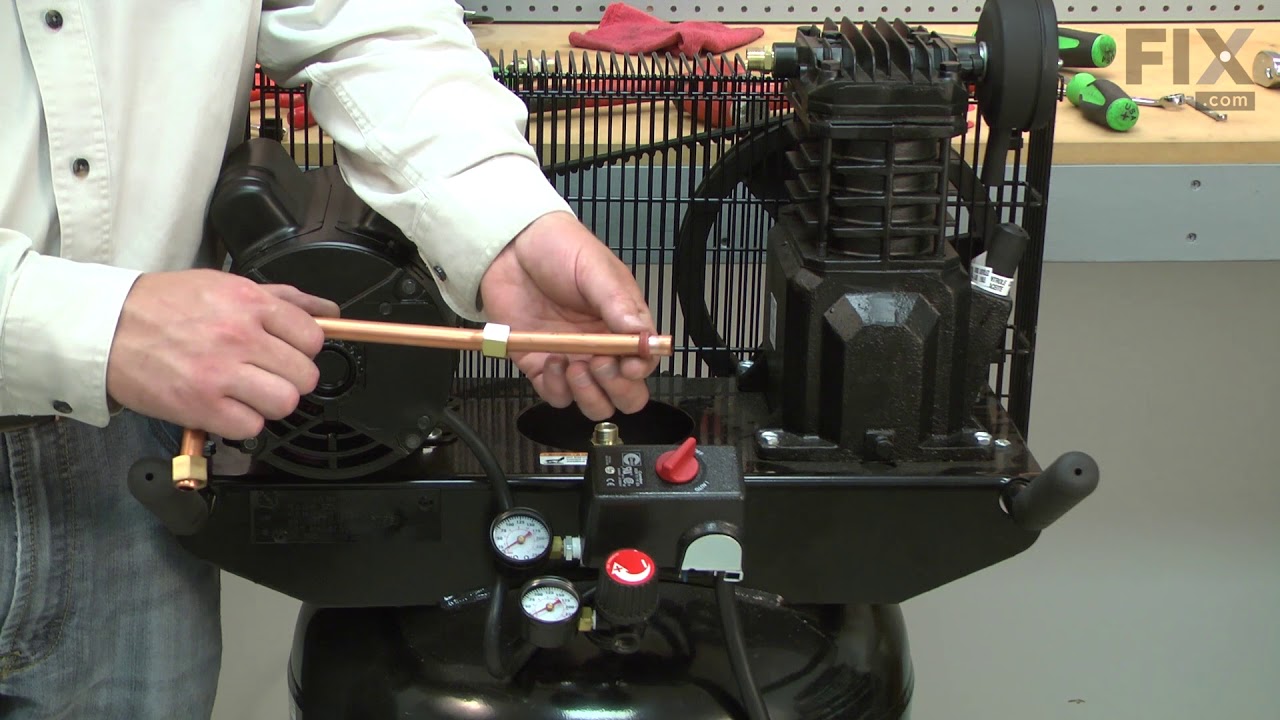
Genuine Campbell Hausfeld replacement part, this item is sold individually. The ST033001AV Compression Nut is used to attach the copper tubing to certain components of the compressors listed below. Along with the Compression Nut you will need to use a compression sleeve ( or Ferrule) to seal the tube from leaking air. The Compression Nut will go on the tubing first then the Ferrule will slide into the nut.

$49.34
In Stock
Filter
Part #WL026100AV
This genuine OEM air compressor intake filter assembly is designed to protect the compressor pump by filtering dust and debris from incoming air. It features a durable plastic housing with a replaceable paper filter element and is suitable for both indoor and outdoor use. The assembly threads directly into the compressor intake and can be...Read more mounted vertically or horizontally, making replacement straightforward. Installing a clean, properly functioning intake filter helps maintain airflow, reduce wear on internal components, and support reliable compressor performance.
Read less

$10.21
In Stock
Compression Sleeve
Part #ST032900AV
This is an authentic OEM part. The 1/2 compression sleeve is compatible with many air compressor machines. With the compression nut, this item helps to secure the exhaust tube to the front shroud. An adjustable wrench is necessary for the replacement. The compression sleeve is sold individually.

$17.98
In Stock
Drain Valve
Part #SR060513SV
This is a genuine Campbell Hausfeld replacement drain valve, sold individually. When using an air compressor, moisture naturally condenses inside the tank. If this water is left sitting for too long, it can lead to internal rust and damage. The drain valve allows you to release this built-up moisture easily. It's especially important to d...Read morerain your tank after each use—particularly if you tend to leave air in the tank for extended periods. Regular draining helps extend the life of your compressor and maintain its performance. Be sure to open the valve regularly to prevent water buildup and potential tank corrosion.
Read less

No Longer Available
Piston Assembly(Does not include bearing part #MJ108004AV)
Part #WL210300SJ
This is an Original Manufacturer Approved replacement part used on Portable Air Compressors. The piston is a central component of an engine. It both provides compression within the engine, as well as transfers the energy from combustion to the crankshaft (which creates rotation). This Assembly includes the Piston/Piston Rod, Cylinder and...Read more a Screw. Please note manufacturer does not include the main bearing with this replacement Piston Assembly. A good quality high speed bearing marked 6203 will work. The 6203 Bearing is Part #MJ108004AV. Replacing the piston assembly is not the simplest repair, but it is definitely something you can do yourself. You will need a Flathead or Phillips Head Screwdriver to remove the cover and a set of Sockets and Wrenches for the rest of the repair.
Read less

$6.40
In Stock
Nipple
Part #HF002401AV-S
This genuine OEM replacement nipple is designed for use in air compressors, serving as a critical connector between the pressure switch, the tank, and the regulator. A damaged or corroded nipple can lead to air leaks and inconsistent pressure, affecting overall performance. To check for leaks, apply soapy water to the fittings around the ...Read morepressure switch and watch for bubbles. If replacement is necessary, the process typically involves disassembling the pressure switch. Begin by draining the tank using the valve at the bottom, then remove the coupler from the regulator and unthread the nipple. Access the wire connections by removing the pressure switch shroud, and carefully note the position of each wire before disconnecting them—starting with the motor wire, followed by the cord wires and ground wires. Remove the strain relief, pressure gauge, and the airline connecting the check valve to the switch. Finally, unthread the pressure switch from the tank nipple and remove the nipple itself. When reassembling, it is recommended to use thread tape to ensure a proper seal. This replacement part is sold individually.
Read less

$8.27
In Stock
Reducer
Part #ST071407AV

$4.08
Special Order
Strain Relief
Part #CW209600AV

No Longer Available
Nipple-1?4
Part #ST070324AV

No Longer Available
Cord
Part #EC012600AV

No Longer Available
Flex Tube
Part #ST079702AV
Common Symptoms of the WL507901
How this model fails, and the parts that fix it.

Watch our pros, then fix it yourself.