This an authentic OEM 40-Watt replacement light bulb, used in a number of household appliances. It is specially designed to withstand extreme temperatures, which is why these replacement bulbs are most often used to light the inside of refrigerators and ranges. It features a standard socket base, which means you simply unscrew the burnt-o...Read moreut bulb and screw in the replacement. Depending on the appliance you may require a screwdriver or nut driver to access the light bulb. We recommend you wear work gloves while handling this replacement part. It is constructed of glass and metal and is sold individually. Depending on the appliance and location of the bulb within it, you may want to consider disconnecting power and using a flashlight for easier access to unscrewing and re-screwing in your bulb during this repair.
This is a leveling leg for your oven, range, or stove. The leveling legs on your oven allow your appliance to sit perfectly flat. The new one may be longer in length than your original, but will work the same. Install the new leveling leg, and test if you have it adjusted properly by putting the appliance on four legs. Adjust in or out a...Read mores required if your oven is rocking. It is recommended to check the other three leveling legs on your appliance in case they are also damaged or worn. The leveling leg measures 1.859", is all black in color, and is made entirely out of plastic. This leg may be shorter than the original but is the factory replacement. Longer leg is not available.
This oven rack is chrome in color and is approximately 24.76 inches wide by 15.78 inches deep. If your old oven rack is damaged, you should consider replacing it. Many of our customers have determined this repair to be very easy. You will not require any tools to complete it. To replace the oven rack, simply pull the old rack out, and rep...Read morelace it with the new one. Make sure to put the new rack back in the oven with the beveled edge in first. To keep your oven racks clean, we recommend that you pull them out before using the self-cleaning function on your oven.
This is a multi-use and multi-appliance screw. It can be used on a microwave, refrigerator, range/oven, air conditioner, dehumidifier, washer, or dryer. The measurements of this screw are 8 x 1/2 inch. It has 6 threads. Refer to the manual provided by the manufacturer for further information on repair and accurate guidance. Remember to wear work gloves as a safety precaution.
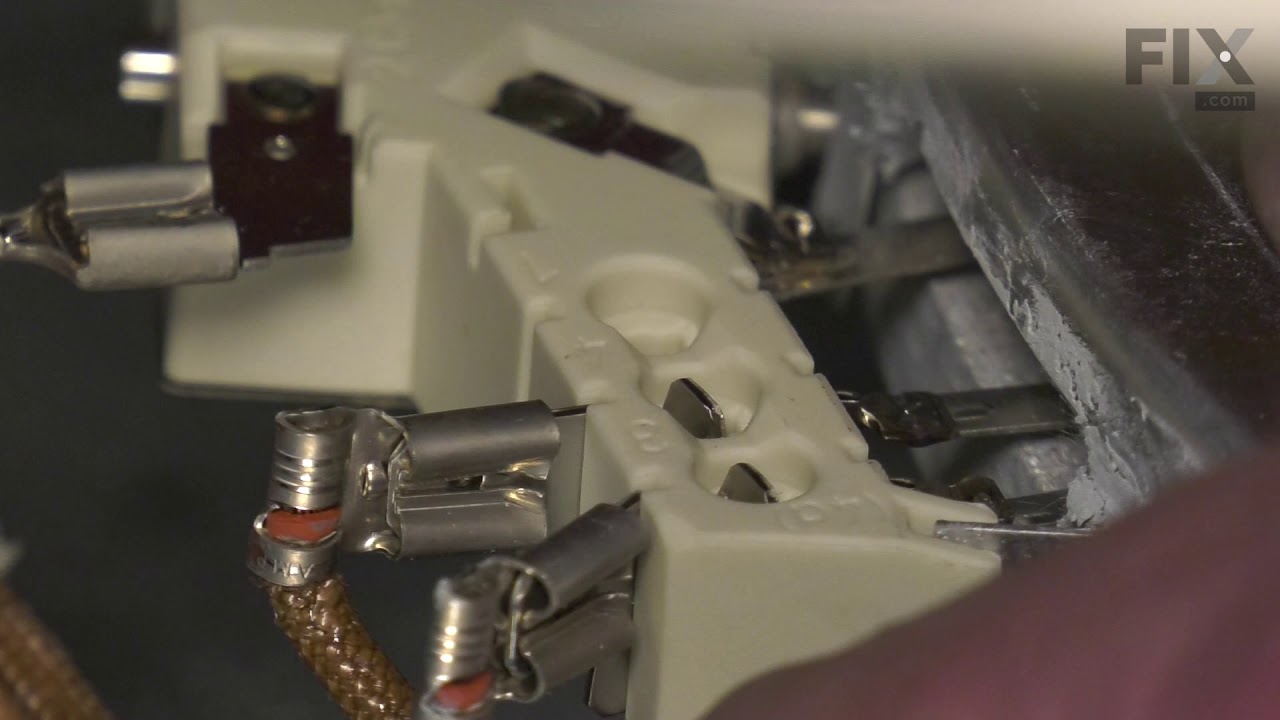
This part is for oven ranges, it connects individual wires and protects the device from electrical surges, voltages, and current. With this part, the house power is connected to the range wire harness. Some symptoms replacing the terminal block could be a solution for are little to no heat when baking, element will not heat and/or it will...Read more not start. This part will prevent loosening and will reduce damage caused by corrosion (by two different metals). Refer to the instructional diagram for further replacement guidance and exact placement. You must unplug the appliance before installing this part and wear gloves to protect your hands.
This touch-up paint can be used on a wide variety of household appliances. It is most often used on washers, dryer, refrigerators, dishwashers, ranges, freezers, trash compactors, or microwaves. It is an 18 ml, or.6 fluid ounces, bottle of touch-up paint. It also features a brush for easy application. This quick-drying, long-lasting paint...Read more is perfect for fixing any nicks, scratches, or chips on the exterior of your appliance. This paint is white in color, and provides a durable finish.
This broiler pan and roasting rack set is designed to help reduce mess while cooking by allowing grease to drain away from food. Its durable porcelain-coated construction stands up to high temperatures and makes cleanup simple. With approximate dimensions of 16 3/4 inches long, 12 3/4 inches wide, and 1 3/4 inches high, it offers a convenient size for everyday broiling and roasting.
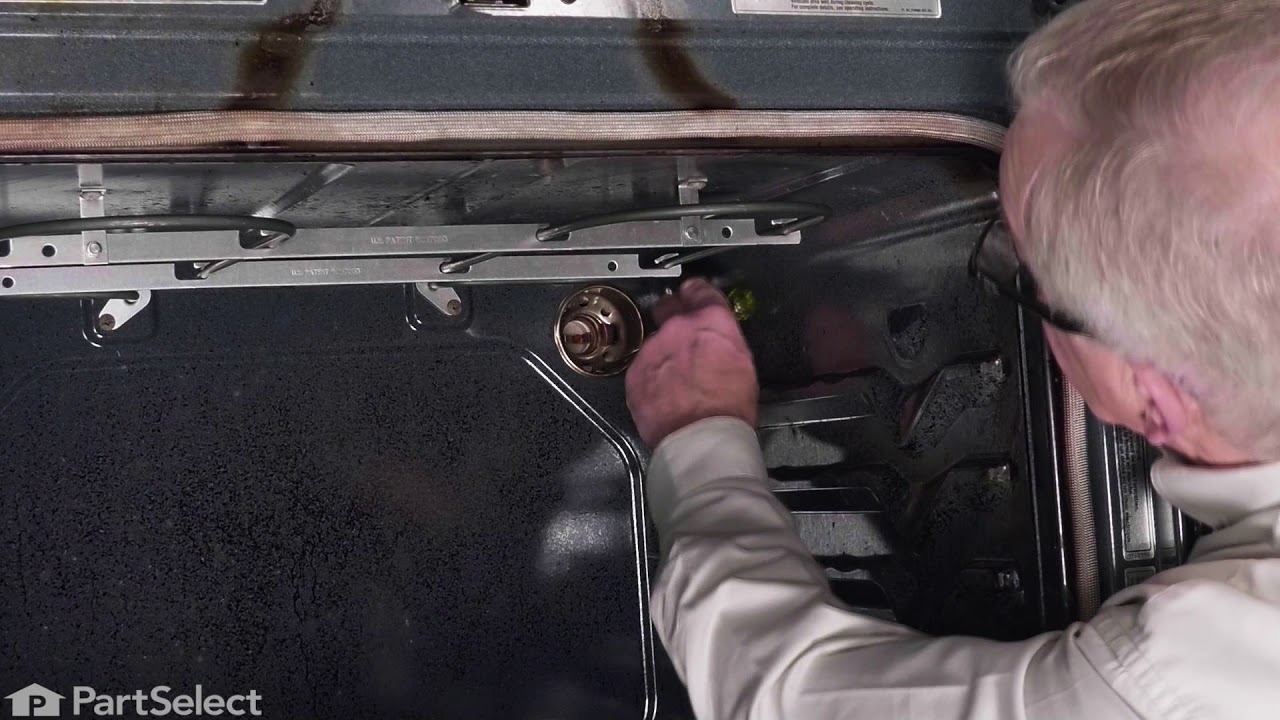
The light socket on your electric range connects the power source to the light bulb. If your oven light is malfunctioning, you may need to replace the light socket. The light socket is located in the back of your range, so in order to access it you will need to remove the back panel. Many of our customers have rated this repair as easy, a...Read morend it should take less than 15 minutes. Before you begin this repair, make sure to disconnect the power source from your range. This is an OEM part sourced directly from the manufacturer.
Does your appliance need a quick fix? Our GE Controller Assembly is here to help. This genuine GE part is the heartbeat of your appliance, keeping everything running smoothly and efficiently. It's specifically designed to fit your GE appliances perfectly, meaning you won't have to worry about any compatibility issues. This precision-craft...Read moreed part doesn?t just improve appliance performance - it enhances its life and reliability too. The GE Controller Assembly is made with sustainability in mind, promising durability that makes for a lasting solution to your appliance woes. When you choose to repair your appliance with this GE part, you're choosing superior results and reliability. It's a simple, effective way to restore your appliance to its former glory. So why wait? Lay your worries to rest and boost your appliance's efficacy with the GE Controller Assembly.
This is a dual surface element for compatible ranges. If the surface heating element for your range is currently not turning on or has issues heating up or maintaining a heat level, it will need to be replaced. This surface heating element features two burners, one smaller involving an inner 1400W element, and one larger burner involving ...Read moreboth the inner and outer ones (3000W). Replacing this dual surface element will require a screwdriver or drill, as well as wire cutters and needle-nose pliers. This surface element is sold as an individual OEM part, so you may need to consider how many heating elements you need before ordering.
Ask our experts a question about this model and we'll get back to you as soon as possible!
We may have answered a similar question already! Search questions and answers left by others using simple keywords like "fit", "broken", "easy", or "quality" to find questions that match.
Search filter:
Clear Filter
Your search term must have 3 or more characters.
Sort by:
Prev
1
Next
Sorry, we couldn't find any existing answers that matched.Try using some different or simpler keywords, or submit your new question by using the "Ask a Question" button above!
Kelly - For model number WGE745C0FS00
March 27, 2024
Must have a mouse nest inside as it smokes and stinks when trying to preheat and bake
Hi Kelly, thank you for reaching out. Based on the description that you have provided, we would recommend cleaning the oven properly. Any left out food particles or grease built up can also cause this. If this is not the issue, we would suggest replacing the bake element, part number PS16875943, to fix the issue. We hope this solves your problem!
THE TRIPLE ZONE BURNER IS ON HIGH, NO MATTER WHERE YOU PUT THE CONTROL KNOB?
Hi Kenneth, thank you for contacting us. The issue seems to be with the infinite switch, part number PS12114485. It controls the heat output of the left front burner on an electric range. You may need to replace it to fix the issue. We hope this sorts out your problem!
Hello Jim, thank you for contacting us. According to our research, the door handle, part number PS11756772, is compatible with your model number. We hope this information helps!
See how others fixed this model. Time, tools, difficulty, and steps that lead to victory!View More
Search repair tips from other customers using simple keywords like "replace", "fit", "remove", "inspect". DIY doesn't mean you have to do it alone!
Search filter:
Clear Filter
Your search term must have 3 or more characters.
mice had made nests in the insulation wrap in the range
129 of 210 peoplefound this instruction helpful.
Wendy from Red Hook, NY
Easy
More than 2 hours
Screw drivers
I numbered every part. ex: 1 L., for first part removed left side. I used a magic marker to circle the holes and wrote the number of screws used on the part, set the srews in a separete place, so that I new where these screws went to. The cleanup was pretty time consuming, but I was able to keep my stove, when every repairman I called to
... Read more fix my stove told me I was better off buying a new stove. ($600.00 stove 2 years old)Please Note: The insulation blanket needed for the entire stove is two pieces, the sides and top are one part # and the bottom and back, are another part #. I did not know this. I just purchased the top and sides. I got lucky, the back and bottom were still in good shape. So I guess I should have read the description of the part more carefully to see what it covers, before I ordered it. It took two people two hours to do the work, it was really nice to have an extra set of eyes, to remember what direction pieces of metal from the stove went. I would do it all over in a heart beat instead of buying a new stove.
Read less
Was this helpful?
Thank you for voting!
Surface Element Out
61 of 82 peoplefound this instruction helpful.
Terry from Rockwall, TX
Really Easy
Less than 15 mins
Screw drivers
Took 2 screws under front edge of smooth top. Unscrewed ground wire from back of smooth top unit. Unplugged 2 wire bundles, from back. Took bad element out , put in new one. Put back together. About 10 min's tops. Easy peasy.
Was this helpful?
Thank you for voting!
Burned terminal block and filter board
95 of 208 peoplefound this instruction helpful.
Joseph from Decatur, GA
Easy
30 - 60 mins
Nutdriver, Screw drivers, Socket set, Wrench set
Removed and replaced above named parts, rewired.Be sure to tighten all nuts that secure wires. I believe this is what caused the problem.




 My Orders