



 My Orders




WFW97HEXR0 Whirlpool Washer - Overview
Diagrams for WFW97HEXR0
See every part. Know exactly what you need.


Enter a part description. DIY Heroes keep it simple, eg. "belt" or "pump".
Search filter:
Clear Filter
Your search term must have 3 or more characters.

$7.47
In Stock
Washer Hose Clamp
Part #WP596669
This hose clamp is used in a wide variety of household appliances. Most often it is found in washers, dishwashers, refrigerators, freezers, dehumidifiers, garbage disposals, or air conditioners. This clamp is used to securely attach a hose to another part of your appliance, which helps prevent leaks from those connections. Depending on th...Read moree appliance, it can attach hoses to drain pumps, water inlet valves, pressure switches, and injector nozzles. We recommend you refer to model-specific diagrams for appropriate uses and exact placement. This hose clamp is made of metal, and is sold individually. To access and replace this part you will need a nut driver, pliers, and screwdrivers. Before you begin any repair work, make sure you have unplugged your appliance, and shut off the water supply if applicable.
Read less

$90.36
In Stock
Hinge
Part #WPW10208415
This is a door hinge, which allows for your washer door to properly shut during the washing cycle, and open after it is finished. If your door hinge is bent or broken and not allowing the door to shut properly, this hinge needs to be replaced immediately. Replacing this hinge will require a screwdriver to remove and install. This door hin...Read morege is an OEM part made of durable metal, and does not come with any other parts, like the necessary securing screws or install bracket.
Read less

No Longer Available
Touch-Up Paint - White
Part #72017
This touch-up paint can be used on a wide variety of household appliances. It is most often used on washers, dryer, refrigerators, dishwashers, ranges, freezers, trash compactors, or microwaves. It is an 18 ml, or.6 fluid ounces, bottle of touch-up paint. It also features a brush for easy application. This quick-drying, long-lasting paint...Read more is perfect for fixing any nicks, scratches, or chips on the exterior of your appliance. This paint is white in color, and provides a durable finish.
Read less

$20.36
Special Order
Affresh Washing Machine Cleaner - 3 pack
Part #W10135699
Affresh Washing Machine Cleaner includes three slow-dissolving tablets that help remove odor-causing residue from inside the washer. Suitable for all washer brands, including high-efficiency (HE) machines, the formula is also septic-safe. Place one tablet directly in the empty wash basket and run the Clean Washer cycle, or use a normal cycle with hot water. Use monthly or every 30 wash cycles for best results.

$77.99
In Stock
Washer Water Inlet Flowmeter
Part #WPW10110225
This part continually measures the amount of water entering the tub. It will make adjustments if too much or too little water is present.

$19.30
In Stock
Dryer Cap
Part #WPW10208398
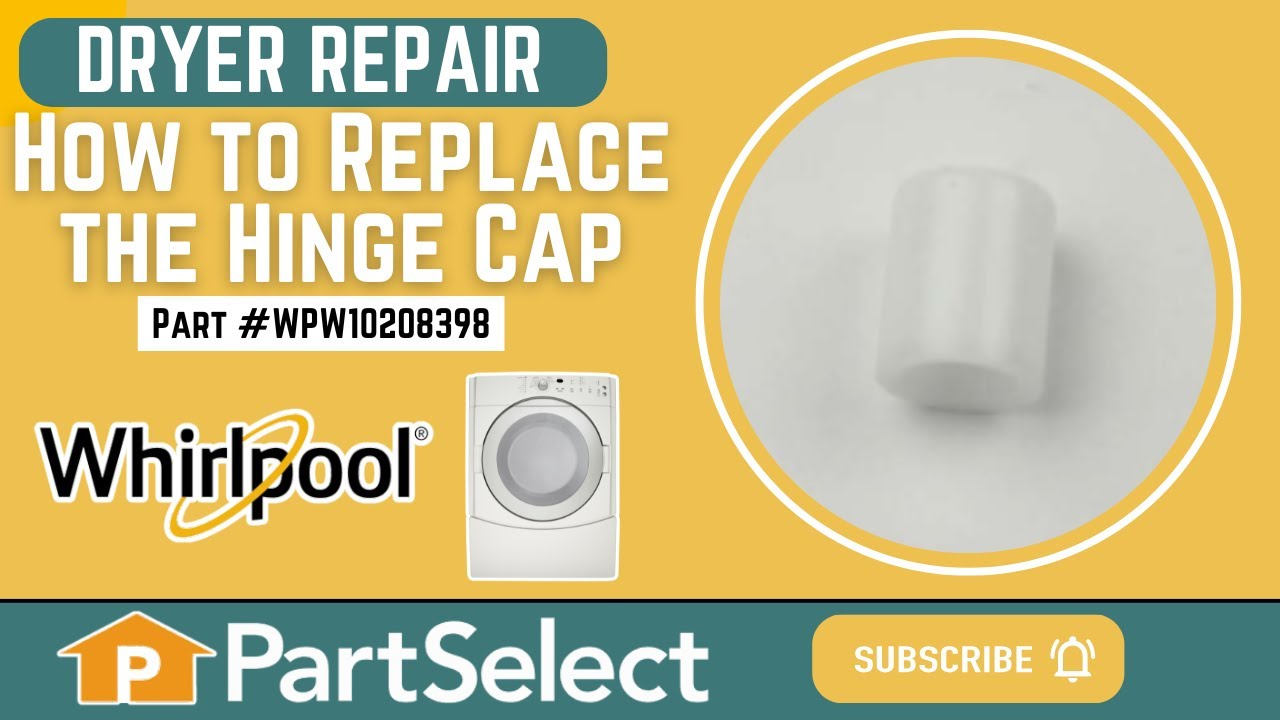
This is a dryer door hinge cap, also known as a bushing, which is a durable plastic cap that is installed on the door hinge and is used to allow your dryer door to operate smoothly when opening and closing. If the door for your dryer is not properly opening and closing, this cap needs to be replaced immediately. To replace this door hinge...Read more bushing, you will need a screwdriver to remove and disassemble the door for your dryer. This door hinge bushing is sold individually, but normally wears at the same rate as the others within your dryer door, so order as many as are needed.
Read less

$37.91
In Stock
Washer Pump Hose
Part #WPW10467168
This hose attaches to water pump assembly.
NOTE: As per the manufacture if the washer has an Eco Ball, it's no longer needed when the new hose is installed.

$19.30
In Stock

No Longer Available
Spray Paint - 12 oz. - White
Part #350930
Appliance spray paint is a great way to cover up any chips and scratches that have appeared on your appliances. Instead of replacing the part entirely, this is an easy fix. This is also a great way to give a fresh new look to any handles or areas that have discoloring due to wear. Make sure to clean the area before you begin and wear a pr...Read moreotective mask for safety. Give the can a good shake and spray a few inches away from the surface. Apply the paint until the area is fully covered as desired. Wait until the paint has dried before using the appliance.
Read less

$9.62
In Stock
Strike
Part #WPW10488048
This part attaches to the door and fits into the door lock when the door closes.

$34.74
In Stock
Washer Temperature Sensor
Part #WPW10467289
This part regulates the temperature of the water in the tub. The sensor is located in the heating element.

$27.36
In Stock
Washer Door Boot Spring Clamp
Part #W11218344
The door boot spring clamp holds the door boot in place.
Manuals & Care Guides for WFW97HEXR0
Click to downloadInstall
Installation Instructions
(3.88MB)
Manual
Owner's Manuals
(8.10MB)
Specs
Product Specifications Sheet
(0.45MB)
Common Symptoms of the WFW97HEXR0
How this model fails, and the parts that fix it.
Leaking
Fixed by
these parts
these parts


Show All
Lid or door won’t close
Fixed by
these parts
these parts


Show All
Door won’t close
Fixed by
these parts
these parts
Show All
Door Sags
Fixed by
these parts
these parts
Show All
Will Not Start
Fixed by
these parts
these parts


Show All
Does not dispense fabric softener or detergent
Fixed by
these parts
these parts


Show All
Will not drain
Fixed by
these parts
these parts


Show All
No hot or cold water
Fixed by
these parts
these parts
Show All
Water Filling Issues
Fixed by
these parts
these parts

Show All
Locking Issues
Fixed by
these parts
these parts
Show All
Shaking and Moving
Fixed by
these parts
these parts

Show All
Watch our pros, then fix it yourself.

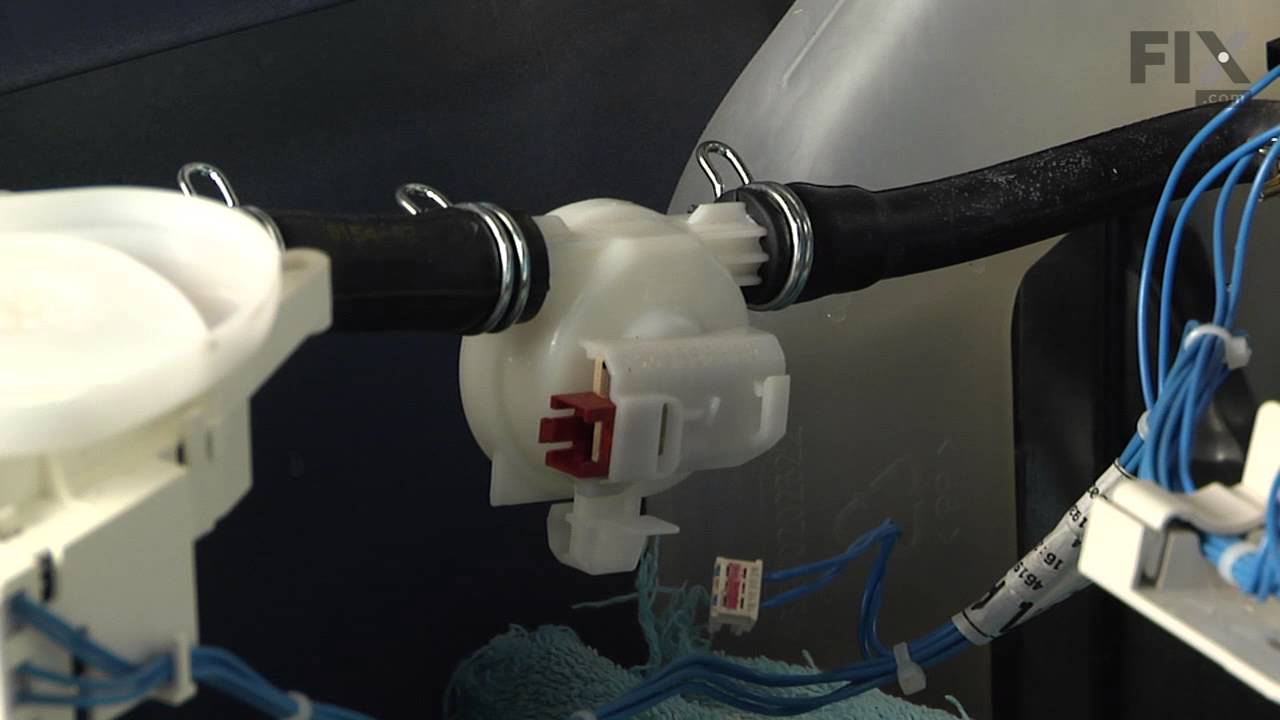
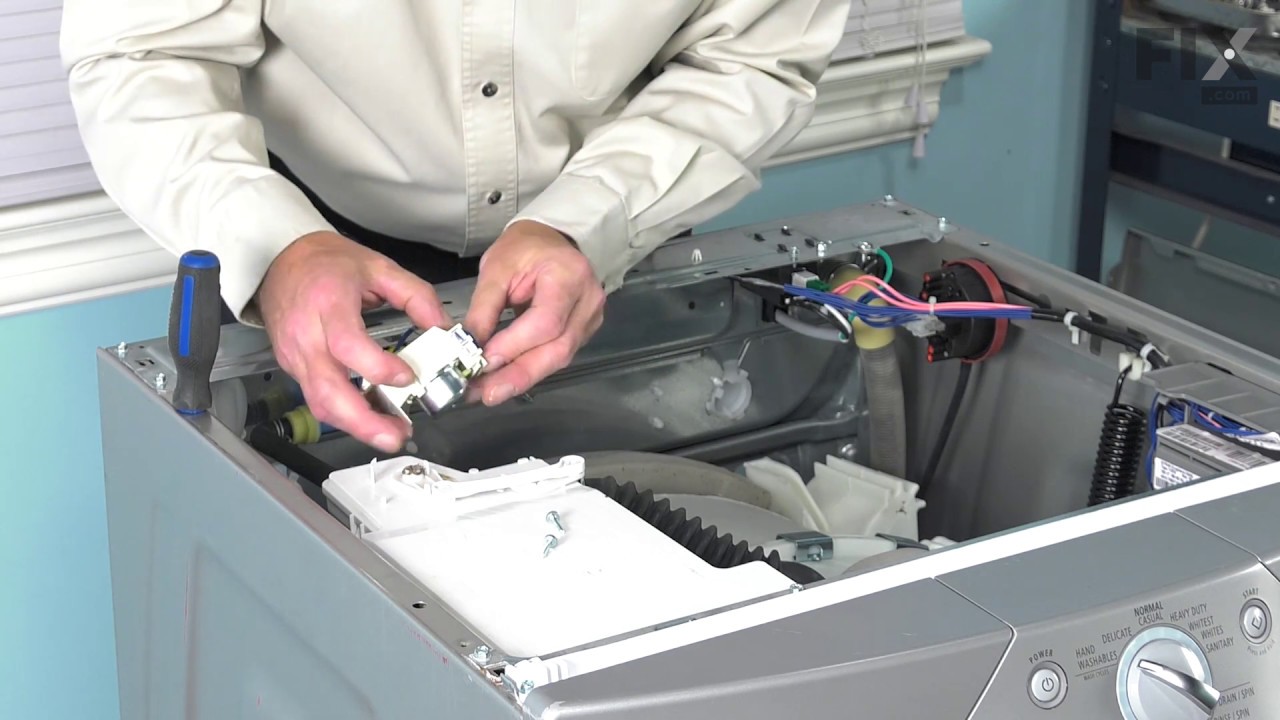
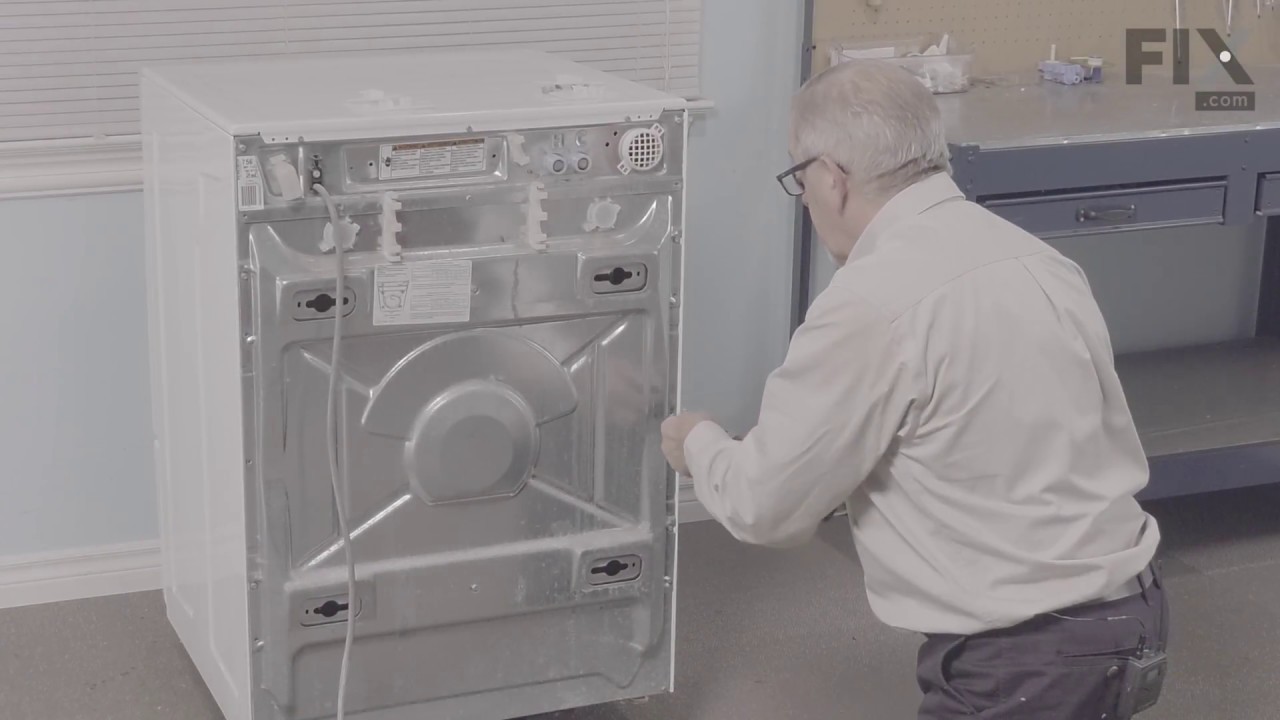
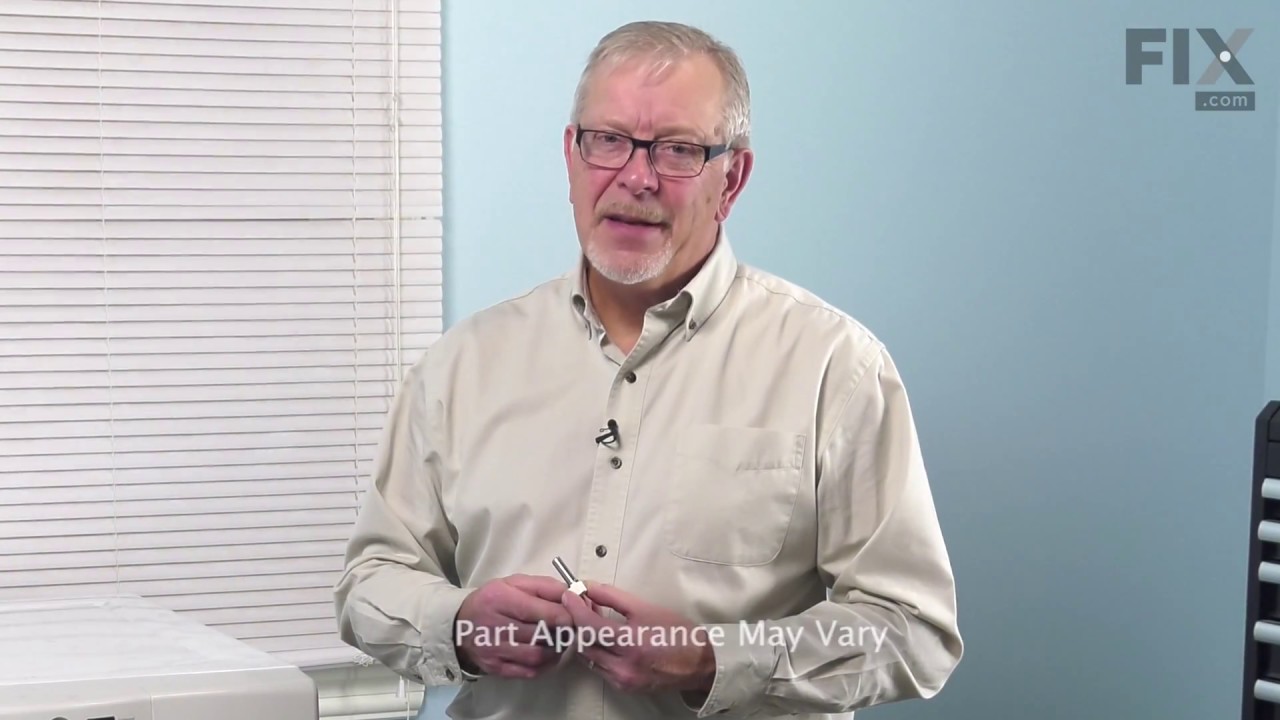

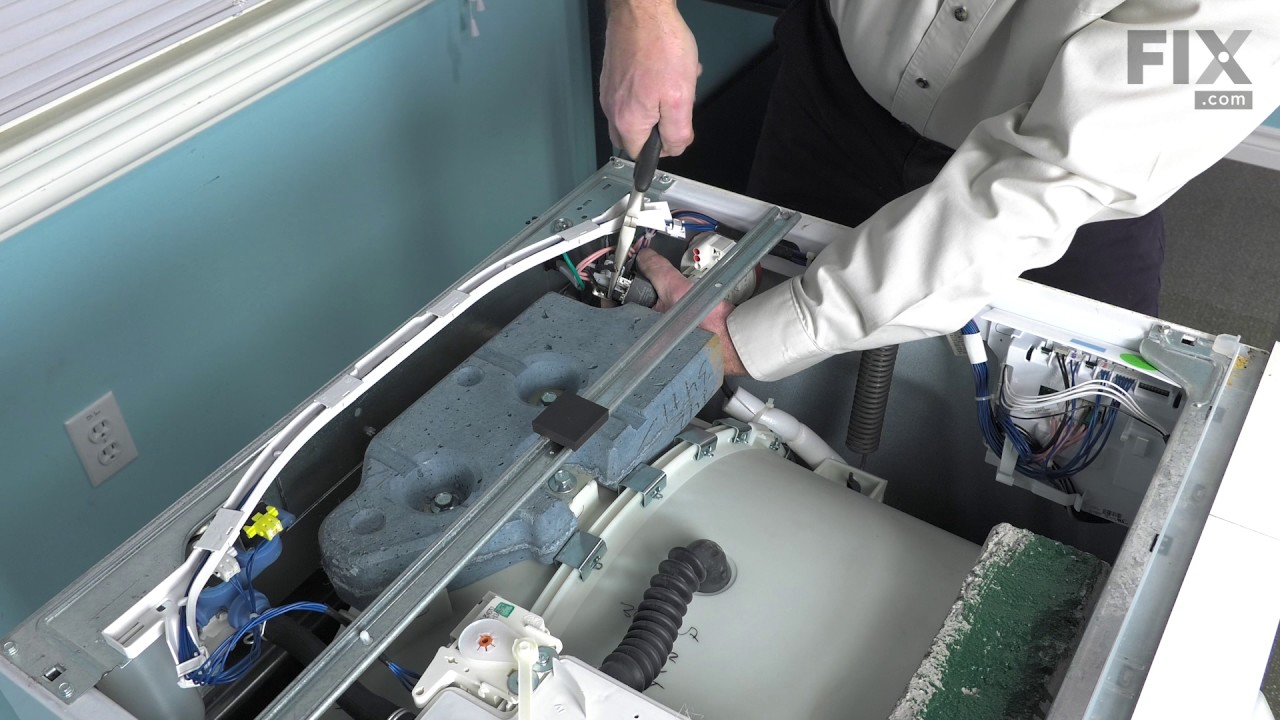
See how others fixed this model. Time, tools, difficulty, and steps that lead to victory!
View More