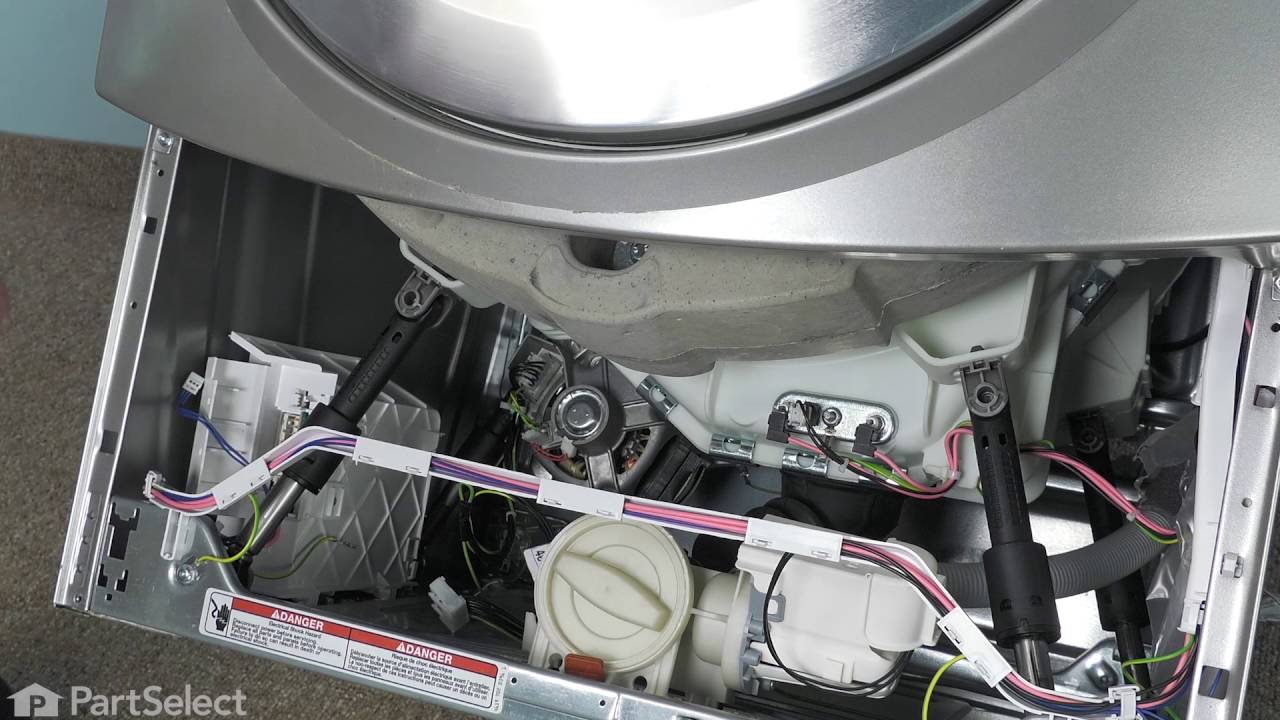
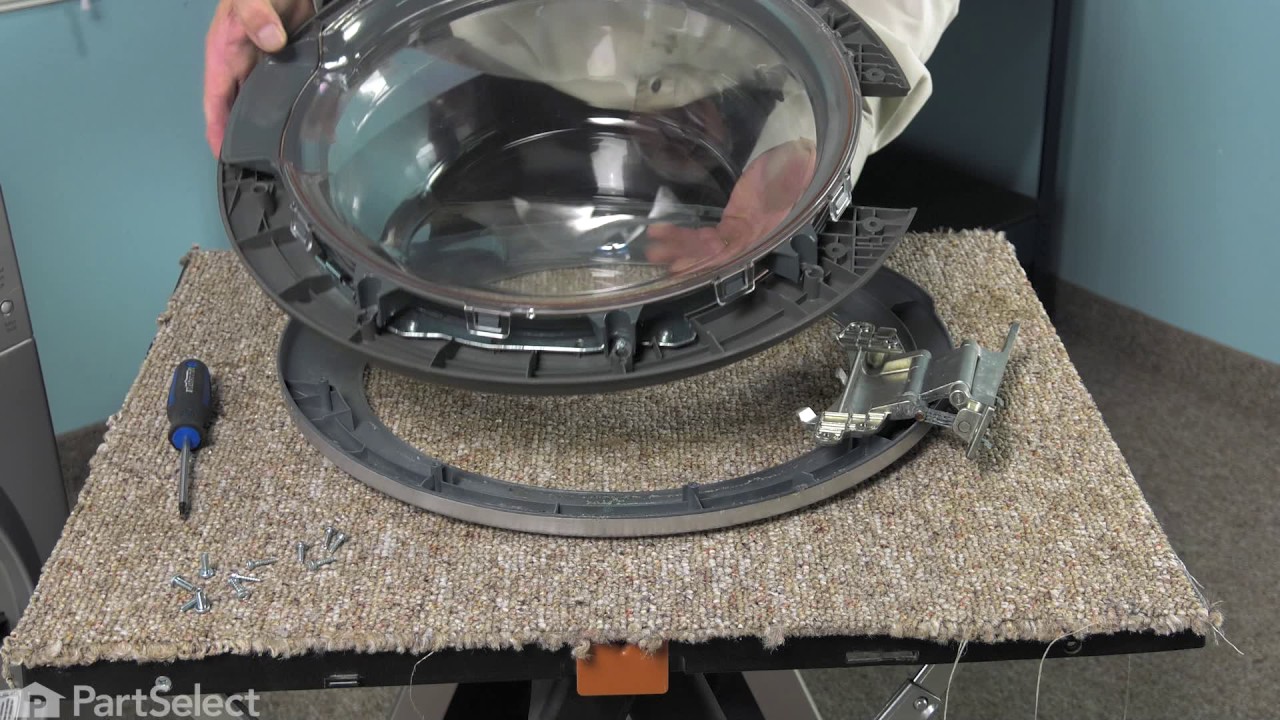
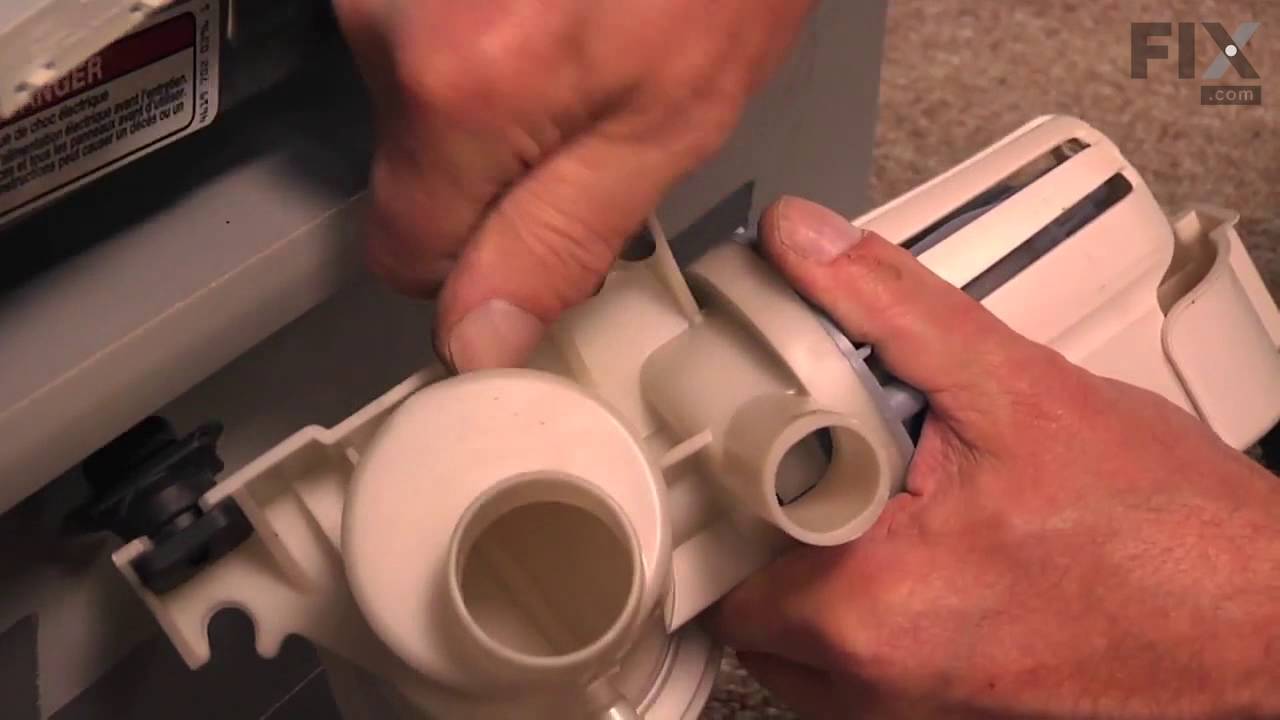
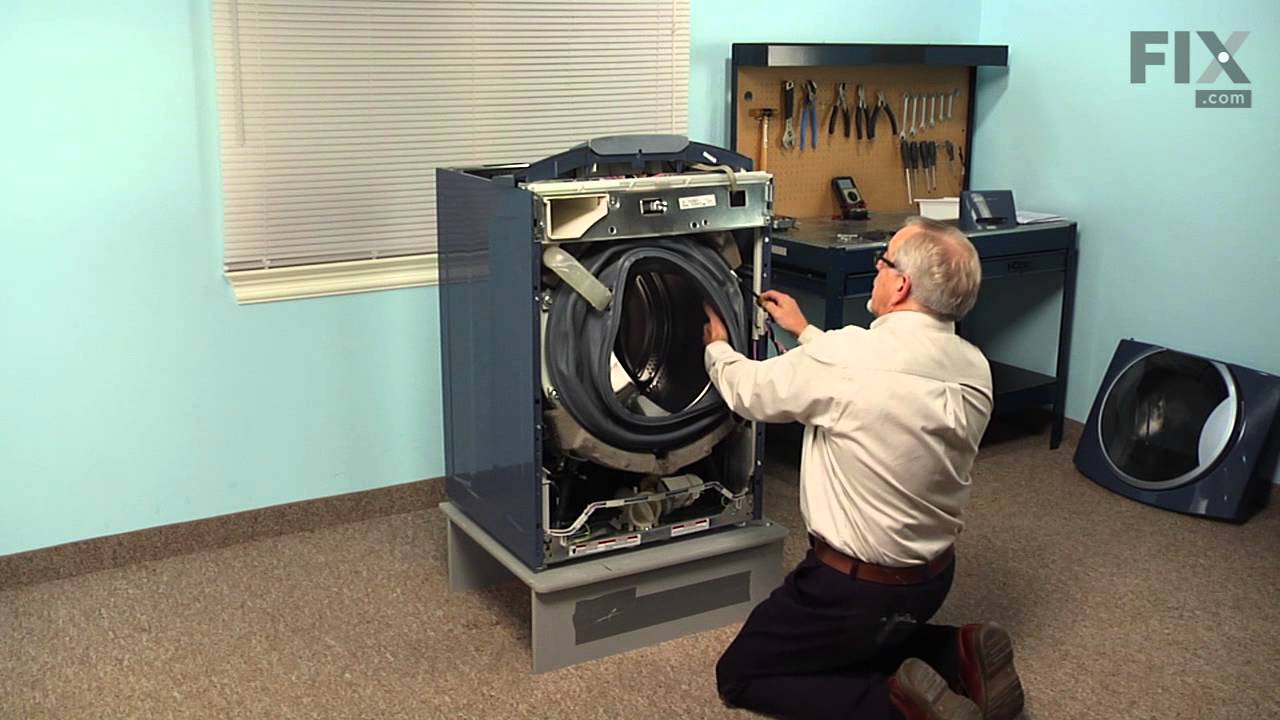
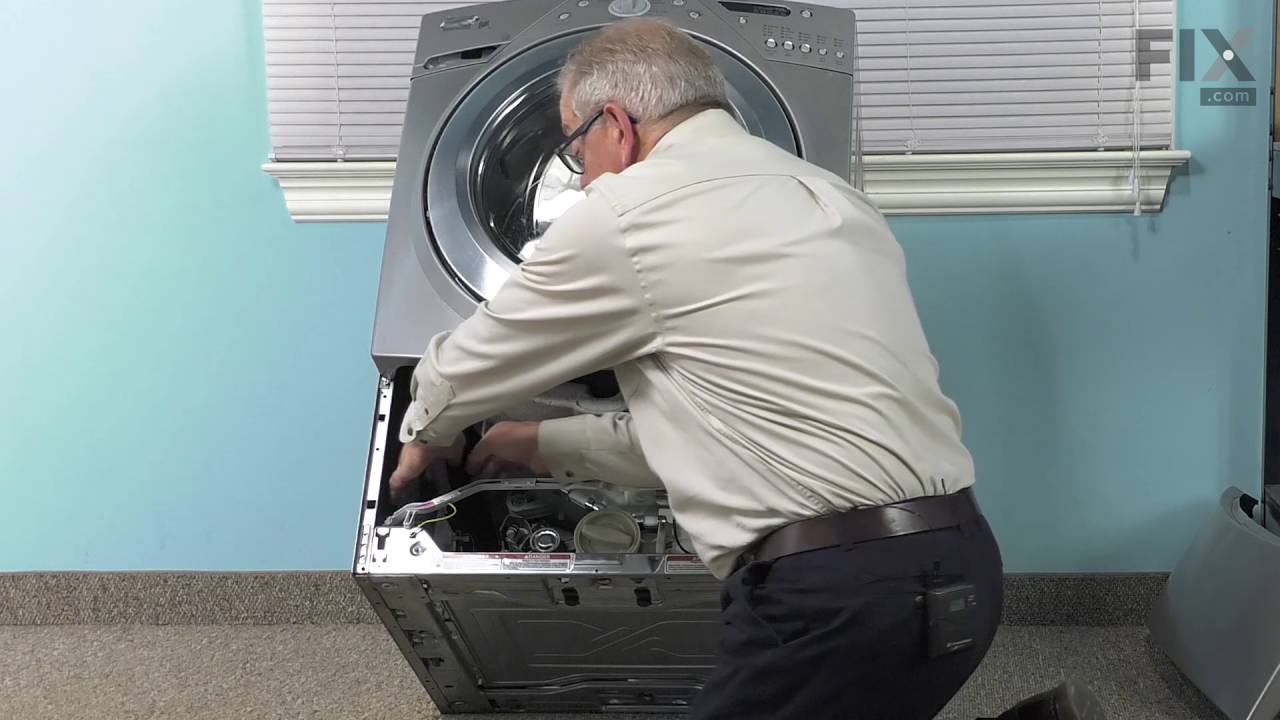
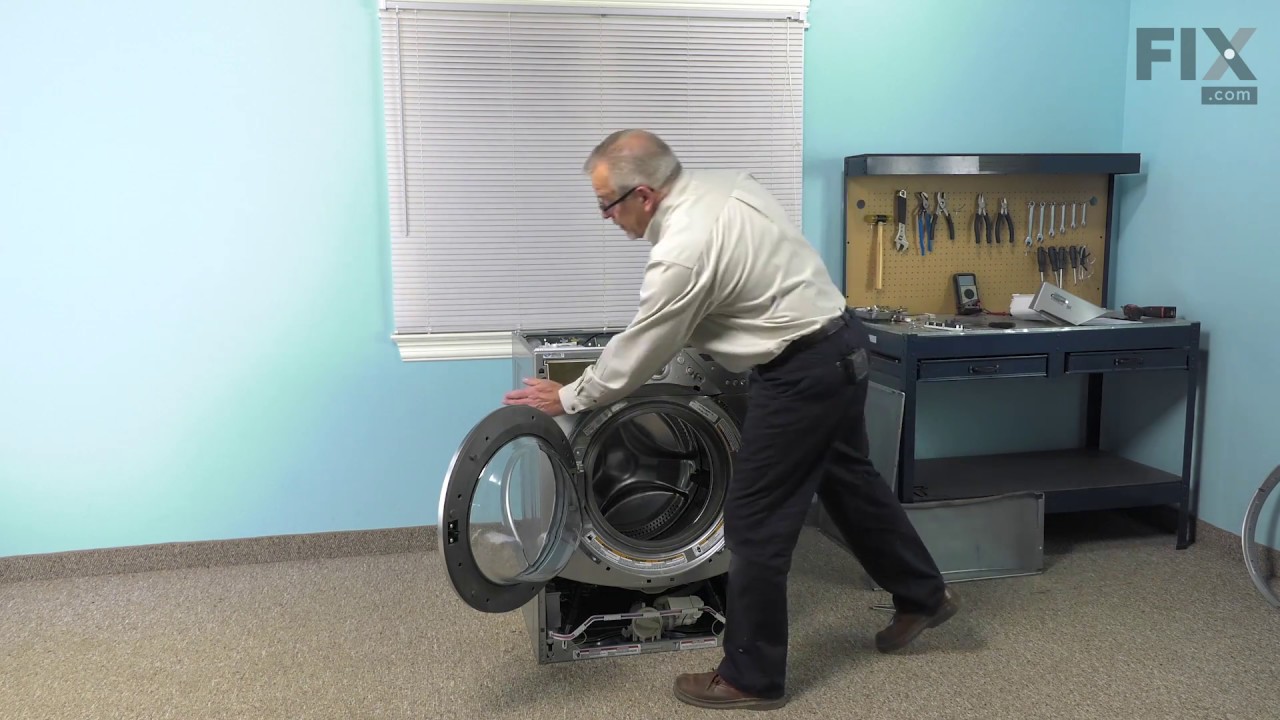
This is a door bellow, also known as a door gasket or seal, that is compatible with washing machines. Door bellows are used as a method to seal the inner drum of the washing machine and the soapy water inside it, from the rest of the washer cabinet and your home. If you notice any leaks at the front of your washing machine, this door bell...Read moreow may be worn out or damaged, so inspect it to ensure it needs replacing. This door bellow is made of a thick rubberized material and wraps around the inner drum and will need a clamp to stay secure. This door bellow is sold as an individual OEM part and is not sold with any other parts or accessories.
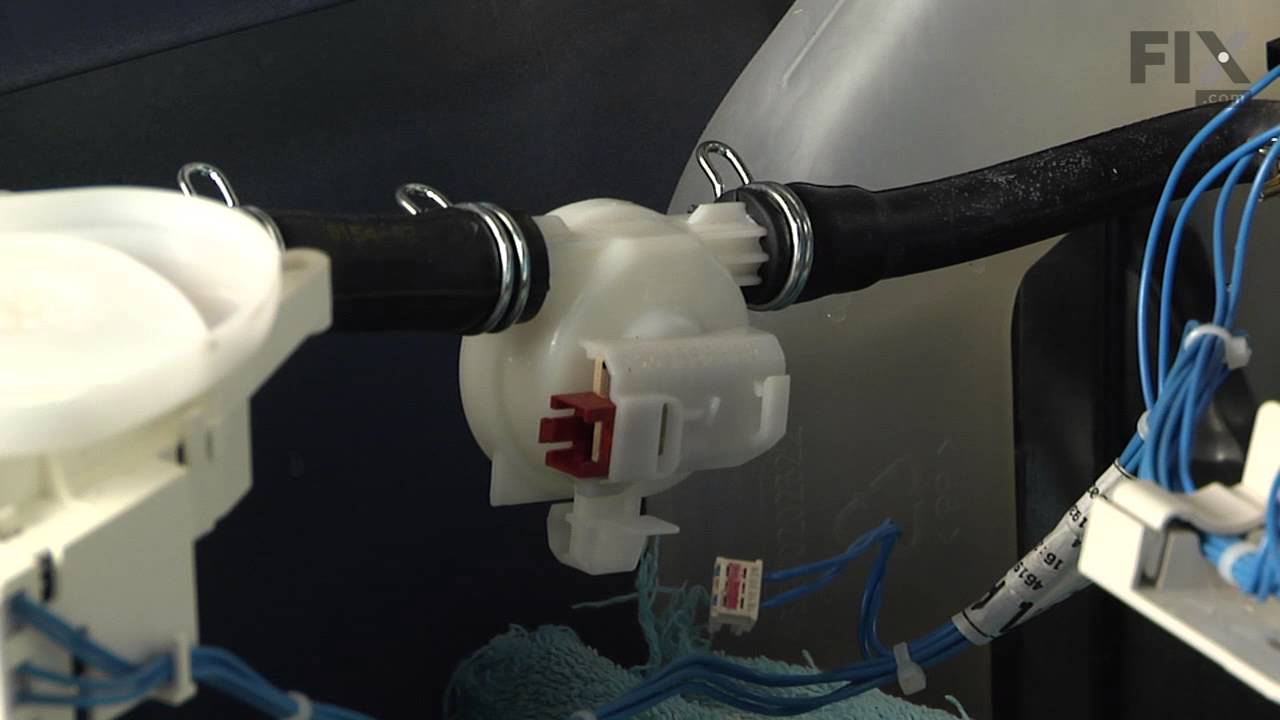
This washer drain pump is a genuine replacement component designed for select front-load washing machines from Whirlpool, Maytag, Kenmore, and affiliated brands. It plays a vital role in the wash cycle by efficiently removing water from the drum, helping to prevent leaks and ensure proper drainage. A malfunctioning pump may result in slow...Read more or incomplete draining, water leakage, or error codes related to pump failure. This part is engineered for durability and reliable performance, and replacing it can restore optimal function to your appliance. Compatibility should be confirmed using your washer’s model number prior to installation.
This door hinge helps your front-load washer door open and close smoothly. If the door feels loose, won’t stay shut, or is hard to open, replacing the hinge can fix the problem. It’s a sturdy, reliable part that fits many models and helps keep your washer working properly.
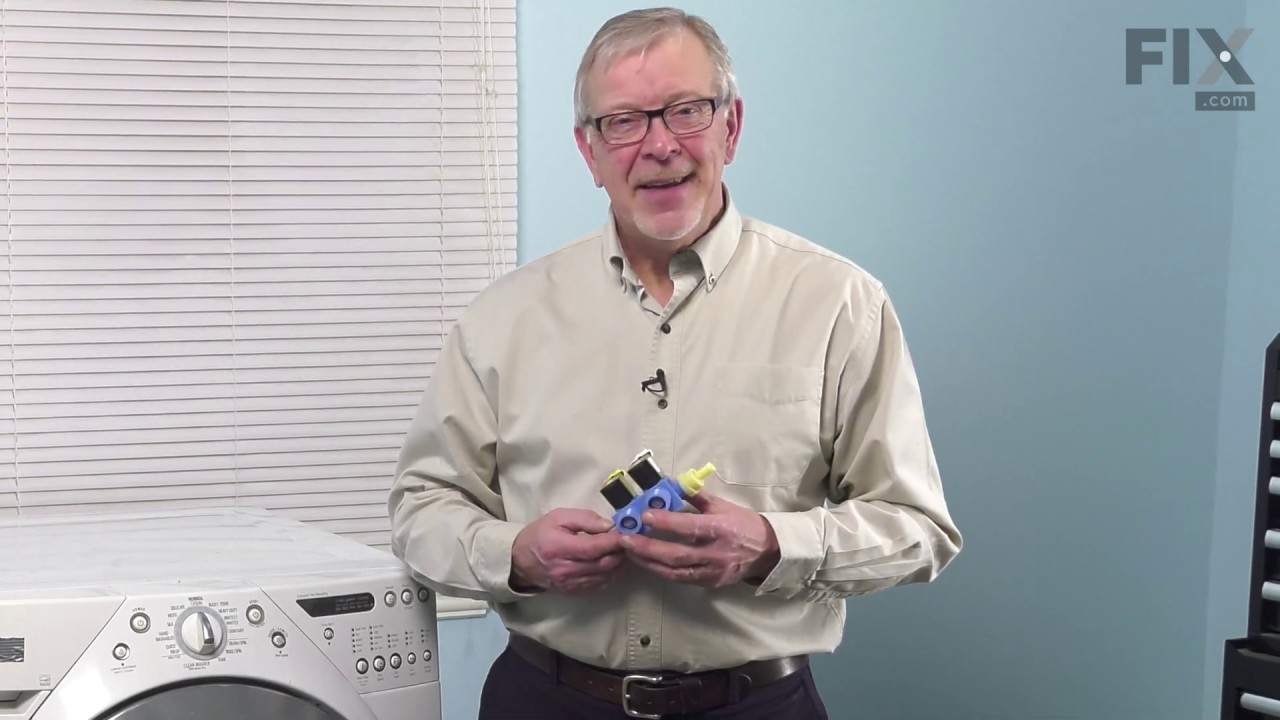
This dual-coil water inlet valve is a genuine OEM replacement designed to regulate the flow of hot and cold water into your washing machine. It connects directly to the appliance’s water lines and distributes water to the appropriate dispensers based on cycle settings. Engineered for compatibility with select Whirlpool, Maytag, KitchenAid...Read more, and other associated brand models, this valve ensures accurate water temperature control and efficient filling. Common symptoms of a faulty valve include water leaks or improper filling. Installation requires disconnecting power and water supply for safety. Sold individually.
Sold individually. These shock absorbers keep the washer from vigorous shaking during its cycles. This shock absorber is for washers.
Shock absorber absorbs the vibrations and movements of the outer washer tub.
Unplug the washer before installing this part. Wear work gloves to protect your hands.
This touch-up paint can be used on a wide variety of household appliances. It is most often used on washers, dryer, refrigerators, dishwashers, ranges, freezers, trash compactors, or microwaves. It is an 18 ml, or.6 fluid ounces, bottle of touch-up paint. It also features a brush for easy application. This quick-drying, long-lasting paint...Read more is perfect for fixing any nicks, scratches, or chips on the exterior of your appliance. This paint is white in color, and provides a durable finish.
The hose clamp is used to hold the water hose in place which will prevent the hose from leaking water. Sometimes the clamp may lose its ability to latch on, causing a leaking washer. For the installation, you will need a flat head screw driver to replace the clamp and a drill to access the screws to remove the front of the washer. Be care...Read moreful if you do not have specific clamp pliers as the clamp could fly off. Once the front of the washer has been removed, take a quick look for water damage or any obvious signs of where the leak is coming from. If it is not obvious, run water to test.
Affresh Washing Machine Cleaner includes three slow-dissolving tablets that help remove odor-causing residue from inside the washer. Suitable for all washer brands, including high-efficiency (HE) machines, the formula is also septic-safe. Place one tablet directly in the empty wash basket and run the Clean Washer cycle, or use a normal cycle with hot water. Use monthly or every 30 wash cycles for best results.
This is the replacement bellow clamp for your washer. It approximately 16 inches in diameter and is sold individually. The bellow clamp goes around the bellow in your washer and holds it in place on the washer frame. The main reason you would want to replace the bellow clamp is if it is rusted or damaged, and it is not holding the bellow ...Read moreinto place. To remove the bellow clamp, simply use a screwdriver to pop the bellow clamp out of the groove it rests in. Place the new clamp back into the bellow groove until it snaps into place. This is an OEM part from the manufacturer.
Ask our experts a question about this model and we'll get back to you as soon as possible!
We may have answered a similar question already! Search questions and answers left by others using simple keywords like "fit", "broken", "easy", or "quality" to find questions that match.
Search filter:
Clear Filter
Your search term must have 3 or more characters.
Sort by:
Prev
1
Next
Sorry, we couldn't find any existing answers that matched.Try using some different or simpler keywords, or submit your new question by using the "Ask a Question" button above!
Wais - For model number WFW9400SW03
October 5, 2023
Not start
Hi Wais, thank you for reaching out. The issue is probably with the door lock, part number PS11745083. You may need to replace the door lock to fix the issue. Glad to be of assistance!
Washer machine when change steps from washer to spin give alarm “F25”
Could you help me with is the problem so I could order proper parts
Hi Wais, thank you for the question. The F25 error code indicates problems with the tachometer of the drive motor. It says that the electronic system cannot correctly determine the rotation speed, therefore, it stops the further operation of the washing machine. To solve this issue, you may first need to make sure that there are no wires disconnected inside the washer. If that is not causing the issue, then you may need to check the motor control unit, part number PS11745069, as it is most likely faulty. We hope this helps!
My washer machine gives “error F25” when change steps from wash to Rinse and spin
What should I do and what parts I need?
Please send me the videos link which could help me to do repair
Thanks
Hi Poya, thank you for contacting us. Based on our research, the F25 error code indicates that there is a problem with the washer motor's tachometer. It means that the main control cannot determine the spin speed of the motor. We would recommend you checking the motor control board, part number PS11745069. It monitors and controls the drive motor speed and directions. You may need to replace it to fix the issue. We have attached a relevant video regarding its replacement. We hope that helps!
Machine has become increasing noisy during spin cycle. (Sounds like worn bearing, or something). Can you direct me to likely parts replacement?
Hello Steven, thank you for contacting us. Based on our research, the issue is with the outer drum. The bearings come along with the outer drum. You may need to replace the rear drum with bearing, part number PS11703209, to fix the issue. Glad to be of assistance!
Washer brings up F71 error code and will not turn on. Unplugged for 10 minutes and machine reset. Will turn on but won’t start a cycle. Within a few minutes F71 pops back up again and machine won’t turn back on. Unplugged the MCU and the machine turns on and will try to start a cycle.
Hi Paul, thank you for contacting us. The F71 error code indicates a failure in communication with the motor control unit, often appearing when the basket fails to engage during the spin cycle or detects excessive suds. We would suggest checking the motor control unit, part number PS11745069. You may need to replace it to fix the issue. We hope this solves your problem!
See how others fixed this model. Time, tools, difficulty, and steps that lead to victory!View More
Search repair tips from other customers using simple keywords like "replace", "fit", "remove", "inspect". DIY doesn't mean you have to do it alone!
Search filter:
Clear Filter
Your search term must have 3 or more characters.
Bellows were moldy, needed to replace
371 of 399 peoplefound this instruction helpful.
Franck from Annandale, VA
Easy
15 - 30 mins
The first step is to remove the retainer ring that holds the outside of the bellow in place. To do this, Open the washer door as far as you can to get it out of the way. look underneath of the front of the bellow on the outside of the washer where it meets the door. Put your head almost on the floor and look up. You will fin
... Read mored a spring streached about 3" connected to a small diameter wire (1mm.) that runs all the way around the outside portion of the bellow. Use a small screwdriver or other to pull and pry the spring away from the rubber bellow. Be careful not to damage the spring or ring. Once you have grip on it, pull it carefully toward you then up and off of the bellow.
The front portion of the bellow is now free and can be peeled off. Start at any point and pull the rubber bellow in toward the opening of the washer, it comes off easily. When you get to the detergent outlet on the upper left side, grab the plastic tube and carefully pull the bellow from around it. There is no adhesive or clamp holding this in place, just friction. Remove the rest of the front portion of the bellow. Push as much of the bellow into the washer as possible to get it out of the way.
Once this is off comes the slightly tricky part. Look up at the top right portion of the bellow that is still attached. You may need to feel with your hand but you should be able to see it. You are looking for the screw/nut end of a giant hose clamp. This hose clamp goes around the entire bellow and the secures it to the portion that holds the basket. This is where the stubby screw driver comes in handy. There is not nearly enough room for a standard one and a nut driver or wratchet are too big. The nut will be pointing down and will need to be replaced the same way. Loosen the hose clamp almost all of the way, not necessary to have the hose clamp come completely apart. You can now remove the entire hose clamp from around the bellow by pulling it forward. You will need to remove the hose clamp from the washer. To do this, squeeze it in from the sides about 6", don't kink it. Push it down toward the floor between the basket and the metal front panel. You will now be able to remove it from the top of the opening and be able to pull the bottom portion out. Pull the old bellow completely out, very easy to do.
Time to install the new bellow. Figure out which side goes in and which faces out. The big hint is that the water inlet is on the upper left side. You will notice at the top of the bellow on the portion that goes inside of the washer, you will find a small triangular shaped tab about 1/4" high. This is your centering mark. This will be at the very top. If you keep this at the top, everything will line up perfectly.
Slip the bellow over the edge of the portion that holds the basket where you removed the old one. I started at the top and worked left so I could install the detergent inlet tube. Pull this through the bellow carefully. It doesn't take a lot of force. As you are pressing the bellow on this lip, you will notice that there is a 1/2" high back stop all of the way around. This is great because as you press it on, there is a positive stop and you can't go further than necessary. Continue to press it in all of the way around.
Now it is time to install the Hose clamp. Un bend anything that might have bent on the clamp. With the nut at the top or top right with the nut facing down to the floor while holding it vertically, squish it slightly inward, put the bottom portion in first then the top portion. Orient is as it was when you took it off. Slide it around the bellow. You will feel a positive stop. Grab the stubby screwdriver and tighten down the hose clamp. I did about a medium force when tightening. It doesn't take a lot of force.
Now it is time to pull the remaining part of the bellow out of the basket and fit it into place. Press it around the outside portion of the opening so it hooks over the lip. This w
Read less
Was this helpful?
Thank you for voting!
Washer would not drain ,F02 and SUD code displaying
237 of 253 peoplefound this instruction helpful.
Donald from Wichita, KS
A Bit Difficult
1- 2 hours
Pliers, Socket set
(1) First I unpluged the washer then I removed the water from the tube with a water vac.(2) Then I removed the three (3) screws that holds the front panel, using a Torx T-20 socket. ( this is a front load washer ). The panel is below the loading door. (3) I packed towels under the washer. (4) I slowly removed the cleanout i
... Read moren the front of the pump, using the water vac to catch the water as it leaked out. (5) I removed the wiring to the motor. (6) I removed the screw that holds the pump in place with a Torx T-20 socket. (7) I pulled the pump forward so the clamps that hold the drain hose and discharge hose could be removed using the hose clamp pliers. ( they come off much easier then they go back on ). (8) I tested the pump and found it would run but was making a lot of noise and running slow. (9) To reinstall start with number (7) and work backwards to number (1) skipping (3) and (4). Don Kramer Wichita, Kansas
Read less
Was this helpful?
Thank you for voting!
Washer made loud banging noise during spin cycle
124 of 155 peoplefound this instruction helpful.
Francis from Rochester, NY
Really Easy
15 - 30 mins
Screw drivers, Wrench (Adjustable)
I first removed the back panel held on by about 10 screws. I removed the drive belt from the pulley, then removed the lock nut securing the pulley to the drum & removed the pulley. Attached the new pulley to the drum, tightened on the lock nut, attached the new belt & ran a spin cycle. When that went OK I replaced the back panel & the
... Read morewasher was back in service.




 My Orders