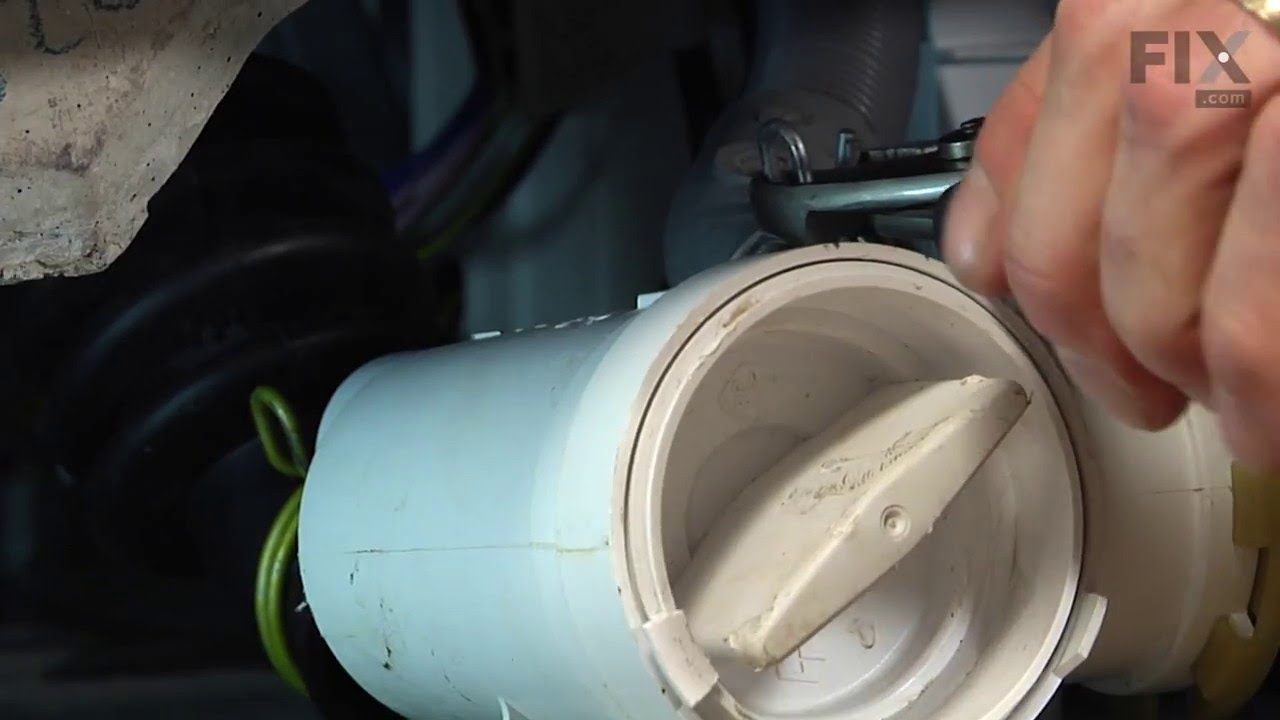
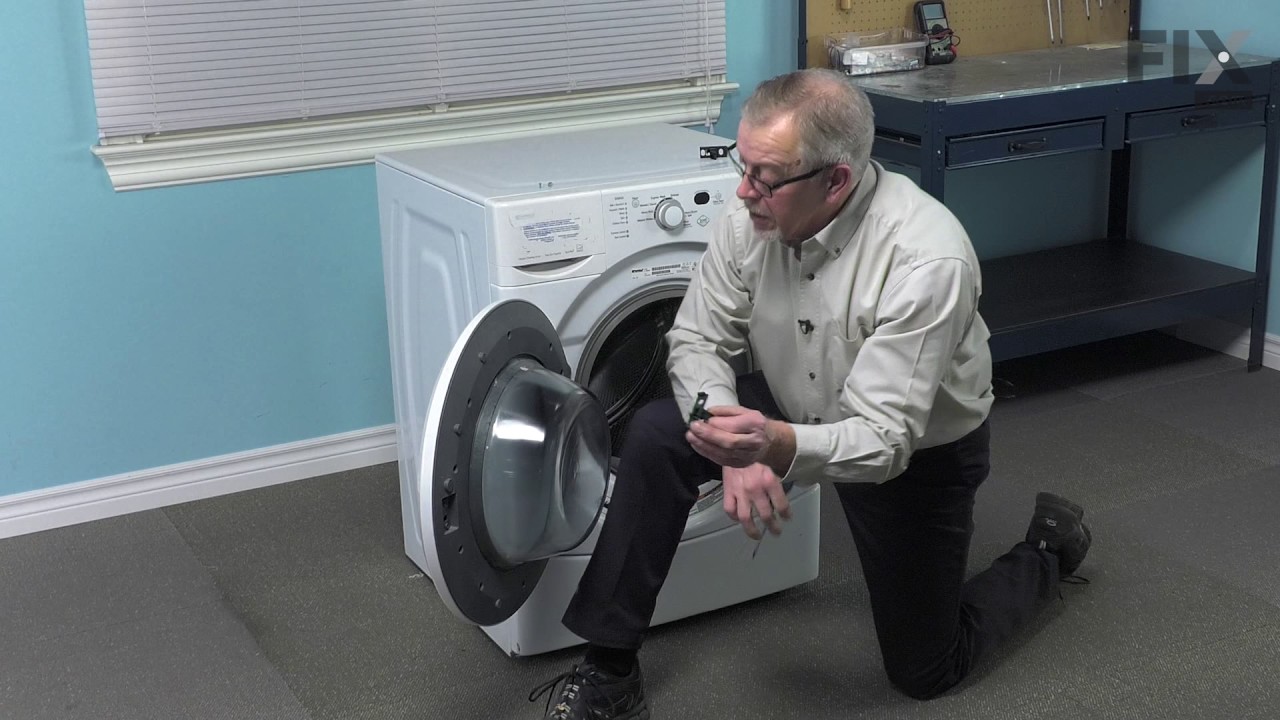
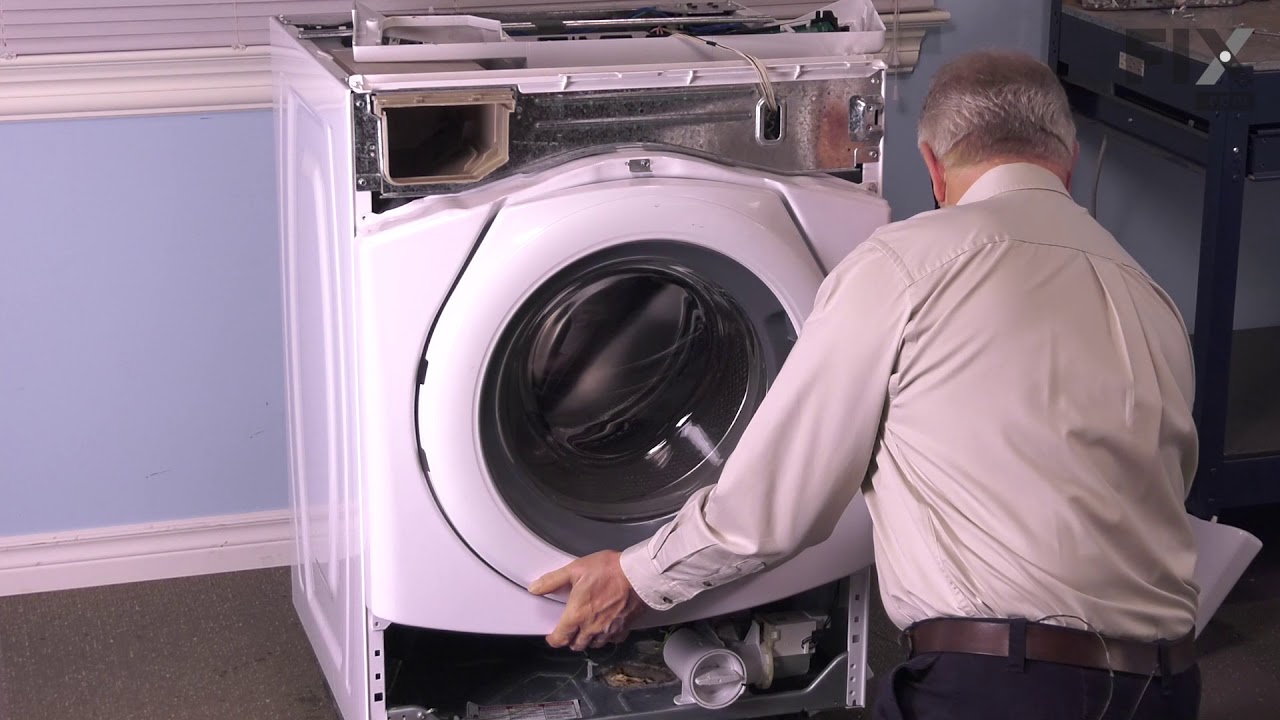
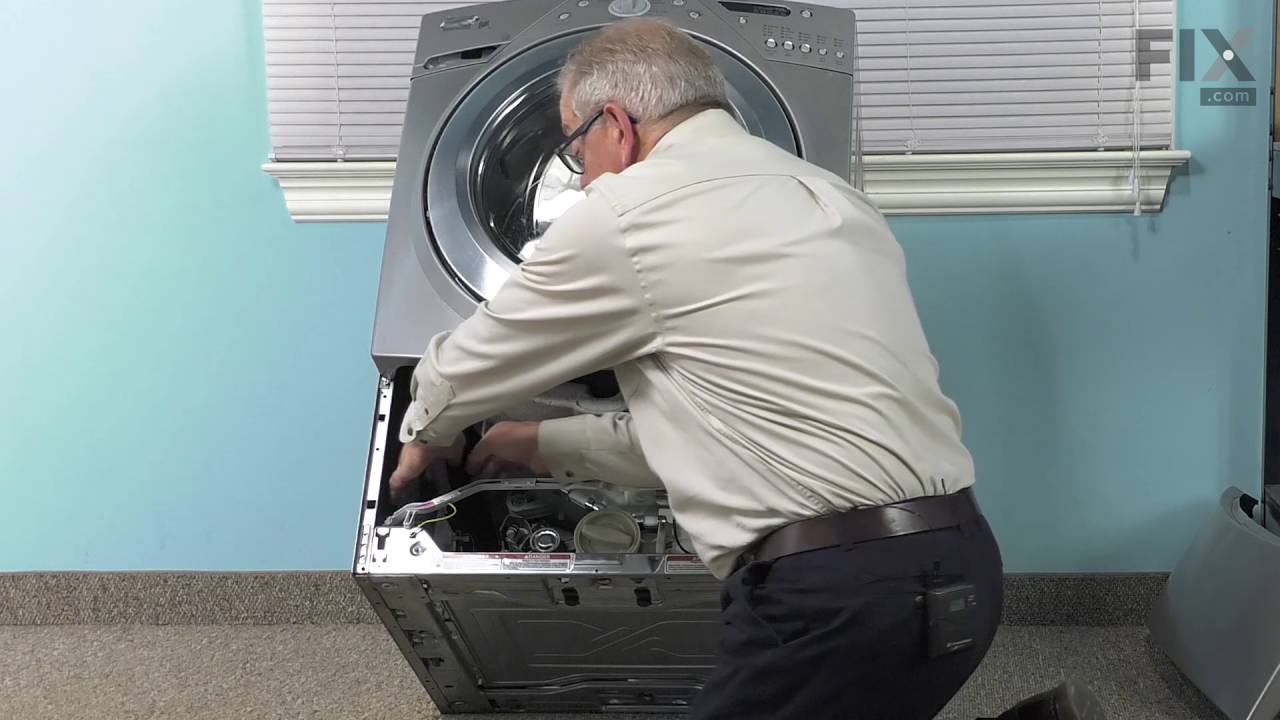
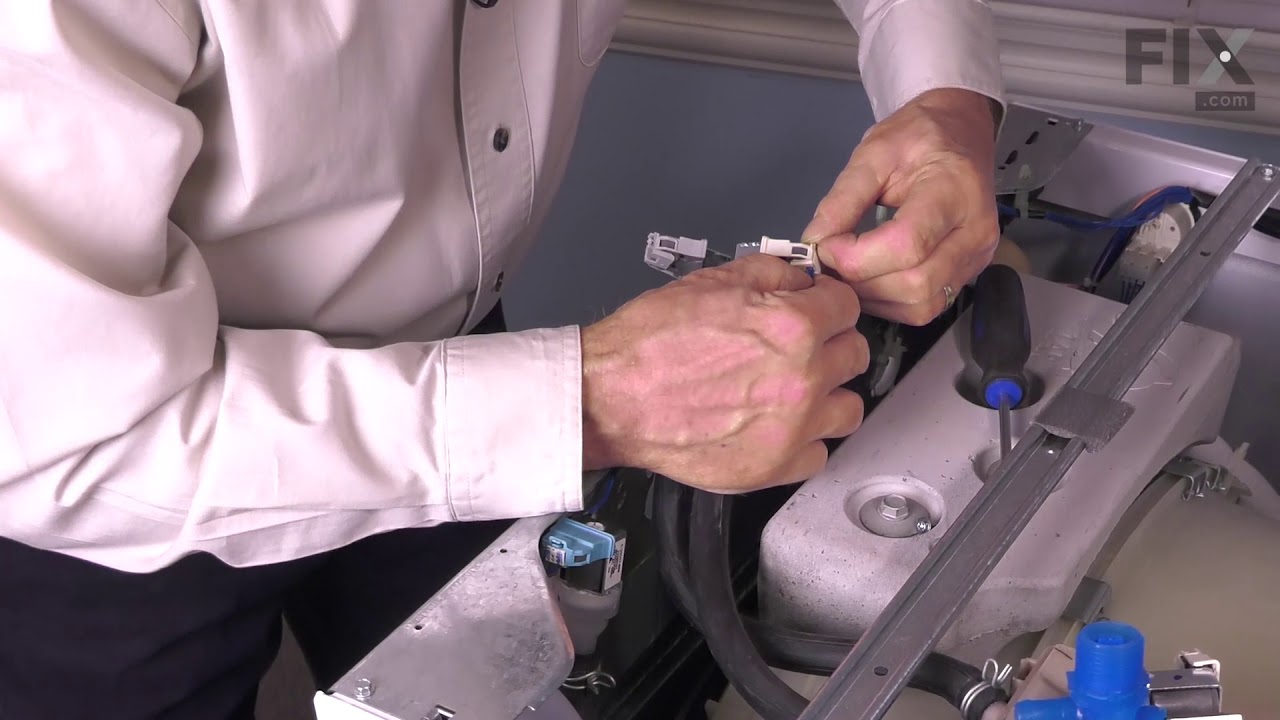
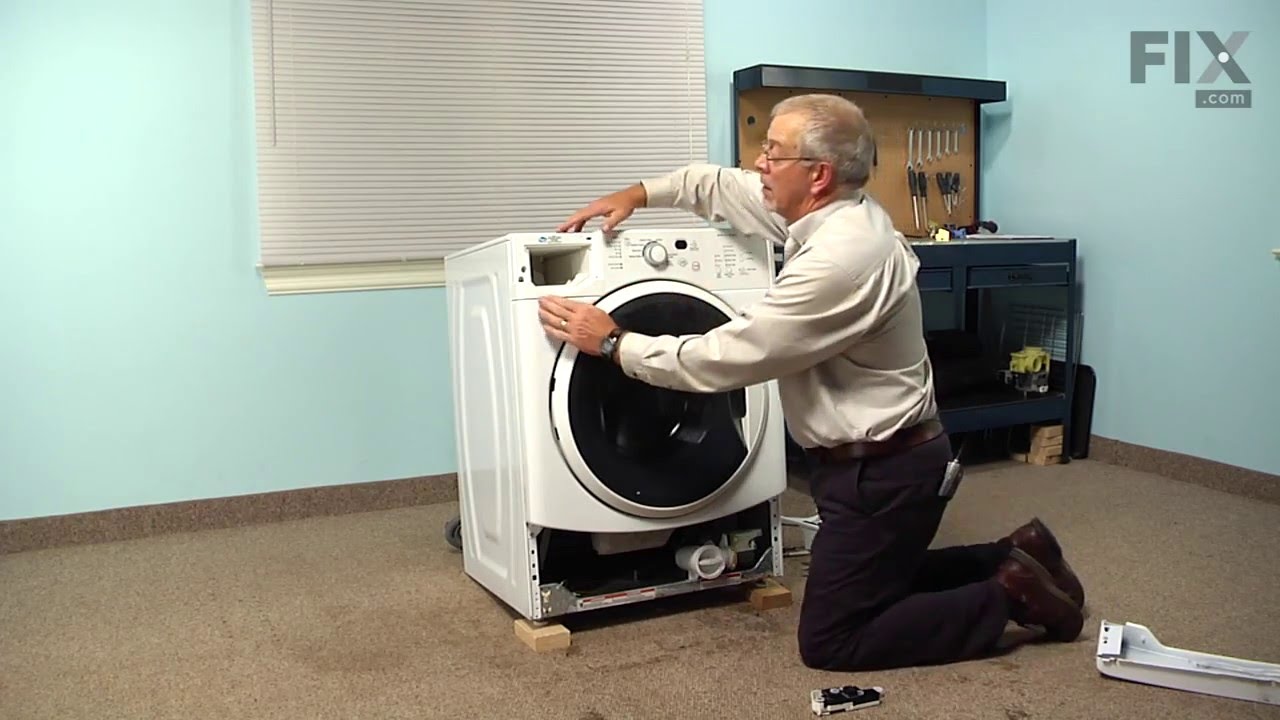
This is a manufacturer-approved replacement drain pump for your washing machine. To complete this repair you will need a 1/4 inch nut driver, 5/16ths nut driver, a flat blade screwdriver, and a pair of pliers. Make sure to disconnect power to the washer before beginning this repair.
This door boot, also known as a door seal, is compatible with various models of front load washing machines. It is a genuine OEM replacement part that is sourced directly from the manufacturer to ensure the best fit with your appliance. The door boot is made of rubber, and it is responsible for creating a tight seal between the tub and th...Read moree door to prevent water and detergent from leaking out of the washer when it is in use. This helps to prevent injuries and ensure the efficient running of the appliance. It is common for the door boot to wear down over time. It will need to be replaced if it can no longer securely fit around the door frame or if it is torn or cracked.
This hose clamp is used in a wide variety of household appliances. Most often it is found in washers, dishwashers, refrigerators, freezers, dehumidifiers, garbage disposals, or air conditioners. This clamp is used to securely attach a hose to another part of your appliance, which helps prevent leaks from those connections. Depending on th...Read moree appliance, it can attach hoses to drain pumps, water inlet valves, pressure switches, and injector nozzles. We recommend you refer to model-specific diagrams for appropriate uses and exact placement. This hose clamp is made of metal, and is sold individually. To access and replace this part you will need a nut driver, pliers, and screwdrivers. Before you begin any repair work, make sure you have unplugged your appliance, and shut off the water supply if applicable.
Sold individually. These shock absorbers keep the washer from vigorous shaking during its cycles. This shock absorber is for washers.
Shock absorber absorbs the vibrations and movements of the outer washer tub.
Unplug the washer before installing this part. Wear work gloves to protect your hands.
This touch-up paint can be used on a wide variety of household appliances. It is most often used on washers, dryer, refrigerators, dishwashers, ranges, freezers, trash compactors, or microwaves. It is an 18 ml, or.6 fluid ounces, bottle of touch-up paint. It also features a brush for easy application. This quick-drying, long-lasting paint...Read more is perfect for fixing any nicks, scratches, or chips on the exterior of your appliance. This paint is white in color, and provides a durable finish.
The hose clamp is used to hold the water hose in place which will prevent the hose from leaking water. Sometimes the clamp may lose its ability to latch on, causing a leaking washer. For the installation, you will need a flat head screw driver to replace the clamp and a drill to access the screws to remove the front of the washer. Be care...Read moreful if you do not have specific clamp pliers as the clamp could fly off. Once the front of the washer has been removed, take a quick look for water damage or any obvious signs of where the leak is coming from. If it is not obvious, run water to test.
Affresh Washing Machine Cleaner includes three slow-dissolving tablets that help remove odor-causing residue from inside the washer. Suitable for all washer brands, including high-efficiency (HE) machines, the formula is also septic-safe. Place one tablet directly in the empty wash basket and run the Clean Washer cycle, or use a normal cycle with hot water. Use monthly or every 30 wash cycles for best results.
This is a replacement tub-to-pump hose for your washer. This hose runs from the bottom of the tub to the water pump, and is used to transport water. The hose can develop a hole, and when this happens you will notice water leaking onto the floor. The tub-to-pump hose is found below the washer tub. To disconnect the hose, you will need to r...Read moreelease the clamps that hold it in place with a pair of pliers. When you replace the tub hose, you will need to transfer the ball, air chamber, and clamps from the old pump to the new one. To do this, you will need a set of wire cutters and a new zip tie to replace the one you will need to cut.
This front-load washer door latch assembly is a vital safety and operational component designed to secure the door during the wash cycle. It ensures the machine only functions when the door is properly closed and locked, preventing accidental openings and potential water leaks. Constructed from high-strength ABS plastic and corrosion-resi...Read morestant metal, it offers long-term durability under frequent use. The latch automatically engages and disengages at appropriate points in the cycle, contributing to both user safety and machine efficiency. Replacement is recommended if the washer door fails to close or lock, or if the machine won’t start or complete its cycle. Installation should be performed with the washer unplugged, and model compatibility should be verified before purchase.
This part is the replacement drive belt for your washer. It is made of black rubber and is approximately ½ an inch wide and 48 inches long. It has 6 grooves and is sold individually. The drive belt is found between the motor pulley and the drive pulley, and it connects the motor to the drive system. When the belt is running, it allows the...Read more basket or tub to spin. If the belt is stretched, worn, or broken, the tub will not turn. A warped belt can also cause the washer to be noisy while operating. This part is an authentic OEM part sourced directly from the manufacturer.
Ask our experts a question about this model and we'll get back to you as soon as possible!
We may have answered a similar question already! Search questions and answers left by others using simple keywords like "fit", "broken", "easy", or "quality" to find questions that match.
Search filter:
Clear Filter
Your search term must have 3 or more characters.
Sort by:
Prev
1
2
3
Next
Sorry, we couldn't find any existing answers that matched.Try using some different or simpler keywords, or submit your new question by using the "Ask a Question" button above!
Margarita - For model number WFW9050XW00
December 7, 2019
Porque mi lavadora le pongo el ciclo de lavado y después de dar varias rotaciones se detiene y prende la luz de wash y deja de continuar y la tengo que apagar para que bote el seguro de la puerta
Hola Margarita
Gracias por tu pregunta. Desenchufe la lavadora o desconecte la corriente. Espera 5 minutos. Enchufe la lavadora o vuelva a conectar la alimentación. Ejecute otro ciclo. ¡Espero que esto ayude!
5 peoplefound this instruction helpful.
Was this helpful?
Thank you for voting!
Bruce - For model number WFW9050XW00
January 12, 2020
Washer wont go onto high spin cycle
Hello Bruce and thank you for writing.
It certainly sounds like it could be a faulty or loose belt PS11746258, you should check for signs of damage, and replace if necessary. We hope this helps. Please contact us anytime if you require further assistance.
Stops and beeps, seems to be beeps and the lights 2x, stops and then again
Hello and thank you for writing.
This could possibly indicate a malfunctioning door lock latch PS11751211 and/or possibly a faulty temperature sensor PS11755214. We hope this helps. Please contact us anytime if you require further assistance.
When pushing the button door locks no water dispense within 10 minutes washer makes sound cycle to wash is over but you cannot open the door after two minutes it beats to cut off and then you can open up the door but it has done nothing :
Hi Arnita, thank you for contacting us. If the washer is not filling with water. There are some parts that you will need to check to see which one is causing the issue. The parts that fix this issue the majority of the time are the water inlet valves. Before testing the water inlet valves, make sure that the washer has been unplugged from the electrical outlet. From our website, the water inlet valve will most likely be found directly behind the hose connections. You will need to remove the rear panel in order to access it. Once you have located it, remove the valve in order to test it. Before testing it, inspect the screens inside the valve and the valve itself for any debris or damage. Be very careful when doing this as screens cannot be replaced, and if they become damaged the valves will need to be replaced. Set your multi-meter to Rx1 and touch the probes to the terminals. The reading of a functional valve varies from model to model, refer to your owner’s manual to determine what your reading should be. If the readings are not what they should be the valves will need to be replaced. If the valves are fine you will need to check both the water level switch and the hose that it is attached to. Inspect the air dome hose by submerging it in water, sealing one end and blowing in the other, no bubbles should come out of the hose during this test. Additionally, you should inspect it for any signs of wear or damage. You will need to remove your appliance’s cabinet to access the air dome hose. Remove the water level switch to. It is usually found below the control panel but may also be found below the sump area below the tubs. Inspect the switch for any signs of wear, burning, cracking, or damage. If the air dome hose is not damaged or if your switch shows any of the symptoms above, replace the switch. We hope this helps!
The machine goes through most of the cycle then stops and beeps, then the "add garment" light comes on. What do i need to fix it?
Hello Allan,
Thank you for your question. This is normal for your washer, this option is available in all wash cycles except Rinse & Spin, Drain & Spin, and Clean Washer with AFFRESH TM cycle. When this option is available at the beginning of the cycle, the Add Garment status light will illuminate for approximately the first 7 minutes. This washer allows a 7-minute period in which other garments may be added to a load. We hope this helps.
Was this helpful?
Thank you for voting!
Prev
1
2
3
Next
✖
Ask a Question
Ask our experts a question on this model and we'll respond as soon as we can.
See how others fixed this model. Time, tools, difficulty, and steps that lead to victory!View More
Search repair tips from other customers using simple keywords like "replace", "fit", "remove", "inspect". DIY doesn't mean you have to do it alone!
Search filter:
Clear Filter
Your search term must have 3 or more characters.
F 21 error
376 of 425 peoplefound this instruction helpful.
Andrew from St.Louis, MO
Easy
15 - 30 mins
Screw drivers, Socket set
Removed the front panel unplugged The washer drained water out, lift the washer up to un screw the drain pump. Then unhooked the hoses from pump put the other pump in.
Was this helpful?
Thank you for voting!
water pump failed
98 of 110 peoplefound this instruction helpful.
Kurt from Caliente, NV
Really Easy
15 - 30 mins
Nutdriver, Pliers
Pump started making noises like ball bearings grinding. took the lower front cover off pulled the strainer out of the pump housing and found $2.55 in nickles dimes and quarters. Some 223 bullets and about 20 bobby pins. Together they had destroyed the impeller, so ordering a new one and installing it did the trick. Easy installation about
... Read more 15mins.
Read less
Was this helpful?
Thank you for voting!
Door latch module was defective
103 of 125 peoplefound this instruction helpful.
Carlton from Greer, SC
Easy
Less than 15 mins
Nutdriver, Pliers, Screw drivers
This model is a front-loading washer. The spring loaded retainer for the front of the boot must be removed, then the boot can moved to the side exposing the module. Remove the two screws holding the model, pull the model out, remove the three electrical plugs, then reverse this procedure to install new module.



 My Orders