



 My Orders




WFMC220BUC-13 Bosch Washer - Overview
Diagrams for WFMC220BUC-13
See every part. Know exactly what you need.

Enter a part description. DIY Heroes keep it simple, eg. "belt" or "pump".
Search filter:
Clear Filter
Your search term must have 3 or more characters.

$61.07
In Stock
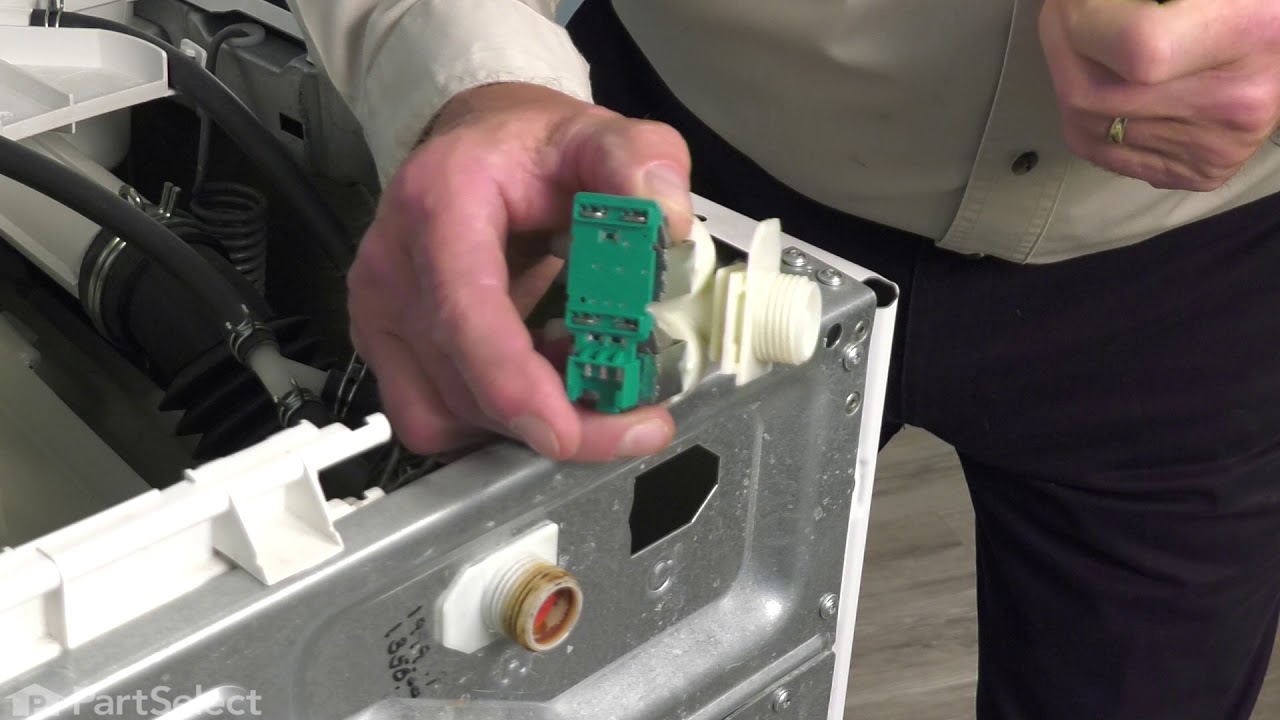
Cold Water Inlet Valve
Part #00422244
This valve is used in washers and it is known as the washer inlet valve. This specific valve is used to control the flow of cold water into your washing machine. If your washer is leaking, if it will not fill, if it is taking a long time to fill, or if it will only operate with hot water the dual inlet valve made be restricted or damaged....Read more If you find this valve is damaged or restricted it will need to be replaced. Before you replace this part, or any other part on your washer, make sure the water supply has been shutoff and ensure the appliance is unplugged.
Read less

$91.13
In Stock
Bellow Assembly
Part #00667489
This is a bellow assembly, also known as a door boot gasket kit, and it is designed for use with front load washers. This gasket acts as the main seal between the door of the washing machine and the wash tub. This seal might wear out over time, or it might be damaged, resulting in water leaking from around the door during the wash cycle. ...Read moreIf you notice leaks coming from the door it may be time to replace the door boot gasket on your washer. This kit includes the seal, the front and rear spring clamps, and installation instructions.
Read less

No Longer Available
Drain Pump - 120V 60Hz
Part #00436440
This drain pump, also referred to as a drain pump motor assembly, is designed for use with front load washers. This pump is used to remove the water from your washing machine during the washing cycle. When the spin speed of the tub is maintained for a specific period of time the drain pump is then activated. If your washing machine will n...Read moreot drain you may have an issue with the drain pump, it may be damaged, clogged, or faulty. If you find an issue with your drain pump you will need to replace it. This drain pump assembly includes the drain pump motor, impeller, pump housing, and pump filter.
Read less

$43.62
In Stock
Hot Water Inlet Valve
Part #00422245
This valve is designed for use with washers. Inlet valves on washers are what control the flow of water into your appliance, this valve is used to control the flow of hot water into your washer. If your washer is leaking, if it is only washing in cold water, if it is not filling at all, or if it is filling slowly you will need to check th...Read moree inlet valves. If you find this inlet valve is clogged, restricted, or damaged in any way you will need to replace it. Before starting repair work you need to shut off the water supply, this helps prevent any flooding or mess while replacing the valve in your washer.
Read less

$15.35
Special Order

$16.64
Special Order
Shipping Bolt with Spacer
Part #00175724
Front-loading washing machines use a suspension system to support the tub during the wash cycle. This suspension system is only designed to handle a certain amount of movement, so when you are transporting or moving the machine you will need shipping bolts to hold the tub in place. Using shipping bolts will help you limit any potential da...Read moremage that can be done to the suspension system during transport. This shipping bolt is comprised of three pieces, the bolt, the washer and the sleeve. You will need four of these bolts to hold the tub of your front load washer in place for moving.
Read less

No Longer Available
Sleeve
Part #00422204

$7.68
In Stock
SLEEVE
Part #00422174

$70.48
In Stock
Shock Absorber
Part #00642112
Shock absorbers keep the washer from vigorous shaking during it's cycles. They are sold individually.

No Longer Available
Washer Drive Belt
Part #00491680
This drive belt is for washers. Drive belt connects the drive motor to the drive system in the washer to spin the basket.

No Longer Available
Mechanical Door Lock
Part #00497255
This mechanical lock is designed to your washing machine door closed while it operates. If your washer door will not close, or your washer will not start you will need to inspect the locking mechanism. With extended use the mechanism might wear down and begin to fail, or it might break, at which point it will need to be replaced. Please n...Read moreote this mechanical lock does not include the release cord, or the striker. To successfully complete this repair you will need a screwdriver. Before you begin working on your washing machine, unplug it and shutoff the water supply.
Read less

$34.89
Special Order
HINGE-DOOR
Part #00644665
Common Symptoms of the WFMC220BUC-13
How this model fails, and the parts that fix it.
Leaking
Fixed by
these parts
these parts


Show All
Will not drain
Fixed by
these parts
these parts

Show All
Water Filling Issues
Fixed by
these parts
these parts
Show All
Watch our pros, then fix it yourself.
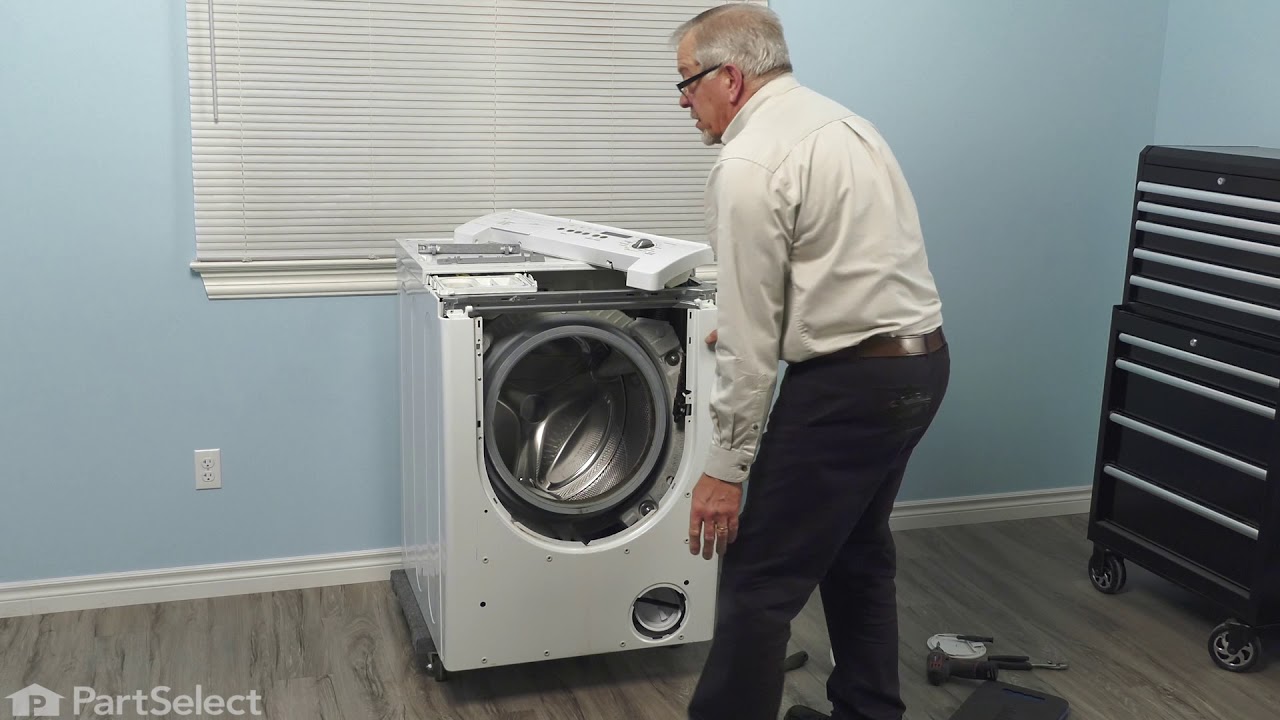
See how others fixed this model. Time, tools, difficulty, and steps that lead to victory!
View More