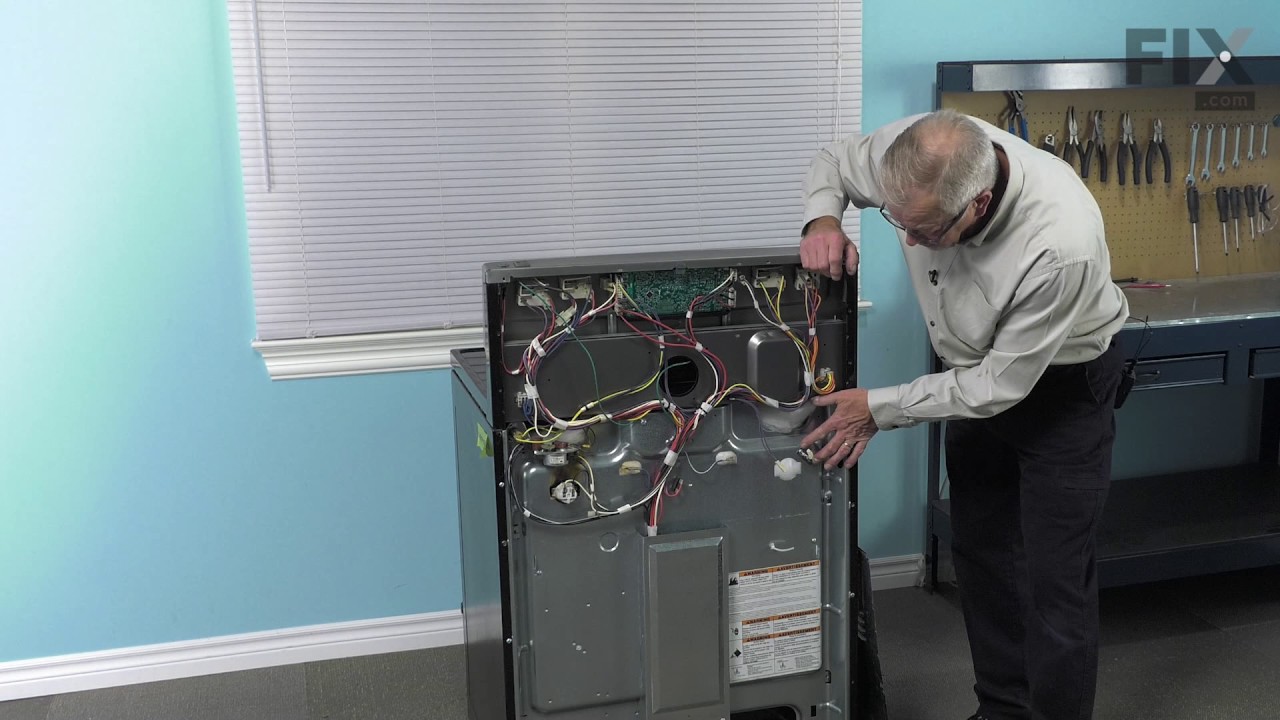
This oven temperature sensor, for ranges, works together with the oven control board to measure and regulate the oven temperature. The sensor detects the temperature in the oven cavity. If the following symptoms occur, replacing the temperature sensor could be the solution: Little or no heat when baking, oven not heating evenly, oven will...Read more not start, and/or oven is overheating. Often, if the sensor is defective, the oven temperature will fluctuate and be inaccurate by more than 50 degrees. The tool needed for this replacement is a #2 square head screwdriver or a #2 Philips screwdriver. Remember to unplug the range before installing the part.
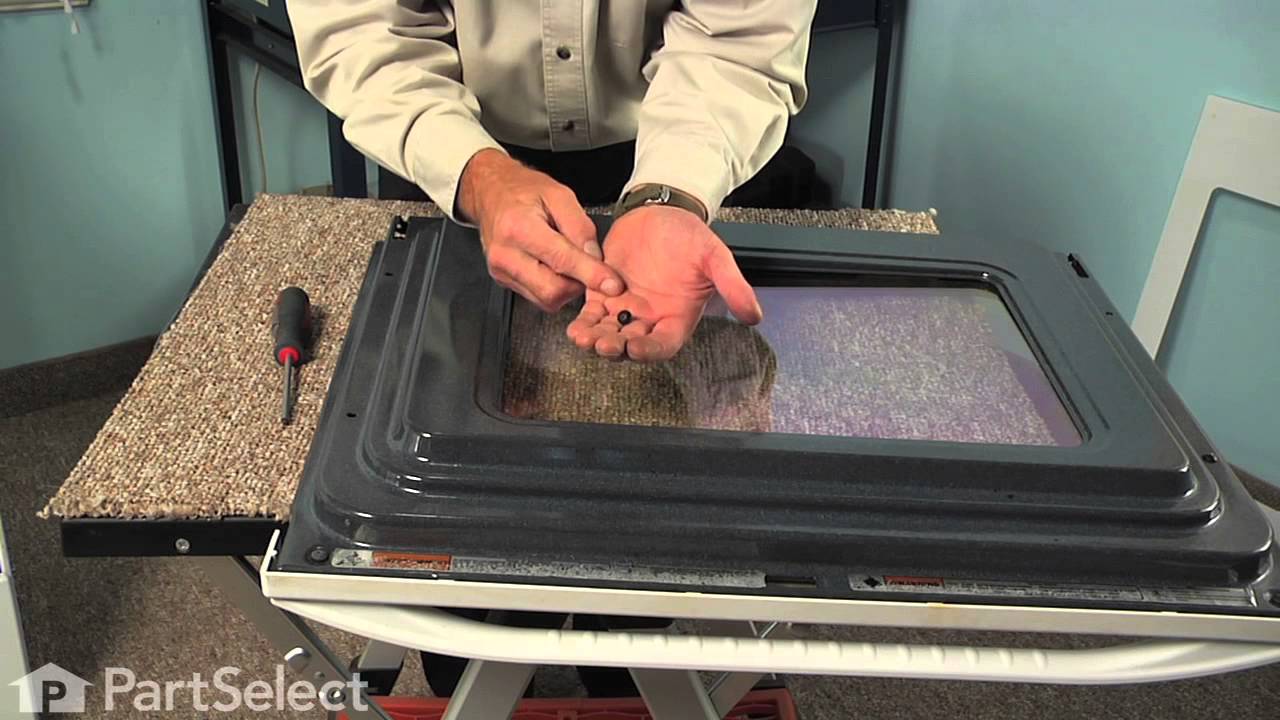
This is a multi-use and multi-appliance screw. It can be used on a microwave, refrigerator, range/oven, air conditioner, dehumidifier, washer, or dryer. The measurements of this screw are 8 x 1/2 inch. It has 6 threads. Refer to the manual provided by the manufacturer for further information on repair and accurate guidance. Remember to wear work gloves as a safety precaution.
This touch-up paint can be used on a wide variety of household appliances. It is most often used on washers, dryer, refrigerators, dishwashers, ranges, freezers, trash compactors, or microwaves. It is an 18 ml, or.6 fluid ounces, bottle of touch-up paint. It also features a brush for easy application. This quick-drying, long-lasting paint...Read more is perfect for fixing any nicks, scratches, or chips on the exterior of your appliance. This paint is white in color, and provides a durable finish.
This is an oven igniter for various ranges. This part is designed to ignite the gas from your oven and provide the heat output inside it. If your oven is having issues turning on or heating up properly, this igniter is likely bad or shorted, and in need of replacement. Replacing this igniter will only require a screwdriver and will simply...Read more need to be disconnected via its wire harness connection, and then reconnected with the new one. This igniter is an OEM part and is sold on its own, without any other parts.
This oven rack is an OEM part designed specifically for ovens. It provides an accessible storage system for oven racks and baking sheets when not in use. This rack measures 15.5 x 25in.
This oven door gasket is designed to form a secure seal around the perimeter of the oven door, helping to maintain consistent internal temperatures during cooking. Made from heat-resistant materials, it prevents heat from escaping the oven cavity, improving energy efficiency and reducing cooking times. Over time, gaskets can wear out or b...Read moreecome damaged, leading to performance issues. Replacing a worn gasket is a simple way to restore your oven’s efficiency. This part is sourced directly from the manufacturer and is sold individually.
Ask our experts a question about this model and we'll get back to you as soon as possible!
We may have answered a similar question already! Search questions and answers left by others using simple keywords like "fit", "broken", "easy", or "quality" to find questions that match.
Search filter:
Clear Filter
Your search term must have 3 or more characters.
Sort by:
Prev
1
2
3
Next
Sorry, we couldn't find any existing answers that matched.Try using some different or simpler keywords, or submit your new question by using the "Ask a Question" button above!
Troy - For model number WFG320M0BS3
March 18, 2020
Oven wont work on broil or bake wont heat up
Hello, Thank you for your question. There are a few parts that could cause this issue in your appliance. First I would say test your elements with a multi meter to see if they are working correctly or not. They should be reading between 0 - 50 ohms to be working correctly. The other part you should check would be your oven temperature sensor. That can also be tested with a multi meter and should be reading between 1000 - 1100 ohms. If those three parts are fine however, then the issue may be in your control board. I hope that helps. Good luck with your repair.
9 peoplefound this instruction helpful.
Was this helpful?
Thank you for voting!
Duke - For model number WFG320M0BS3
February 2, 2023
How can I order this heater igniter for my whirlpool stove(oven)
Hello Duke, Thank you for contacting us. We have researched the model you have provided and have found the part you are looking for is PartSelect Number PS12348439. You just add the part to your cart and proceed with the order to choose the shipping option and fill in your information. We hope this helps!
Hello Barbara, Thank you for your inquiry. Researching the model number that you have provided, we show that the front glass and frame of the door is part# PS12348440. We have included a link to our video for a similar part to give you a general idea of the repair. We hope this helps.
4 peoplefound this instruction helpful.
Was this helpful?
Thank you for voting!
GLENDA - For model number WFG320M0BS3
September 14, 2023
How do I reattach the oven door handle that has come loose which causes the corner of the door to reattach when open????
Hello Glenda, thank you for reaching out. To reattach the oven door, you may follow the following steps. These may not be of exact model but will help you with the process. To replace the oven door handle, unplug the power cord or shut off the power supply. Fully open the oven door and the door hinge locks back. Partially close the door, then lift and pull the door to remove. Set the door on a sturdy surface. Use a Phillips head screwdriver to unthread the screws on the bottom, securing the inner and outer door assemblies. Slide the outer door assembly of the inner panel and set it aside. Now unthread the screws to release the vent trim and handle from the inner panel. Unthread the door-handle mounting screws and fully remove the old handle. Transfer the spacers from the old handle to the new one. Align the trim on the handle and spacers, then thread and tighten the mounting screws. Align the handle and trim assembly on the inner door panel and secure it with the screws. Slide the outer oven door assembly into position on the inner panel assembly. Thread and tighten the three screws at the bottom. Reinstall the oven door by inserting the door hinges into the hinge slots. Lower the door to its fully open position, then rotate the hinge locks forward. We hope this information helps!
3 peoplefound this instruction helpful.
Was this helpful?
Thank you for voting!
Michael Burke - For model number WFG320M0BS3
June 21, 2026
how do I reset the clock
Hello Michael, thank you for reaching out. To reset the clock, first make sure both the oven and timer are turned off. If they are on, press Cancel to turn off the oven and press TIMER SET/OFF twice to cancel the timer. Then press CLOCK. After that, use the TEMP/TIME up or down arrow buttons to set the correct time of day. Once the time is set, press CLOCK again or press START to confirm and finish setting the clock. We hope this information helps!
2 peoplefound this instruction helpful.
Was this helpful?
Thank you for voting!
Prev
1
2
3
Next
✖
Ask a Question
Ask our experts a question on this model and we'll respond as soon as we can.
See how others fixed this model. Time, tools, difficulty, and steps that lead to victory!View More
Search repair tips from other customers using simple keywords like "replace", "fit", "remove", "inspect". DIY doesn't mean you have to do it alone!
Search filter:
Clear Filter
Your search term must have 3 or more characters.
mice had made nests in the insulation wrap in the range
129 of 210 peoplefound this instruction helpful.
Wendy from Red Hook, NY
Easy
More than 2 hours
Screw drivers
I numbered every part. ex: 1 L., for first part removed left side. I used a magic marker to circle the holes and wrote the number of screws used on the part, set the srews in a separete place, so that I new where these screws went to. The cleanup was pretty time consuming, but I was able to keep my stove, when every repairman I called to
... Read more fix my stove told me I was better off buying a new stove. ($600.00 stove 2 years old)Please Note: The insulation blanket needed for the entire stove is two pieces, the sides and top are one part # and the bottom and back, are another part #. I did not know this. I just purchased the top and sides. I got lucky, the back and bottom were still in good shape. So I guess I should have read the description of the part more carefully to see what it covers, before I ordered it. It took two people two hours to do the work, it was really nice to have an extra set of eyes, to remember what direction pieces of metal from the stove went. I would do it all over in a heart beat instead of buying a new stove.
Read less
Was this helpful?
Thank you for voting!
temperature not accurate after 3 1/2 years of happy usage
144 of 272 peoplefound this instruction helpful.
Ruth from Oregon, IL
Really Easy
15 - 30 mins
Screw drivers
Opened up the back of the stove. Unpluged the sensor. Replaced the sensor. Replace the back of the stove.
The sensor that has been replaced is not what is expected. After reading all of the instructions for adjusting the temperatures, the only temp that stays steady is when we first turn on the oven to 350 degrees. That stays s
... Read moreteady but when I turn it to 400 it slowly goes up to 425 degrees.
Read less
Was this helpful?
Thank you for voting!
Oven stuck in cleaning mode
48 of 88 peoplefound this instruction helpful.
Hal from Santa Rosa, CA
Really Easy
Less than 15 mins
Screw drivers
Google the error code that the range was displaying and found others with the same symptoms. Then found several people that had fixed the problem by replacing the oven sensor. I then ordered the sensor and replaced it, which fixed the problem.




 My Orders