


EasyApplianceParts is now PartSelect! We've merged our sites to provide a better shopping experience for you.   Full Details
✖

Find Parts

Parts Departments

Top Model Types

Top Brands

Repair Help

Expert Repair Videos

Keep typing for more specific results...

WF700B4BKWQ (EC-0001) Samsung Washer - Overview

Diagrams for WF700B4BKWQ

See every part. Know exactly what you need.

Enter a part description. DIY Heroes keep it simple, eg. "belt" or "pump".

Search filter:
Clear Filter
Your search term must have 3 or more characters.
Hex Head Bolt – Part Number: DC60-40137A
$16.45
In Stock
Hex Head Bolt
★★★★★
★★★★★
(1)
Part #DC60-40137A
This part is used for the shaft on the rear of the tub and is sold individually. The head bolt is part of the spider arm assembly, and they are generally changed at the same time. If you are replacing the entire spider arm assembly, make sure you order as many hex bolts as you will need. The spider arm assembly contains 6 of these hex bolts. The hex bolt or spider arm assembly may need to be replaced if you notice that your inner tub is going out of balance. The hex bolt measures 1.5 by 0.5 inches.
Tapping Screw – Part Number: 6002-000520
$6.40
In Stock
Tapping Screw
Part #6002-000520
This manufacturer-approved screw is for refrigerators, including Kenmore refrigerator model. Avoid cross-threading refrigerator screw during installation.
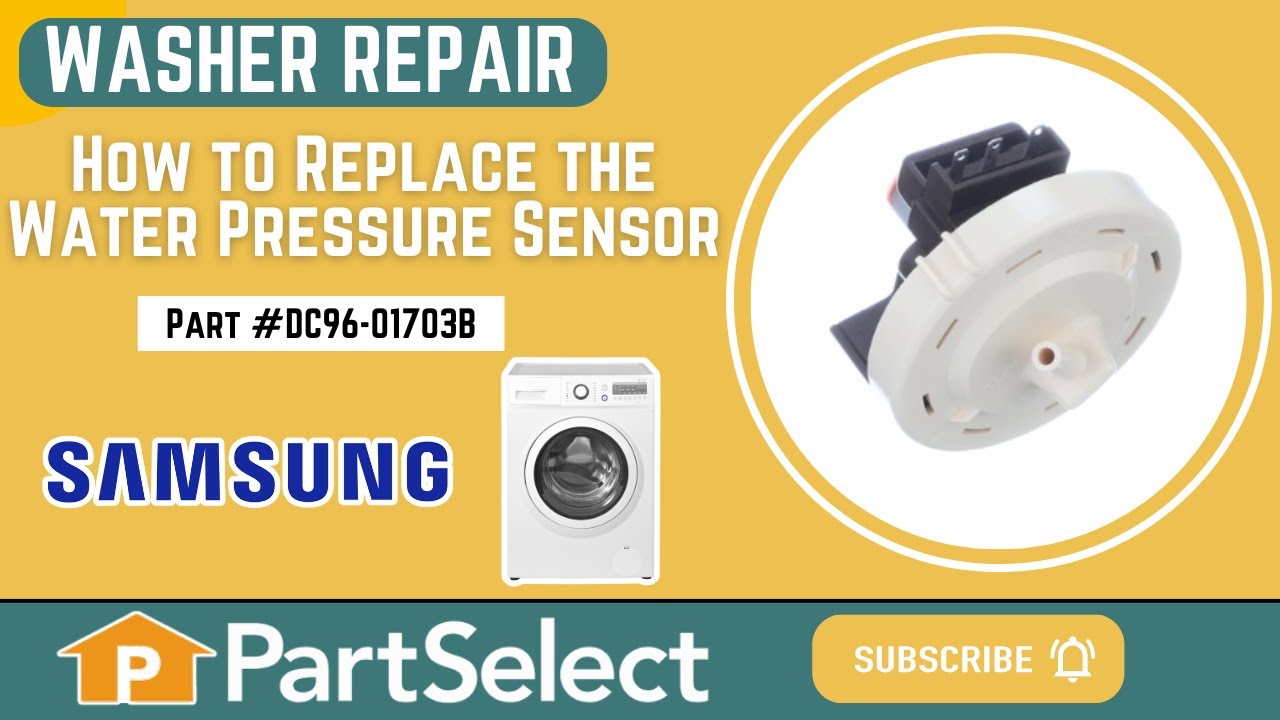
Washer Water-Level Pressure Switch – Part Number: DC96-01703B
$82.95
In Stock
Washer Water-Level Pressure Switch
Part #DC96-01703B
The pressure switch senses and controls the water level in the washer.
Call (800) Samsung – Part Number: CALL_1-800-SAMSUNG
No Longer Available
Call (800) Samsung
Part #CALL_1-800-SAMSUNG
Screw – Part Number: 6001-001773
$5.95
In Stock
Screw
Part #6001-001773
Screw – Part Number: 6002-000630
$6.40
In Stock
Screw
Part #6002-000630
Hinge Guide – Part Number: DC61-00891A
$5.95
In Stock
Hinge Guide
Part #DC61-00891A
This door hinge guide (part number DC61-00891A) is for dryers. Door hinge guide DC61-00891A holds and supports the door hinge on the front panel. Unplug the dryer before installing this part. Wear work gloves to protect your hands.
Washer Thermistor – Part Number: DC32-00010C
$49.52
In Stock
Washer Thermistor
Part #DC32-00010C
This thermistor is for washers. Thermistor monitors and helps regulator the water temperature in the washer. Unplug the washer before installing this part. Wear work gloves to protect your hands.
Hose Clamper – Part Number: DC65-00008B
$7.49
In Stock
Hose Clamper
Part #DC65-00008B
Self-Tapping Screw – Part Number: DE60-10082I
$24.43
In Stock
Self-Tapping Screw
Part #DE60-10082I
Wire Holder – Part Number: DC61-40081A
$6.40
In Stock
Wire Holder
Part #DC61-40081A
Noise Filter – Part Number: DC29-00015K
$122.95
In Stock
Noise Filter
Part #DC29-00015K

Watch our pros, then fix it yourself.
See how others fixed this model. Time, tools, difficulty, and steps that lead to victory! View More

Search repair tips from other customers using simple keywords like "replace", "fit", "remove", "inspect". DIY doesn't mean you have to do it alone!

Search filter:
Clear Filter
Your search term must have 3 or more characters.
The water level was lower than normal.
3 of 10 people found this instruction helpful.
  • Fredric from ROCKMART, GA
  • Really Easy
  • 15 - 30 mins
  • Pliers, Screw drivers
First unplug or turn off thee circuit breaker. Then remove the two screws to the top cover. Slide the cover back about three inches then remove the cover. Next take out the screw to the old sensor. Then unplug the electrical connection by squeezing and the pulling to disengage. Now set the old unit aside. You then grad your eight inch wi re tie and hold the with flat side to the right and just to the right of the screw hole for the bracket is a square hole. Feed to wire tie into the square hole with your left hand then loop down left side of the end of new sensor and back up threw the square hole and tighten with the pliers. Your new sensor will be positioned just like it was mounted to the metal bracket. And pretty ridged. Now connect the vacuum hose and electrical connector.
Was this helpful?
Thank you for voting!
Washer making noise a snow smoking.
18 of 79 people found this instruction helpful.
  • Samuel from NEEDVILLE, TX
  • A Bit Difficult
  • More than 2 hours
  • Nutdriver, Screw drivers, Socket set, Wrench set
Take pics every step, easier re-assembly. Dismantled washer keeping bolt/screw section removed compartmentalized in a tackle box in the order of removal. Replaced drum support, bearings, seal, old blots. Too much to write but I was able to do it all in about 4 hours once all the parts finally came in.
Was this helpful?
Thank you for voting!