This part is used for the shaft on the rear of the tub and is sold individually. The head bolt is part of the spider arm assembly, and they are generally changed at the same time. If you are replacing the entire spider arm assembly, make sure you order as many hex bolts as you will need. The spider arm assembly contains 6 of these hex bol...Read morets. The hex bolt or spider arm assembly may need to be replaced if you notice that your inner tub is going out of balance. The hex bolt measures 1.5 by 0.5 inches.
This is an outer seal clamp for the washer door boot of your Samsung washing machine. This clamp tightly seals the boot of the drum within the door of the washer to prevent leaks. This clamp is made of metal and features a spring in the middle, but over time can be worn down or break, and result in water leaking out of the washing machine...Read more and into your home. Replacing this clamp will require a screwdriver, pliers, and safety gloves. This clamp is an OEM part that comes individually, without any other parts or accessories.
This Samsung door diaphragm, commonly referred to as a door boot or door seal, is compatible with various models of Samsung washing machines. It is positioned around the opening of the washer where it creates a tight seal between the washer drum and door. This door diaphragm ensures that water does not leak out when the washer is running....Read more It also helps to reduce the noise and vibrations produced by the washer during use. The most common sign of a faulty diaphragm is leaking underneath the washer door. The diaphragm will need to be replaced if it is visibly damaged or worn down.
This weight balancer, also known as a counterweight, is specially designed for use with Samsung washers. It is one of two balancers that are positioned around the washer drum. The weight balancer helps to distribute the weight of the laundry load evenly and absorbs the shocks and vibrations that are produced while the washer is running. T...Read morehis process helps to prevent excessive movement to ensure that the unit remains stable and safe from potential damage and premature wear. It also prevents the washer from becoming disruptively noisy. The counterweight will need to be replaced if it is worn down, damaged, or can no longer stay securely attached to the washer. Each weight balancer is sold individually.
This manufacturer-approved screw is for refrigerators, including Kenmore refrigerator model. Avoid cross-threading refrigerator screw during installation.
Ask our experts a question about this model and we'll get back to you as soon as possible!
We may have answered a similar question already! Search questions and answers left by others using simple keywords like "fit", "broken", "easy", or "quality" to find questions that match.
Search filter:
Clear Filter
Your search term must have 3 or more characters.
Sort by:
Prev
1
Next
Sorry, we couldn't find any existing answers that matched.Try using some different or simpler keywords, or submit your new question by using the "Ask a Question" button above!
Thomas Anderson - For model number WF45B6300AW/US
June 10, 2026
Can you buy the washer door?
Hello Thomas, thank you for the question. Yes, the door assembly you are looking for is part number PS17503981. We hope this is what you were looking for!
See how others fixed this model. Time, tools, difficulty, and steps that lead to victory!View More
Search repair tips from other customers using simple keywords like "replace", "fit", "remove", "inspect". DIY doesn't mean you have to do it alone!
Search filter:
Clear Filter
Your search term must have 3 or more characters.
OE error code, water keeps flowing during spin cycle, softener dispenser left half full of water, clothes wet after washer stops
3 of 3 peoplefound this instruction helpful.
Gary from Peachtree City, GA
Really Easy
15 - 30 mins
Screw drivers
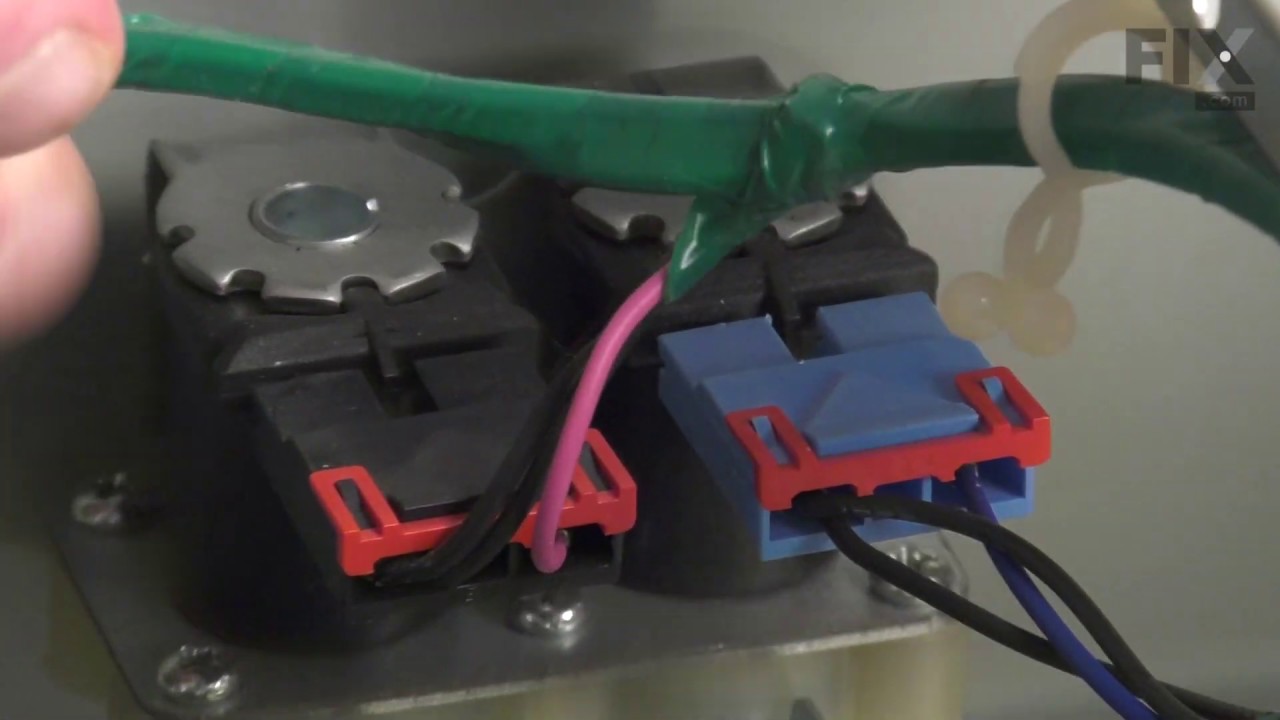
Found a repair video of a Samsung washer that looks like mine (9 years old). Removed two screws from the back of the washer, slid the top a few inches toward the front and lifted it off. Disconnected the two double electrical connections, the two rubber tubes from the solenoids, the cold water hose from the back and removed the two scre
... Read morews holding the valve in place. Installed the new valve by reversing those steps, slid the top back into place and secured it with the two screws and viola (as Kelly Bundy would say)! The washer now functions normally. I'm waiting for my next water bill to arrive to see whether the sudden increase in usage decreases to its normal amount. We have three adults and four small children in the household so the washer is constantly in use.
Read less
Was this helpful?
Thank you for voting!
The drain hose disappeared.
2 of 8 peoplefound this instruction helpful.
Thomas from Leesburg, FL
Really Easy
Less than 15 mins
The new hose arrived without a plug, so I found a golf tee that fit securely. I put a few drops of dish soap on the machine end and it slid on with a little resistance. I ran a few light cycles, and the leak has stopped. Thank you
Was this helpful?
Thank you for voting!
Washer making noise a snow smoking.
18 of 79 peoplefound this instruction helpful.
Samuel from NEEDVILLE, TX
A Bit Difficult
More than 2 hours
Nutdriver, Screw drivers, Socket set, Wrench set
Take pics every step, easier re-assembly. Dismantled washer keeping bolt/screw section removed compartmentalized in a tackle box in the order of removal. Replaced drum support, bearings, seal, old blots. Too much to write but I was able to do it all in about 4 hours once all the parts finally came in.



 My Orders