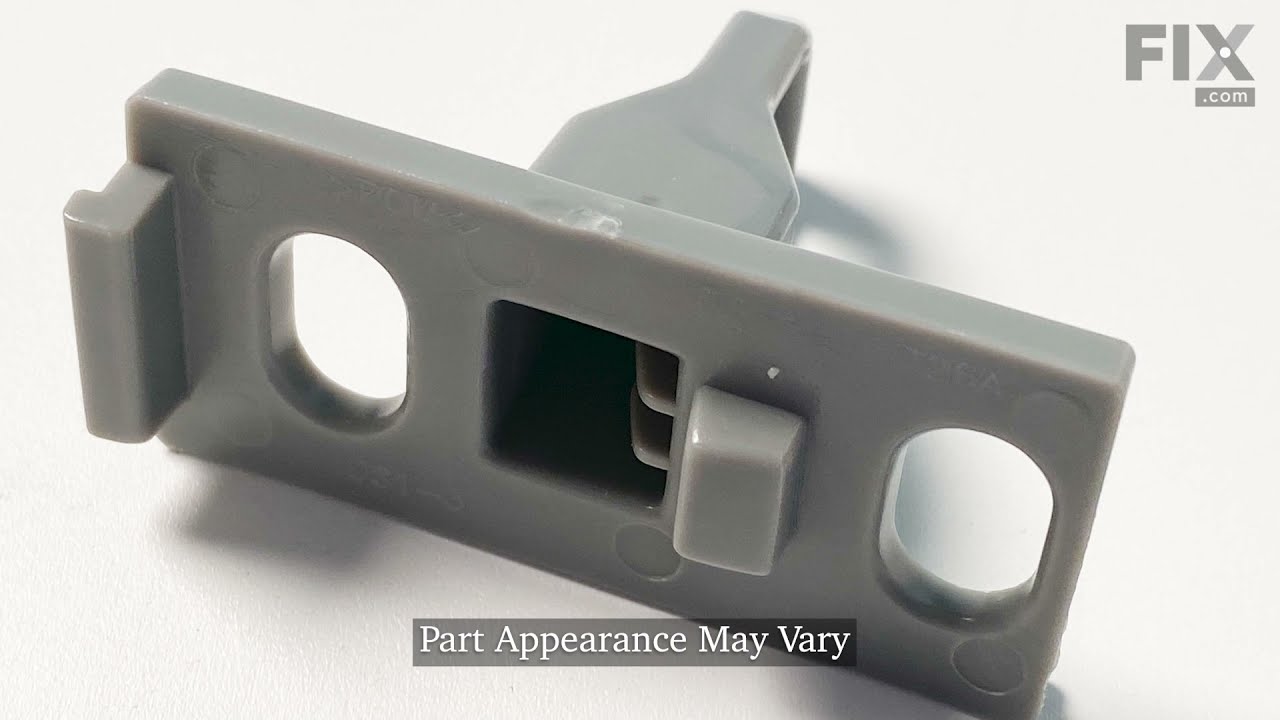
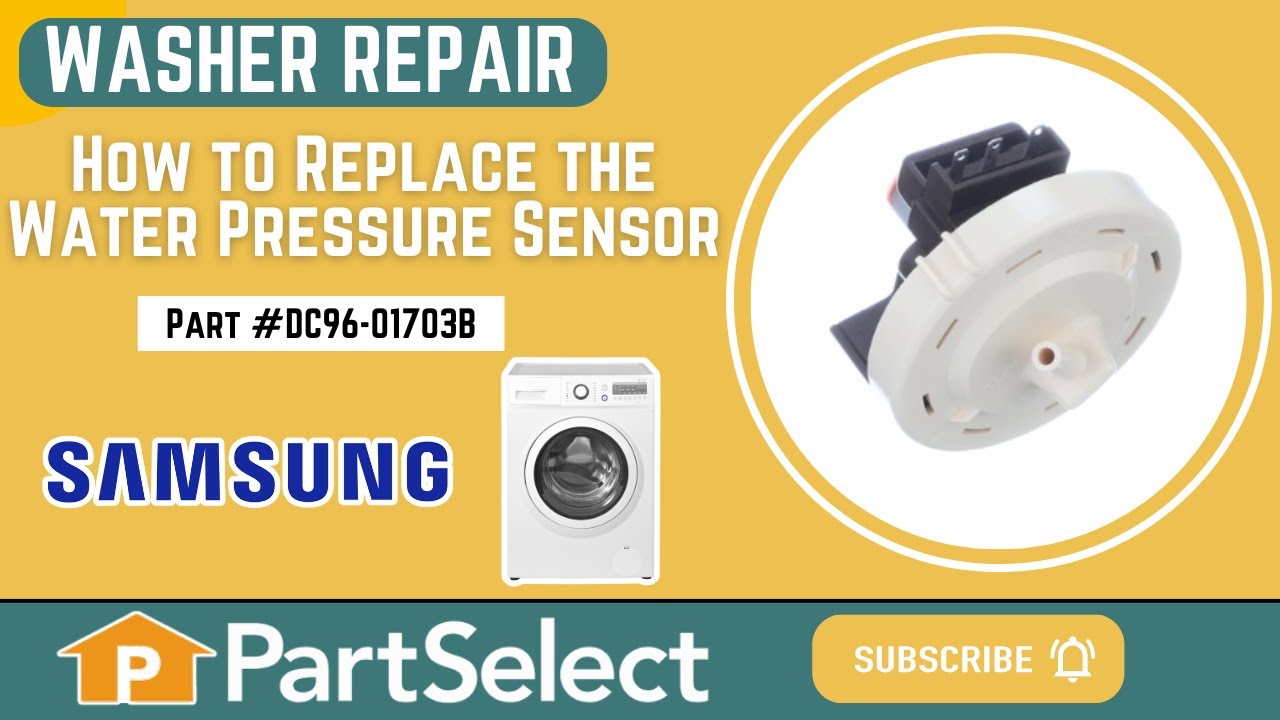
This part is used for the shaft on the rear of the tub and is sold individually. The head bolt is part of the spider arm assembly, and they are generally changed at the same time. If you are replacing the entire spider arm assembly, make sure you order as many hex bolts as you will need. The spider arm assembly contains 6 of these hex bol...Read morets. The hex bolt or spider arm assembly may need to be replaced if you notice that your inner tub is going out of balance. The hex bolt measures 1.5 by 0.5 inches.
This is an individually sold front shock absorber designed for use with Samsung dryers. Shock absorbers are used to distribute the weight of the dryer drum evenly and ensure that the different bumps and bounces that occur during the drying cycle are smoothed and counter acted. A broken shock absorber is noticeable by the amount of noise y...Read moreour dryer will make during operation. Replacing this absorber and its rear counterpart may even be necessary to the lifespan of the other dryer parts, so be sure to inspect both absorbers before ordering. To install this OEM shock absorber in your dryer, you will need to disassemble the dryer, which requires a screwdriver and wrench.
This is an outer seal clamp for the washer door boot of your Samsung washing machine. This clamp tightly seals the boot of the drum within the door of the washer to prevent leaks. This clamp is made of metal and features a spring in the middle, but over time can be worn down or break, and result in water leaking out of the washing machine...Read more and into your home. Replacing this clamp will require a screwdriver, pliers, and safety gloves. This clamp is an OEM part that comes individually, without any other parts or accessories.
This is a door switch assembly designed for Samsung washing machines. This door switch assembly is used to latch and lock the door shut before the washing cycle commences and communicates with the control board when that is done. If your washer door is not locking or latching properly, the door switch is likely bad or broken and will need...Read more to be replaced. To replace this assembly, you will need a flat-head and Philips-head screwdriver. This part is a genuine OEM switch assembly and is sold individually, without any wire harnesses or securing screws.
This is a seal for various models of Samsung washing machines. This part acts as a seal for the rear and front outer part of your washing machine tub and is used to prevent any matter of leaks. If your washing machine is leaking or you notice water outside of the tub after a cycle is finished, this seal could be worn out or damaged and ne...Read moreed immediate replacement. This seal will be located between the two halves of the inner tub and replacing it will require you to disassemble your washing machine, and only requires a few parts like a screwdriver, wrench, and pliers. This OEM seal does not come with any other parts and is sold individually.
Ask our experts a question about this model and we'll get back to you as soon as possible!
We may have answered a similar question already! Search questions and answers left by others using simple keywords like "fit", "broken", "easy", or "quality" to find questions that match.
Search filter:
Clear Filter
Your search term must have 3 or more characters.
Sort by:
Prev
1
Next
Sorry, we couldn't find any existing answers that matched.Try using some different or simpler keywords, or submit your new question by using the "Ask a Question" button above!
Jeff - For model number WF337AAR/XAA
June 28, 2022
Washer stopped during spin cycle, won’t drain or continue. Gives ND error code. Assuming not draining, but it makes a light grinding sound. Drain clogged?
Hello Jeff, Thank you for the question. The ND error code indicates the drainage system has a problem. Normally, the drainpipe, drain filter or Drain pump, is blocked and will need to be cleaned. If they are clear, the Drain Pump may need to be replaced. If you need help placing an order, customer service is open 7 days a week. Please feel free to give us a call. We look forward to hearing from you!
Why would there be water pouring out under the tub when you turn it on
Hello and thank you for writing.
It sounds like a drain hose might have come loose or damaged or more likely your drain pump PS4216974 has become defective. you should check the part(s) for signs of damage or and replace the part(s) as needed. We hope this helps. Please contact us anytime if you require further assistance.
See how others fixed this model. Time, tools, difficulty, and steps that lead to victory!View More
Search repair tips from other customers using simple keywords like "replace", "fit", "remove", "inspect". DIY doesn't mean you have to do it alone!
Search filter:
Clear Filter
Your search term must have 3 or more characters.
The washing would stop in mid cycle and the door would be locked.
6 of 11 peoplefound this instruction helpful.
Arthur from WILLARD, OH
Easy
15 - 30 mins
Screw drivers
An initial issue was getting the door to unlock. I tired several things but finally was able to pull the door as if to open it and put something between the door handle and the front of the washer while I ran a washer cycle. There is a way to take the washer top off and reach down inside the unit and pull down on a release, but I did no
... Read moret try that.
The washer has a rubber boot between the washer frame and the wash tub. There is a metal wire ring that secures the outer edge of the boot to the washer frame. Peel back the outer edge of the boot at the bottom to reveal a metal ring that has its ends connected by a small spring. Use a flat tip screw drive to pry this ring off. Peel back the boot from the washer frame.
Next use a Phillips screw drive to remove the two screws that protrude through the wash frame on the right side of the door.
Reach between the washer tub and the frame and the tub and pull the switch through the opening and the washer tub. You will have to wiggle the switch around to remove it. There are three sets of wires attached to the switch by plugs.
The switch is covered with a plastic protective cover. Remove this. You will have to use a screw driver to release various catches to do this.
Remove the three set of wires. There are catches that secure the wire plugs in place. pry them back with a small screw drive.
Attach the new switch to the sets of wires.
Attach the protective cover to the switch. The wires feed through a small slot toward the bottom of the switch.
Slide the switch through the opening where you removed it. and re-attach it using the two screws.
Put the rubber boot in the channel in the washer frame. Replace the metal ring. This was the most challenging part of the repair for me. I had to play around with this to get it into position. You have to work it around the gasket and stretch out the spring.
By the way, The service was great and exceeded by expectations.
Read less
Was this helpful?
Thank you for voting!
The drain check valve leaked
1 personfound this instruction helpful.
scott from DEERFIELD, OH
A Bit Difficult
30 - 60 mins
Pliers, Screw drivers, Socket set
The part did not fit this model. The flap part fit the hole but the seal ring is too big. I cut 1\4inch out and used super glue the make it small enough to fit and seal the hose. Make sure you only use a drop of glue and keep the seal even and flat so it will seal
Was this helpful?
Thank you for voting!
Front loader door would not lock.
3 of 9 peoplefound this instruction helpful.
Nadira from JACKSONVILLE, FL
Very Easy
15 - 30 mins
Screw drivers
Removed the rear top two Phillips screws, pull off top cover. Unscrew two phillips screws that hold the outside front lock trim, unclip (one left of housing) plastic housing. Remove one phillips screw 11 o'clock from housing, about 6" away, with door button above it, which releases the door lock housing from inside the machine. From right
... Read more side (facing machine) look down into left front of machine, you will see a black cover, which does a goid job hiding the white part, but it protects the part from water, I guess. Unclip 3-4 plugs, push spinning loader away to pull out the complete part easily. Swap back covers (a bit annoying to place wiring harness back in such a tight place, and cover on. You can try another method if you have a simpler way, like place the harness onto part first, before plugging in and placing cover. But, I kept dropping the part into the machine, which equals a little pita). Then screw the 11pm screw to hold part and the two other screws (small housing and cover), place remaining 2 screws, and lid. Pretty much undo the above procedure. Done.



 My Orders