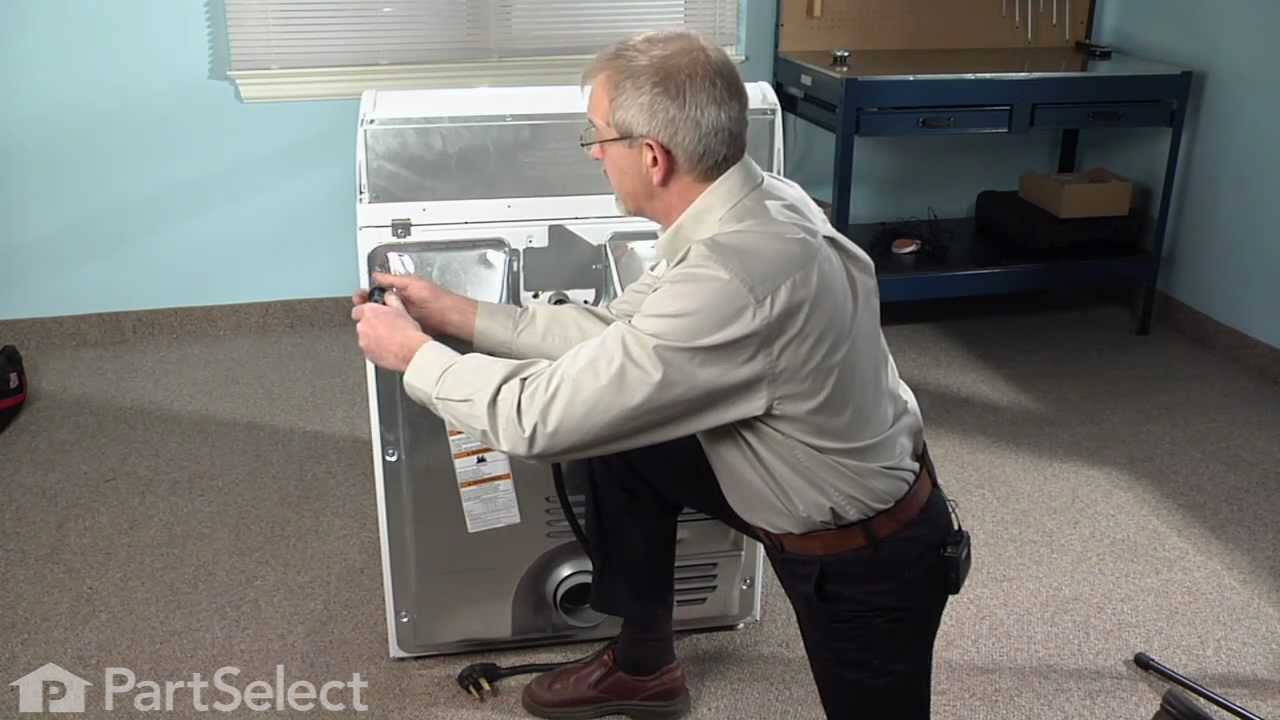
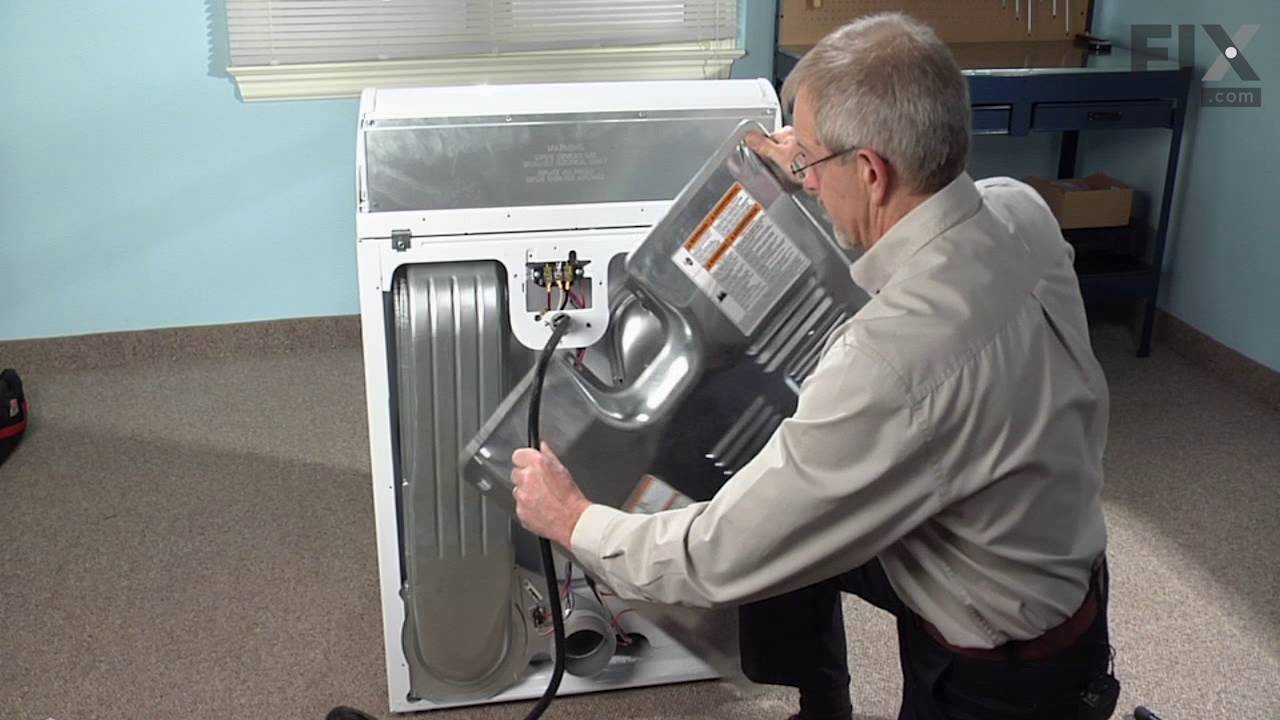
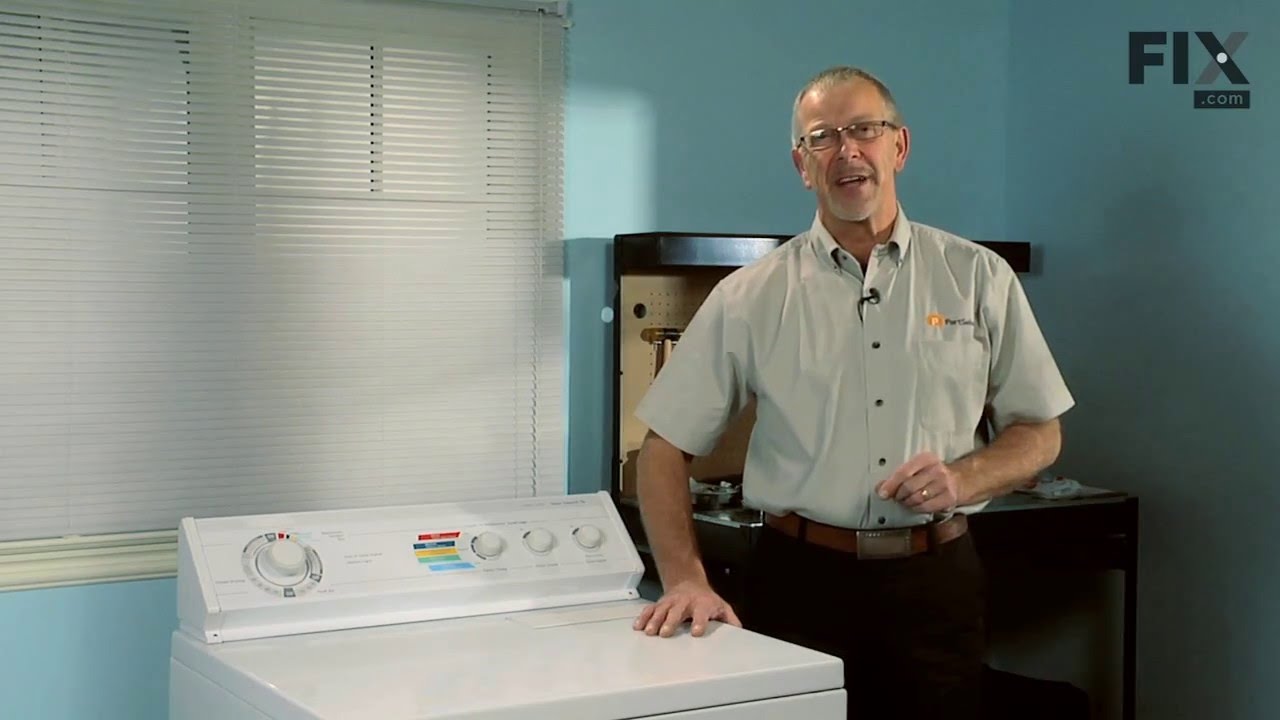
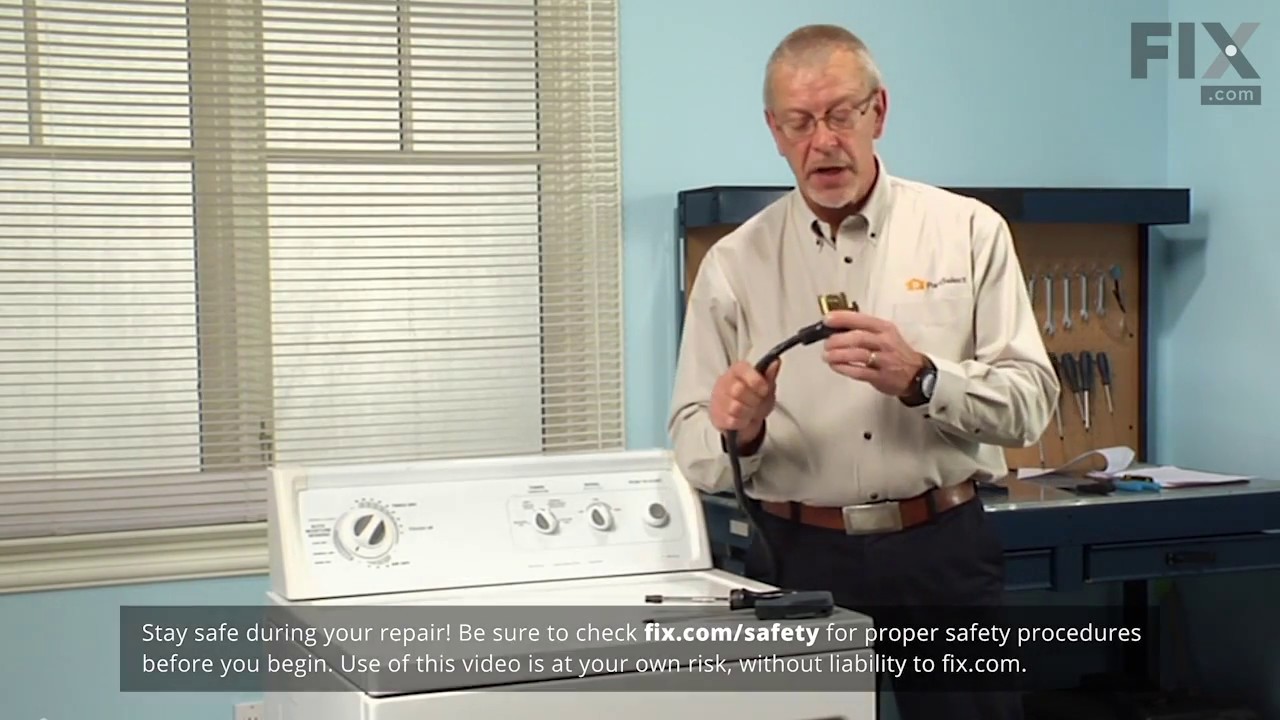
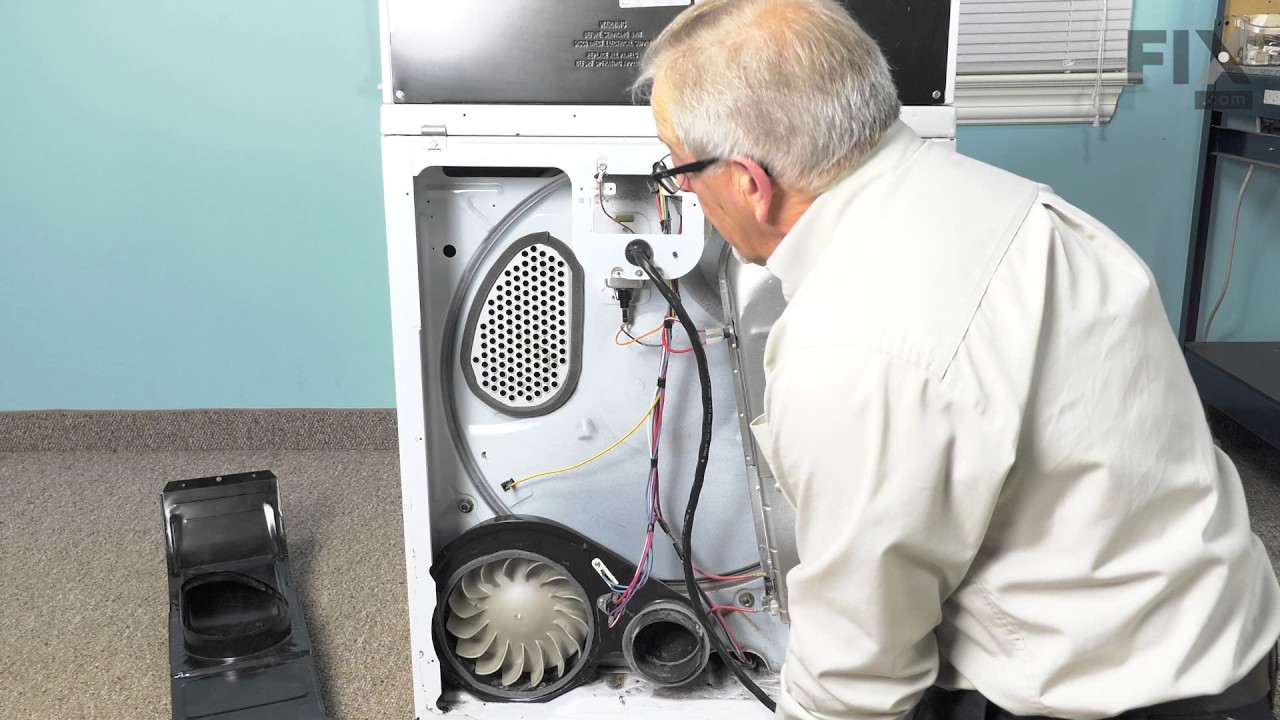
The Dryer Thermal Fuse (Thermal Cutoff, Temperature Fuse) is a 2 by ½ inch, white, plastic safety mechanism that stops the flow of electricity to the motor circuit when a dryer overheats. If the fuse is missing or broken, your dryer will not start. A thermal fuse fails when the exhaust temperature exceeds the fuse rating, that is when th...Read moree temperature rises above the temperature that the fuse is designed to handle. This can occur when a heating element is shorted, a regulating thermostat or thermister fails, or with a partially restricted exhaust vent. The fuse attaches to the blower wheel housing. It must be replaced when there is no longer continuity between the terminals. This is a one-time fuse, meaning it cannot be re-set. The replacement part features two 3/16 inch terminals.
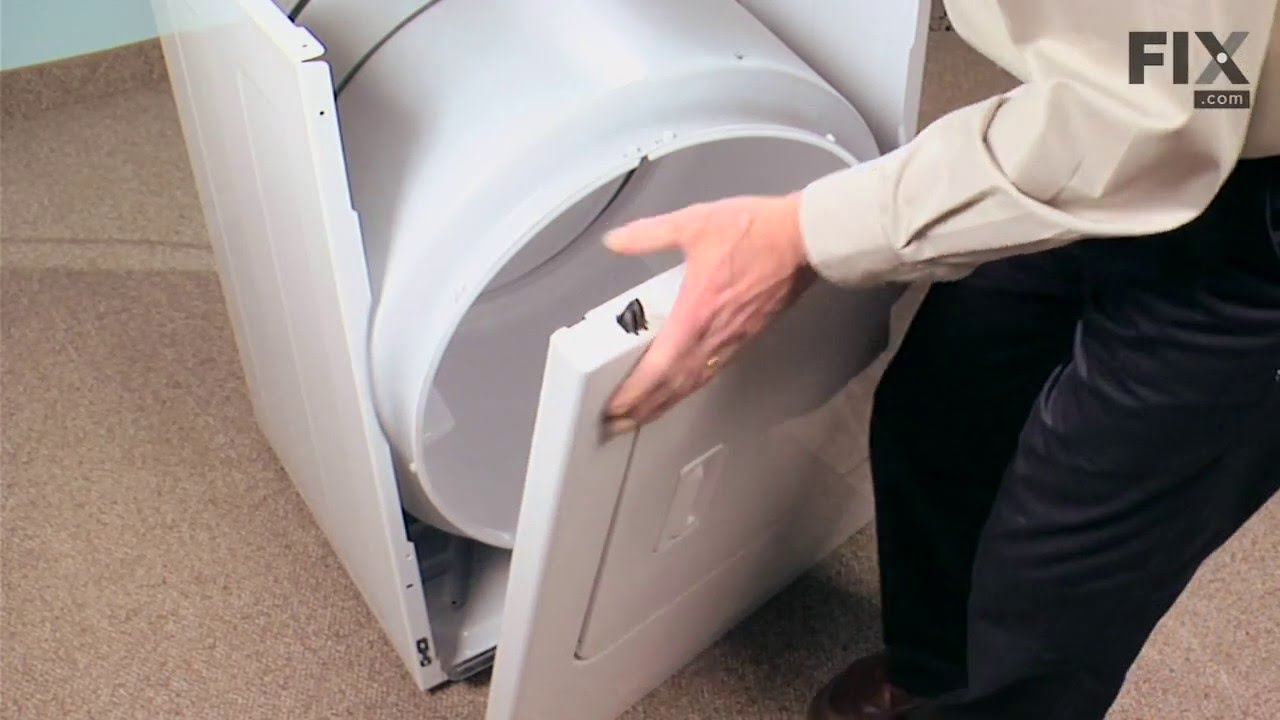
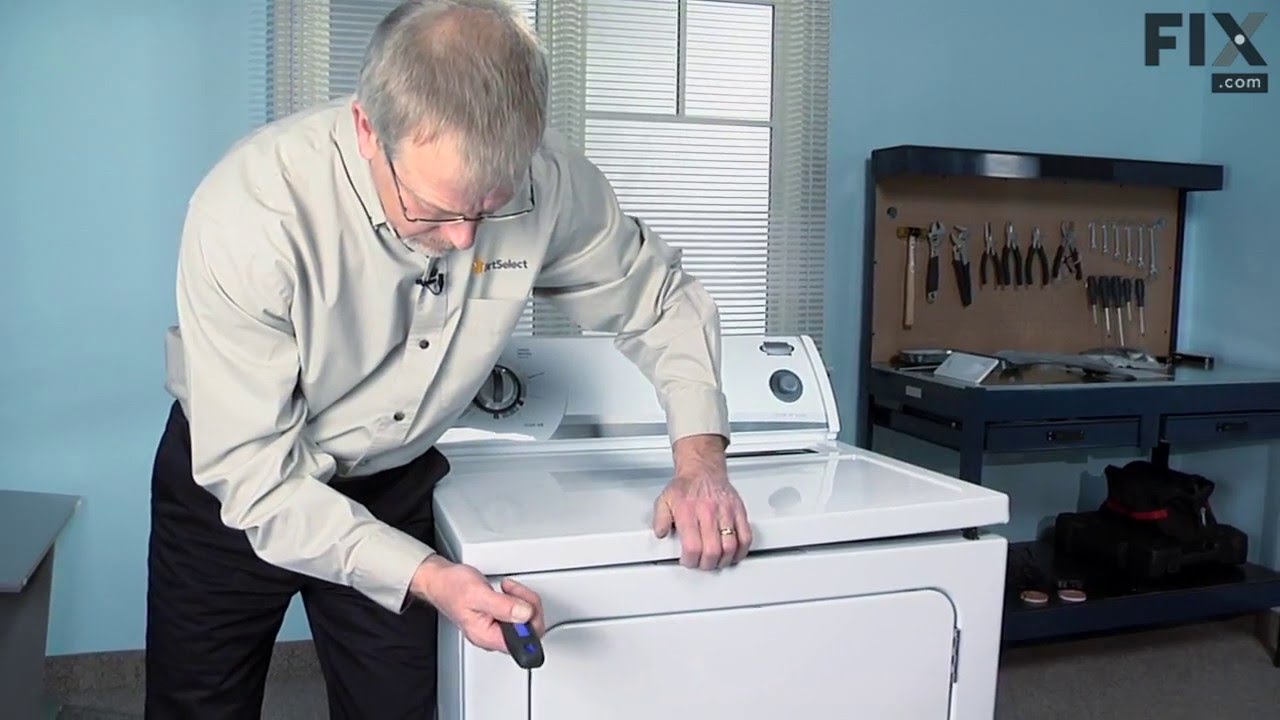
This part replaces your appliances latch (Door Latch Kit, Door Catch, Dryer Door Latch Kit). On your appliance you will find both a strike and a catch. The strike is mounted on the body of the dryer, while the catch is mounted on the dryer door. These two parts work together to keep your dryer door closed. The catch holds the door strike ...Read moreto keep the door closed during the drying cycle. If the door does not latch closed, you won’t be able to start a drying cycle. If this part is malfunctioning, you may not be able to open or close your door. In some instances, it may seem like your door is closing, but if it is not latching properly you won’t be able to start your drying cycle. You should replace this part as soon as it’s malfunctioning. Your dryer may run even though the latch is malfunctioning, but it is unsafe if the dryer continues to run while the door is open. This replacement part features 1 door latch kit which includes 2 strikes, 3 catches, and a set of instructions. This model is constructed of plastic and metal, and comes in white/silver.
The drum support roller kit allows the dryer to tumble properly by supporting the drum cylinder. The kit includes two drum rollers, four tri-rings, and one palnut (or retaining washer). The kit does not include a belt or idler pulley and rollers are not sold individually. The drum support roller kit may need to be replaced if the dryer is...Read more noisy or will not tumble. The tools needed to complete this repair are a putty knife, Phillips screw driver, and a 5/16 nut driver. This is an OEM part sourced directly from the manufacturer.
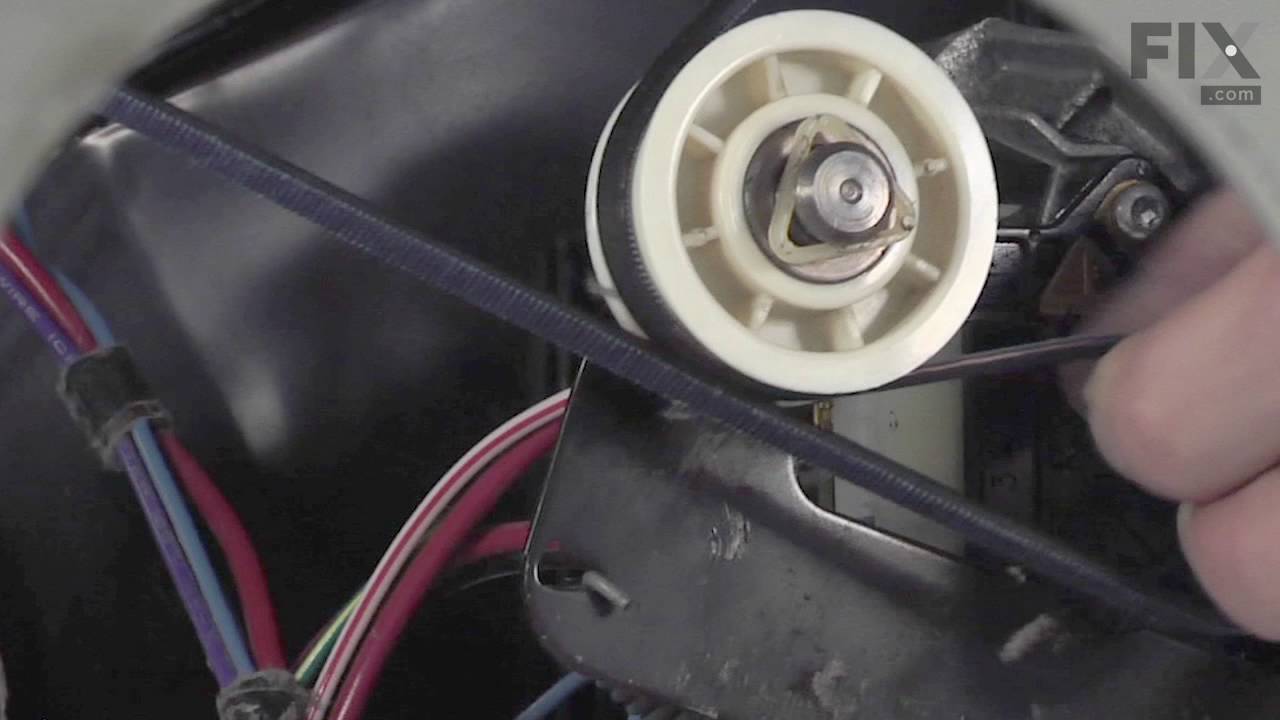
This part provides the tension required for a multi-ribbed belt. It also helps the belt rotate the drum and attaches to the idler pulley wheel. If your dryer will not start or tumble, takes too long to dry, or is noisy during operation, you may need to replace the idler pulley assembly. Make sure to disconnect power before installing this...Read more part, and wear work gloves to protect your hands. While the dryer is disassembled for this repair, consider replacing the drive belt as well. You will need a putty knife, a Phillips screwdriver, and a 5/16 nut driver for this repair.
If you notice that your dryer is noisy or will not tumble, you may need to replace the tri ring. This part is triangular, and is less than an inch in size. Tri rings can be found both on the idler pulley shaft, or on the rear drum roller shaft. In either case, you will need to remove the front panel of the dryer and the drum to access the...Read more part for repair. Once you have accessed the damaged tri ring, you will simply need to slip it off and replace it with the new one. This part is sold individually. Be sure to disconnect the power source from the dryer before you begin this repair.
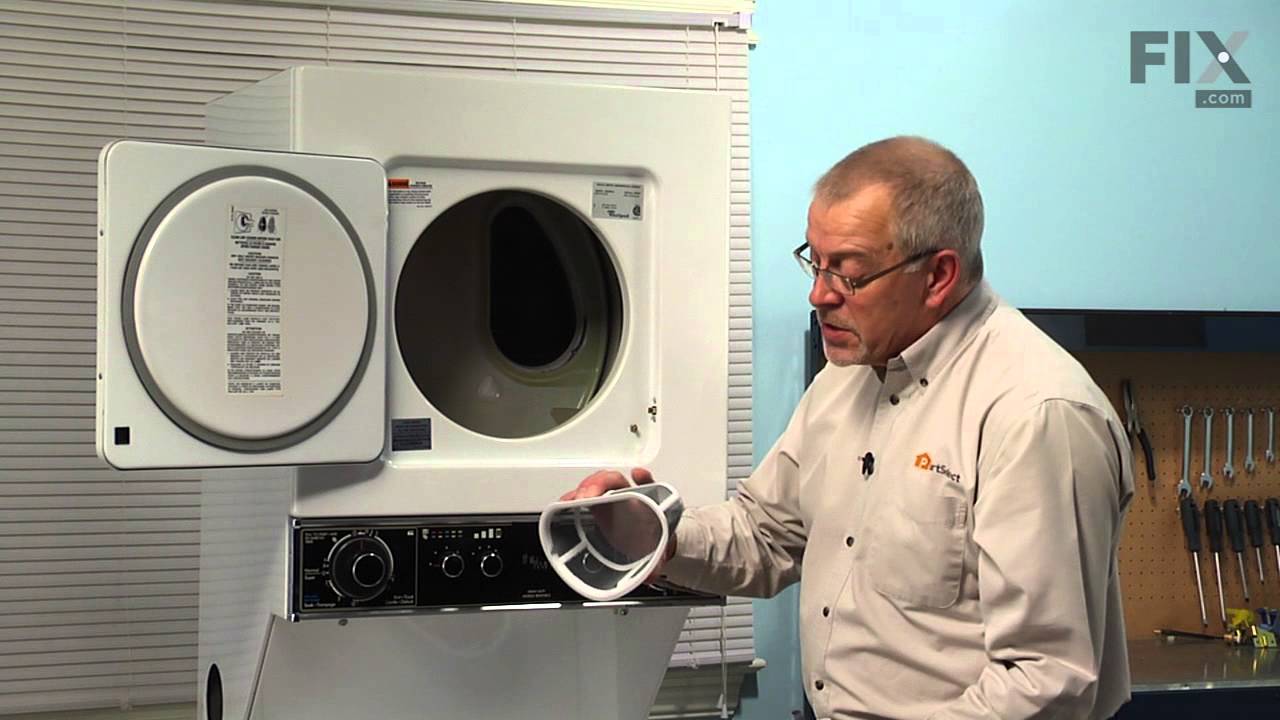
This lint filter helps keep your dryer running safely and efficiently by catching lint and fibers from clothes. It has a unique kidney shape and fits securely with four metal clips. Made from strong steel and plastic, it’s built to last. If your dryer isn’t drying well or takes too long, replacing the lint screen might help. It works with many Whirlpool and Kenmore models and is easy to install.
This push-to-start switch activates the dryer when the button is pressed and released. If your switch is not turning on or off, will not start, or the contacts inside the switch are shorted out, it is best to replace this part as a possible solution. Remember to unplug your appliance before beginning the installation process, as safety pr...Read moreecaution. For installation instructions and accurate guidance, refer to the diagram provided by the manufacturer.
This is foam seal for your dryer. It forms a seal to prevent air from escaping the rear of the dryer drum and the lint duct. This model comes with adhesive backing and is located in between the lint chute and the bulkhead of your appliance. This foam seal is just over 28 inches long and under 1 inch wide. You may need to replace this part...Read more if your clothing is taking too long to dry, or if your dryer is not generating enough heat or no heat at all.
This part is the replacement single front panel clip for your dryer. It is made of metal and is approximately 2 inches long and ¾ inch wide. The front panel retainer clip is what holds the front panel on to the dryer. If the clip is damaged or missing, or if the front panel appears loose, you may need to replace the clip. This part is sold individually and is an authentic OEM part.
Ask our experts a question about this model and we'll get back to you as soon as possible!
We may have answered a similar question already! Search questions and answers left by others using simple keywords like "fit", "broken", "easy", or "quality" to find questions that match.
Search filter:
Clear Filter
Your search term must have 3 or more characters.
Sort by:
Prev
1
2
3
Next
Sorry, we couldn't find any existing answers that matched.Try using some different or simpler keywords, or submit your new question by using the "Ask a Question" button above!
Erik - For model number WET4024HW0
May 4, 2024
Hey guys! The washer doesn't seem to fill all the way, it gets to just above half. There's plenty of water pressure, ~80psi. And the inlet screens are clean.
Hi Erik, thank you for the question. Based on the description that you have provided, we would recommend replacing the pressure switch, part number PS16875941, to fix the issue. Good luck with this repair!
My w machine on my stackable is not spinning it’s agitating drawing but not spinning. It’s new. Can i help u. I am a customer of parts select and ur company has always been top notch i recommend to all my friends thank u
Karin
Hi Karin,
Thank you for your question. If your washer is not spinning, the part that fixes the issue the majority of the time is the door latch. You should also check the belt. You will find information on how to test these parts under Free Repair Help and Instant Repairman on our website. If you need to place an order for one of them, you may order it either online or by calling our customer service line and anyone will be happy to assist you. We hope this helps! If you have any questions, please let us know.
THE UNIT HAS A GOOD POWER SOURCE OF 230VAC TO IT BUT IT DOES NOT COME ON. NO LIGHTS NOTHING. ALSO I NEED TO KNOW HOW TO DISSAMBLE THE UNIT SO I CAN REMOVE IT DUE TO A DIFFICULT LOCATION IT IS IN.
Hello Stuart, Thank you for writing. This is normally an indication the Thermal Fuse is blown, PartSelect #: PS11741460. When the fuse blows it will cut power to the appliance. We linked a how to video that may help. Good luck with the repair!
1 personfound this instruction helpful.
Was this helpful?
Thank you for voting!
Susan - For model number WET4024HW0
May 21, 2023
Can not get hot water on any setting / on key pad
It's not plugged
And the hot water valve is turned on
Hi Susan, thank you for contacting us. We have researched the model and would suggest making sure the hot water inlet hose is not clogged. If the issue remains, the water inlet valve, part number PS11769643, might be faulty. The solenoid on the hot water inlet might be faulty, causing only the cold water to enter the washer drum. Checking the water inlet valve for continuity using a multimeter might help. Good luck with the repair!
How do I remove the control panel to check the dryer switch?
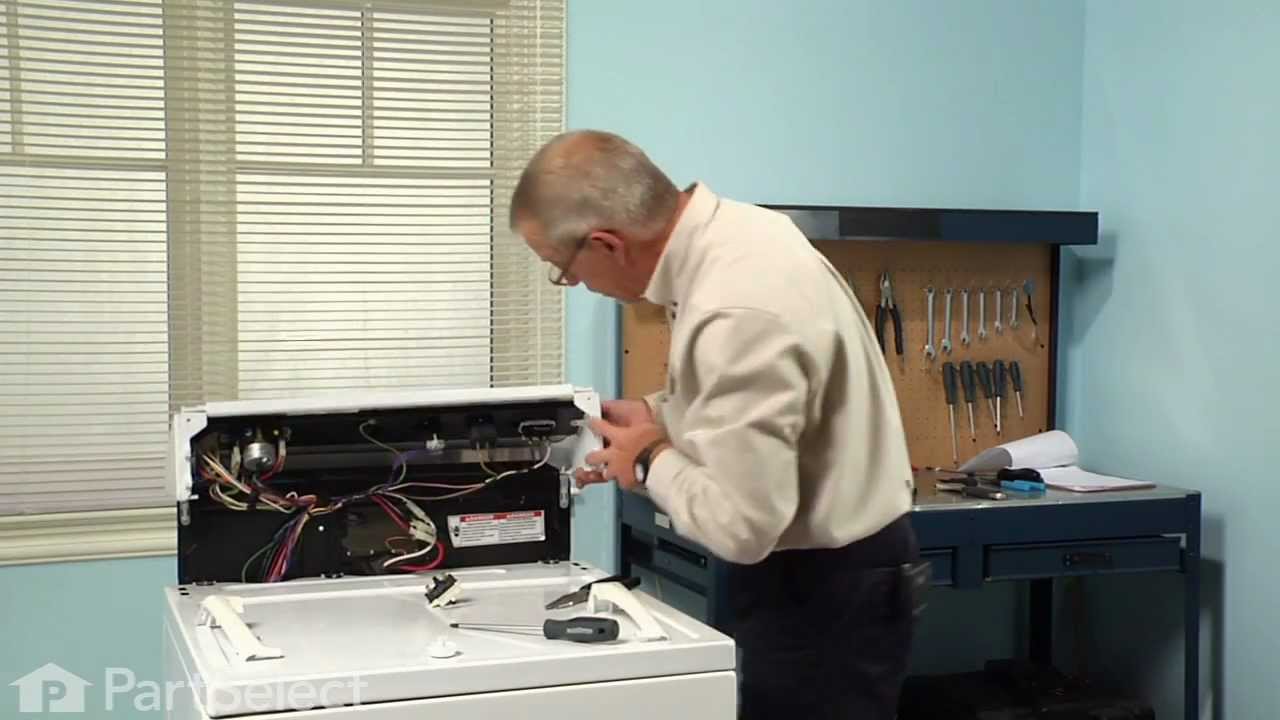
Hello Brandon, thank you for your question. Take off the timer knob and use a 1/4" hex head screw. Then, a flat head screwdriver would be used to slightly pry the sides of the console to remove it as there are two little lock tabs on each side. Then remove 4 screws on the console frame so that it can be pulled down. The Control panel is part PS12348267 and the Timer Knob is part PS10067044. The Timer is part PS11731277. The Push to start Button is PS12346962. And finally, the Push to start Switch is part PS11742178 and we have a video for you to access. If you need help placing an order, customer service is open 7 days a week. Please feel free to give us a call. We look forward to hearing from you.
See how others fixed this model. Time, tools, difficulty, and steps that lead to victory!View More
Search repair tips from other customers using simple keywords like "replace", "fit", "remove", "inspect". DIY doesn't mean you have to do it alone!
Search filter:
Clear Filter
Your search term must have 3 or more characters.
Dryer was working, but no heat.
3067 of 3491 peoplefound this instruction helpful.
ANTHONY from CHESHIRE, CT
Easy
15 - 30 mins
Nutdriver, Pliers, Screw drivers
First I unplugged the dryer, then removed the back panel, this exposed most all of the wiring and I could see the heater coils. Not knowing what the problem was I started looking at the coils and could not see any broken parts. So then checked the thermal fuse for continuity I removed the two wires from it with a small pair of
... Read moreneedle nose pliers, it was held in place by two screws, once they were removed the fuse came out easily, I checked continuity with a volt meter placing the meter on X1 Ohms and could not get a reading. I replaced with a new one and put it all back together the way I took it apart. Then I plugged it in and it worked first time, I now have warm dry clothes.
Read less
Was this helpful?
Thank you for voting!
No heat but would run otherwise
927 of 1023 peoplefound this instruction helpful.
Dana from Grassvally, CA
A Bit Difficult
More than 2 hours
Screw drivers
Cleaning the lint out of the whole machine took quite a bit of time--it was everywhere. Underneath the lint trap was a collection that ultimately ruined the thermal fuse where it restricted the air flow considerably.
Ascertaining the problem was the most time consuming part.
The actual repair was quite simple and did
... Read moren't take but 15-20 minutes.
Read less
Was this helpful?
Thank you for voting!
Door Catch part had fallen out,/ was missing
676 of 740 peoplefound this instruction helpful.
Terri from Saint Augustine, FL
Really Easy
Less than 15 mins
Received your parts, Popped them both right into place, Even though only one side needed to be replaced, I wanted them to match up. It was amazing how easy this was. My husband was quite impressed I had ordered these rather then look for either a new or used dryer from some other source.



 My Orders