This an authentic OEM 40-Watt replacement light bulb, used in a number of household appliances. It is specially designed to withstand extreme temperatures, which is why these replacement bulbs are most often used to light the inside of refrigerators and ranges. It features a standard socket base, which means you simply unscrew the burnt-o...Read moreut bulb and screw in the replacement. Depending on the appliance you may require a screwdriver or nut driver to access the light bulb. We recommend you wear work gloves while handling this replacement part. It is constructed of glass and metal and is sold individually. Depending on the appliance and location of the bulb within it, you may want to consider disconnecting power and using a flashlight for easier access to unscrewing and re-screwing in your bulb during this repair.
This is a multi-use and multi-appliance screw. It can be used on a microwave, refrigerator, range/oven, air conditioner, dehumidifier, washer, or dryer. The measurements of this screw are 8 x 1/2 inch. It has 6 threads. Refer to the manual provided by the manufacturer for further information on repair and accurate guidance. Remember to wear work gloves as a safety precaution.
This touch-up paint can be used on a wide variety of household appliances. It is most often used on washers, dryer, refrigerators, dishwashers, ranges, freezers, trash compactors, or microwaves. It is an 18 ml, or.6 fluid ounces, bottle of touch-up paint. It also features a brush for easy application. This quick-drying, long-lasting paint...Read more is perfect for fixing any nicks, scratches, or chips on the exterior of your appliance. This paint is white in color, and provides a durable finish.
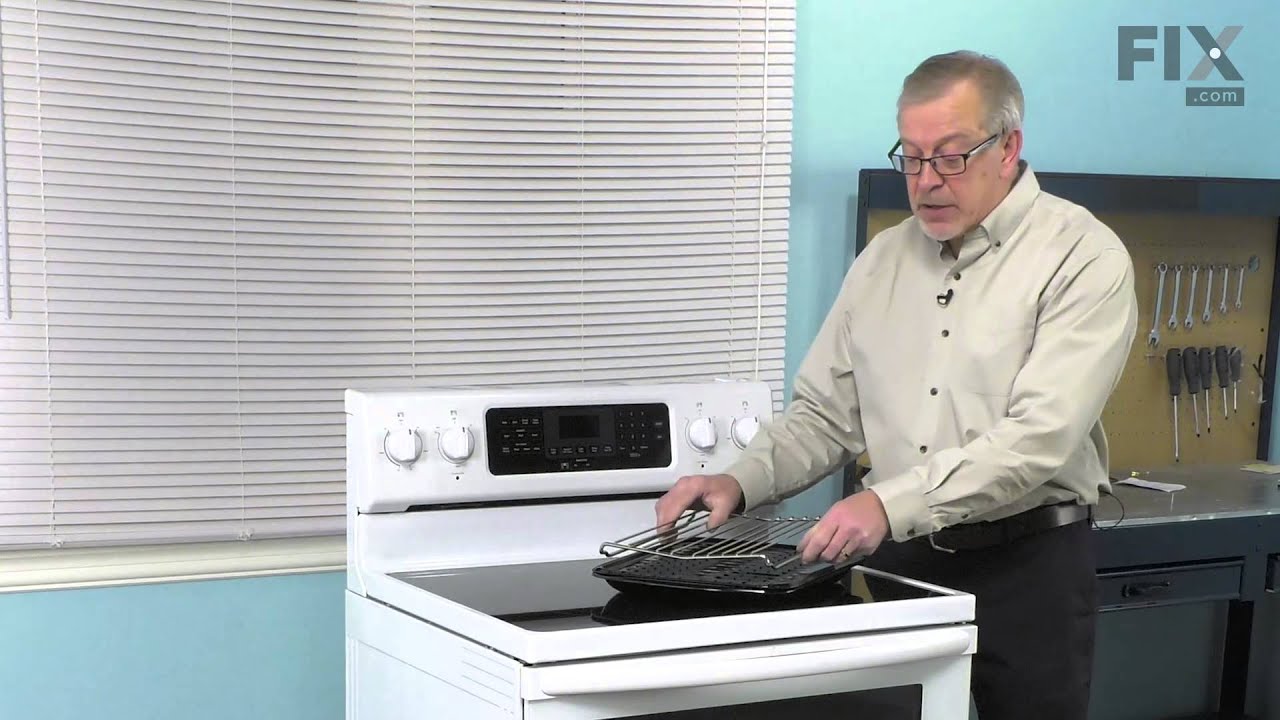
This broiler pan and roasting rack set is designed to help reduce mess while cooking by allowing grease to drain away from food. Its durable porcelain-coated construction stands up to high temperatures and makes cleanup simple. With approximate dimensions of 16 3/4 inches long, 12 3/4 inches wide, and 1 3/4 inches high, it offers a convenient size for everyday broiling and roasting.
This bottle of non-abrasive cooktop cleaner breaks down and gets rid of the hardest baked-on stains and residue without causing any harm to your appliance. The bottle is 10 oz and does not require a large amount of product to do the job. This cleaner is perfectly safe to use on any glass, ceramic, stainless steel, chrome, or porcelain coo...Read morektop surface. The cleaner is creamy in texture and provides a protective coat of silicone on smooth surfaces. To apply, use a gentle scrub, sponge, or rag and gently press in a circular motion until the stains are removed.
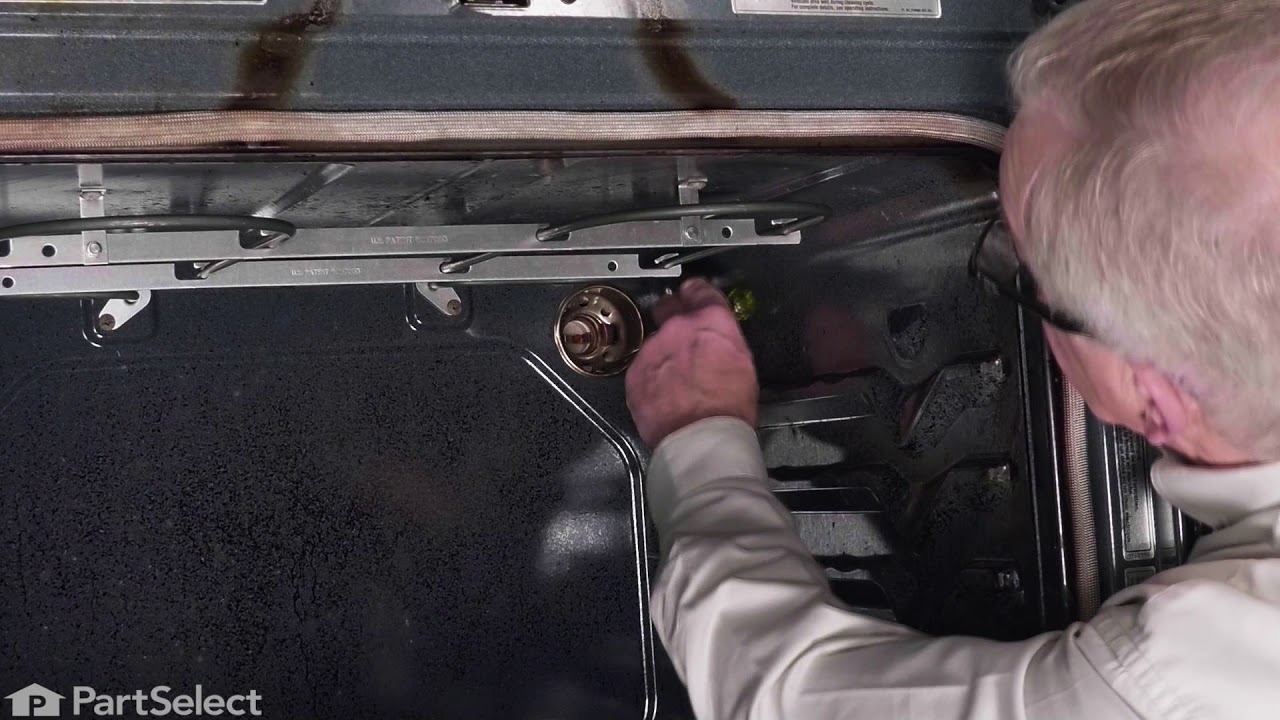
The light socket on your electric range connects the power source to the light bulb. If your oven light is malfunctioning, you may need to replace the light socket. The light socket is located in the back of your range, so in order to access it you will need to remove the back panel. Many of our customers have rated this repair as easy, a...Read morend it should take less than 15 minutes. Before you begin this repair, make sure to disconnect the power source from your range. This is an OEM part sourced directly from the manufacturer.
Appliance spray paint is a great way to cover up any chips and scratches that have appeared on your appliances. Instead of replacing the part entirely, this is an easy fix. This is also a great way to give a fresh new look to any handles or areas that have discoloring due to wear. Make sure to clean the area before you begin and wear a pr...Read moreotective mask for safety. Give the can a good shake and spray a few inches away from the surface. Apply the paint until the area is fully covered as desired. Wait until the paint has dried before using the appliance.
This is a manufacturer-made oven temperature sensor for various models of range. This sensor is designed to accurately detect the internal temperature of your oven and communicate with the control board to control the level of heat inside of it. Over time and through extended exposure to hot temperatures, this sensor can fail and cause yo...Read moreur oven to have issues heating or staying at a consistent heat level, at which point it needs to be replaced. This sensor features a wire harness to connect to the control board of the oven, as well as two mounting screws to install it. Replacing this sensor is easy and only requires a screwdriver to unthread it from the lower portion of your oven. This sensor is sold on its own, and does not come with any other necessary parts, like its securing screws.
This insulation is also known as oven wrap insulation, and is used in conjunction with your range. Its purpose is to be installed in between the oven and the cabinets that surround it. This will help prevent the heat from escaping while cooking and essentially keep it locked inside the oven. The most common reason for needing to replace t...Read morehe insulation in your oven is that it becomes a comfy place for vermin to nest. Before making this installation, it would be best to disconnect the electrical power to your appliance, and to make sure that your range is cool to the touch.
Ask our experts a question about this model and we'll get back to you as soon as possible!
We may have answered a similar question already! Search questions and answers left by others using simple keywords like "fit", "broken", "easy", or "quality" to find questions that match.
Search filter:
Clear Filter
Your search term must have 3 or more characters.
Sort by:
Prev
1
2
3
Next
Sorry, we couldn't find any existing answers that matched.Try using some different or simpler keywords, or submit your new question by using the "Ask a Question" button above!
Rocky - For model number WEG730H0DS0
February 28, 2023
bake burner lights then goes out all others burners work fine
Hi Rocky, thank you for reaching out. Please make sure there is no issue with the gas flow to the oven range, and check the regulator, part number PS11731634. If this is not causing the issue, we would recommend checking the burner, part number PS10067058, to fix the issue. We hope this solves your problem!
My oven loses temp - not always - intermittently - aggrevating
the burner on the right in the back does not come on well
Hello Leslie, thank you for getting in touch. Based on our research, we would recommend checking the following parts to fix your issue: sensor, part number PS11726314, burner, part number PS11751261, and door gasket, part number PS11749288. If you need help placing an order for it, please feel free to give us a call. We look forward to hearing from you!
Does the mini knob on the stove top come in stainless?
Hi Byron,
Thank you for your question. The part number listed under your model number for the stainless steel mini-knob is PS12114479. If you would like to place an order for it, please call our customer service line and anyone will be happy to assist you. We look forward to hearing from you!
i am looking for the part that frames the counter, before you fit the stove in place.
Hello Lori, thank you for your inquiry. The part that you are looking for is the channel, part number PS10056495. We hope this is what you were looking for!
See how others fixed this model. Time, tools, difficulty, and steps that lead to victory!View More
Search repair tips from other customers using simple keywords like "replace", "fit", "remove", "inspect". DIY doesn't mean you have to do it alone!
Search filter:
Clear Filter
Your search term must have 3 or more characters.
mice had made nests in the insulation wrap in the range
129 of 210 peoplefound this instruction helpful.
Wendy from Red Hook, NY
Easy
More than 2 hours
Screw drivers
I numbered every part. ex: 1 L., for first part removed left side. I used a magic marker to circle the holes and wrote the number of screws used on the part, set the srews in a separete place, so that I new where these screws went to. The cleanup was pretty time consuming, but I was able to keep my stove, when every repairman I called to
... Read more fix my stove told me I was better off buying a new stove. ($600.00 stove 2 years old)Please Note: The insulation blanket needed for the entire stove is two pieces, the sides and top are one part # and the bottom and back, are another part #. I did not know this. I just purchased the top and sides. I got lucky, the back and bottom were still in good shape. So I guess I should have read the description of the part more carefully to see what it covers, before I ordered it. It took two people two hours to do the work, it was really nice to have an extra set of eyes, to remember what direction pieces of metal from the stove went. I would do it all over in a heart beat instead of buying a new stove.
Read less
Was this helpful?
Thank you for voting!
Socket Light had a bad thread
44 of 65 peoplefound this instruction helpful.
Edmund from Emporium, PA
Easy
15 - 30 mins
Pliers, Screw drivers
Socket Lite come with clips attached to the outside of the housing. After you unhook the 3 lead wires that are attached to the unit. All you have to do is push in on the clips and release the unit. Then you snap in the new unit. Attach the 3 wire leads, put a oven bulb in the socket end, and the install the light cove
... Read morer
Read less
Was this helpful?
Thank you for voting!
Inside brass liner in socket came out when bulb was removed. Apparently had welded itself to the base of the bulb
21 of 26 peoplefound this instruction helpful.
Lewis from Chapin, SC
Easy
15 - 30 mins
Nutdriver, Screw drivers
Removed oven from wall unit and took the back off. Removed the old socket assembly by depressing the ears and forcing unit into the oven. The electrical wires were easily removed since they are spade connections and slip off. They also are different sizes so that there is no chance of erroneously putting them back in an incorrect order.
... Read more The new unit simply slips in from the front and snaps into place. The most difficult part of the entire process is removing the old unit. A little "friendly persuasion" is required to get the old unit out.




 My Orders