This an authentic OEM 40-Watt replacement light bulb, used in a number of household appliances. It is specially designed to withstand extreme temperatures, which is why these replacement bulbs are most often used to light the inside of refrigerators and ranges. It features a standard socket base, which means you simply unscrew the burnt-o...Read moreut bulb and screw in the replacement. Depending on the appliance you may require a screwdriver or nut driver to access the light bulb. We recommend you wear work gloves while handling this replacement part. It is constructed of glass and metal and is sold individually. Depending on the appliance and location of the bulb within it, you may want to consider disconnecting power and using a flashlight for easier access to unscrewing and re-screwing in your bulb during this repair.
This is a heating element compatible with various makes of ranges and ovens and is sold as an individual part. Measuring 20.5-inches wide and 20.25-inches (with terminals) long, this heating element is a genuine OEM part. If your range is not heating during the bake setting, not heating evenly, or if the element is burnt out or damaged, t...Read morehe element will need to be replaced. This repair is simple and only requires that you disconnect your oven from the wall outlet and use an appropriate screwdriver to disassemble and replace the element with the additional support brackets to secure it.
This is a multi-use and multi-appliance screw. It can be used on a microwave, refrigerator, range/oven, air conditioner, dehumidifier, washer, or dryer. The measurements of this screw are 8 x 1/2 inch. It has 6 threads. Refer to the manual provided by the manufacturer for further information on repair and accurate guidance. Remember to wear work gloves as a safety precaution.
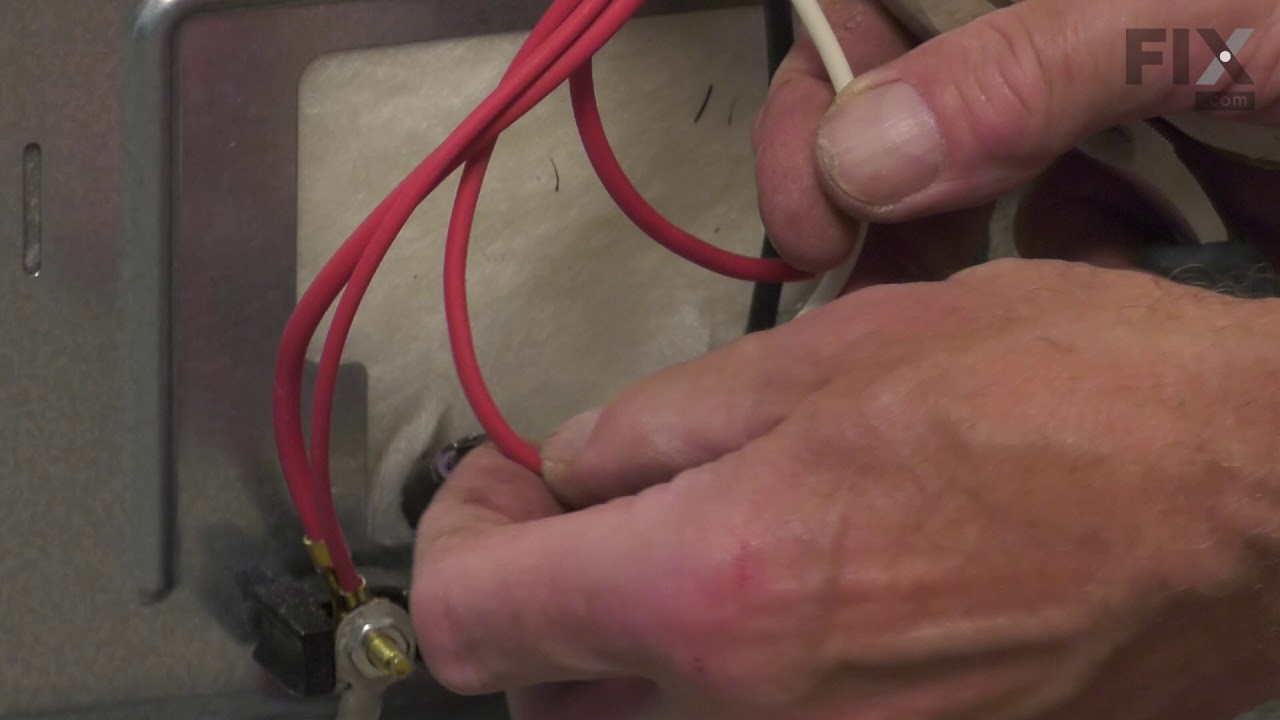
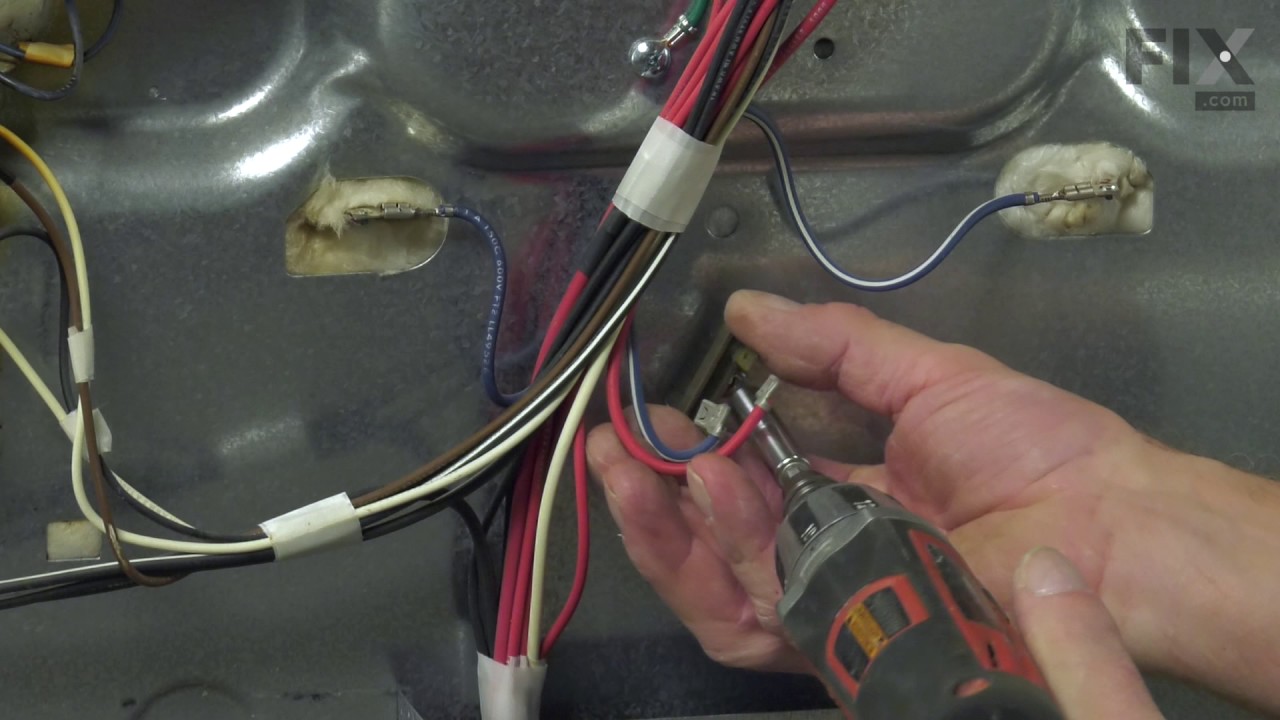
This part is for oven ranges, it connects individual wires and protects the device from electrical surges, voltages, and current. With this part, the house power is connected to the range wire harness. Some symptoms replacing the terminal block could be a solution for are little to no heat when baking, element will not heat and/or it will...Read more not start. This part will prevent loosening and will reduce damage caused by corrosion (by two different metals). Refer to the instructional diagram for further replacement guidance and exact placement. You must unplug the appliance before installing this part and wear gloves to protect your hands.
This touch-up paint can be used on a wide variety of household appliances. It is most often used on washers, dryer, refrigerators, dishwashers, ranges, freezers, trash compactors, or microwaves. It is an 18 ml, or.6 fluid ounces, bottle of touch-up paint. It also features a brush for easy application. This quick-drying, long-lasting paint...Read more is perfect for fixing any nicks, scratches, or chips on the exterior of your appliance. This paint is white in color, and provides a durable finish.
This broiler pan and roasting rack set is designed to help reduce mess while cooking by allowing grease to drain away from food. Its durable porcelain-coated construction stands up to high temperatures and makes cleanup simple. With approximate dimensions of 16 3/4 inches long, 12 3/4 inches wide, and 1 3/4 inches high, it offers a convenient size for everyday broiling and roasting.
This bottle of non-abrasive cooktop cleaner breaks down and gets rid of the hardest baked-on stains and residue without causing any harm to your appliance. The bottle is 10 oz and does not require a large amount of product to do the job. This cleaner is perfectly safe to use on any glass, ceramic, stainless steel, chrome, or porcelain coo...Read morektop surface. The cleaner is creamy in texture and provides a protective coat of silicone on smooth surfaces. To apply, use a gentle scrub, sponge, or rag and gently press in a circular motion until the stains are removed.
The light socket on your electric range connects the power source to the light bulb. If your oven light is malfunctioning, you may need to replace the light socket. The light socket is located in the back of your range, so in order to access it you will need to remove the back panel. Many of our customers have rated this repair as easy, a...Read morend it should take less than 15 minutes. Before you begin this repair, make sure to disconnect the power source from your range. This is an OEM part sourced directly from the manufacturer.
This is a stainless steel knob designed for use with ranges. This knob is used to adjust the heat level of the burners on your range. If this knob is broken and no longer able to adjust the temperature properly, or if it is disfigured or discolored, you will want to replace it. Replacing this knob is simple, and only requires you to pull ...Read morethe old knob off its post, and push the new one on. This OEM knob is sold on its own and does not come with any other parts for your range.
Ask our experts a question about this model and we'll get back to you as soon as possible!
We may have answered a similar question already! Search questions and answers left by others using simple keywords like "fit", "broken", "easy", or "quality" to find questions that match.
Search filter:
Clear Filter
Your search term must have 3 or more characters.
Sort by:
Prev
1
2
3
Next
Sorry, we couldn't find any existing answers that matched.Try using some different or simpler keywords, or submit your new question by using the "Ask a Question" button above!
Charles - For model number WEE730H0DS0
January 6, 2020
Large burner goes to high unexpectedly.
Hello Charles, thank you for your question. This issue is most likely caused by a bad control switch for that burner. We would recommend replacing the burner infinite control switch. Good luck with your repair!
3 peoplefound this instruction helpful.
Was this helpful?
Thank you for voting!
Bill - For model number WEE730H0DS0
February 10, 2020
My oven never reaches the set point if i set the temperature at 350 degrees the oven only heat s up to 290 degrees and the pre hear never go off
Hello and thank you for writing.
It certainly sounds like it could be a faulty bake element PS11703285 and/or possibly a malfunctioning terminal block PS11750972 you should check the part(s) for signs of damage or test with a multimeter, and replace the part(s) as needed. We hope this helps. Please contact us anytime if you require further assistance.
Our Whirlpool range WEE730H0DS0 has an oven problem. When set to preheat it says the temperature is 350 and ready but the actual temperature is about 100 degrees below that. Convection still works. Any ideas? Chris
Hello Chris, Thank you for the question. This normally indicates an issue with the Temperature Sensor, PartSelect Number PS11726314. Testing the temperature sensor probe on your oven is easy. With the sensor at room temperature, measure the resistance between the two prongs at the end of the sensor connector. The resistance of the sensor should read approximately 1080 – 1090 ohms at room temperature. We hope this helps!
Hello, In December oven would not turn on, error code was F8E0. I ordered a cooling fan from you, replaced it and the oven worked fine. Now again I am getting the same error code F8E0. I tried unplugging the stove to reset it and it did not help. Could the part have been faulty? Could there be another issue setting this in motion? Thank you
Hello Doug, thank you for contacting us. If you have an order with our company and need to speak about that, you will have to contact our customer service. They can set up any returns and credits as well as help to find the correct parts. Please have your model number and order number ready and an agent will be happy to help you.
Was this helpful?
Thank you for voting!
Carey - For model number WEE730H0DS0
May 4, 2023
I would set it at 350 bake come and check it and the display would say 350 but it was way lower so I installed a new temp sensor now you set it at 350 and come check it and it says 290 not sure if its the elemet
Hi Carey, thank you for reaching out. We believe the issue is most probably with the bake element, part number PS11703285, and you may need to check and replace it if found faulty. We hope this sorts out your problem!
See how others fixed this model. Time, tools, difficulty, and steps that lead to victory!View More
Search repair tips from other customers using simple keywords like "replace", "fit", "remove", "inspect". DIY doesn't mean you have to do it alone!
Search filter:
Clear Filter
Your search term must have 3 or more characters.
mice had made nests in the insulation wrap in the range
129 of 210 peoplefound this instruction helpful.
Wendy from Red Hook, NY
Easy
More than 2 hours
Screw drivers
I numbered every part. ex: 1 L., for first part removed left side. I used a magic marker to circle the holes and wrote the number of screws used on the part, set the srews in a separete place, so that I new where these screws went to. The cleanup was pretty time consuming, but I was able to keep my stove, when every repairman I called to
... Read more fix my stove told me I was better off buying a new stove. ($600.00 stove 2 years old)Please Note: The insulation blanket needed for the entire stove is two pieces, the sides and top are one part # and the bottom and back, are another part #. I did not know this. I just purchased the top and sides. I got lucky, the back and bottom were still in good shape. So I guess I should have read the description of the part more carefully to see what it covers, before I ordered it. It took two people two hours to do the work, it was really nice to have an extra set of eyes, to remember what direction pieces of metal from the stove went. I would do it all over in a heart beat instead of buying a new stove.
Read less
Was this helpful?
Thank you for voting!
The oven would take an hour to preheat.
59 of 64 peoplefound this instruction helpful.
Helen from PURVIS, MS
Very Easy
Less than 15 mins
Screw drivers
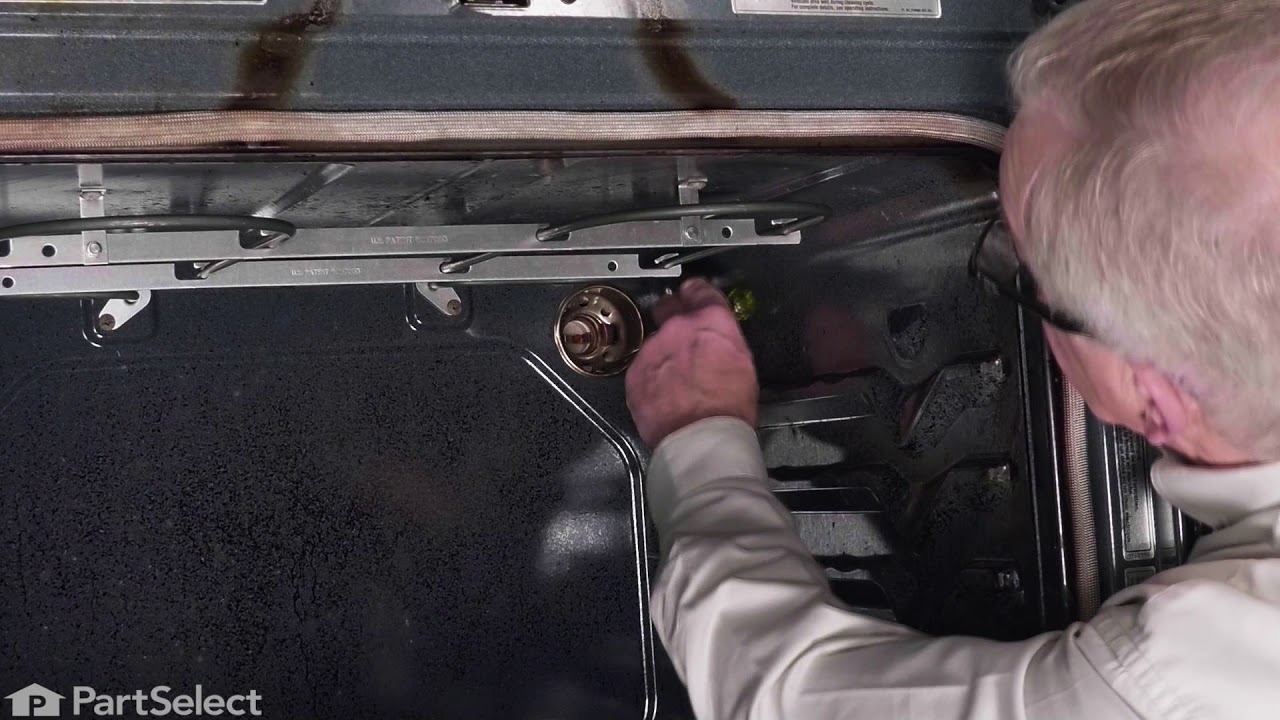
First, we turned on broil and the upper element turned orange and obviously worked. We figured the bottom element went out. The diagram on this site showed a bottom heating element that looked nothing like ours, but after reading other reviews, and reading that part that goes through the back of the oven was in the middle, and not off to
... Read morethe side, we ordered this element. It was perfect. All you have to do is unplug the oven, take out the bottom pan covering the element by removing 2 screws in the back, remove the lower small cover on the back of the oven and then unplug the old element, unscrew the old element on the inside of the stove, then install the new element and put everything back like it was. Nothing to it. It worked like a charm and my oven now heats up fast again. Easiest appliance repair job ever!
Read less
Was this helpful?
Thank you for voting!
Surface Element Out
61 of 82 peoplefound this instruction helpful.
Terry from Rockwall, TX
Really Easy
Less than 15 mins
Screw drivers
Took 2 screws under front edge of smooth top. Unscrewed ground wire from back of smooth top unit. Unplugged 2 wire bundles, from back. Took bad element out , put in new one. Put back together. About 10 min's tops. Easy peasy.




 My Orders