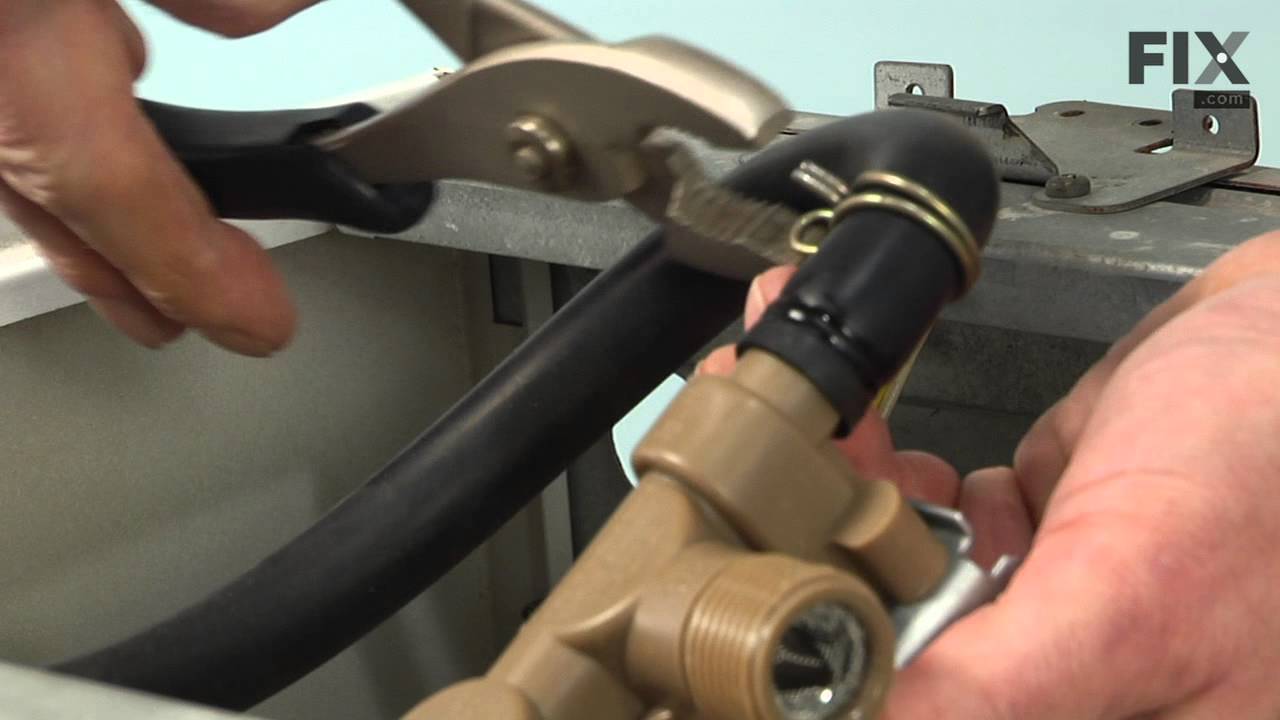
The water inlet valve has two ports for water to enter and controls the flow of water into a washing machine. Hot, cold, and warm water can easily enter the washer this way. If the water inlet valve is in any way damaged or defective, it may be slow to fill or even leak. Before beginning this replacement, make sure to unplug the washer fr...Read moreom the power range or shut off the house circuit breaker. Remember to wear gloves for safety. Refer to the installation instructions and the diagram provided by the manufacturer for best results and accuracy.
This is a transmission to tub seal kit, often referred to as a center tub seal kit, and it is used in washing machines to create a seal between the transmission and the tub. This seal works to prevent leaks from around the basket drive shaft, between the outer tub and the spin basket. We reccomend that you replace the tub seal kit if you ...Read moreare replacing the transmission. The kit includes the instructions you will require for installation. Before you begin the repair on your washer, make sure it is unplugged and the water supply is shut off.
Ask our experts a question about this model and we'll get back to you as soon as possible!
We may have answered a similar question already! Search questions and answers left by others using simple keywords like "fit", "broken", "easy", or "quality" to find questions that match.
Search filter:
Clear Filter
Your search term must have 3 or more characters.
Sort by:
Prev
1
Next
Sorry, we couldn't find any existing answers that matched.Try using some different or simpler keywords, or submit your new question by using the "Ask a Question" button above!
Eric - For model number WDW0
November 29, 2024
Gear for outer drum is striping. Do u have a replacement?
Hi Eric, Thank you for writing. The Tub Seal and Bearing Kit for this model is listed as PartSelect Number PS474473. Thank you for the inquiry, good luck with the repair!
See how others fixed this model. Time, tools, difficulty, and steps that lead to victory!View More
Search repair tips from other customers using simple keywords like "replace", "fit", "remove", "inspect". DIY doesn't mean you have to do it alone!
Search filter:
Clear Filter
Your search term must have 3 or more characters.
Washer Continued To Fill To Point Of Overflow
86 of 97 peoplefound this instruction helpful.
alvaro from east hampton, NY
Really Easy
Less than 15 mins
Pliers, Screw drivers
First I removed the top panel held by four screws at rear of panel, pulling the panel foward and up. Then disconnected the power and water connections. Then I removed the two screws holding the flow valve to the washer rear panel,pulled the valve foward ,removed the two electric connectors, pinched the water clamp with pliers and remo
... Read moreved the water connection to the valve. Then replaced with the new valve followed the above steps in reverse order, finishing up by re placing the water connections and power. Then checked fo proper replacenent and leaks before replacing top panel.
Read less
Was this helpful?
Thank you for voting!
Leaking washing machine.
24 of 37 peoplefound this instruction helpful.
Ron from Williamsburg, MI
Easy
More than 2 hours
Screw drivers, Socket set
Removing the piece above the tub gasket was very difficult. A lot of hammer and chisel work. 15 year old machine. A lot of calcium build up around the shaft. I used a screw driver as a chisel and a hammer. Carefully removed the metal around the shaft to get to the tub seal. Once I got to the tub seal it was easy. Remove t
... Read morehe old rubber stops. There were a few pieces. Then sealed it back up with the oil that came with the PartSelect Kit and put it back together. Works great now. No more LEAKS! Yippy.
Read less
Was this helpful?
Thank you for voting!
No Cold Water
17 of 19 peoplefound this instruction helpful.
Mark from Pittsburgh, PA
Really Easy
15 - 30 mins
Pliers, Screw drivers
Checked problem on-line and discovered it was the water inlet valve. Matched the part on part select. Com. Finding the part was very easy. Part select had a grid behind the picture to help determine the size and pictures from all sides. Removing the old part, matching it, and replacement took a total of 30 minutes. I now have cl
... Read moreean clothes.




 My Orders