



 My Orders




WDH2 (V3) Frigidaire Washer - Overview
Diagrams for WDH2
See every part. Know exactly what you need.


Enter a part description. DIY Heroes keep it simple, eg. "belt" or "pump".
Search filter:
Clear Filter
Your search term must have 3 or more characters.

$21.95
In Stock
Light Bulb
Part #316538904
This OEM 40 watt appliance light bulb is used for some ranges, refrigerators, freezers, and microwaves. Simply locate the existing bulb, unscrew it from its socket, and replace with new light bulb. If the existing bulb is broken in the socket, disconnect the power to the refrigerator and use a pair of needle nose pliers to grip the intern...Read moreal fragments of the bulb to unscrew. Replace with the new bulb and reconnect the power to the refrigerator. These bulbs are sold individually and are a commonly replaced part; consider ordering a spare.
Read less

$26.35
Special Order
Door Shelf End Cap - Right Side
Part #5303323480
The right-side door shelf end cap is designed for use in your refrigerator. The function of this part is to connect the shelf bar to the refrigerator door, and hold it in place. This part fits the right-side of your refrigerator door shelf, the left-side door shelf end cap is sold separately. This part is made entirely out of plastic, and...Read more is white in color. This product measures approximately 1-inch in width by 1-inch in length. Many of our customers have rated this repair as very easy. The only tool you may need is a soft-faced hammer. This is an OEM part sourced directly from the manufacturer.
Read less

$26.35
In Stock
Door Shelf End Cap - Left Side
Part #5303323481
This white door shelf end cap is used for left side of some refrigerator door shelves.

$106.91
In Stock
Evaporator Fan Motor Kit
Part #5300158289
The evaporator fan motor kit is specifically made for your refrigerator to run the evaporator fan in your refrigerator. It is mounted on the center hub and has three lead wire terminals; its shaft has a diameter of 1/8 inches and is 1-1/4 inches long. The function of the evaporator fan motor is that it supplies air to the evaporator coils...Read more which then circulate cool air throughout your refrigerator, efficiently keeping your fresh food compartment cold. The tools you will need for this installation include a 1/4 inch nut driver, and a pair of wire strippers. Keep your hands protected during this repair by wearing work gloves.
Read less

$31.47
In Stock
Light Socket
Part #218906802
The light socket on your refrigerator houses the light bulb and connects it to the power source. If you notice that your refrigerator light does not come on when you open the door, you may need to replace the light socket. This light socket is made of white plastic with two metal prongs. The light socket is located inside the refrigerator...Read more. Many of our customers have rated this repair as easy. To complete this repair, simply pop the old socket out with a small flat blade screwdriver and disconnect the wires. Then simply reconnect the wires to the new socket, and snap it in place with the locking tab.
Read less

$25.25
In Stock

No Longer Available
Door Hinge Pin Bearing
Part #218519300
This white hinge pin bearing pivots the freezer and refrigerator door.

No Longer Available

No Longer Available

$39.82
In Stock
Filter - Drier
Part #5303305677
A filter-drier in a refrigerator has two essential functions. The first is to absorb system contaminants, such as water, which can create acids. The second is to provide physical filtration. This means trapping moisture, small metal chips, and dirt found in the refrigerant gas. If your refrigerator motor is constantly running, but the ref...Read morerigerator is not getting cold, the issue could be due to a damaged or faulty filter-drier. Faulty filter-driers are sometimes the cause for abnormal freezer compartment temperatures and partially frosted evaporators. This filter-drier is approximately 11 inches long. Remember to disconnect the power from your refrigerator before beginning this repair.
Read less

$17.95
Special Order
Door Shelf End Cap - Right Side
Part #5303206717
This refrigerator door shelf retainer bar end cap is to help support the retainer bar in place.

$65.73
Special Order
Door Shelf End Cap - Left Side
Part #5303206223
This refrigerator door shelf retainer bar end cap is to help support the retainer bar in place.
Common Symptoms of the WDH2
How this model fails, and the parts that fix it.
Light not working
Fixed by
these parts
these parts


Show All
Noisy
Fixed by
these parts
these parts


Show All
Fridge too warm
Fixed by
these parts
these parts

Show All
Freezer section too warm
Fixed by
these parts
these parts
Show All
Leaking
Fixed by
these parts
these parts

Show All
Watch our pros, then fix it yourself.
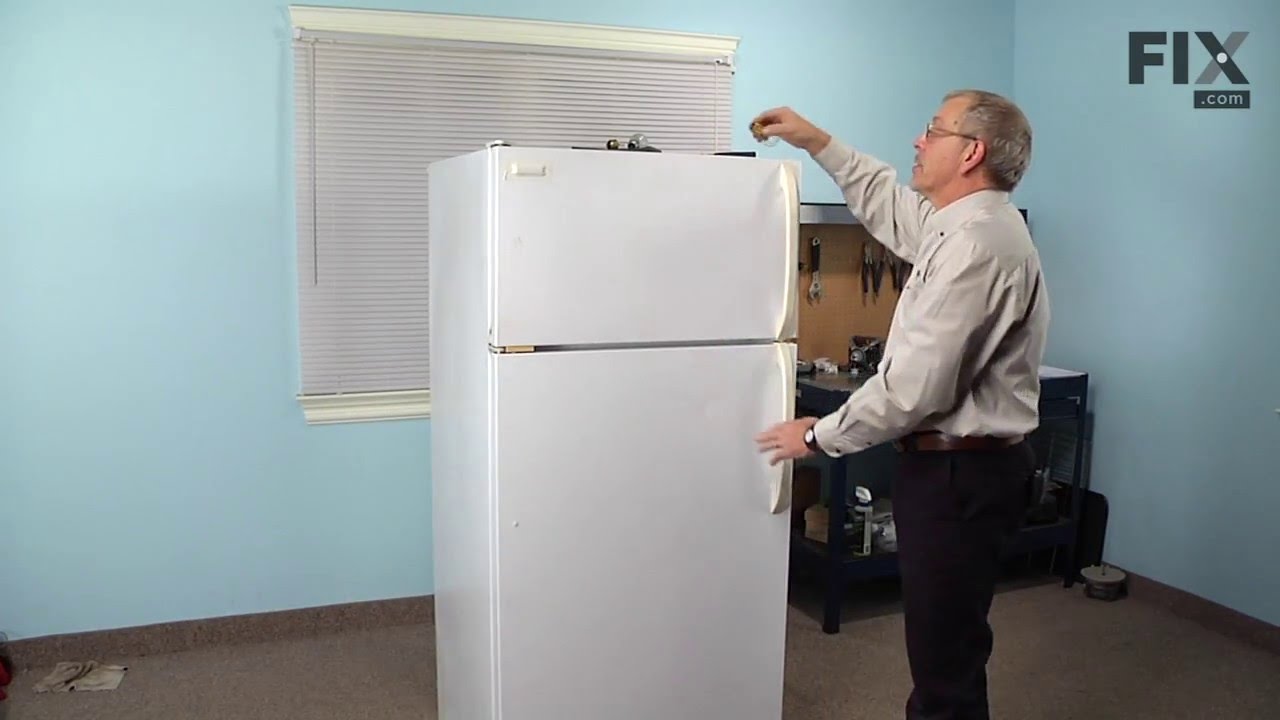
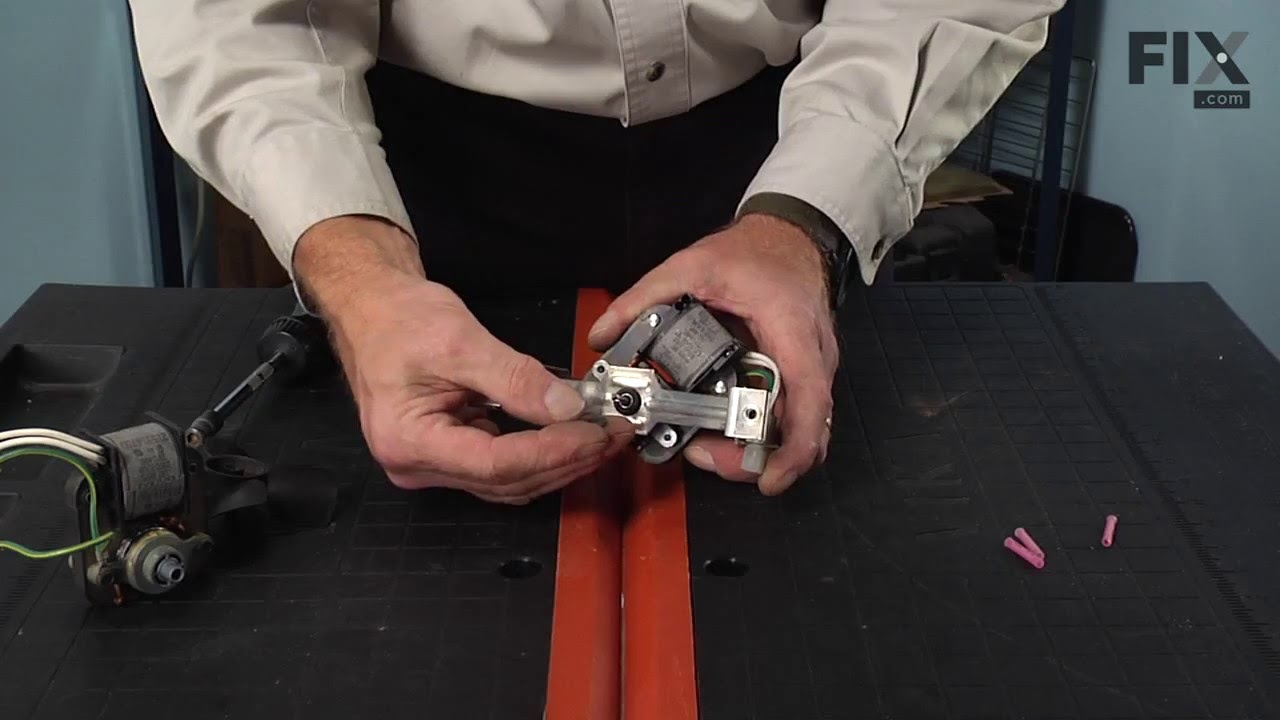
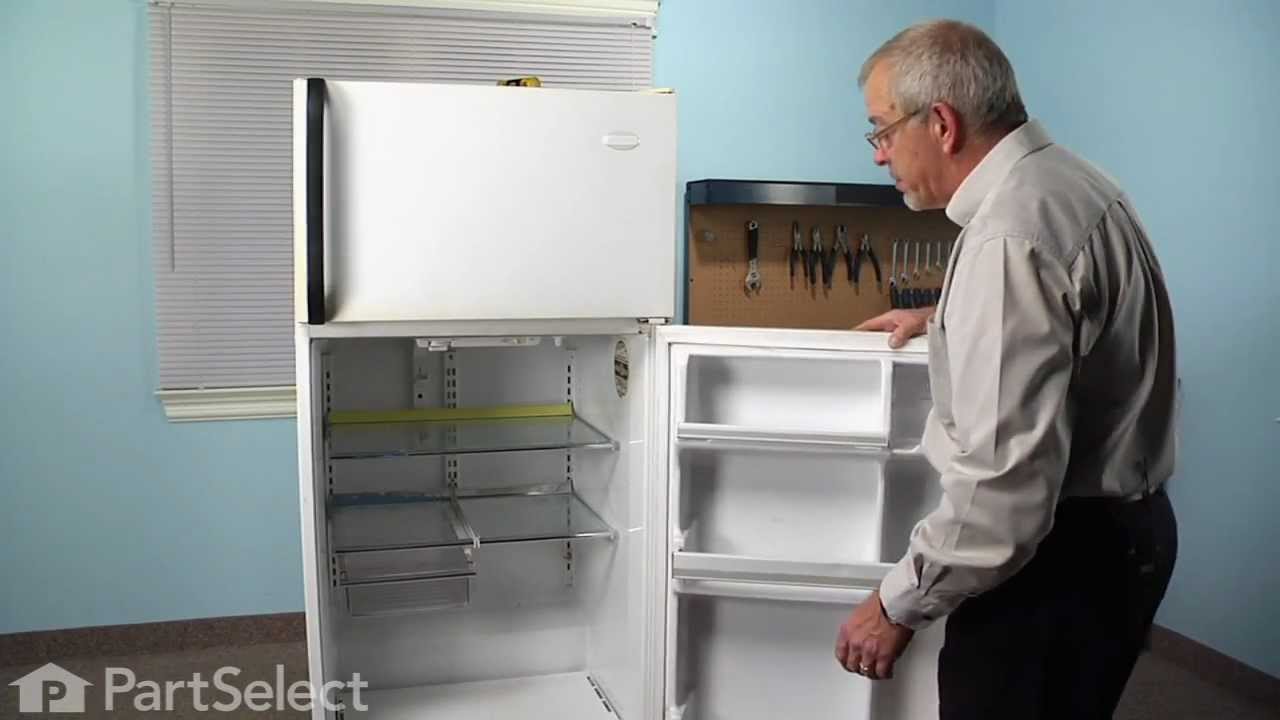
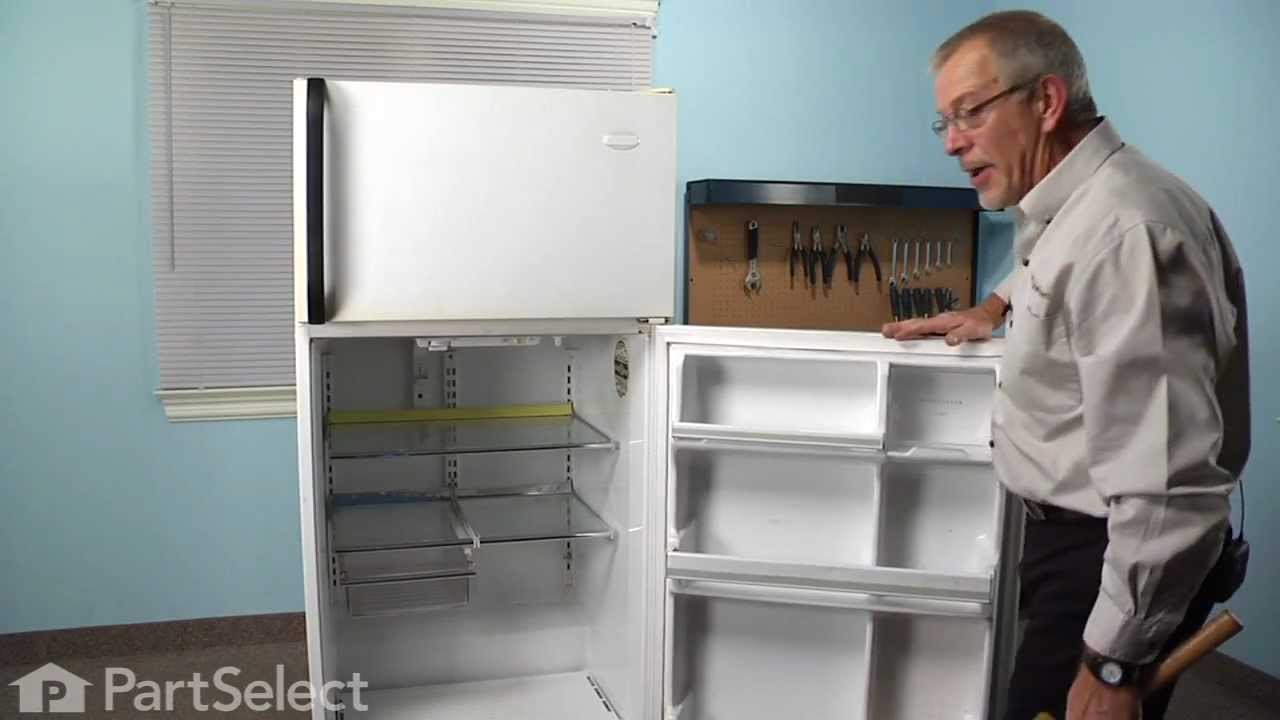
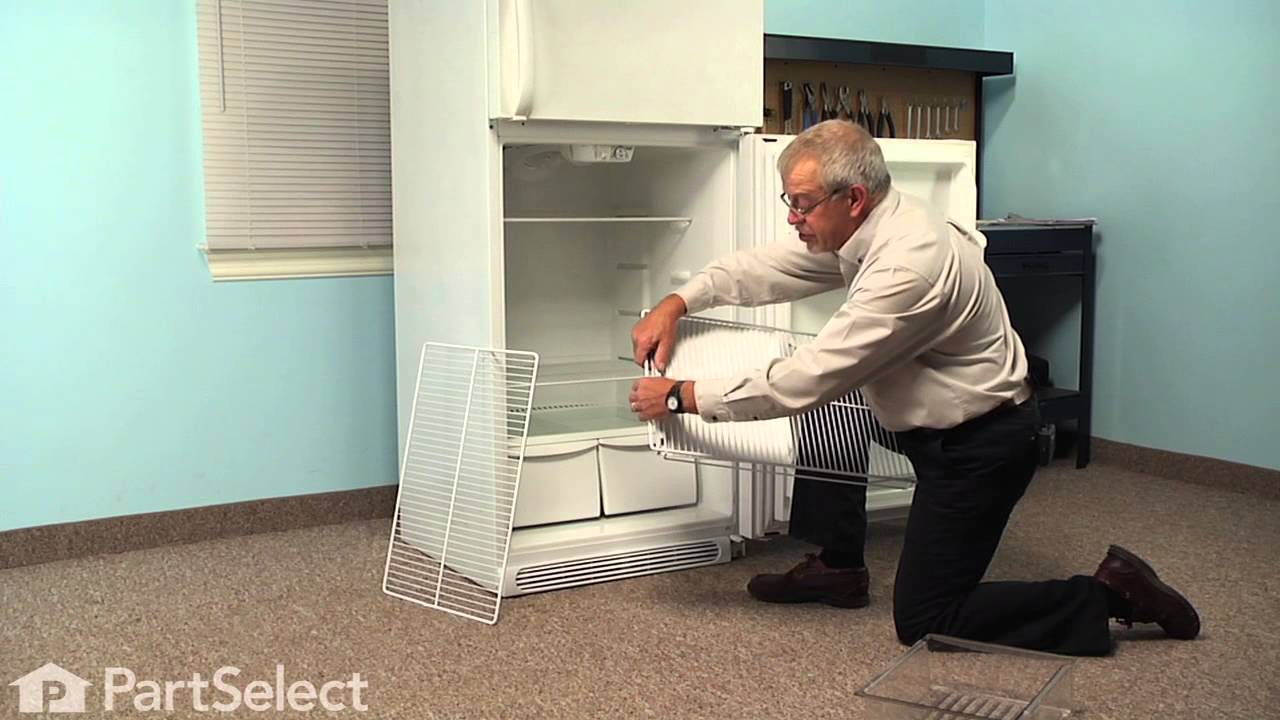
See how others fixed this model. Time, tools, difficulty, and steps that lead to victory!
View More