


 My Orders




WD-90286BD LG Washer - Overview

Enter a part description. DIY Heroes keep it simple, eg. "belt" or "pump".
Search filter:
Clear Filter
Your search term must have 3 or more characters.

$35.80
In Stock
Water Inlet Valve - Hot
Part #5220FR2006H
The hot water inlet valve on your washing machine controls the water flow into the washer. This inlet valve has a standard hose fitting inlet and one water outlet. The water inlet valve opens to allow water to enter the washing machine. If the water inlet valve is defective, the washer may leak, fill slowly, or not fill at all. To test yo...Read moreur valve, unplug the washer when the symptom occurs. If the washer continues to fill, then your inlet valve is defective. This part is approximately 3 inches long x 3 inches wide.
Read less

$24.67
In Stock
Pump Filter
Part #383EER2001A
This replacement pump filter, also known as a filter assembly, is a genuine OEM part for your washer or washer/dryer combo. Before beginning this repair, turn off the power and water supply to your washer. The filter assembly may need to be replaced because it is broken or is leaking water. To locate the filter assembly, pry open the smal...Read morel door on the front of the washer, using a flat-blade screwdriver. Unplug the drain hose next to the filter and drain the water into a bucket. Then unscrew the pump filter, and replace with your new one.
Read less

$21.45
Special Order
Locking Pin
Part #4774FR3118B
This is a locking pin, and it works in conjunction with your washer. The part measures to be roughly 3 inches long, and less than an inch wide. The pin is cylindrical, off-white in color, and made entirely of plastic. This part is used to hold the shock absorber on the washing machine. There is a pin used at the bottom and top of the shoc...Read morek absorber. This model is sold individually. If your washing machine is experiencing an above-average amount of shaking and moving this part may be the reason.
Read less

$36.85
In Stock
Washer Gasket
Part #4036ER2003A
This genuine OEM drum seal gasket prevents water from leaking between the outer tub and spin basket of your washer. It is made of black rubber and measures 2.5 inches in diameter. If your washer is leaking, and running noisier than usual, check for wear on the gasket, and to ensure it is properly fitted.

$72.00
In Stock
BEARING,BALL
Part #4280EN4001A
This ball bearing reduces friction and supports smooth rotation of moving components. Proper bearing function minimizes noise and wear. Replacing a worn bearing restores quiet, efficient operation.

$47.40
In Stock

$36.85
Special Order
Gasket
Part #4036ER4001C

$56.33
In Stock
Dispenser Assembly
Part #4925ER1015B
This dispenser assembly is designed for front-load washing machines to hold and release detergent and fabric softener during the wash cycle. It ensures proper timing and distribution for efficient cleaning performance. Made from durable materials, the housing resists wear and clogging for long-lasting use. If your current dispenser is lea...Read moreking, jamming, or showing signs of damage, replacing it restores optimal function. Confirm your washer’s model for compatibility before installation.
Read less

$24.67
In Stock

No Longer Available

$65.73
In Stock
Tub to Pump Hose
Part #4738ER1006A

No Longer Available
Common Symptoms of the WD-90286BD
How this model fails, and the parts that fix it.
Leaking
Fixed by
these parts
these parts


Show All
Water Filling Issues
Fixed by
these parts
these parts
Show All
Will not drain
Fixed by
these parts
these parts
Show All
No hot or cold water
Fixed by
these parts
these parts
Show All
Will Not Start
Fixed by
these parts
these parts

Show All
Does not dispense fabric softener or detergent
Fixed by
these parts
these parts

Show All
Lid or door won’t close
Fixed by
these parts
these parts

Show All
Burning smell
Fixed by
these parts
these parts

Show All
Watch our pros, then fix it yourself.
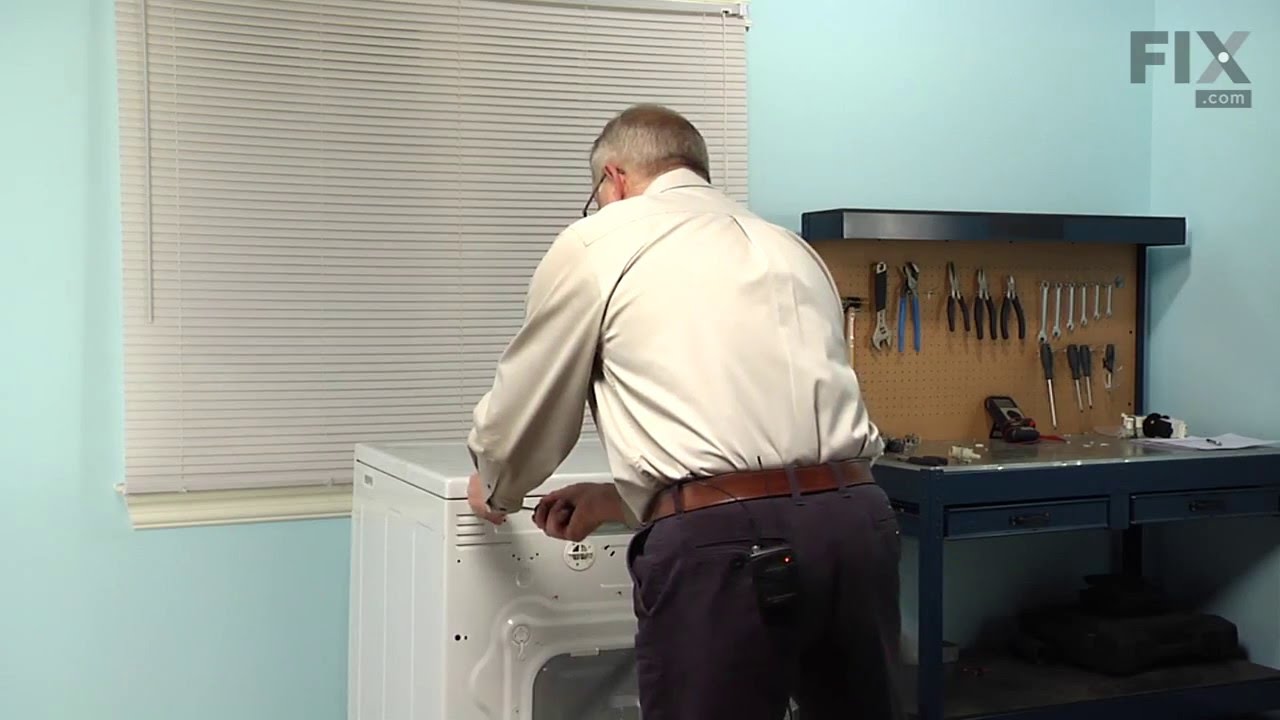
See how others fixed this model. Time, tools, difficulty, and steps that lead to victory!
View More