


 My Orders




WD-12416BD LG Washer - Overview

Enter a part description. DIY Heroes keep it simple, eg. "belt" or "pump".
Search filter:
Clear Filter
Your search term must have 3 or more characters.

$35.80
In Stock
Water Inlet Valve - Hot
Part #5220FR2006H
The hot water inlet valve on your washing machine controls the water flow into the washer. This inlet valve has a standard hose fitting inlet and one water outlet. The water inlet valve opens to allow water to enter the washing machine. If the water inlet valve is defective, the washer may leak, fill slowly, or not fill at all. To test yo...Read moreur valve, unplug the washer when the symptom occurs. If the washer continues to fill, then your inlet valve is defective. This part is approximately 3 inches long x 3 inches wide.
Read less

$24.67
In Stock
Rear Tub Gasket
Part #4036ER2004A
If you notice your washing machine is leaking water from the top of the transmission, it might be due to the gasket being damaged or worn down. When replacing your gasket, consider replacing your tub bearings at the same time. The gasket (or seal) is located at the back of the outer tub of your washing machine. To access this part you wil...Read morel need to pull the top off of the appliance by releasing the screws holding it in place. This part is sold individually, is black in color, and measures 3 inches in diameter.
Read less

$55.29
In Stock
Tub-to-Pump Drain Hose
Part #4738ER1002A
This is a tub-to-pump drain hose for a front load washer. The hose features flexible bellows which allow it to expand and contract when necessary. It carries the water from the tub of the washer to the drain pump so the used water can properly empty from the tub. This part is made of rubber, is black in color and measures 13 inches long. ...Read moreBe sure to drain the excess water from the washer before completing this repair. This is an authentic OEM part that is sourced directly from the manufacturer.
Read less

$55.29
In Stock
SENSOR ASSEMBLY
Part #6501KW2002B
This is a replacement sensor assembly for your washer. It may also be known as a motor rotor position sensor. The sensor assembly monitors the direction and speed of the spinning rotor and communicates this information to the electronic control board. If your washer pumps but will not spin or agitate, you may have a damaged sensor assembl...Read morey. This part is sold individually, and is an OEM part sourced directly from the manufacturer. Be sure to shut off the power to your washer before you begin this repair.
Read less

$24.67
In Stock
Washer Gasket
Part #4036ER4001B
This is a seal for a washer tub. It creates a seal between the front and rear halves of the washer tub to prevent the appliance from leaking. If you notice leakage between the two sections of the tub, you may need to replace this part. Seals can get dry and brittle over time which compromises the integrity of the part and may cause your a...Read moreppliance to leak. This is a genuine replacement part sourced from the original manufacturer. You will need to disassemble the outer panels of the washer to access the tub seal.
Read less

$24.67
In Stock
Pump Filter
Part #383EER2001A
This replacement pump filter, also known as a filter assembly, is a genuine OEM part for your washer or washer/dryer combo. Before beginning this repair, turn off the power and water supply to your washer. The filter assembly may need to be replaced because it is broken or is leaking water. To locate the filter assembly, pry open the smal...Read morel door on the front of the washer, using a flat-blade screwdriver. Unplug the drain hose next to the filter and drain the water into a bucket. Then unscrew the pump filter, and replace with your new one.
Read less

$21.45
Special Order
Locking Pin
Part #4774FR3118B
This is a locking pin, and it works in conjunction with your washer. The part measures to be roughly 3 inches long, and less than an inch wide. The pin is cylindrical, off-white in color, and made entirely of plastic. This part is used to hold the shock absorber on the washing machine. There is a pin used at the bottom and top of the shoc...Read morek absorber. This model is sold individually. If your washing machine is experiencing an above-average amount of shaking and moving this part may be the reason.
Read less

No Longer Available

$47.40
In Stock

$161.46
Special Order
Rotor Assembly
Part #4413ER1003A
This rotor assembly is a genuine replacement part designed to drive the drum in front-load washing machines. Working in tandem with the stator, it generates a magnetic field that rotates the drum during wash and spin cycles, ensuring effective cleaning and water extraction. A malfunctioning rotor can result in a drum that won’t spin, exce...Read moressive noise, or incomplete cycles. This component connects directly to the spin basket shaft and is engineered for minimal vibration and optimal performance. Some newer versions feature a reinforced metal insert to prevent spline wear. Installation requires basic tools and should be done with the power disconnected. Compatible with select LG and Kenmore models, users should verify fit before replacing.
Read less

No Longer Available

$125.62
Special Order
Heater Assembly
Part #AEG33121501
This heating element assembly warms water during wash cycles to improve cleaning performance. It's designed to deliver steady, consistent heat so your laundry comes out fresh and thoroughly cleaned.
Common Symptoms of the WD-12416BD
How this model fails, and the parts that fix it.
Leaking
Fixed by
these parts
these parts


Show All
Spinning Issues
Fixed by
these parts
these parts


Show All
Will not agitate
Fixed by
these parts
these parts
Show All
Water Filling Issues
Fixed by
these parts
these parts
Show All
Will not drain
Fixed by
these parts
these parts
Show All
Will Not Start
Fixed by
these parts
these parts
Show All
No hot or cold water
Fixed by
these parts
these parts
Show All
Noisy and Marks Left on Clothes
Fixed by
these parts
these parts

Show All
Burning smell
Fixed by
these parts
these parts
Show All
Spins slowly
Fixed by
these parts
these parts
Show All
Watch our pros, then fix it yourself.
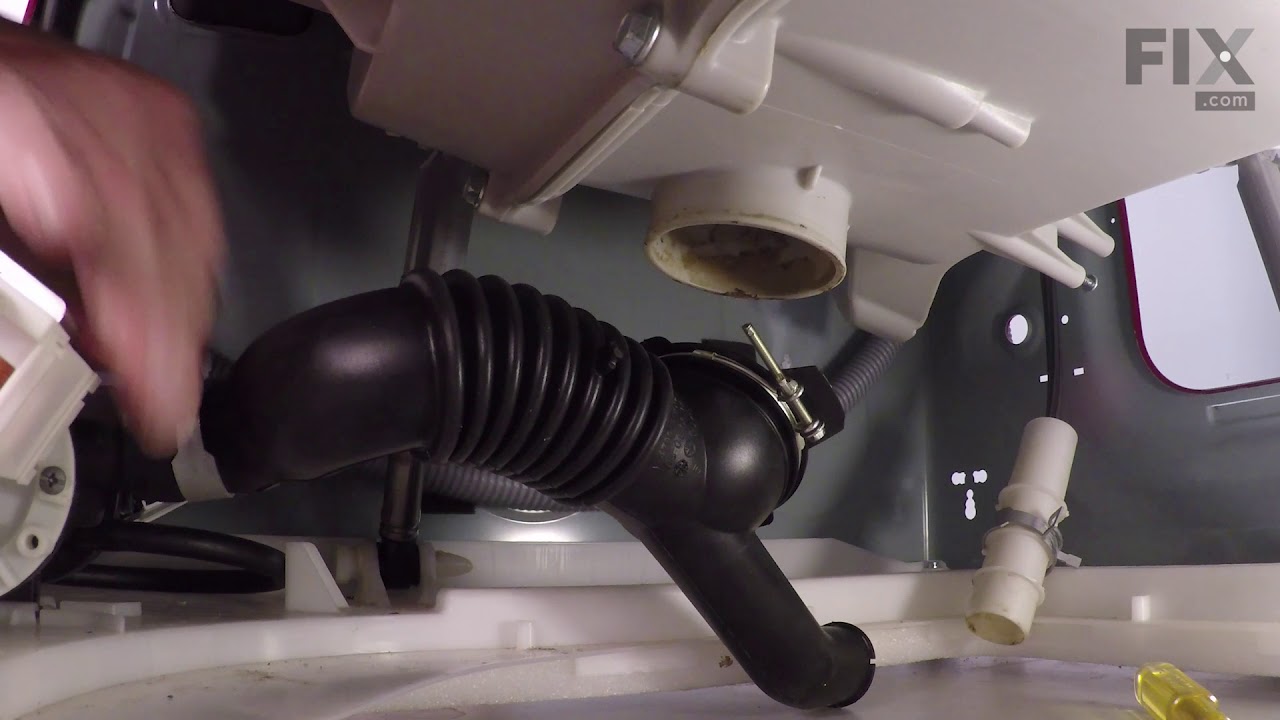
See how others fixed this model. Time, tools, difficulty, and steps that lead to victory!
View More
Search repair tips from other customers using simple keywords like "replace", "fit", "remove", "inspect". DIY doesn't mean you have to do it alone!
Search filter:
Clear Filter
Your search term must have 3 or more characters.
Worn bearings
97 of 165 people
found this instruction helpful.
To replace the bearings a complete disassembly of the washer was required. After pulling the tube assembly from the cabinet and separating the tube enclosure halves and removing the rotor and stator, since the washer uses direct drive, a gear puller was required to push the drive shaft through the old bearings since they didn’t separate e
... Read more
asily as seen in several YouTube videos. After removing the tube assembly it is recommended that you also separate from the spider, which contains the drive shaft, from the tube itself since a significant amount of sediment had caked inside the indentations on the inside of the spider. Since the front bearing, part number 4280FR4048D, was no longer available I used an NTN double sealed bearing, part number 6306LLUC3/L627. The only other tricky aspect of the repair was pushing the drive shaft through the new bearings since pushing it by hand did not produce enough force to get it through to expose enough of the shaft on the other side to be able to reconnect the rotor. The solution was to pull the shaft through rather than pushing it. To do this I placed a 1 3/4 inch drive socket over the outer ring of the rear bearing, and then I used a 3 inch 10mm x 1.50 mm bolt through the drive socket with enough large washers to use as spacers between the bolt head and the drive socket. I then threaded about a half inch of the bolt into the center of the drive shaft by hand to remove any gap between the bolt head and the washers. As I turned the bolt clockwise with a 17mm drive socket wrench the bolt pulled the drive shaft through the bearings with ease. I did follow the manufacturer’s recommendation to replace the seal between the two tube enclosure halves and the three dampers with new ones since they do eliminate much of the vibration during the spin cycle. I also replace the top bellows since I noticed that a large hole had been formed on it by rubbing against the inlet hoses which are situated directly above. The repair took a week only because I had to wait for parts.
Read less
Other Parts Used:
Was this helpful?
Thank you for voting!