If you notice an unusual noise coming from your freezer, the evaporator fan blade might be the problem. Frost-free freezer models use evaporator fans to move air through the evaporator for more efficient cooling. If the evaporator fan blade gets damaged or worn it may become noisy. If the blade is loose on the motor shaft or if the fins a...Read morere damaged, it should be replaced. Be sure to remove power to the appliance before attempting any repair. The evaporator fan assembly is located behind the air grille or evaporator cover and can normally be accessed by simply removing a few mounting screws. The fan blade is normally pressed on to the motor shaft and secured by a spring clip.
This part is a temperature sensing devise. It senses the rise in evaporator temperature during a defrost cycle and cycles the defrost heater off after all frost is melted. It is calibrated to permit a defrost cycle only when the temperature is below a preset temperature
This grille is a manufacturer-approved replacement part used in refrigerators. It is located on the bottom front of the appliance. The grille is a rectangular plastic frame with a series of narrow, closely spaced bars. The grille acts as a protective cover for the condenser coils and other internal components of the refrigerator, to allow...Read more proper airflow for cooling. Over time, the grille can become clogged or damaged, causing the condenser coils to overheat and compromising the cooling ability of the fridge. A faulty grille will also result in contaminants entering the internal refrigerator components, increased energy consumption, and compressor failure. Therefore, it is important to replace the grille as soon as possible to prevent further damage to your appliance. Use a flathead screwdriver to pry the grille away from the refrigerator. Clean the exposed area and gently press the grille into the mounting slots until it is locked in place.
Ask our experts a question about this model and we'll get back to you as soon as possible!
We may have answered a similar question already! Search questions and answers left by others using simple keywords like "fit", "broken", "easy", or "quality" to find questions that match.
Search filter:
Clear Filter
Your search term must have 3 or more characters.
Sort by:
Prev
1
Next
Sorry, we couldn't find any existing answers that matched.Try using some different or simpler keywords, or submit your new question by using the "Ask a Question" button above!
Galen - For model number WCF18W3
February 20, 2023
Is there not supposed to be a hole in drain? Mine has a plug and eventually needs defrosting because ice builds up on bottom.
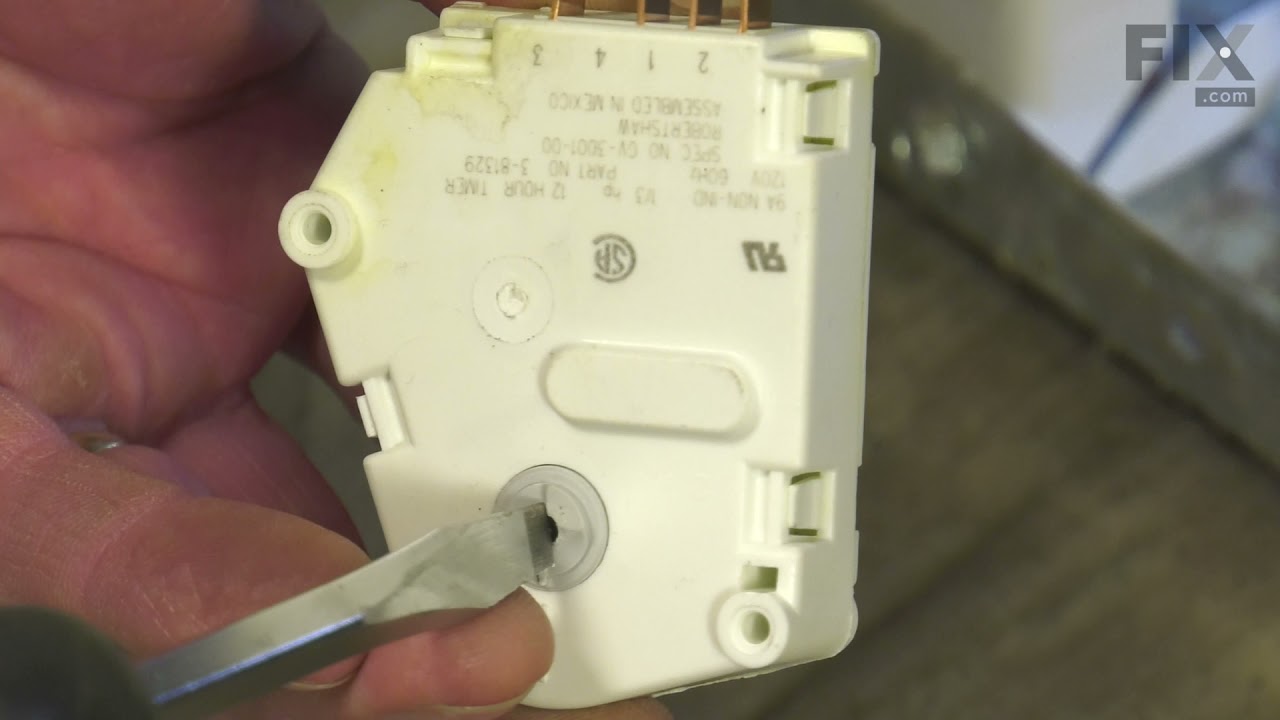
Hello Galen, thank you for reaching out. According to our research, there is no hole in the drain. If there is a frost buildup, you may be having a malfunctioning defrost timer, part number PS11740630, or a defrost thermostat, part number PS11738201. Replacing them could solve the issue. We hope this is what you were looking for!
See how others fixed this model. Time, tools, difficulty, and steps that lead to victory!View More
Search repair tips from other customers using simple keywords like "replace", "fit", "remove", "inspect". DIY doesn't mean you have to do it alone!
Search filter:
Clear Filter
Your search term must have 3 or more characters.
Lights inside refrigerator not working
137 of 257 peoplefound this instruction helpful.
Clint from Rayville, MO
Really Easy
Less than 15 mins
Screw drivers
I used a flat-head screwdriver to pop out the old light rocker switch. Then, I unplugged the wires, plugged them into the new light rocker switch, and then popped the new switch into the hole. That's it! Lights began working again.
Was this helpful?
Thank you for voting!
Light Switch broke
48 of 78 peoplefound this instruction helpful.
James Richard from St. Cloud, MN
Easy
Less than 15 mins
Socket set
An easy job for smaller hands. Removed the two bolts holding the light cover. Removed two electrical connections from the old switch by pinching the retaining clip,removed the switch, snapped in the new one and re-attached the connectors. Your online illustrations helped me to know that the plastic housing for the light switch would only
... Read moreswing down so far and was not intended to be removed. Saved me from breaking that plastic cover's tabs. This home repair saved me more than 5 times the cost of hiring a professional to do it. Very happy homeowner.
Read less
Was this helpful?
Thank you for voting!
The light switch on the refridgerator broke - no light.
36 of 58 peoplefound this instruction helpful.
David from Albany, OR
Really Easy
Less than 15 mins
Screw drivers
Once I saw the replacement part I understood how to pry out the switch with a small screwdriver. Then just unplug the old one, plug in the new one and pop it into place.
The PartSelect site made it easy to correctly identify the correct part, it was inexpensive, and the shipping was fast.




 My Orders